
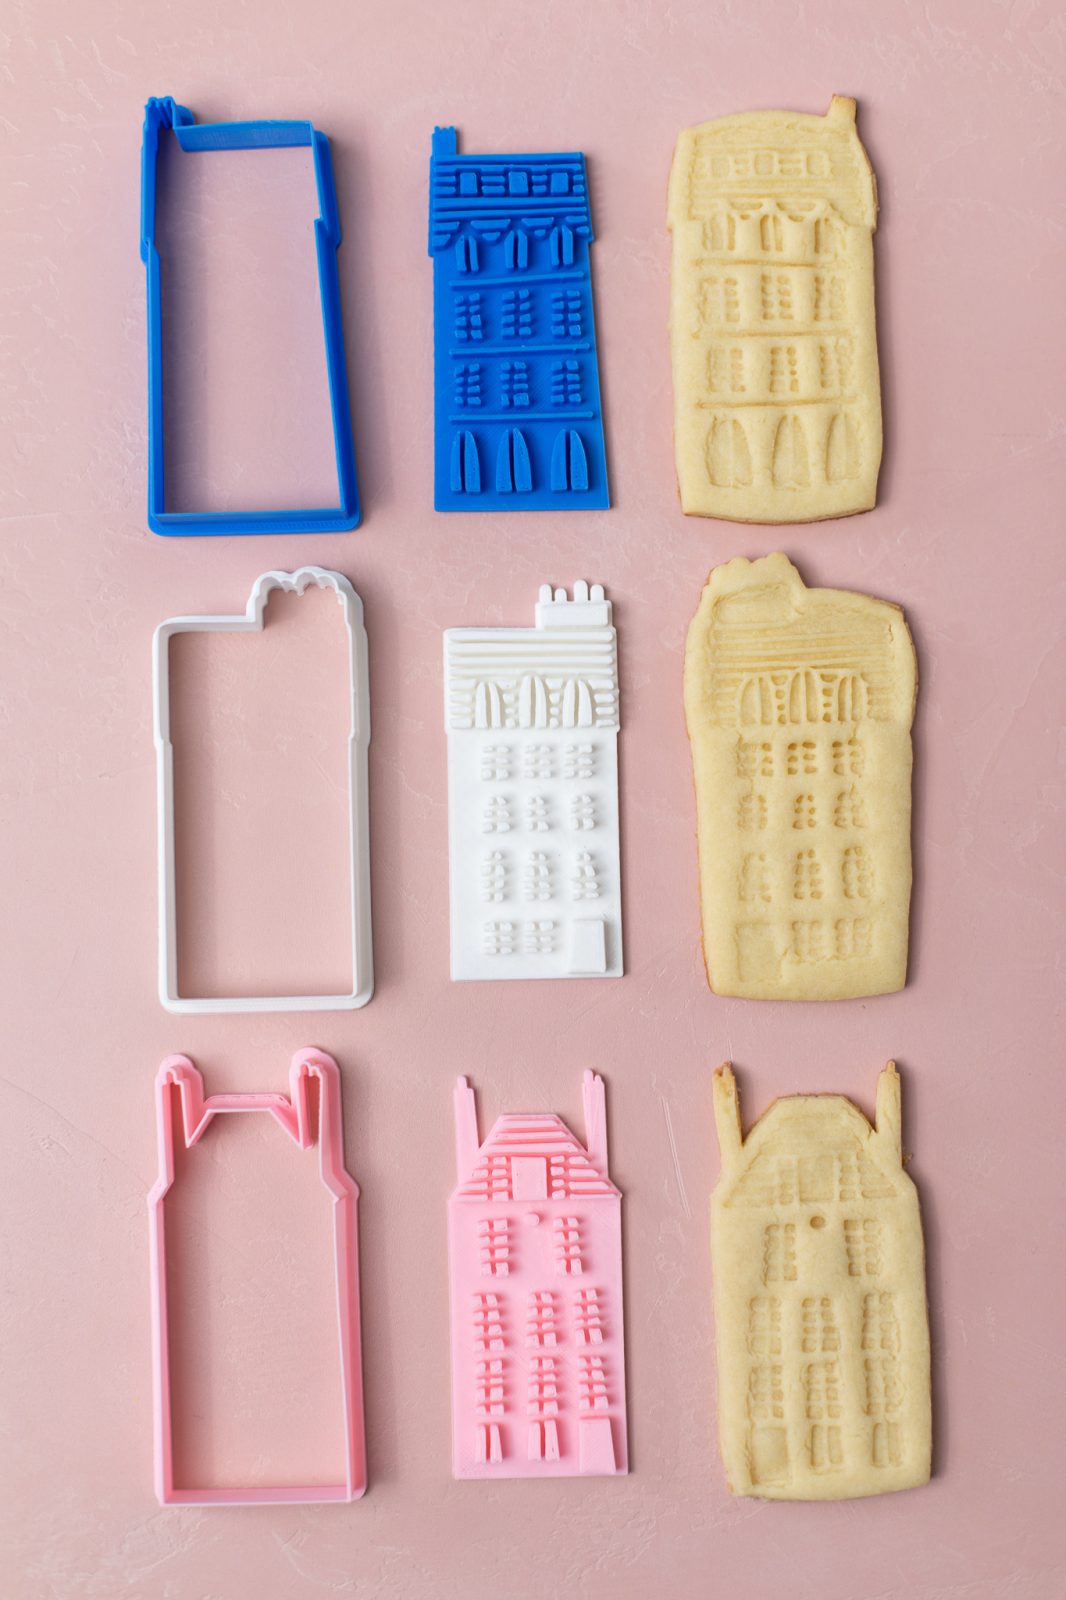
The Alta is an amazing tool when it comes to custom cookie cutters! But if you want to go one step further, why not try a cookie stamp? A stamp gives a simple cookie and intricate embossed-look that will make people “ooh” and “aah” without dealing with fancy icing techniques! These Amsterdam-inspired row house cookies look adorable and would be a sweet addition to any party.
Supplies Needed:
- Silhouette Alta®
- Silhouette 3D™
- Silhouette Studio®
- Alta platform
- Alta platform tape
- Alta filament
- Design ID #146657
Step One: Formatting the Cookie Stamp
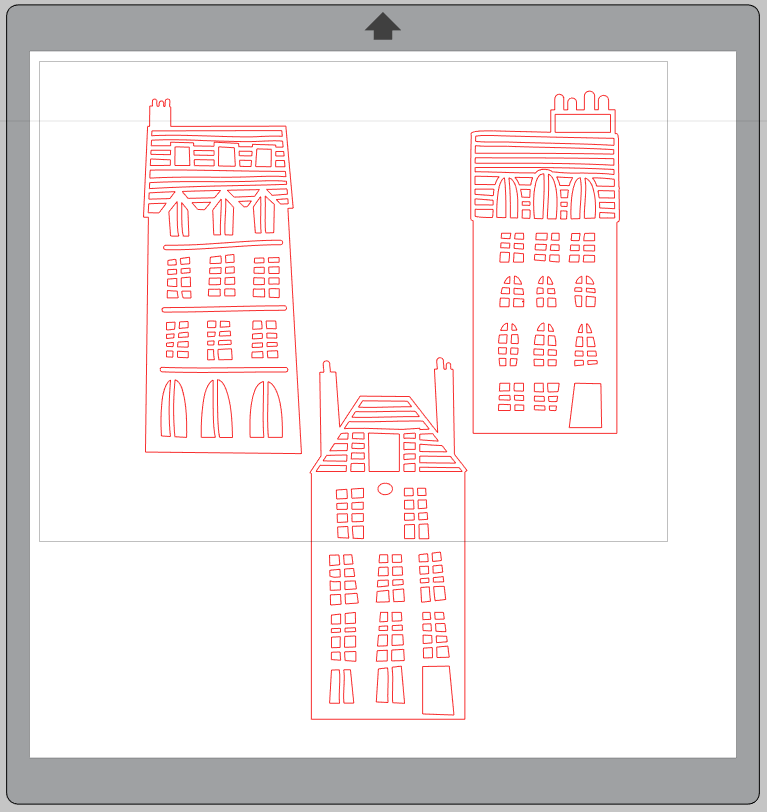
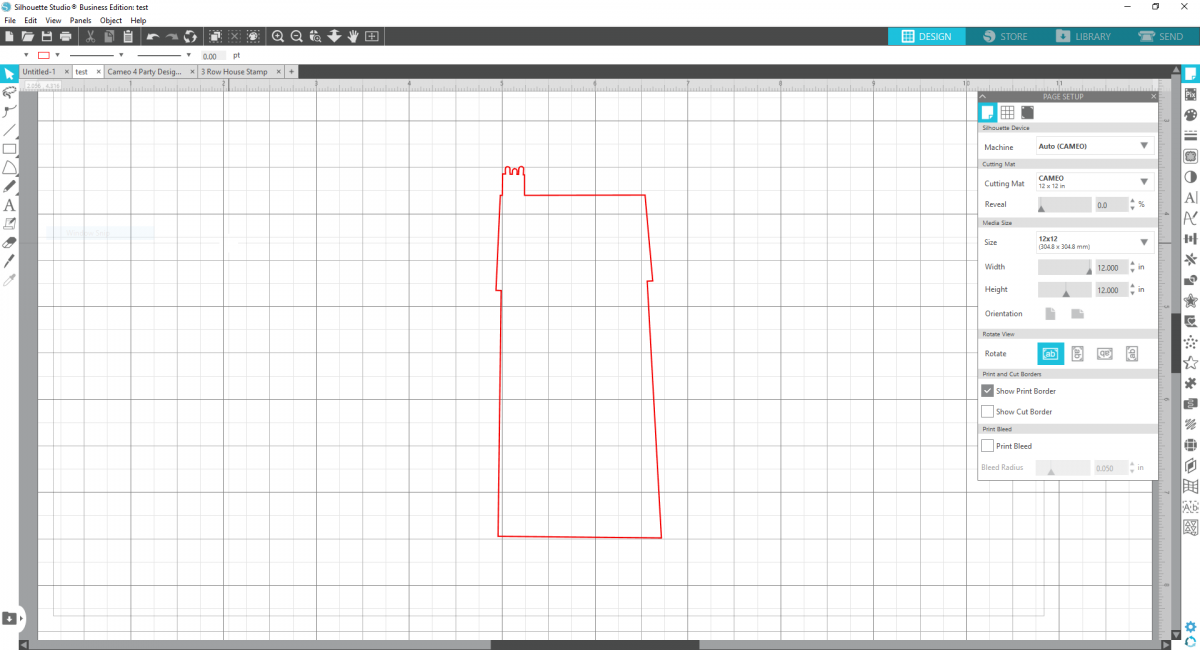
1. Open Design ID #146657 in Silhouette Studio®. Ungroup the design by right-clicking. Next move two of the houses off to the side so we can just work on the one for now.
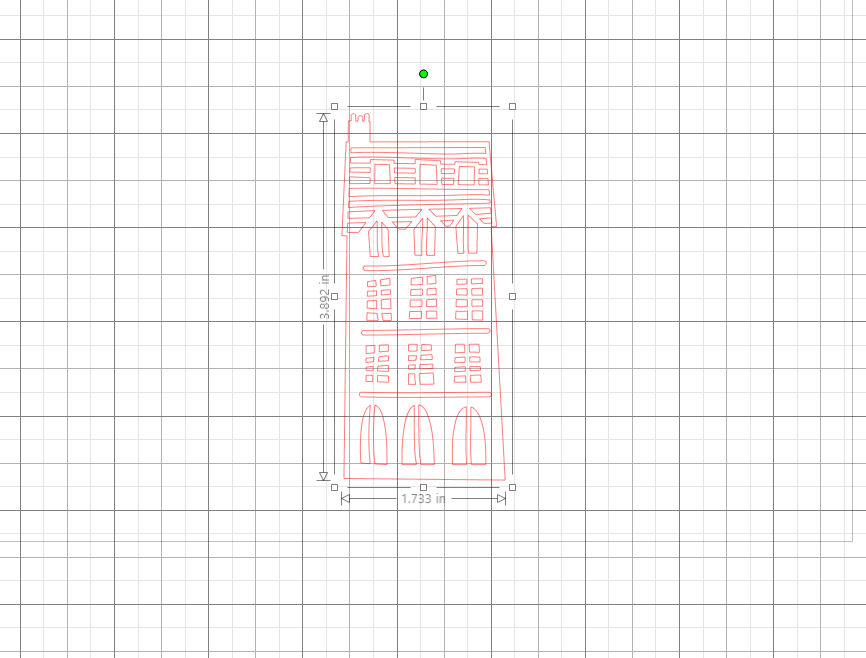
2. Duplicate the design of the one house and copy and paste it into a new file. Size the house to be just slightly under 4 inches tall.
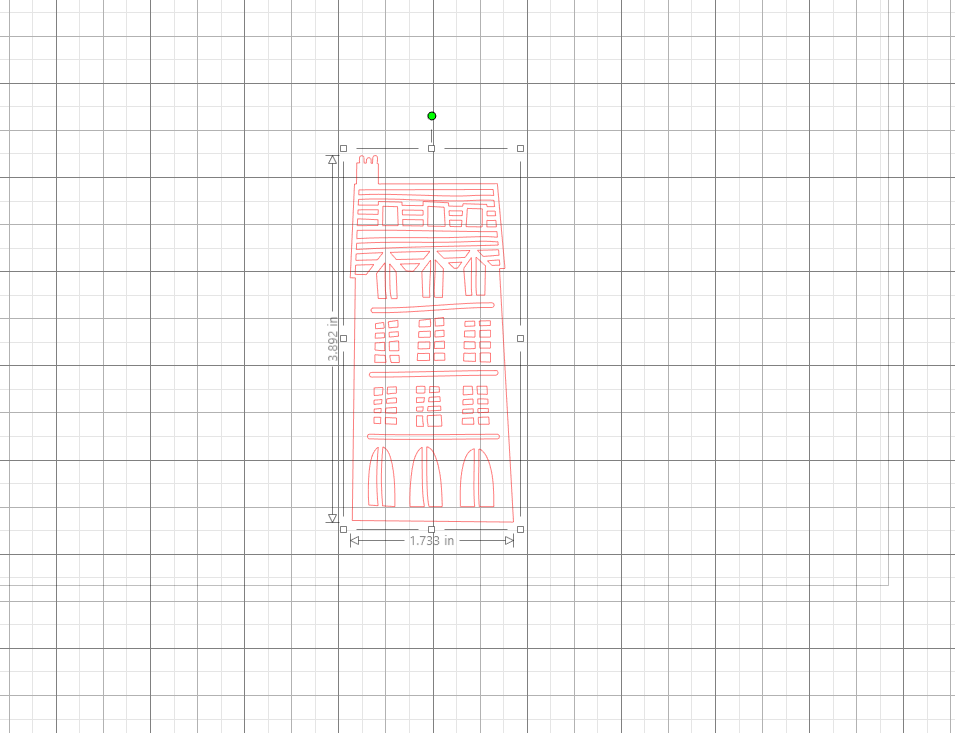
3. Right-click on the house and select “Release Compound Path” to separate all the individual pieces.
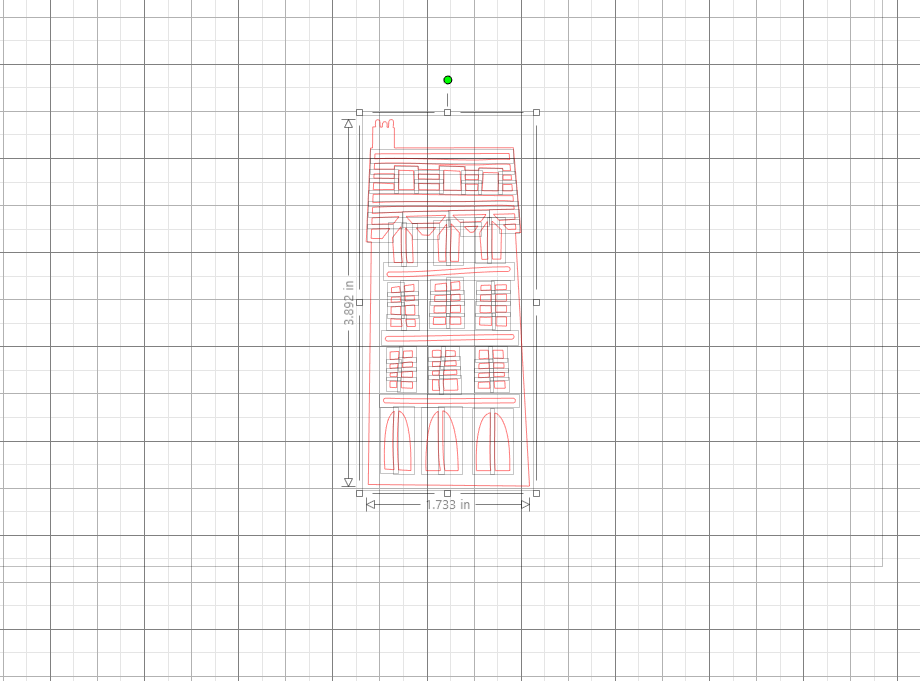
4. Separate the house outline from the details. Then highlight all the details and right-click again to turn back into “Make Compound Path.”
5. Then align the two pieces back together and select both designs and right-click to group them together. Save this file to your library as “Cookie Stamp.”
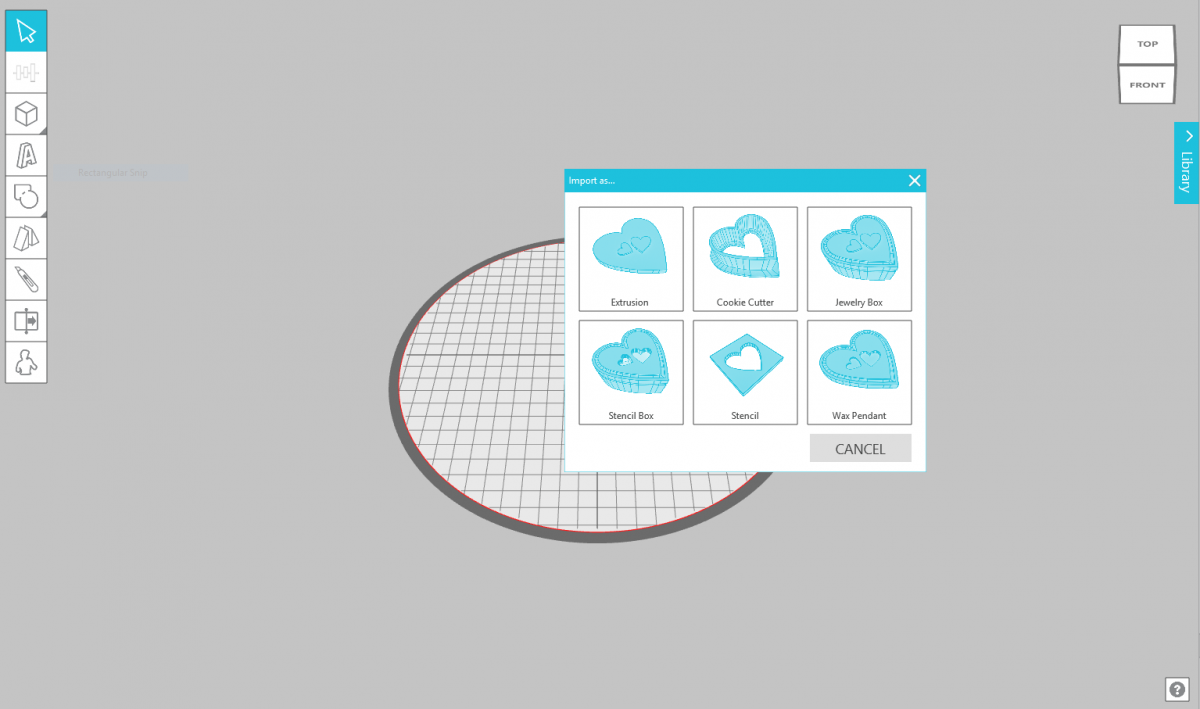
6. Now open Silhouette 3D™ and open your cookie stamp file, and import the file as “Extrusion.”
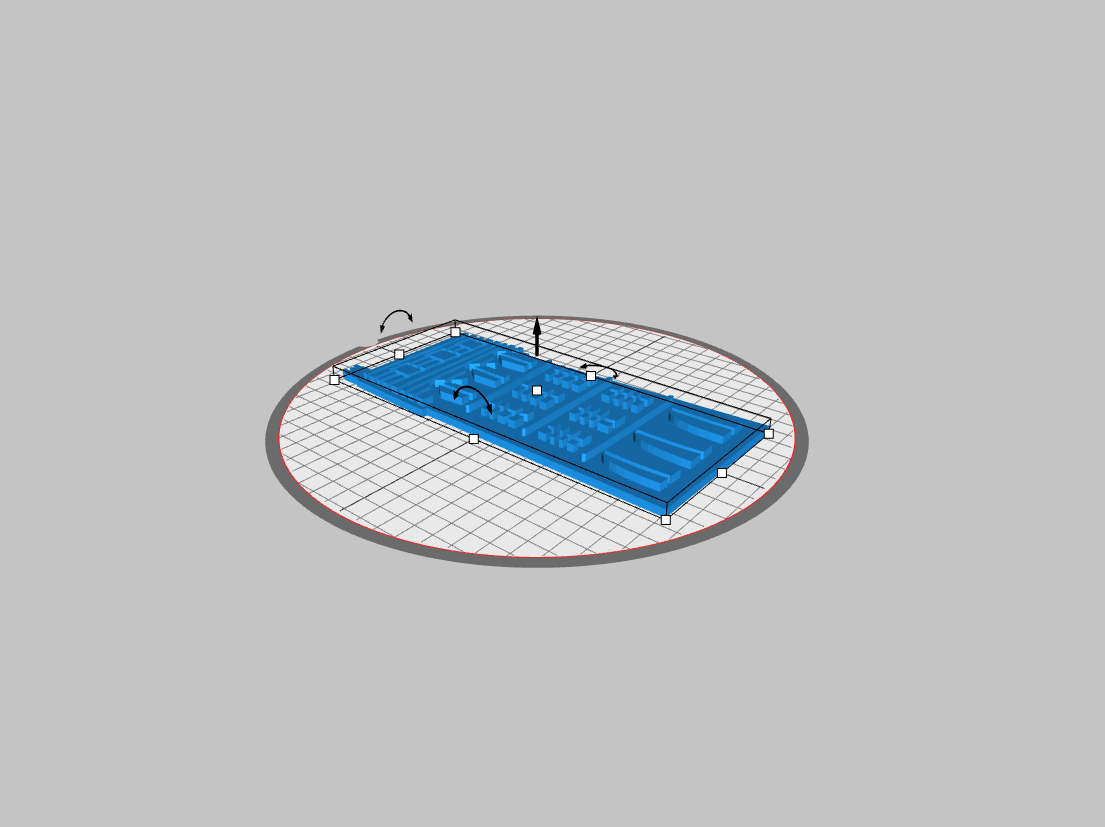
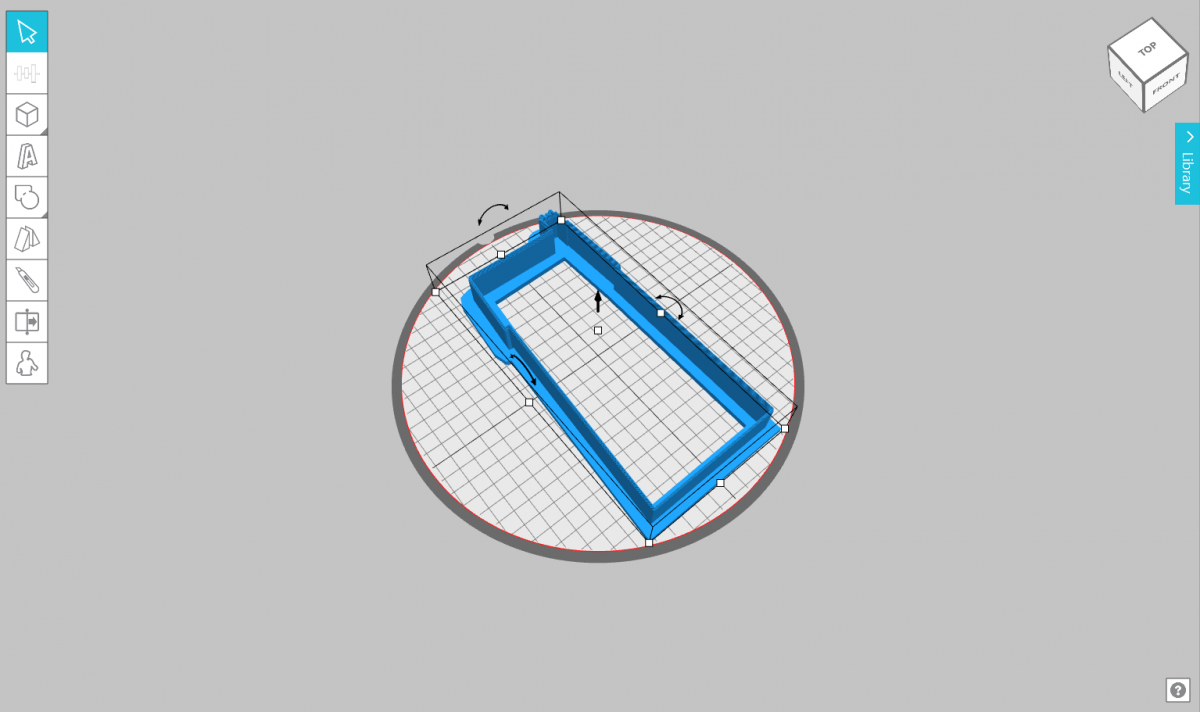
7. Right-click on your design and select “Ungroup.” Select the house details and change the height to 6 mm. Then select the house outline and change the height to 3 mm. Then select both designs and group them together—this tells your machine to print the design as one piece. Make sure the total height of your design measures 8 mm.
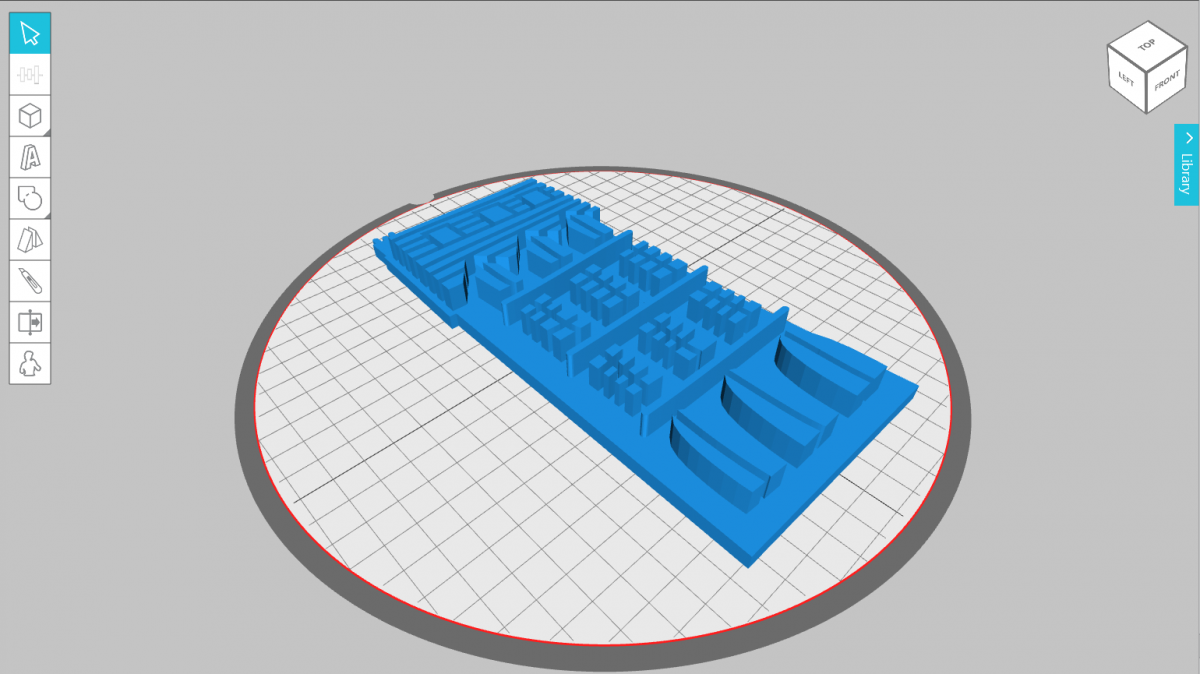
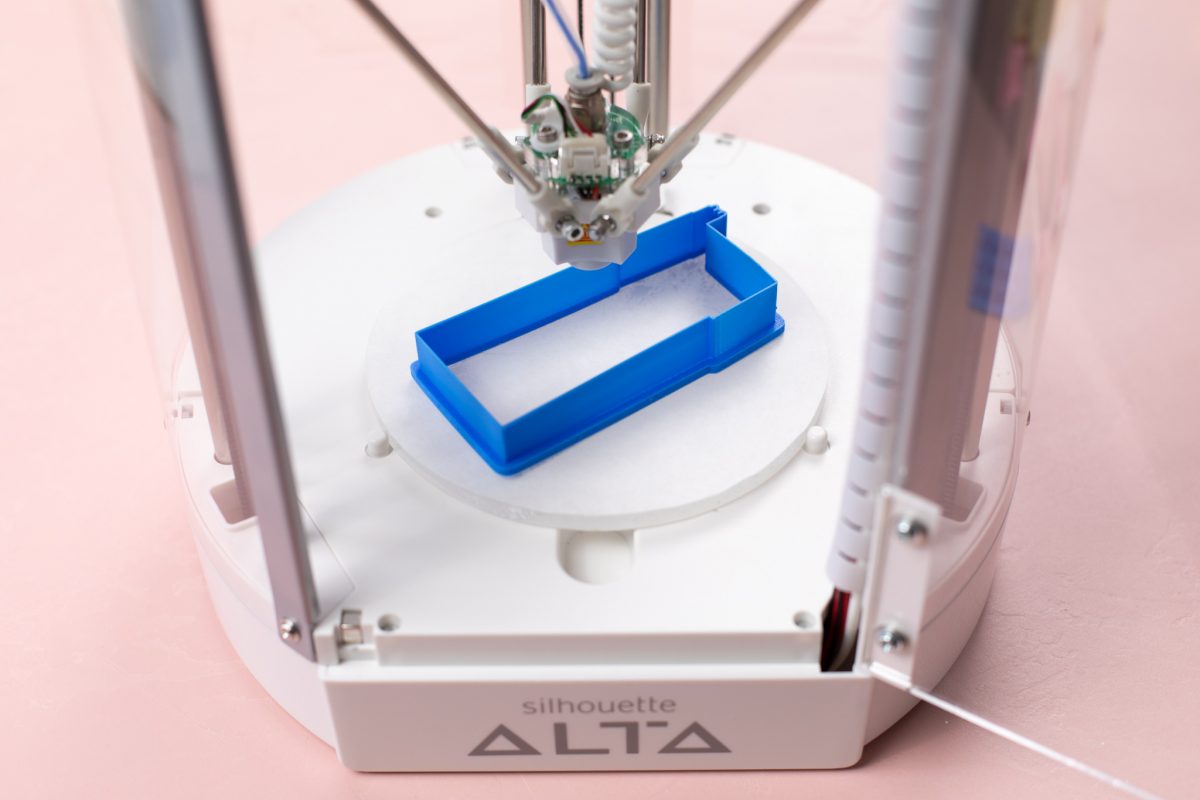
8. Now you can print your stamp using your Alta machine! If you need help setting up your machine, see this post for instructions.
Step Two: Formatting the Cookie Cutter
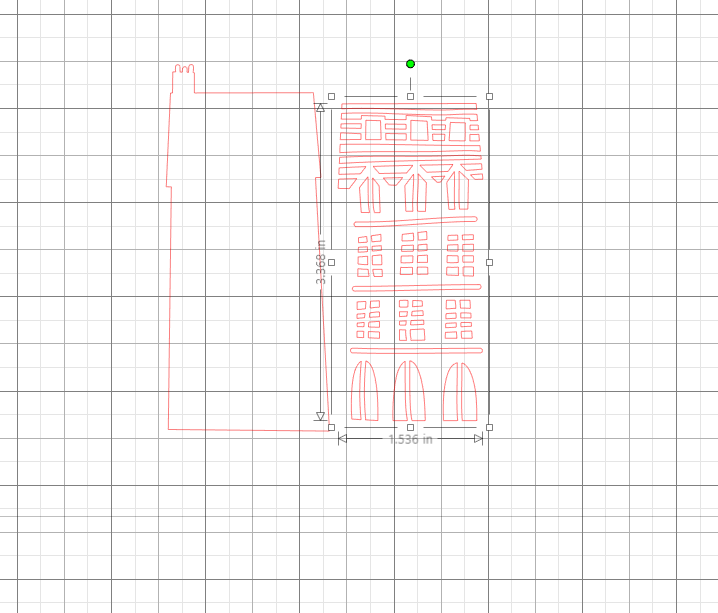
1. Go back to Silhouette Studio®. Right-click on the other house on your separate work space and select “Release Compound Path.” This will separate all the design elements so you can remove the outer line of the house from the inner details.
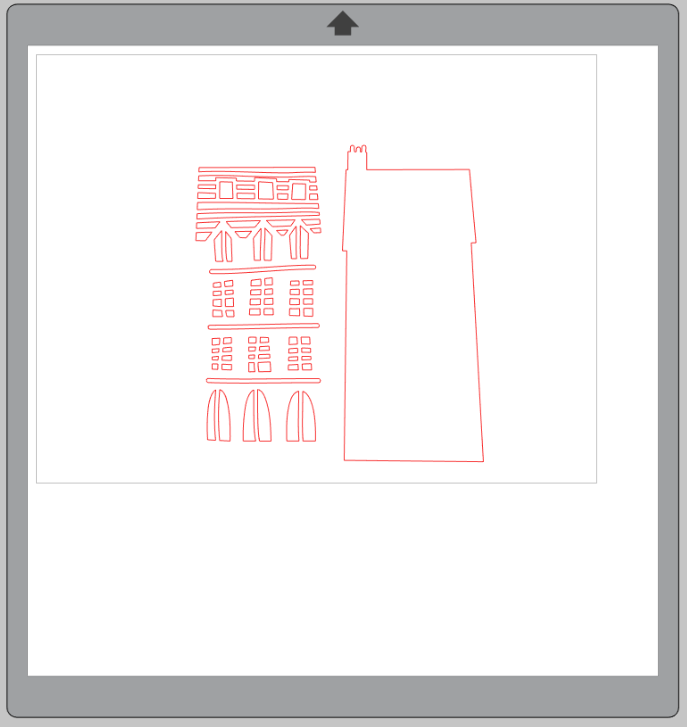
2. Delete the inner contents of the house. Size the outline of the house to your desired cookie cutter size—ours is 4 inches tall. Save this file as “cookie cutter” to your library so you can open it in Silhouette 3D™.
3. Open up your Silhouette 3D™ software, and open your saved “cookie cutter” file from Silhouette Studio®. Import the file as “Cookie Cutter.”
4. Now your cutter is ready to print! Standard settings for the Alta Machine should be just fine for this project. If you need help setting up your machine to print, see this post.
Step Three: Making Your Cookies!
1. Use a cookie recipe that holds shape well and doesn’t spread. Roll out your dough in an even layer and use your cookie cutters to cut your row house shapes.
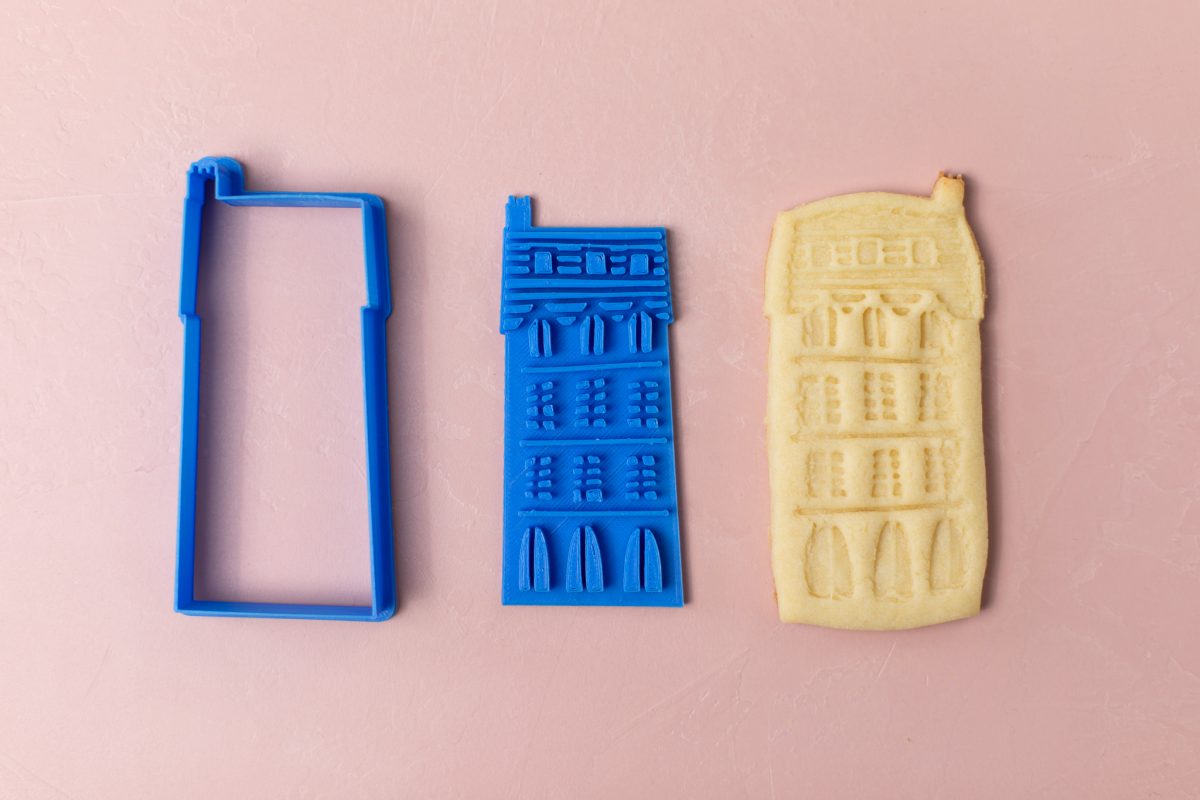
2. Then aligning your stamp with its matching cookie cutter, press firmly into the dough, making a deep impression. Having a separate cutter and stamp allows you to make your dough however thick you want and adjust the pressure you apply to the stamp.
3. Transfer the cut dough to a baking sheet and bake. Voila! Adorable row house cookies without all the hassle of dealing with icing!

 3D Printed Cupcake Topper Picks
  Create a Custom Vase with the Silhouette Alta® Plus
Kelly Wayment
June 28, 2024
You can use it with vinyl as long as it is smooth and flat to allow the static charge to hold on to it. Rolled vinyl that wants to go back to its rolled shape will not necessarily work well, and it would need to be trimmed to fit the ES mat cutting area.
Kelly Wayment
June 28, 2024
Yes, you can use the heat pen while using the ES mat. 🙂
Yurii
March 2, 2024
Hello. May it be used with heat pen?
Thanks
Jerome
February 24, 2024
Hi, works this with the normal vinyl foils or only with printer papter etc?
Kelly Wayment
February 16, 2024
Once you’ve pushed the mat up against the rollers, just press the “Load” arrow button (bottom right on the display). Does a regular sticky mat load into the machine for you?
Michelle a goodall
January 24, 2024
Hello! I just got my new electrostatic mat and have watched every video i can find on it. However, what i can t find is why it wont feed into my cameo 5/ it slides right up the rollers but wont go any further. and yes- iam pushing the into button. help!