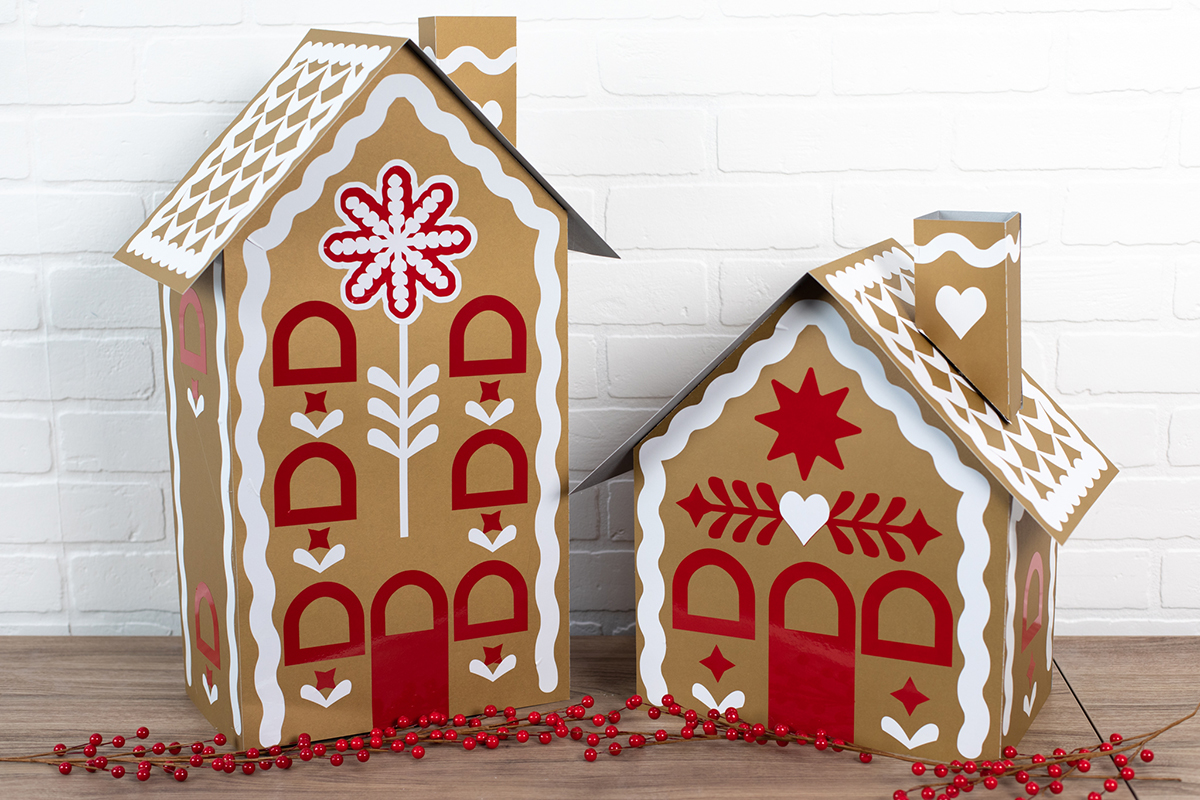
One of our favorite ways to find project inspiration is to look at the home décor trends we’re seeing around us. That’s easier said than done, though, especially during the holiday season! Lately, we’ve been seeing a lot of Scandinavian-inspired decorations, and we wanted to create some of our own with a little festive twist.
When we found the Scandi Gingerbread Houses by Dimensional Paper Cuts, we knew that they were exactly what we were looking for. While the original designs are only about three inches wide, we had the idea to make these houses with the Cameo Pro! Our largest cutting machine can cut materials up to 24 in. wide, and we want these gingerbread houses to make a statement. You may just see the final projects in the background during our upcoming holiday content…
If you’ve been looking for a fun holiday craft this season, try making these gingerbread houses with us! If you don’t own a Cameo Pro, you can easily create some smaller houses with one of our smaller models. Let’s get started!
Supply List
- Silhouette Cameo Pro
- Silhouette Studio® – Basic Edition or higher
- Silhouette Cameo Pro Cutting Mat – Standard Tack
- AutoBlade
- Gold poster board – five 22 x 28 in. pieces
- White vinyl – 24-in. roll
- Red vinyl – 12 in. roll
- Hot glue gun
- Hook
- Design ID #379452 by Dimensional Paper Cuts
- Design ID #379449 by Dimensional Paper Cuts
Step One: Prepare Designs
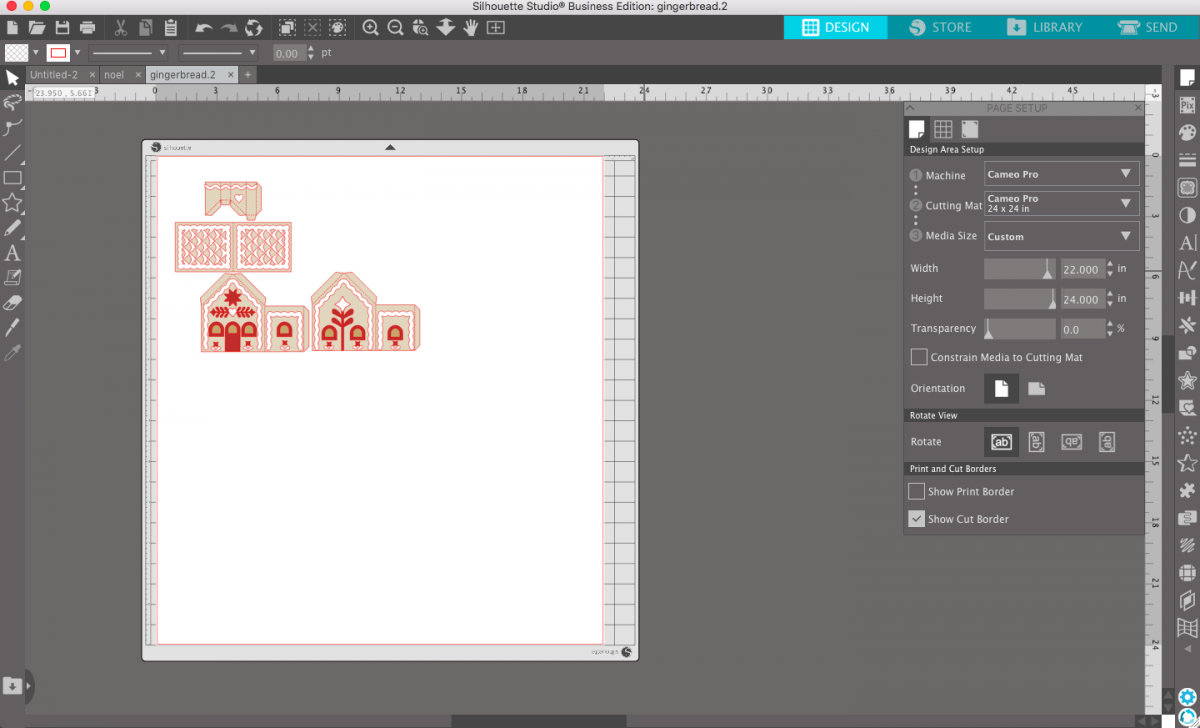
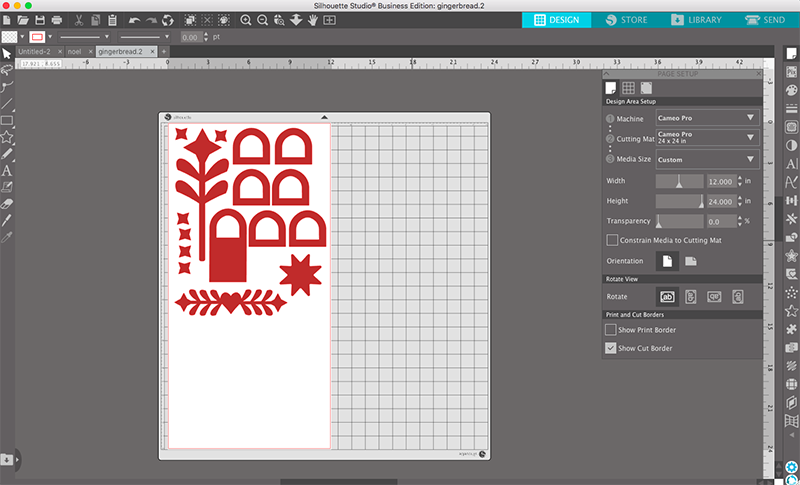
Once you’ve purchased one or both of the gingerbread house designs from the Silhouette Design Store, open a new document in Silhouette Studio. Go to the Page Setup Panel and use the following settings if you’re using the Cameo Pro:
- Machine: Cameo Pro
- Cutting Mat: Cameo Pro
- Media Size: Custom (22 in. width x 24 in. height)
Note: If you’re using standard poster board like we are, you’ll need to cut four inches off of the bottom so your material will fit onto the Cameo Pro cutting mat.
Next, open one of your house designs by going to your Library and double-clicking the file you want to open. The original file is the perfect size for the standard Cameo 4, but we want to scale ours to fit our poster board. With all of the pieces still grouped together, click and drag one of the corners of your selection until the main piece almost fills the entire page.
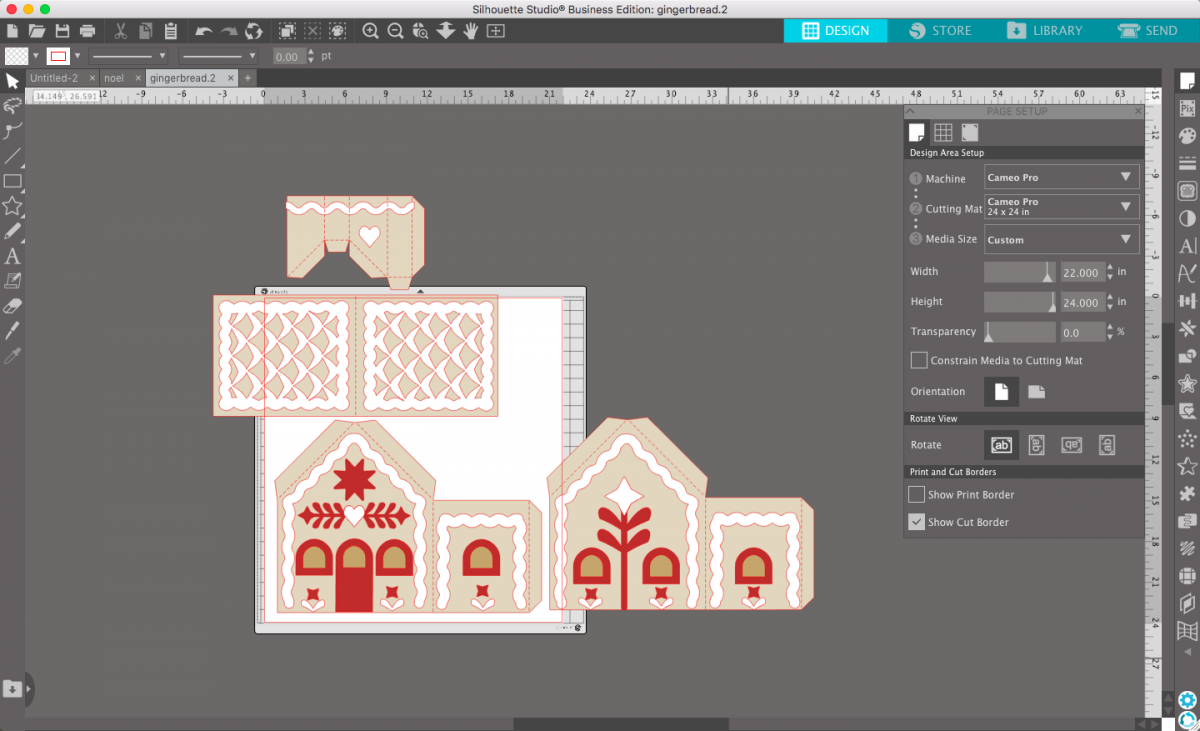
After sizing up the gingerbread house, ungroup all of your elements. We’re going to rearrange these pieces to cut as much as we can out of each piece of poster board and vinyl. Let’s start with the poster board base. Click and drag the red and white pieces off of the virtual cutting mat into two different piles so you can arrange them later. Then, move around the house elements so they fit onto your poster board as tightly as possible. We needed two pieces of poster board for one house.
One small change we’re making to these houses is to remove the actual windows from the house base. We want to be sure that the houses are sturdy when we’re making them at this larger size, and we think the red window trim will give us the same effect. To remove the holes for the windows, select your house, right-click, and select Release Compound Path. This will fill in the window holes, but we still need to remove the cut lines for them. With the house piece still selected, ungroup all of the elements. Then, you’ll be able to delete the windows. Be sure to group the house pieces together again.
When you’re happy with how your pieces are arranged on the page, group together all of the pieces and move them off to the side. This is an easy way to keep your pieces placed properly when you need to move them off to the holding area and arrange the next page of pieces.


When your house pieces are grouped together and fit onto your poster board, move them off to the side and repeat these steps for the red and white pieces. We’re using a 24-in. roll of white vinyl for the white elements, which is how we’re able to fit all of the pieces in one cut job. To make sure the red pieces fit on our 12-in. roll of red vinyl, we switched the Media Size in the Page Setup Panel to 12 in. x 24 in. to arrange and group the pieces together.
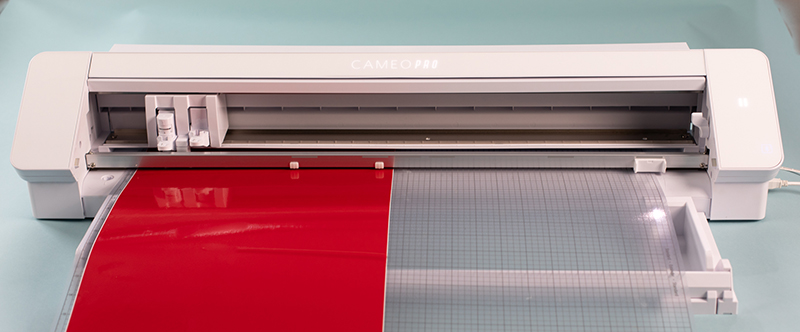
Step Two: Cut Vinyl Elements
We’re ready to start cutting our pieces! Load your first piece of vinyl onto your cutting mat and load it into the machine. In the Page Setup Panel, confirm that your media size matches the size of vinyl you’re cutting before going to the Send tab. Next, select the correct type of vinyl. We’re using glossy vinyl for this project, but this project would also look amazing with matte or glitter vinyl.
Confirm that your cut settings are correct, and perform a test cut to make sure that your blade will cut through your vinyl cleanly. When you’re ready, click the Send button at the bottom of the screen and watch your machine cut out all of your vinyl details! Once it’s finished, repeat this process with the second vinyl color.
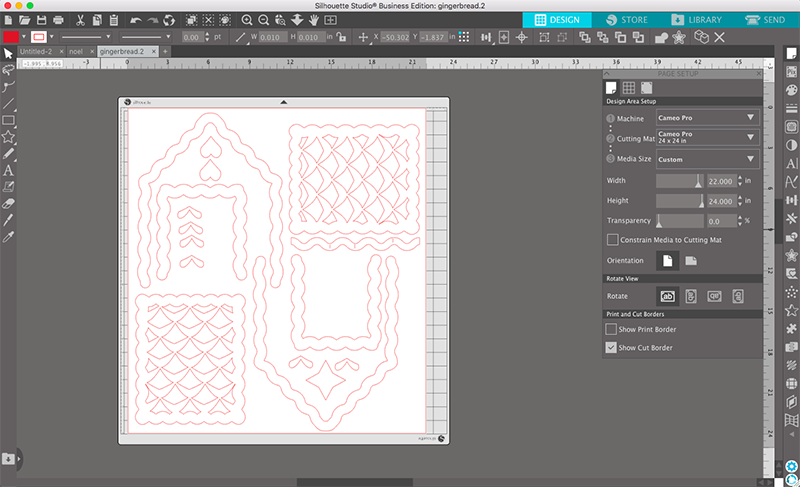
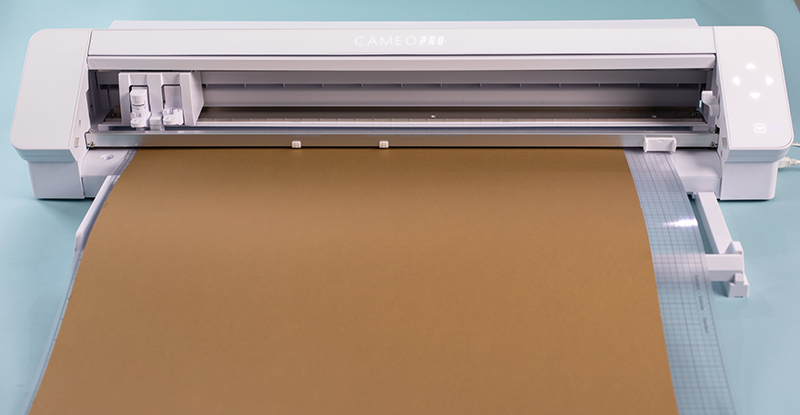
Step Three: Cut Poster Board Base
We’re going to follow a very similar process for the poster board. Adjust the media size to 22 in. x 24 in., move one set of house pieces onto the cutting mat, and go to the Send tab. We’re going to use the “Cardstock, Textured – Heavy” material settings. This is one of the most powerful cut settings on your machine. It’s important to perform a test cut again to see whether the default settings will cut through your poster board. If the blade doesn’t cut through cleanly, try increasing your blade depth to 8 and decreasing your speed to 2, or add another pass to the cut job. Don’t increase your cut settings too much, otherwise you could damage your blade or your cutting mat.
Once you’re satisfied with your cut settings, hit the Send button to send the cut job to the machine. Repeat this process with the remaining pieces of poster board.
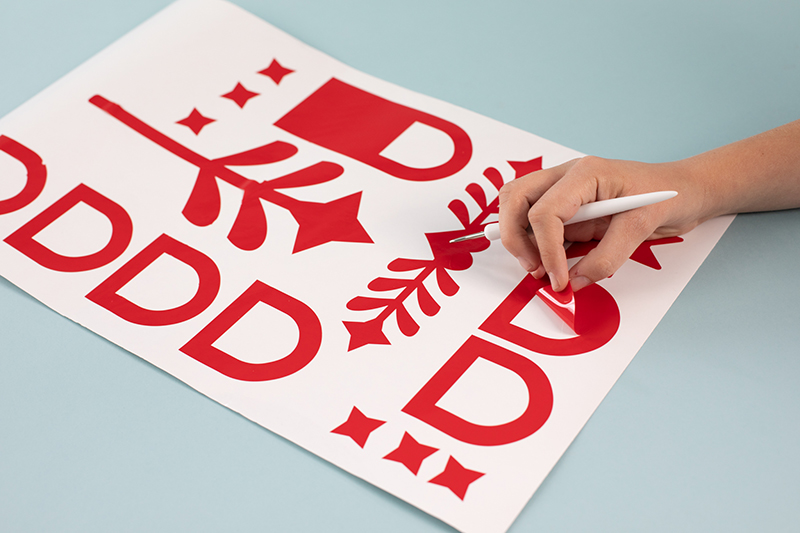
Step Four: Weed Vinyl
Weeding is the practice of removing the unwanted pieces from your design. Use your hook tool to get rid of the excess vinyl, taking care to go slowly. You don’t want to miss any of the pieces! This project is very simple to weed because the pieces are large, and most of the white elements don’t require much weeding.
Step Five: Apply Vinyl to Poster Board
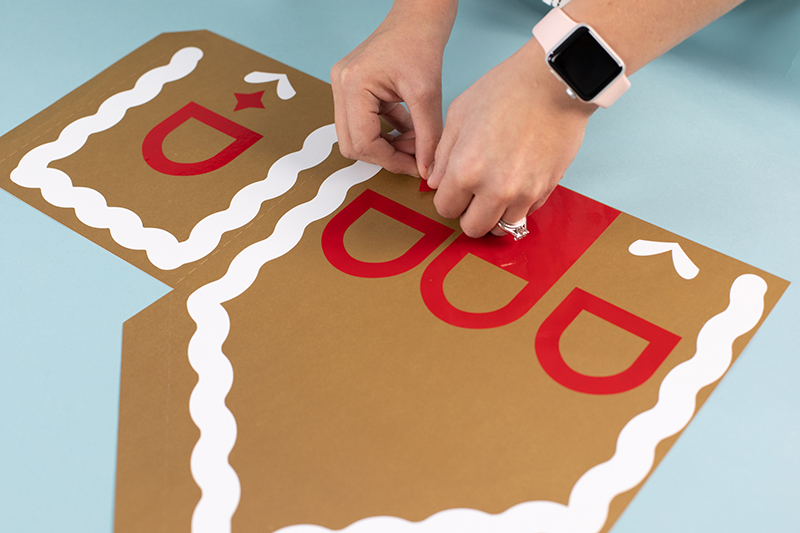
Adding the vinyl to your poster board is both the easiest and the hardest part of the entire project. Applying the vinyl is easy, but you want to be sure that you’re adding all of the elements to the right place. We recommend reopening the original file to check where all of the elements go.
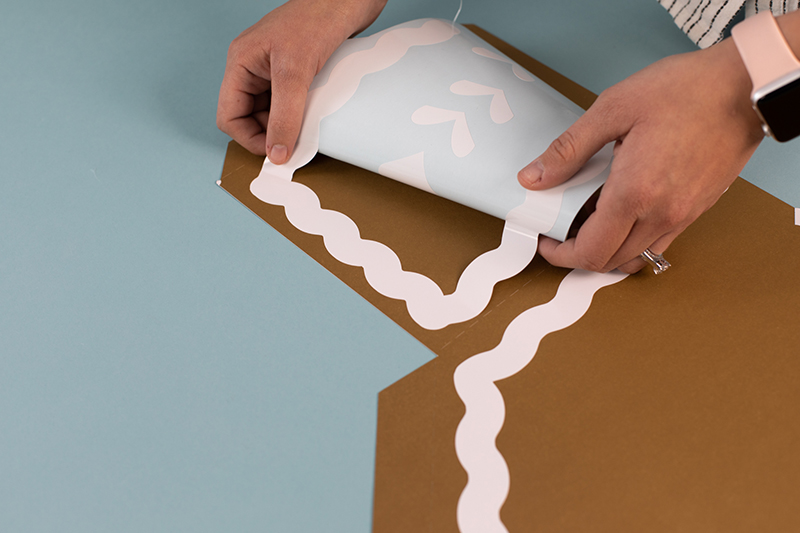
Rather than using large pieces of transfer tape, we decided to place the individual vinyl pieces like stickers. The vinyl peels off of the backing easily, and it was easy to place most of the smaller elements this way. For larger pieces like the white wavy lines, we’re going to peel off the backing as we go. Peel the top of the paper and stick the top line in place, then slowly peel back more of the paper and smooth down the rest of the lines as you go.
After placing each piece, smooth out any wrinkles or bubbles to make sure that all of the elements are laying flat.
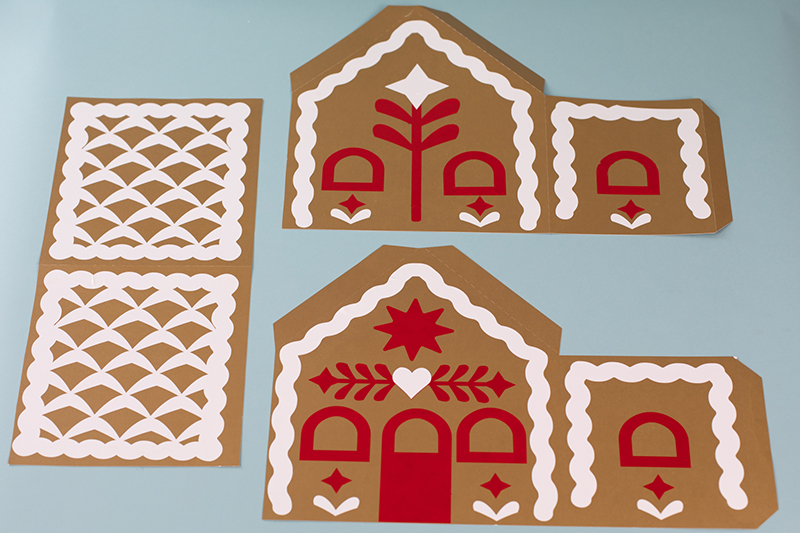
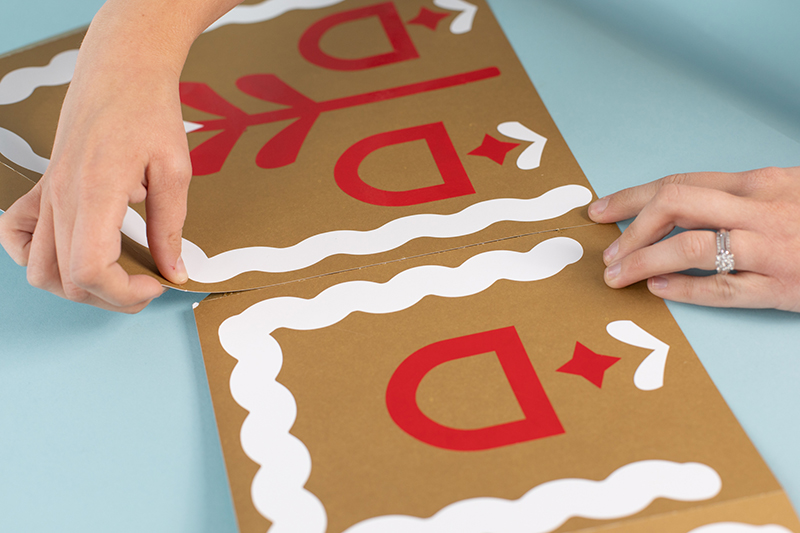
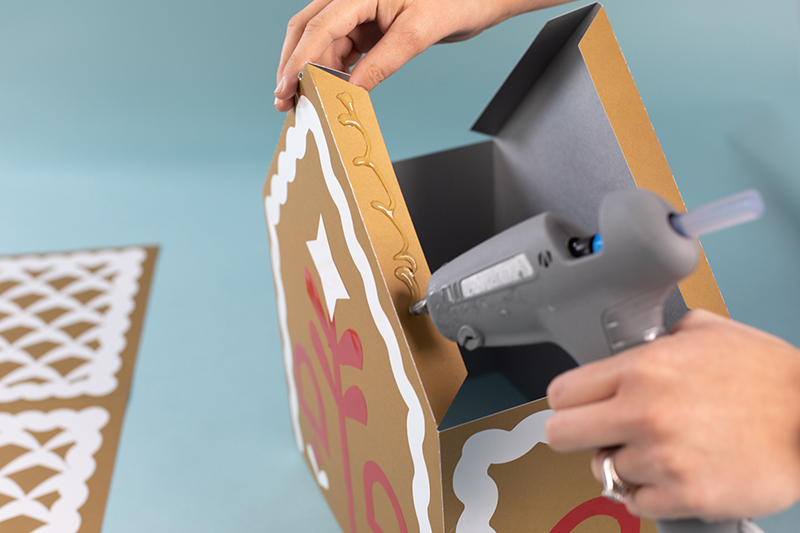
Step Six: Assemble House
All that’s left to do is to fold and assemble the house! The tabs and dotted lines make this project easy to put together. Fold all of the tabs on the dotted lines to create the tabs. Then, add hot glue to the tabs and attach them to the back side of the other pieces. You will start seeing your house take form! Continue assembling all of the pieces until they’re all connected.

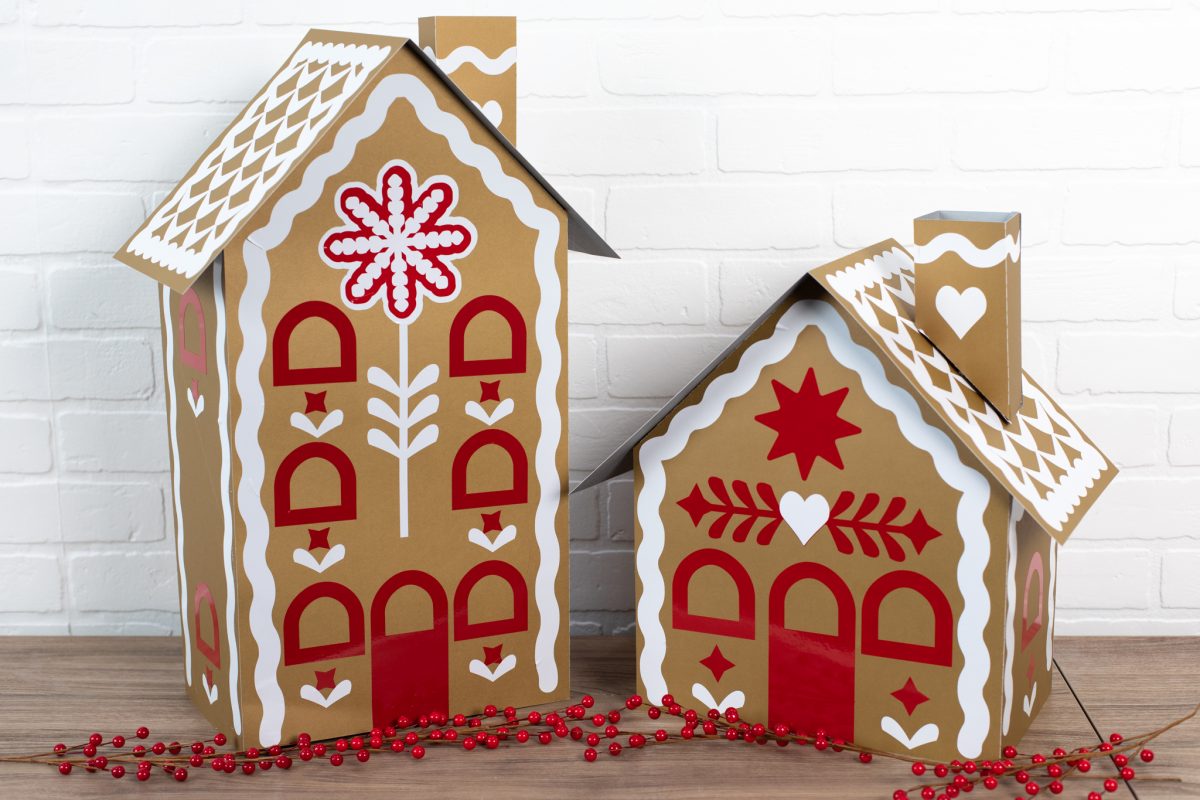
With that, your house is complete! Whether you create one or both of these Scandinavian gingerbread houses, these are beautiful decorations to keep your home feeling festive all season long. Tag us on Instagram @silhouette.inc with your finished houses—we would love to see how they turned out!
 Free Class - Father's Day Apron Set
  Free Class - Custom Graduation Tumbler