New in Silhouette 3D v 1.2 is the Sculpt tool.
You can use this tool to push and pull objects into new and unique shapes.
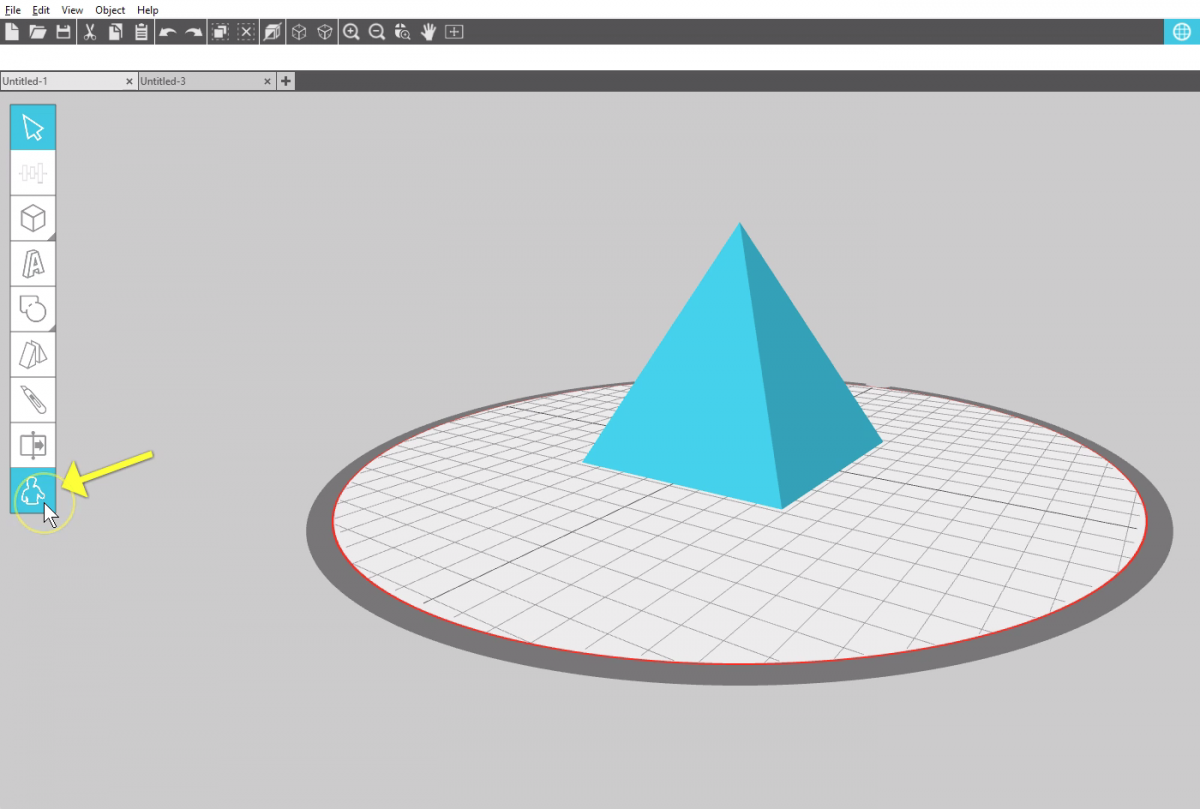
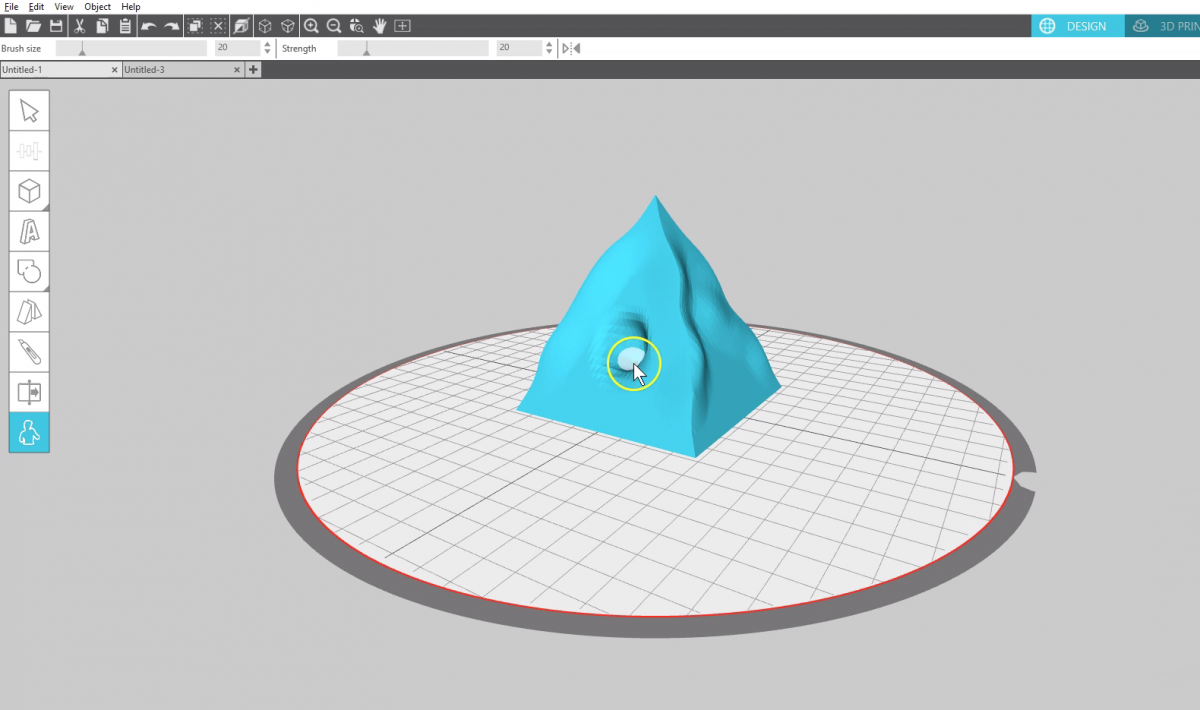
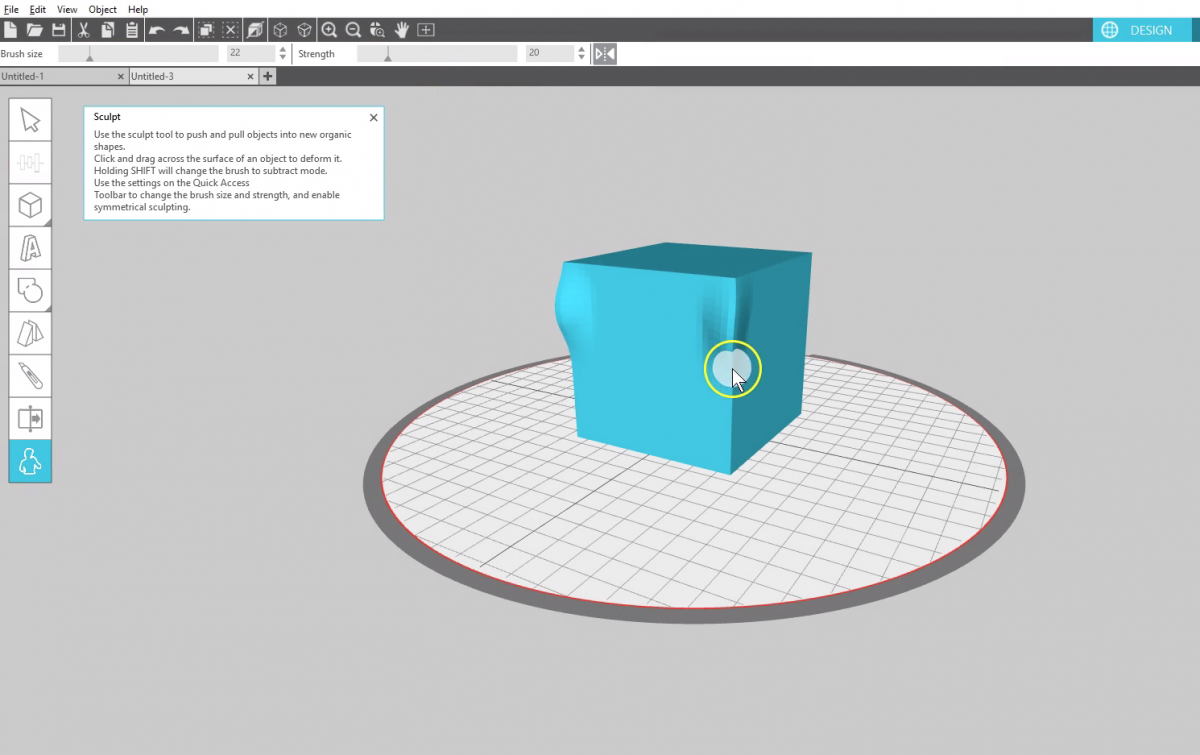
You’ll find the Sculpt tool at the bottom of your tools here on the left.
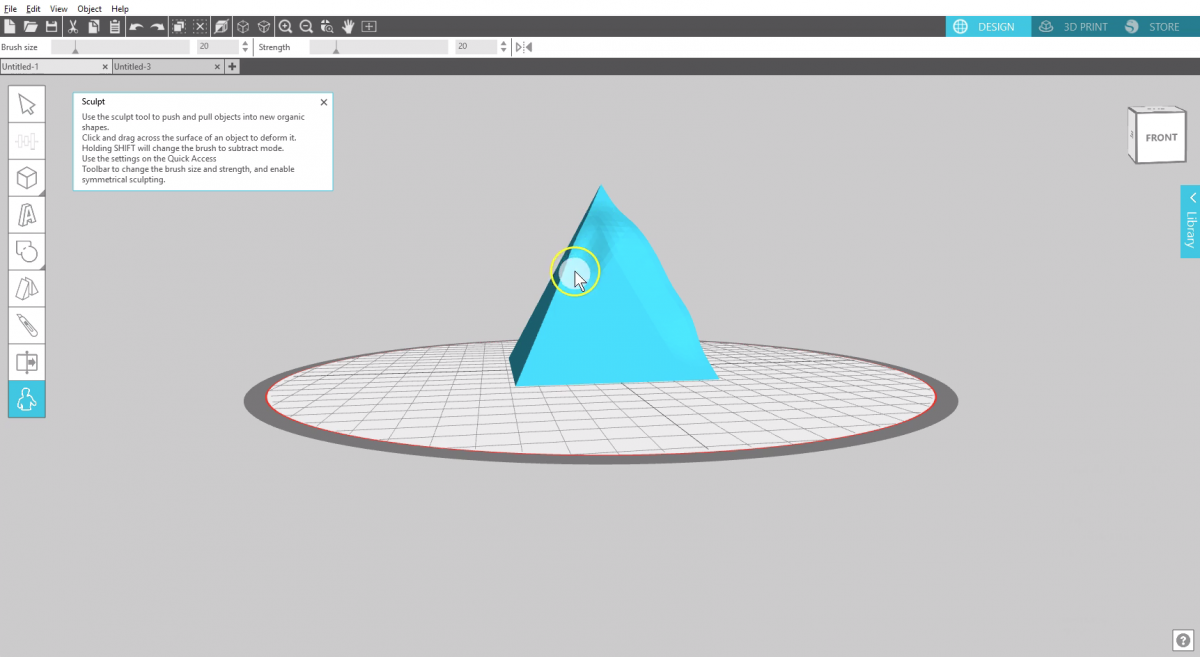
Simply click and drag across the surface of an object on your 3D document to distort it.
Hold the Shift key while dragging to subtract. This makes it push in instead of pulling out.
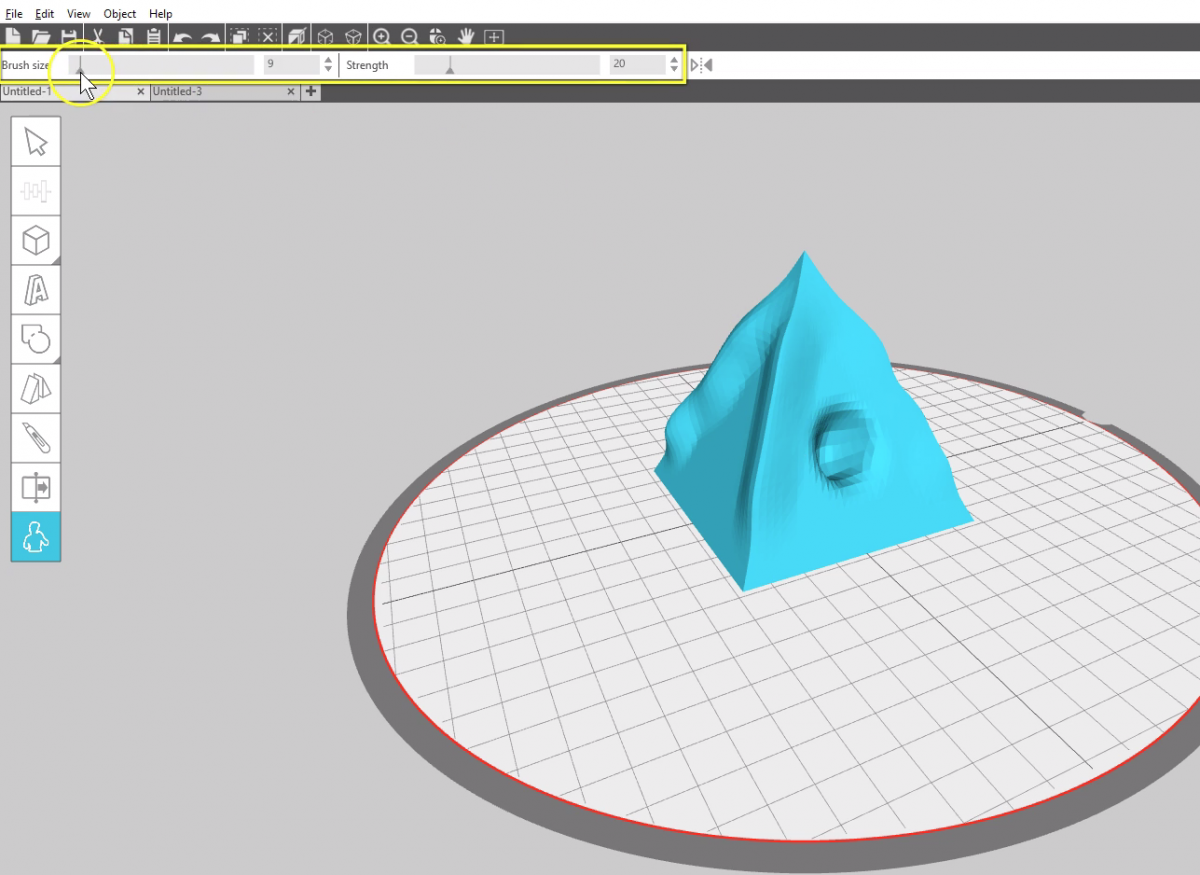
Adjust the brush size and strength up in the Quick Access Toolbar.
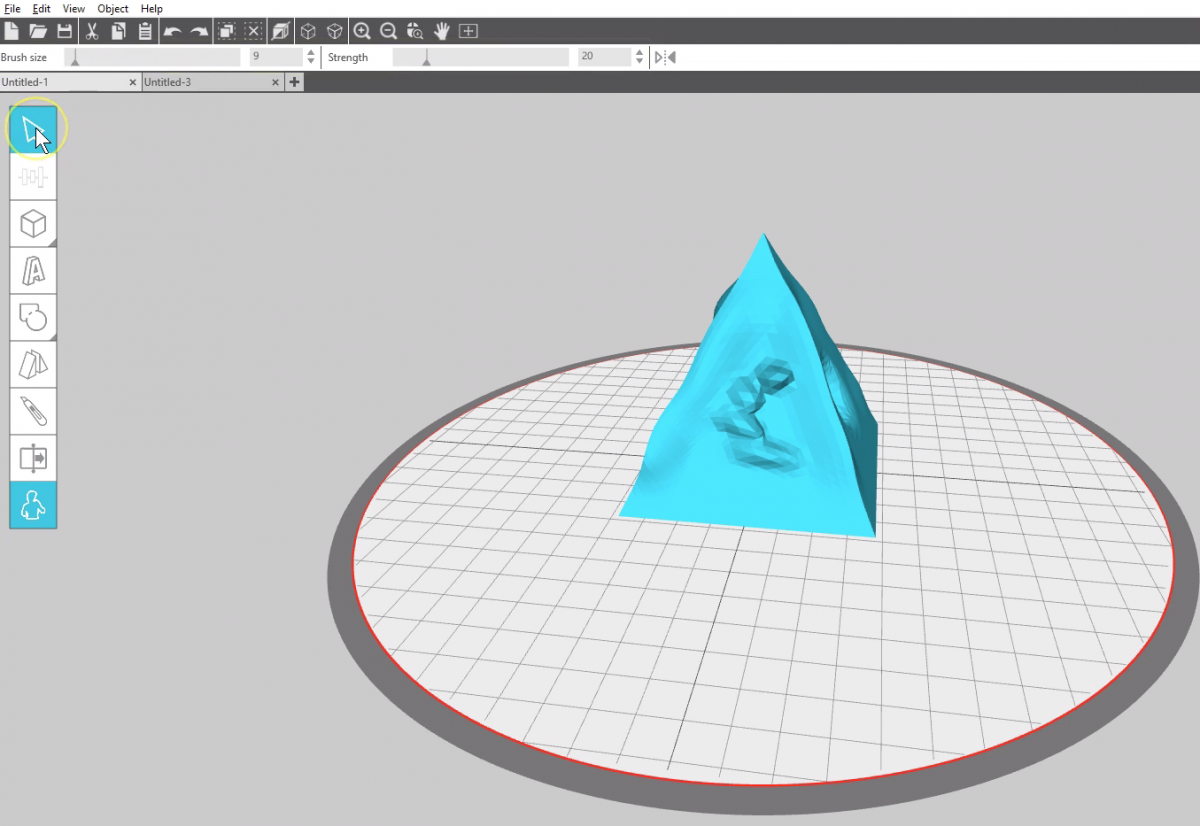
Click on Select or your keyboard Esc key to exit the Sculpt tool.
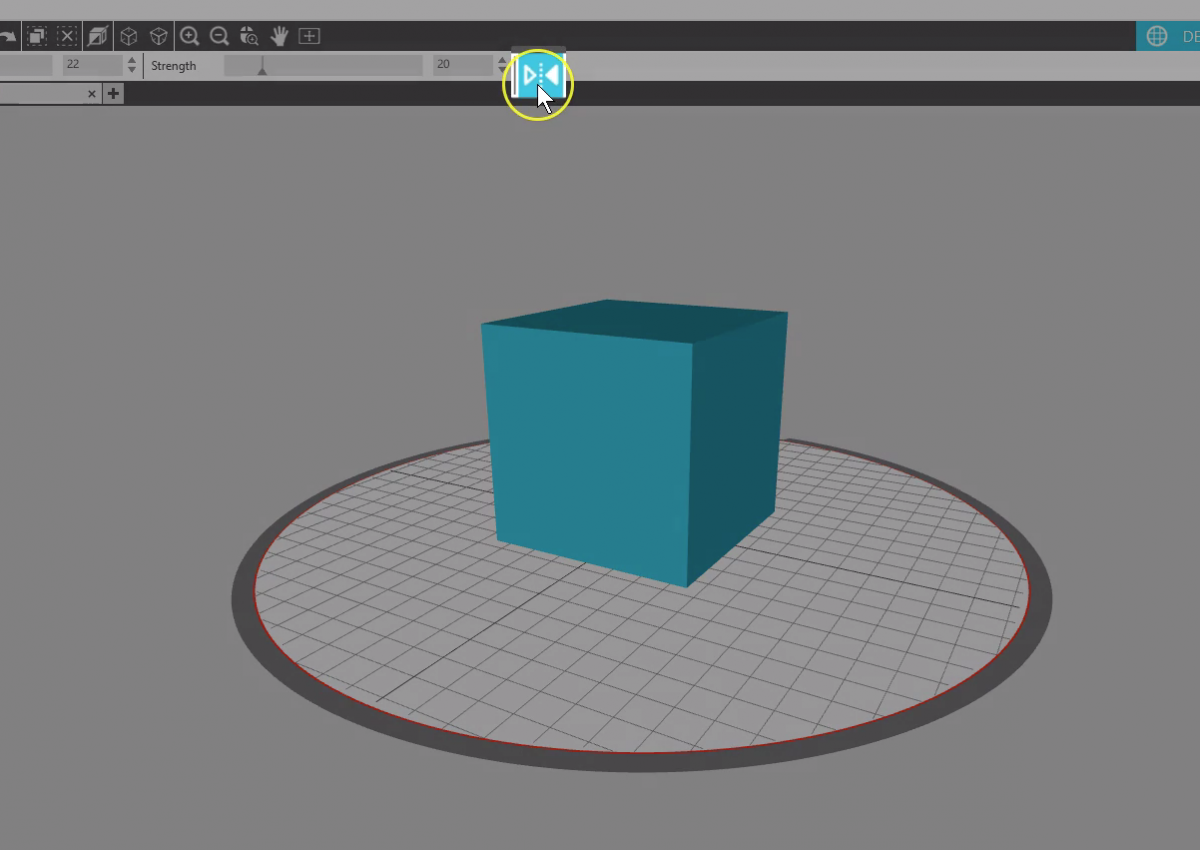
Finally, you can enable symmetrical sculpting in the Quick Access Toolbar.
Symmetrical sculpting lets you use the positive or negative sculpt function on a shape in one spot that will create a symmetrical sculpt on the other side of an invisible line of symmetry.
In other words, if you have symmetrical sculpt active, your sculpting will show up in two places at once.
I hope you enjoy this new sculpting tool in Silhouette 3D that adds a fun twist to your designs!