
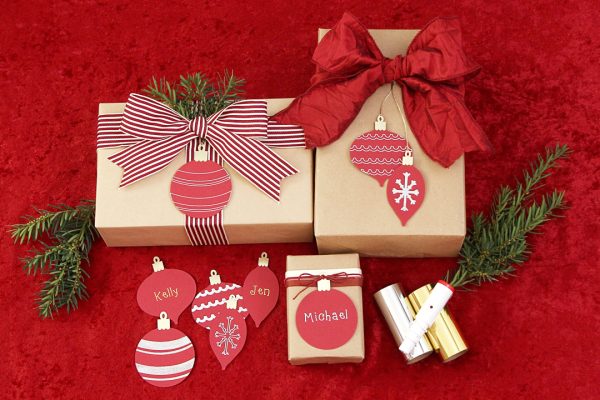
Do you prefer store-bought or homemade ornaments? We like a mixture, and these shrink plastic ornaments will be the perfect addition to your tree this year! With watercolor patterns, they look a little like stained glass and add a fun touch of color to your tree.
Supplies Needed:
- Silhouette Cameo®
- Silhouette Studio®
- Silhouette Cutting Mat
- Silhouette AutoBlade or Silhouette AutoBlade for Cameo 4
- Silhouette Clear Shrink Plastic Material
- Silver thread
- Scissors
- Oven to bake your ornaments
- Design ID #106915, #51363, #51364, #282073 for ornament shapes and #287463, #59762, #59753, #59757, #59761, #299161, #57483, #57484, #57486 for watercolor patterns

Step One: Format Your Ornaments
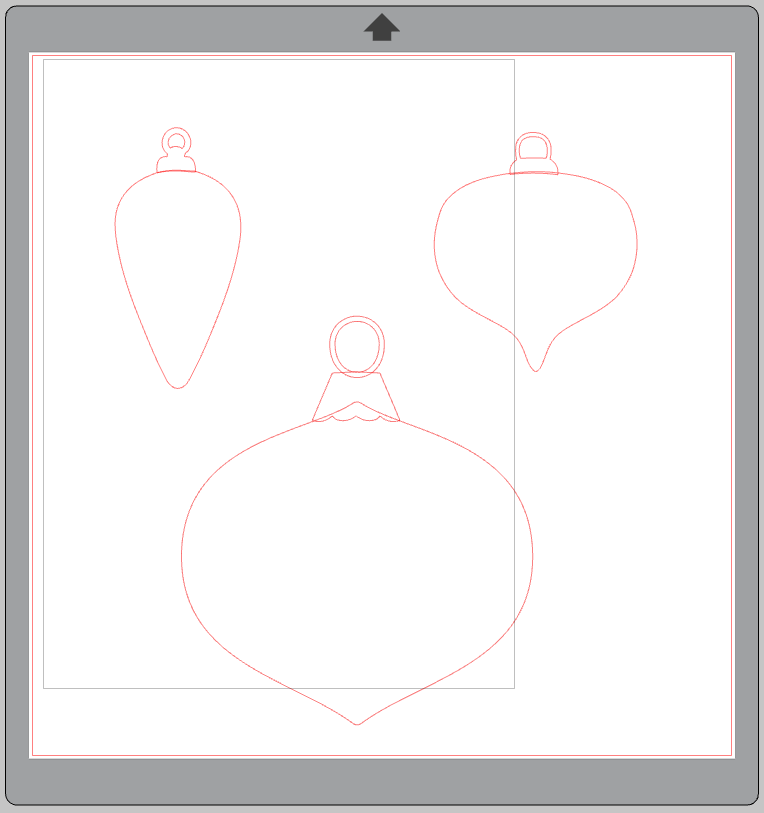
1. Insert your ornament designs into Silhouette Studio®. Each ornament comes with decorative designs, but we only need the main ornament shape and the hook portion at the top.
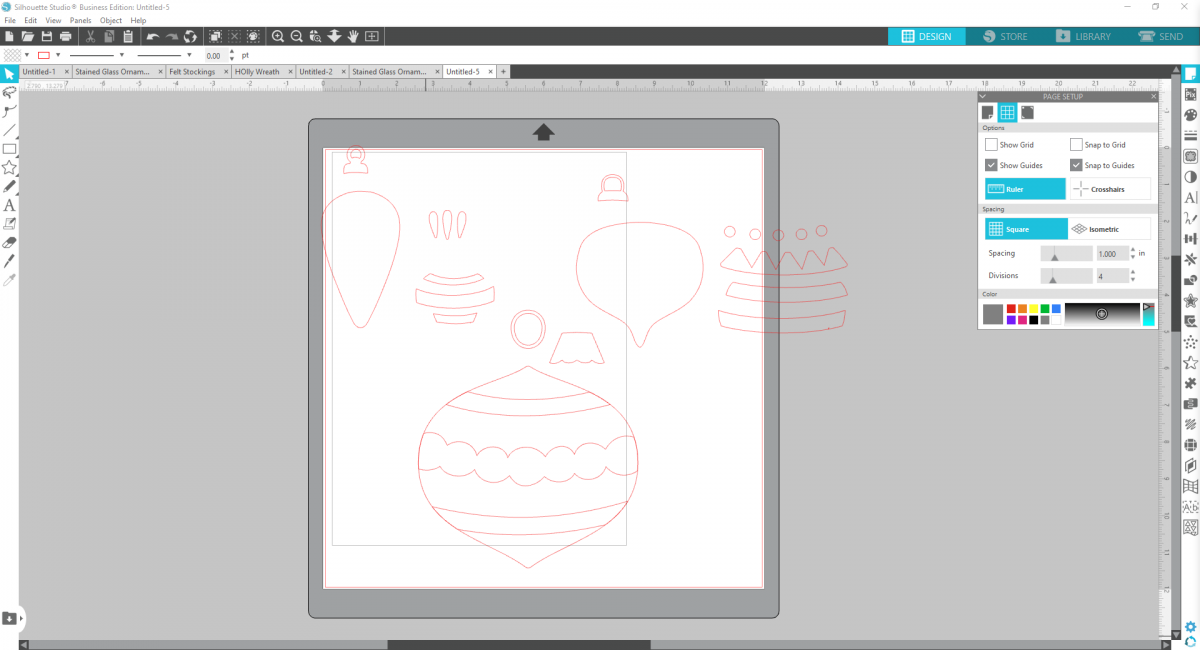
2. Delete the additional shapes and then position the ornament top onto the to of the ornament so that they are overlapping slightly.
3. Then fill the ornament tops with a gray color. Then use the Fill Panel to fill the ornaments with one of the watercolor patterns you got from the Design Store.
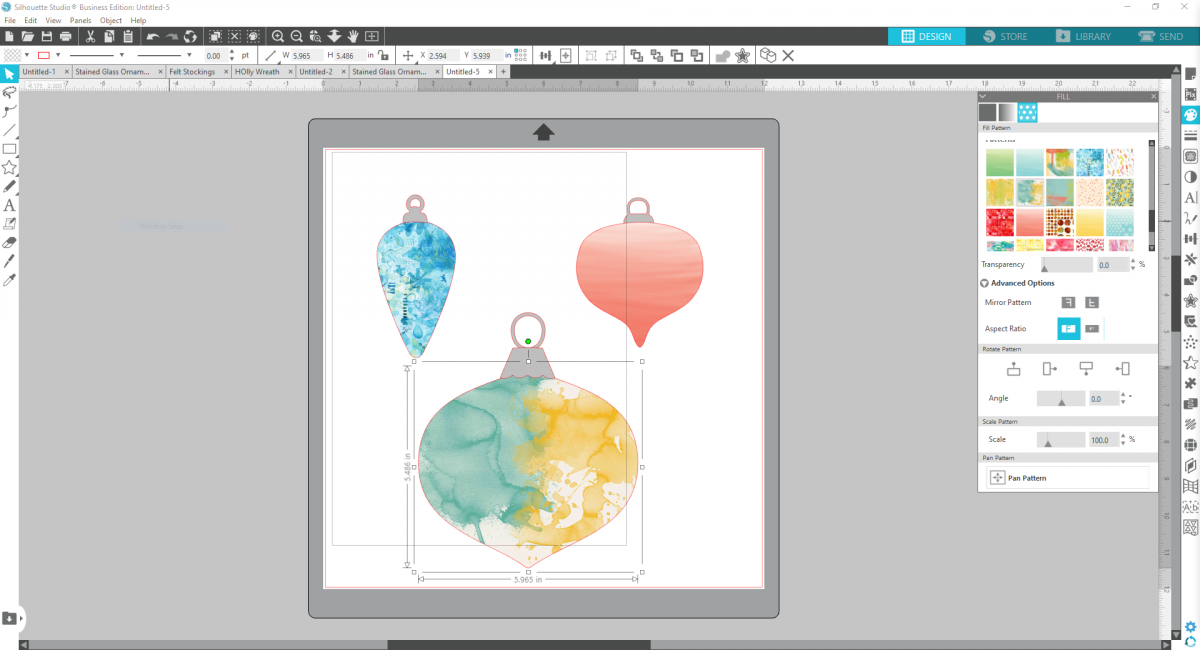
4. With the Advanced Options, You can adjust the scale of each pattern and “Pan Pattern” to move around the pattern on your ornament. This allows you to get the perfect segment of the pattern on your ornament! You can also adjust transparency. I increased the transparency slightly because when you shrink your shapes, the colors become more saturated.

*Now that your ornaments are designed, we’re going to size them and set up your page appropriately. When you heat shrink plastic, it will decrease to about a third of the original size, so you’ll want to size your design accordingly.
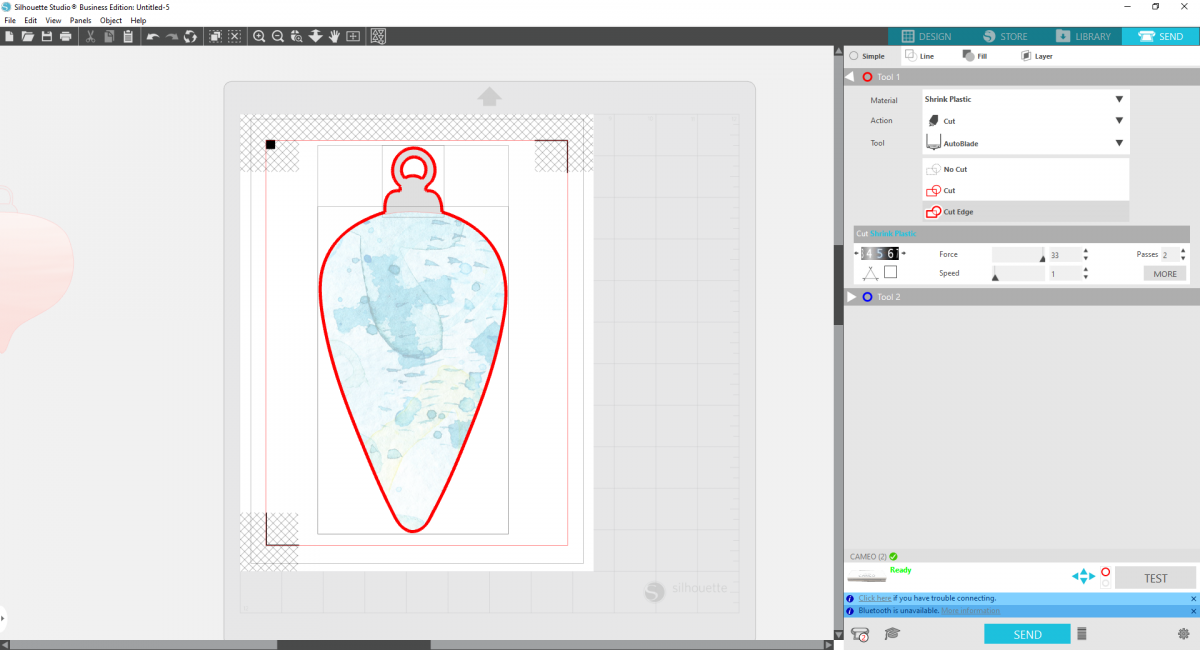
5. Set your Media Size to Letter and turn on registration marks. Then size one of your ornaments to be within the parameters of the page and markings. I printed only one ornament on each page because I wanted them to be as big as possible.
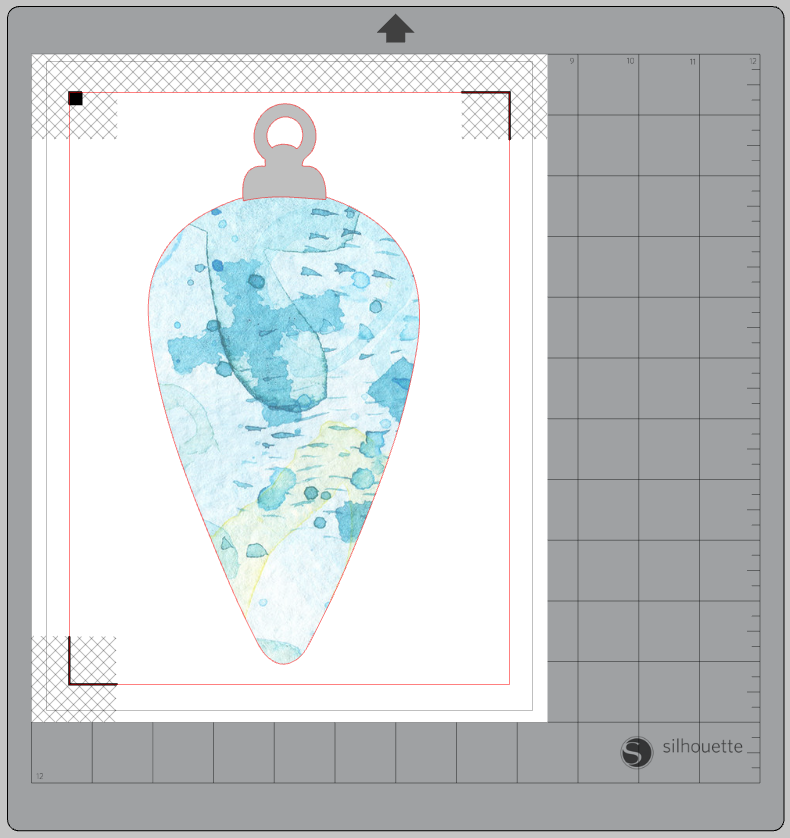
6. Now print your design onto your clear Shrink Plastic material, making sure your printing on the correct side—not the liner side with the logo.
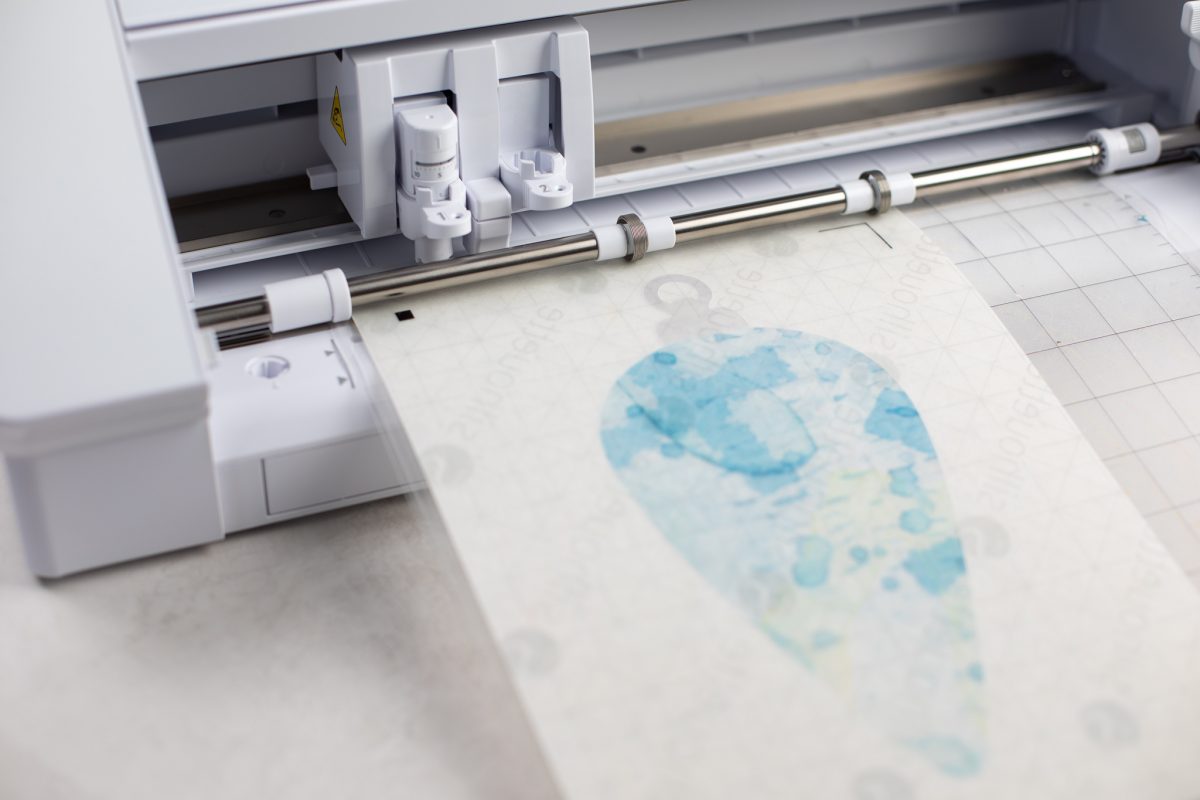
7. Once printed, apply the shrink plastic sheet to a cutting mat, load the mat into your machine, and cut around the edge of the design. Do this by selecting “Cut Edge” in the Send Panel settings.
8. Once your design is cut, unload from your machine.
Step Two: Shrinking Your Ornaments
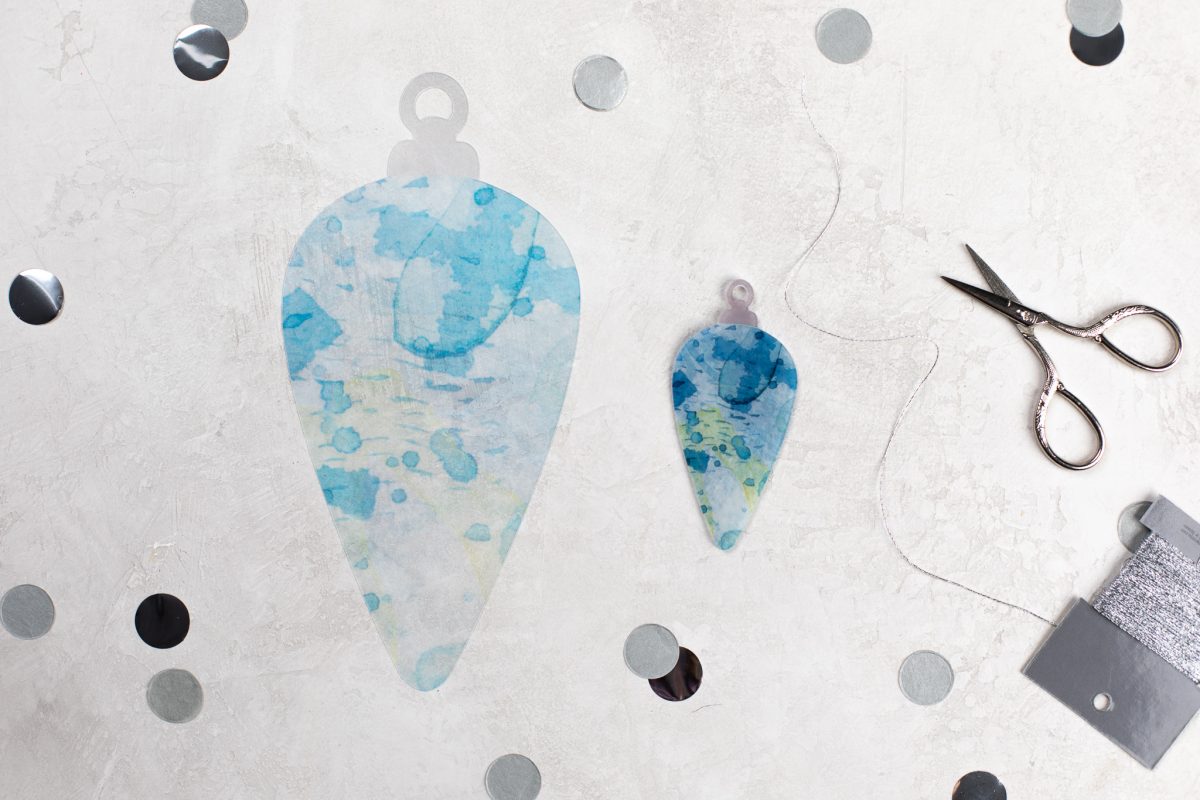
1. Once you have printed and cut all your ornaments out, carefully remove the liner from each ornament.
2. Preheat your oven to 325 degrees and bake each ornament for 1–3 minutes until they have shrunken all the way down.
3. When you remove them from the over, if they have curled up at all, carefully flatten with a book while they’re still warm. Be careful not to burn yourself!
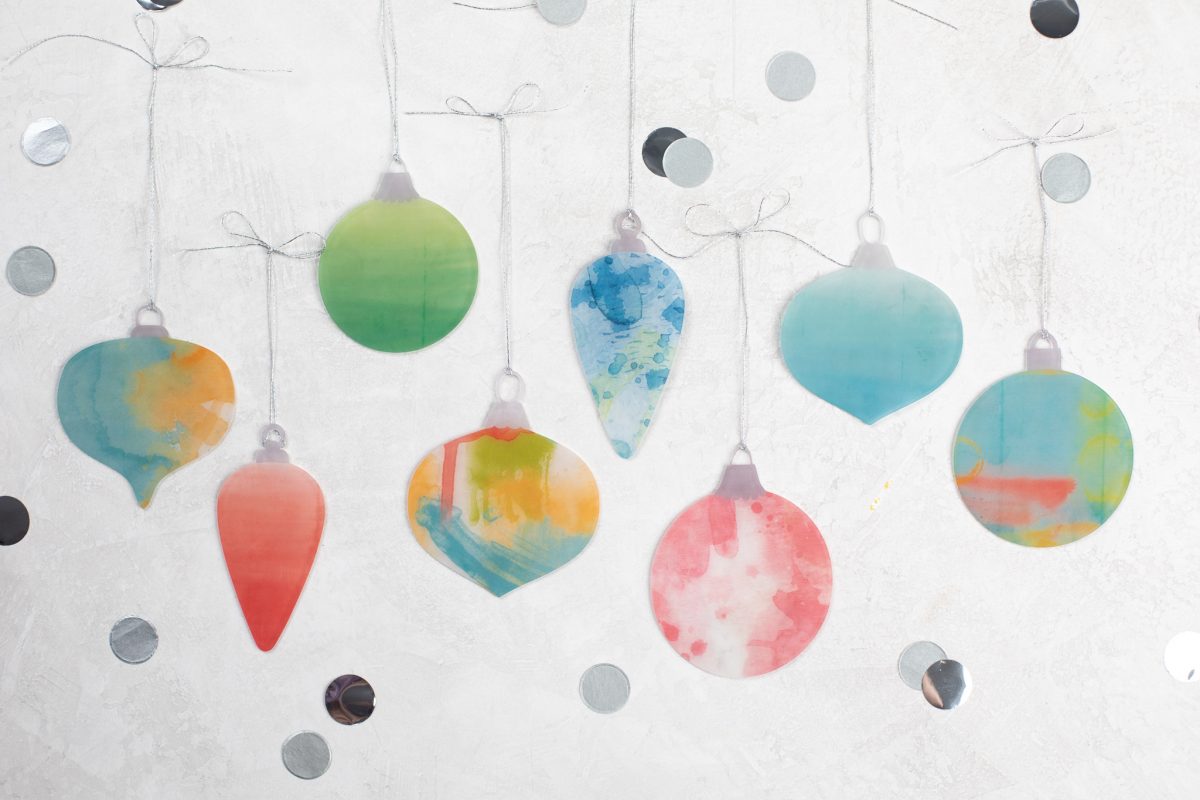
4. Then add some string or thread to create loops so you can hang your ornaments on your tree!

 Free Class - Foiled Gift Tags with the Heat Pen
  Winter Branch Décor