
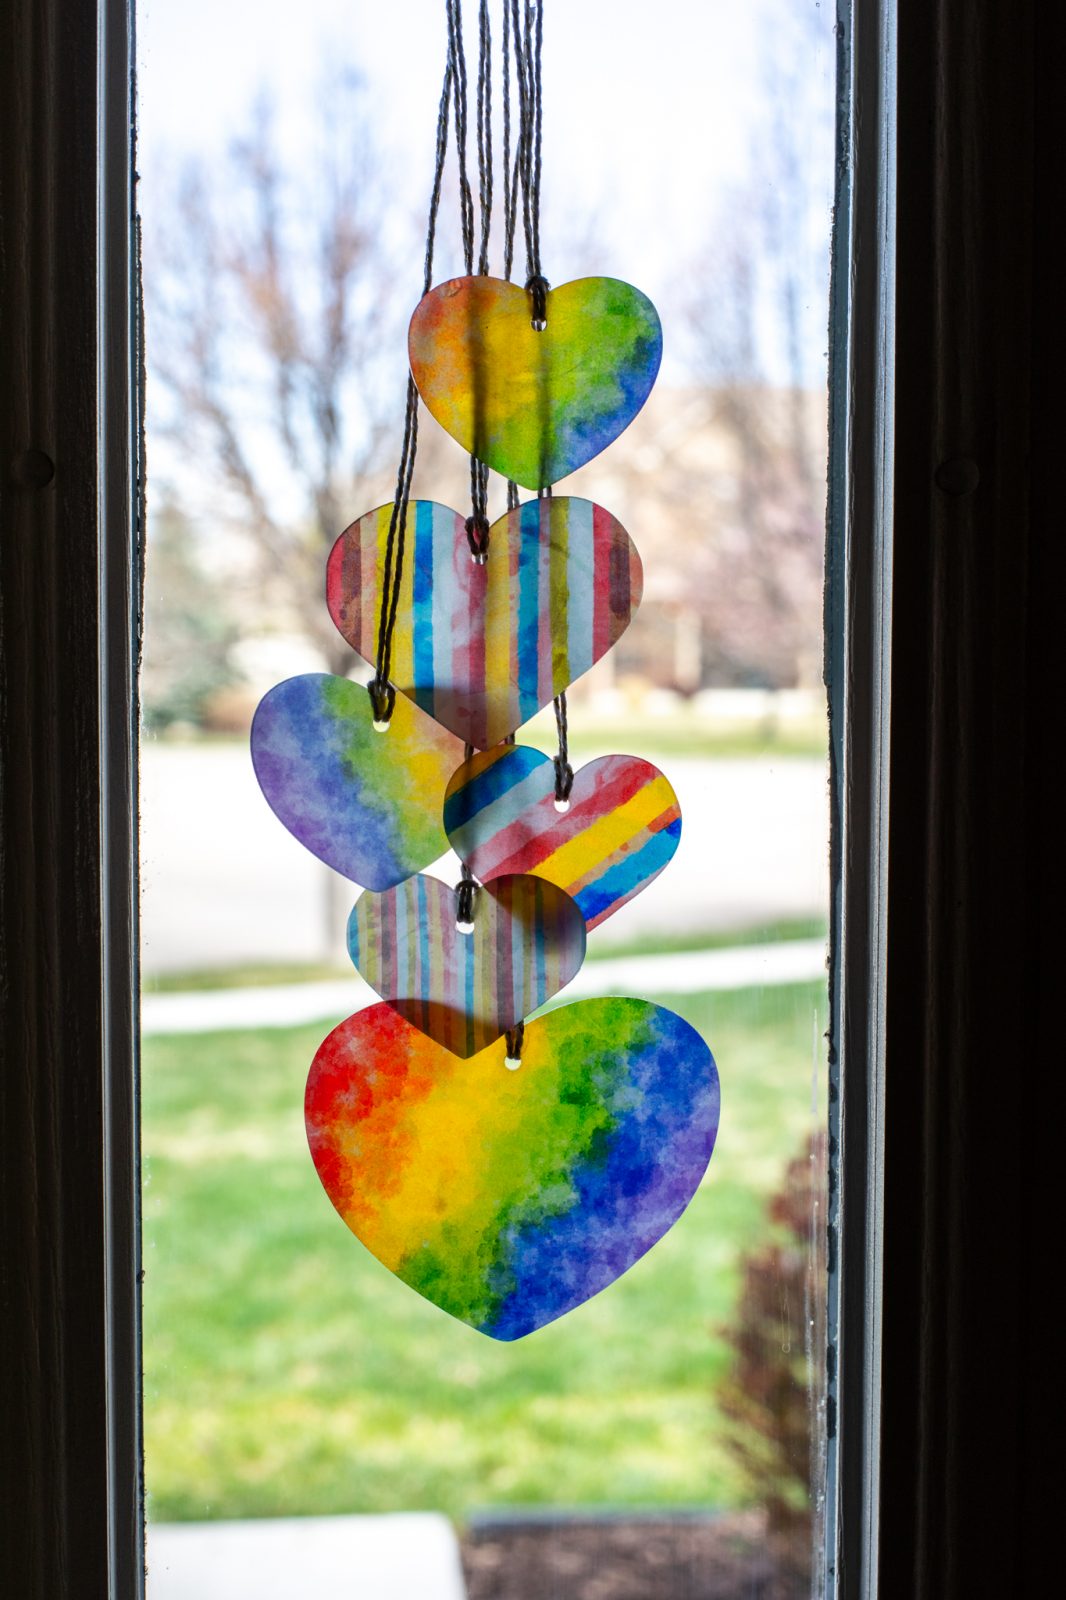
Have you seen all the fun art people are displaying in their windows? I love spotting some happiness as I stroll about the neighborhood! If you want to join the fun, these hanging shrink plastic hearts add a touch of rainbow, and the light shines through them beautifully! They’re super simple to make, and kids will love to watch them shrink before their eyes–almost like magic!
Supplies Needed:
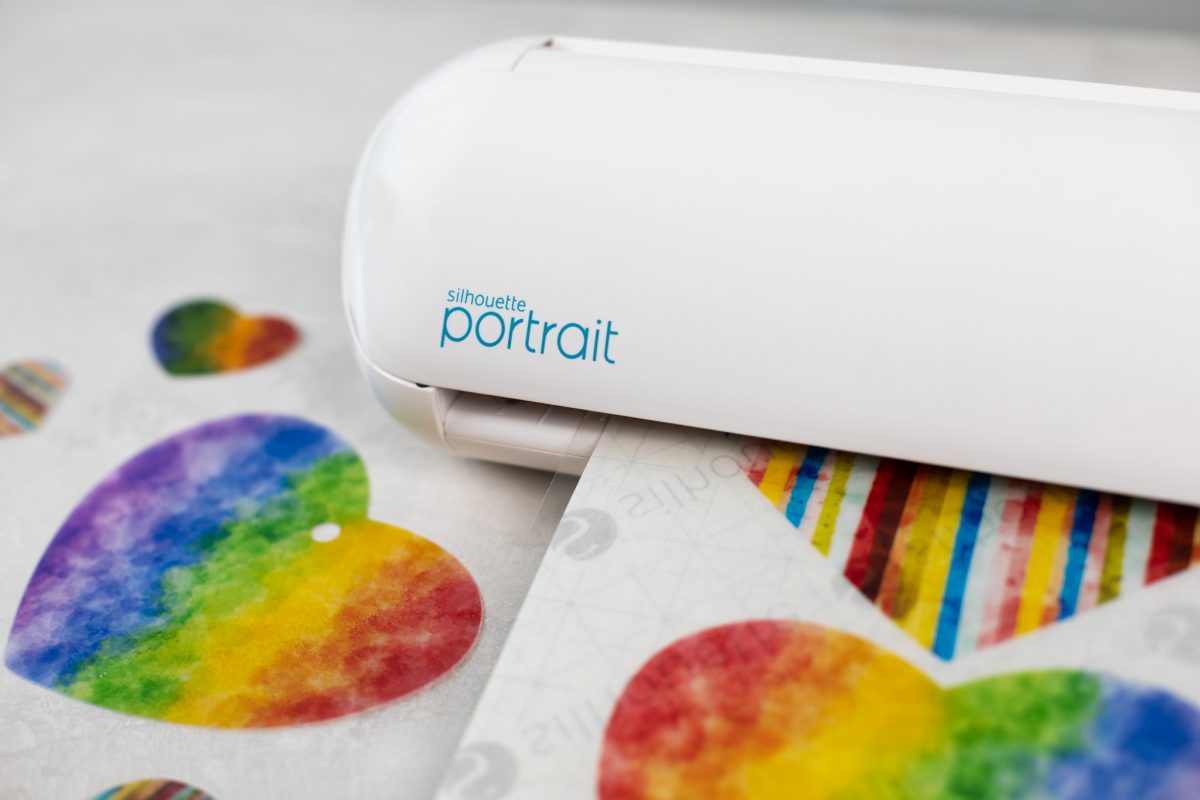
- Silhouette Cameo® or Silhouette Portrait®
- Silhouette Studio®
- Silhouette Cutting Mat
- Silhouette AutoBlade or Silhouette AutoBlade for Cameo 4
- Silhouette Clear Shrink Plastic Material
- Inkjet printer
- Ribbon or thread for hanging
- Design ID #40067 and #86133
Step One: Formatting Your Hearts
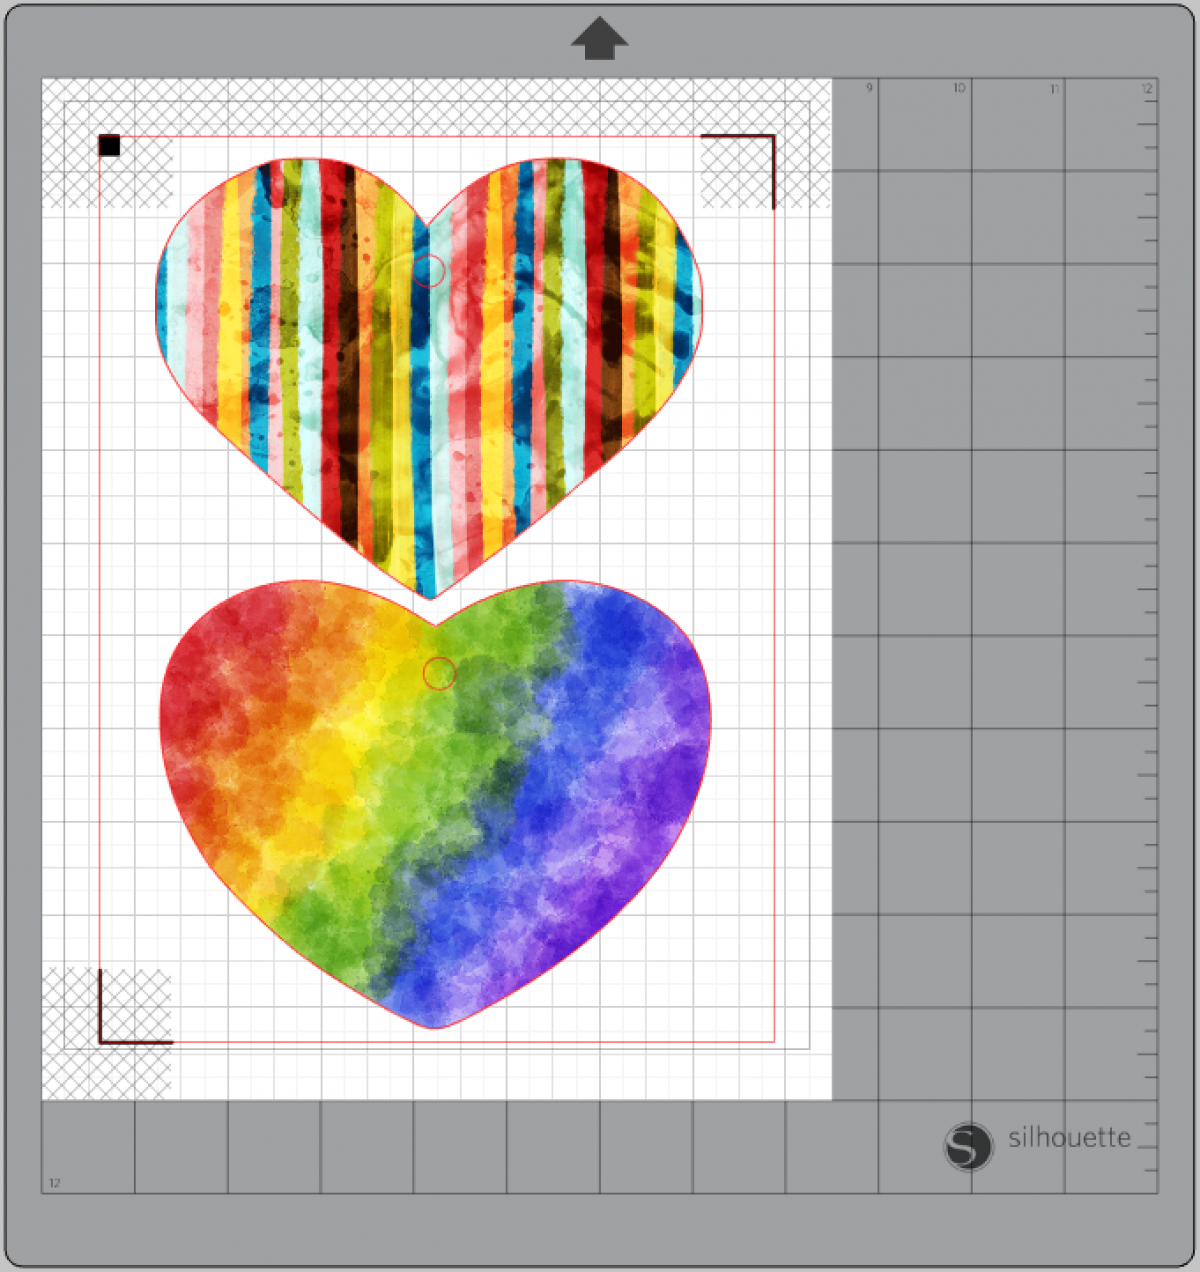
1. To begin, set up your page for a Print & Cut by setting the media size to 8.5 by 11 inches, turning on registration marks and the Print & Cut borders. Insert your two heart designs. Size the hearts to your desired size. Keep in mind, that when you bake or heat your designs, they will shrink to about a third of the original size.

2. Use the shape tool to draw an ellipse (press and hold the Shift key to create a perfect circle), and position it near the top-center of the heart. This will be the hole we thread ribbon through to hang the hearts.
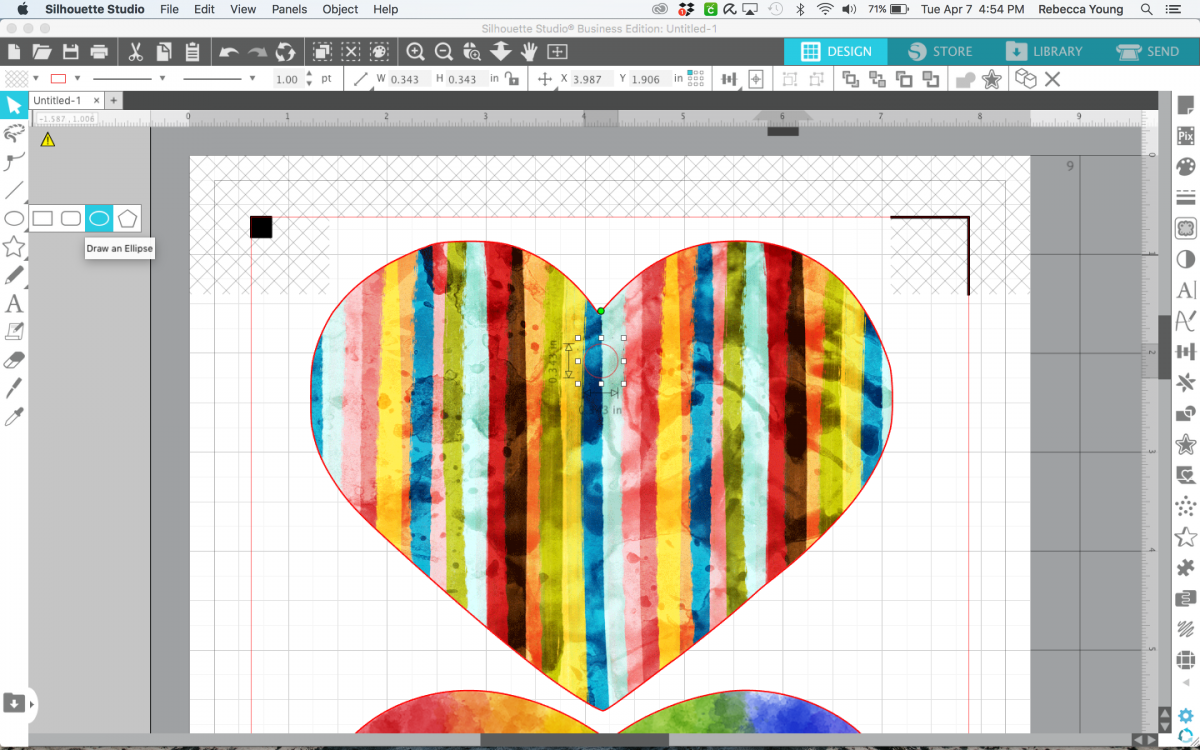
3. Do the same for both hearts so that they both will have a hole near the top.
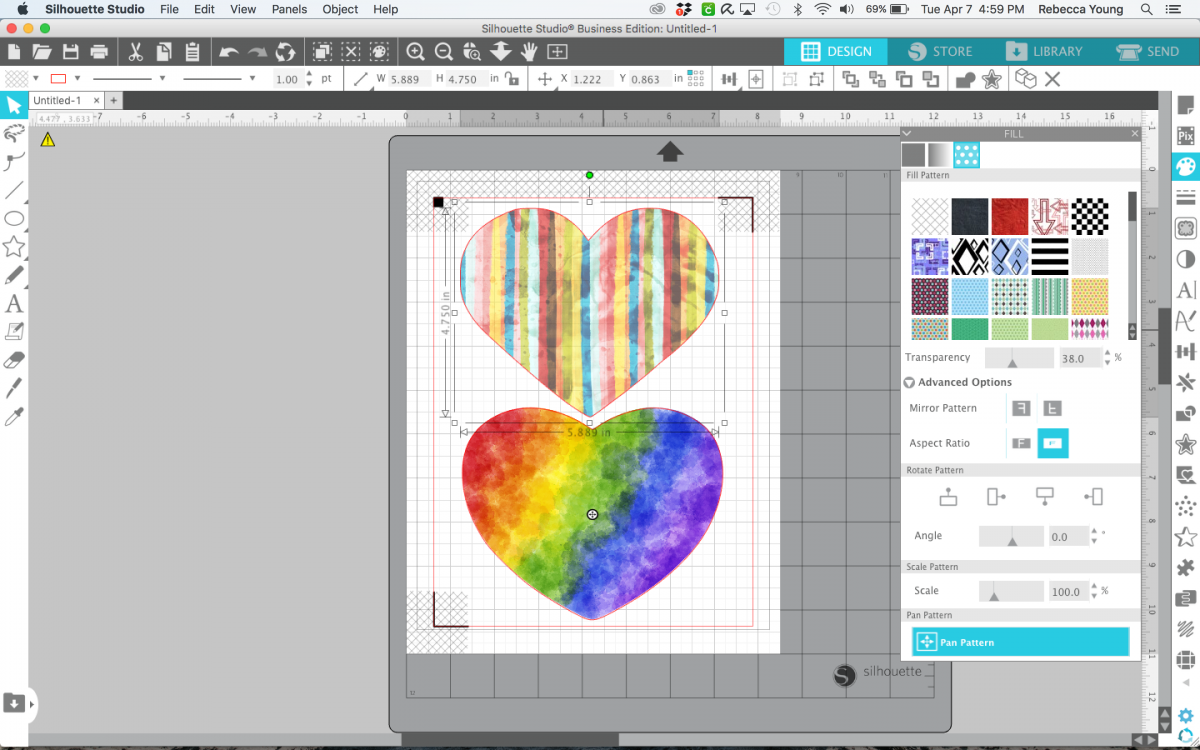
4. If you like, you can adjust the saturation of the hearts or the scale of the pattern fill by opening the Fill panel and the Fill Pattern tab.
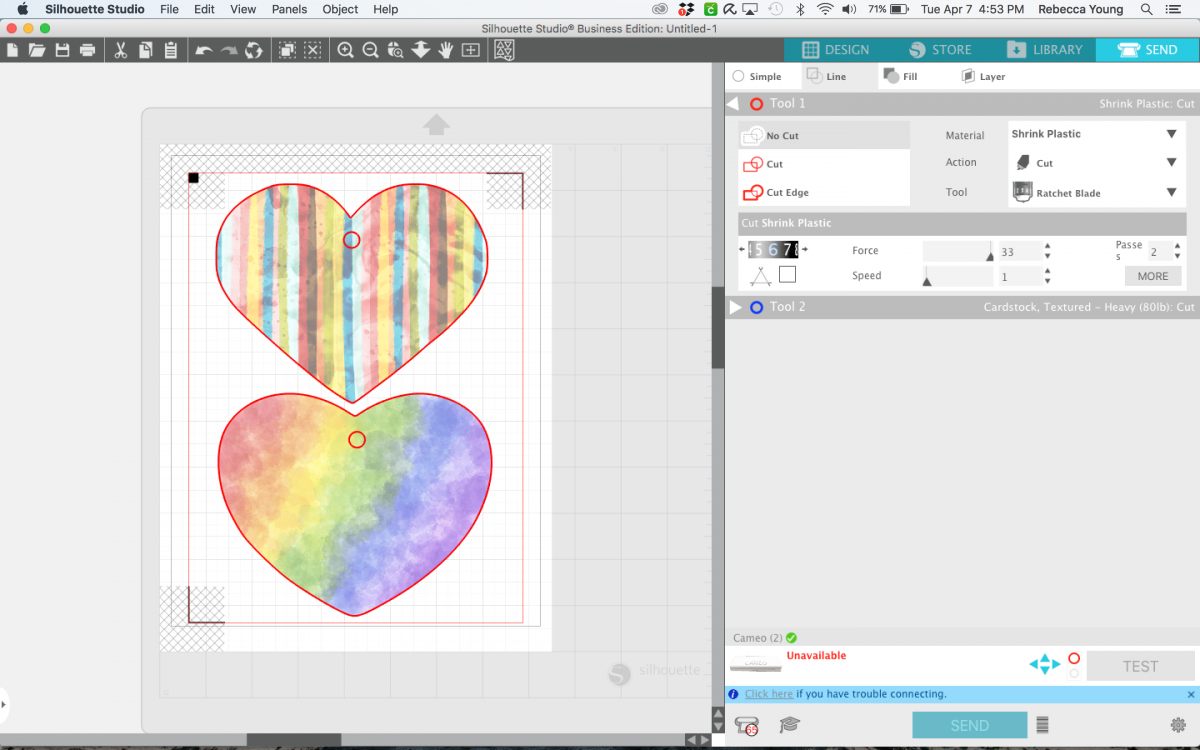
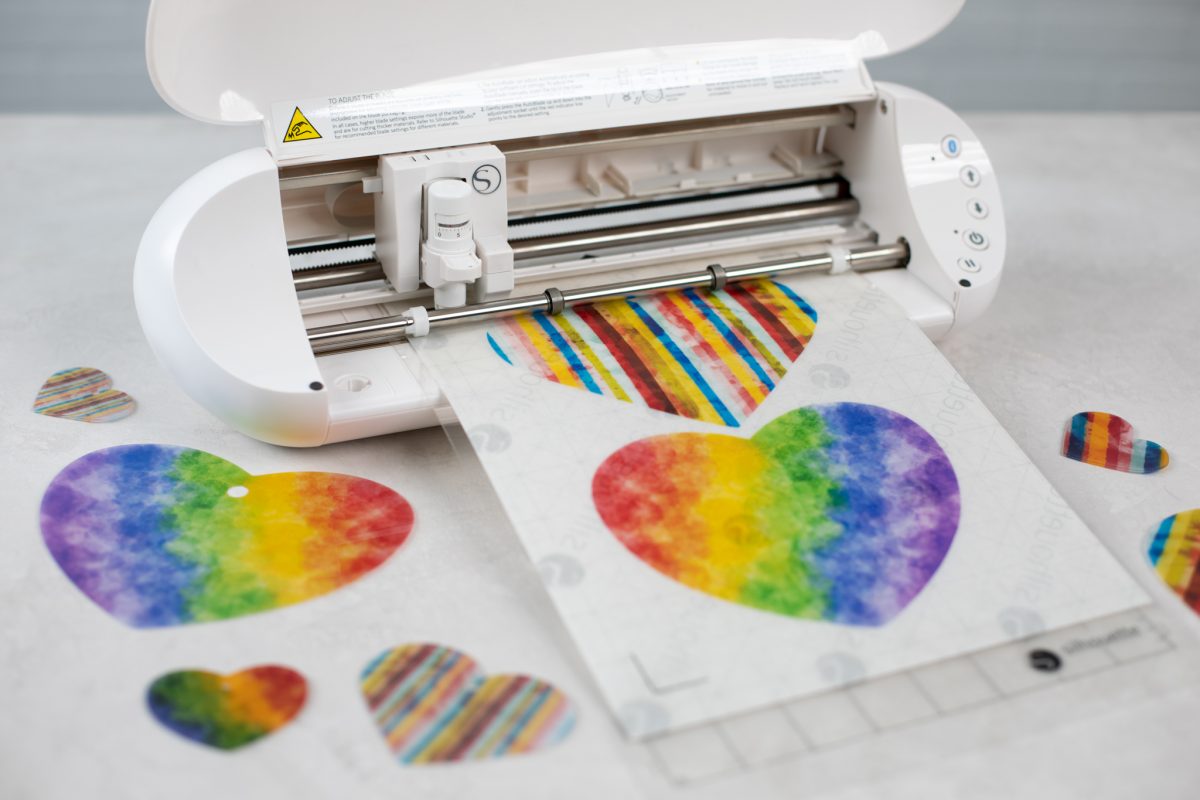
5. Once your hearts appear to your liking, print them out onto your clear shrink plastic pages. Then load the shrink plastic on to your cutting mat and into your machine, and cut with the appropriate settings.
Step Two: Shrinking Your Hearts
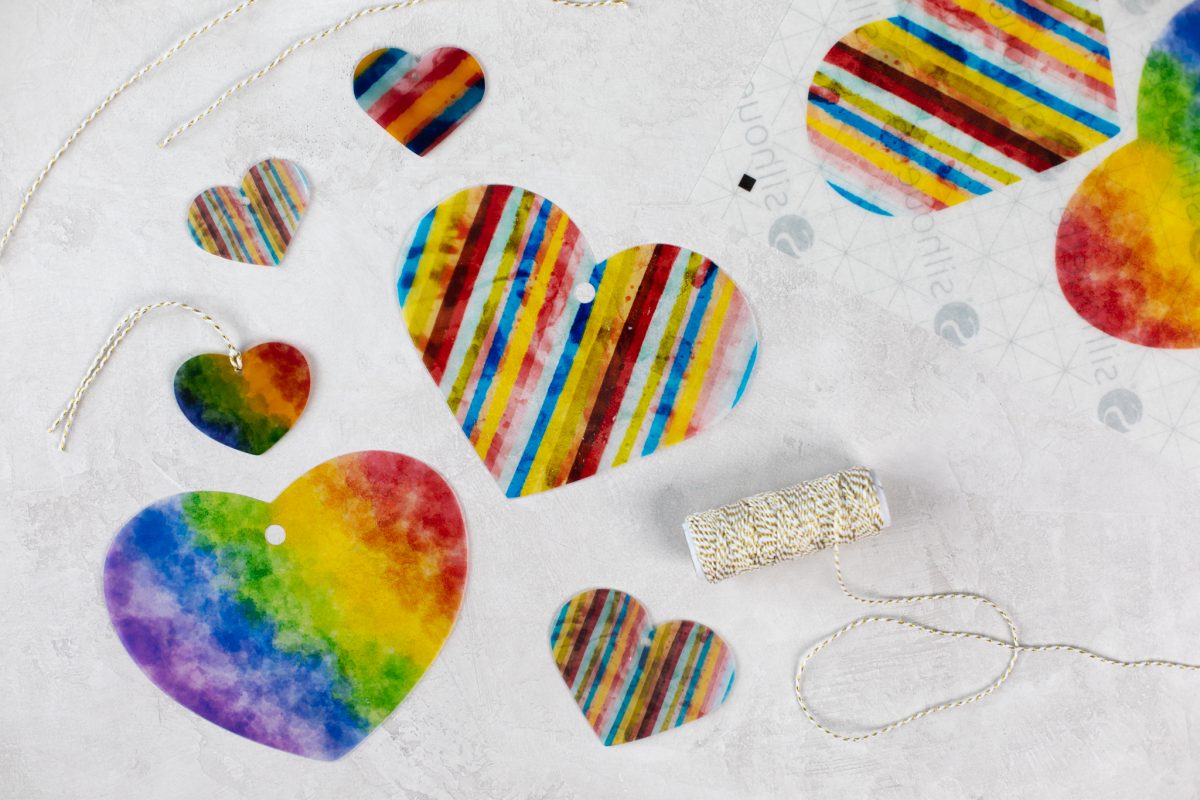
1. Once your hearts are finished cutting, gently peel the hearts away from the liner of the shrink plastic.
2. Bake the hearts according to the package directions. I used an oven set at 325 degrees (Fahrenheit) and baked the hearts for about 2 minutes. Or you can just watch the hearts until they shrink and flatten out, and then you can remove them from the oven and flatten them with a flat, hard surface like a book.

3. Thread your ribbon through the hole so that you can hang your hearts in your window.
4. Hopefully this brightens your day spreads some joy to others!
 Design Store - Over 300,000 Designs to Bring Your Creative Vision to Life
 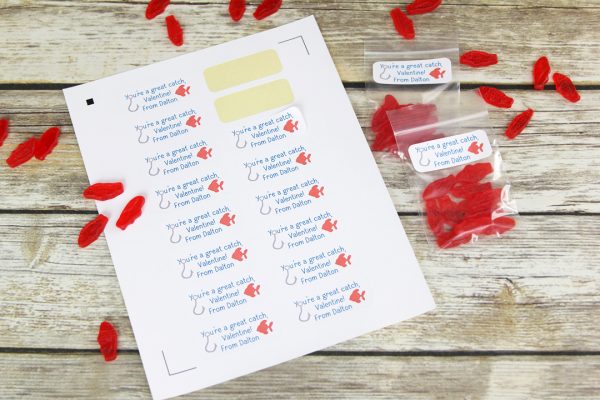 Fish Valentines to Share