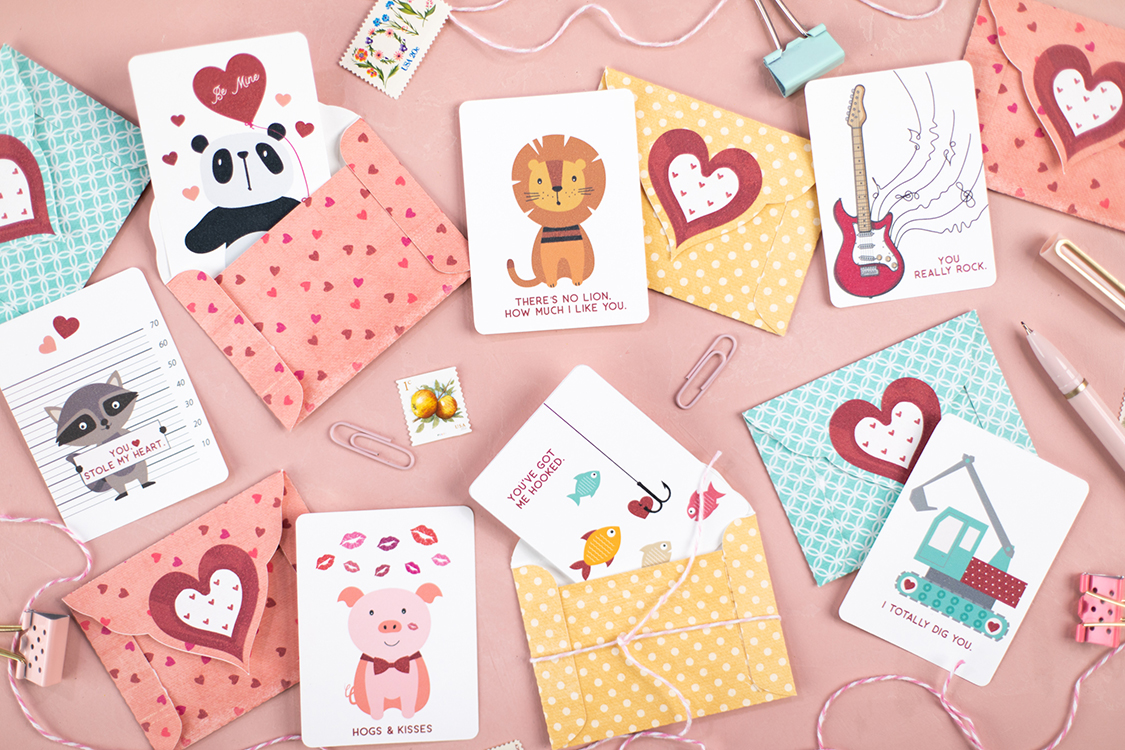
This fun card set is one of our Silhouette designs, and we love the fun puns! Check out this quick post for more information about how we created, printed, and assembled these super quickly! This project is so simple and is perfect for all of our friends who are just getting started with their Silhouette machines! Let’s get going!
Supplies Needed:
- Silhouette Portrait® or Silhouette Cameo®
- Silhouette Studio®
- White cardstock
- Printer
- Double-sided tape
- Design ID #286047 (Fish), #286048 (Guitar) #286050 (Lion), #286051 (Raccoon), #286052 (Dig), #286054 (Panda), #286055 (Pig)
Step One: Prepare the Design
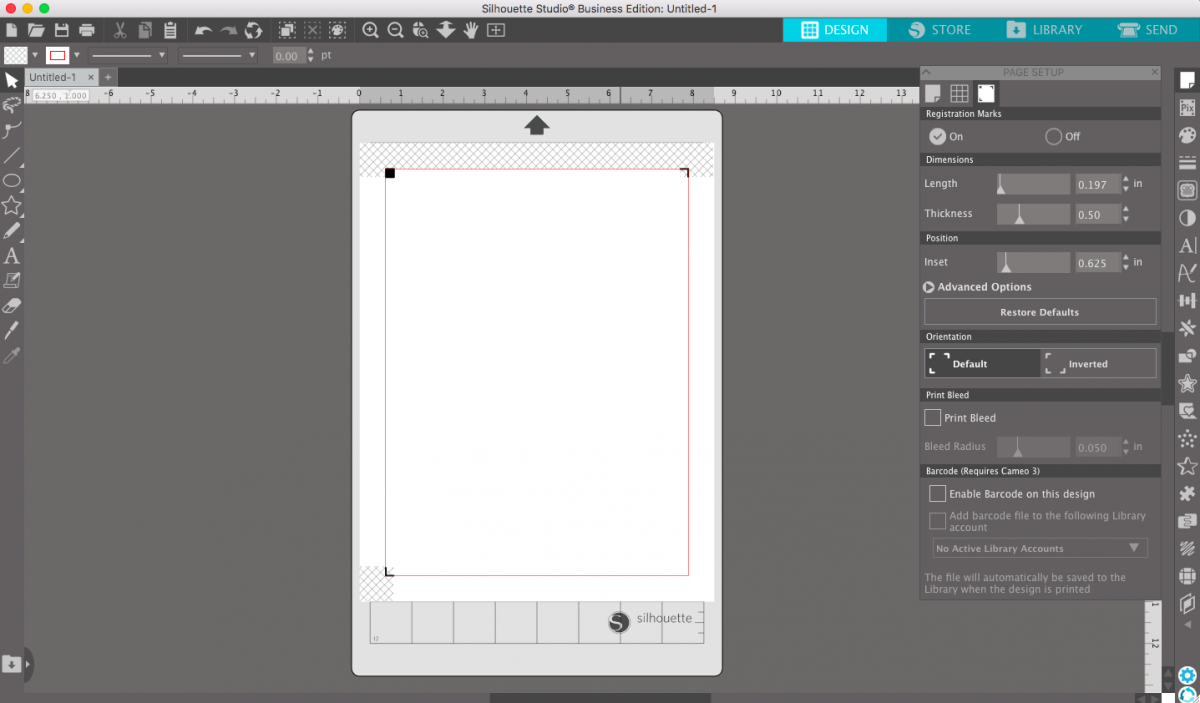
1. After opening Silhouette Studio®, click on the Page Setup panel. It is the very top panel of the toolbar on the right-hand side. On this panel, you will select which machine you are using and what size of media you are using as well. This project is perfect for a standard letter-sized piece of paper. After selecting these details, go to the “Registration Mark” tab. We will also include a photo of that panel below. Once you are in that tab, click the button that specifies to turn the registration marks on. You don’t want your design touching the crosshatched area, so we always like to adjust the size by changing the length and width when necessary.
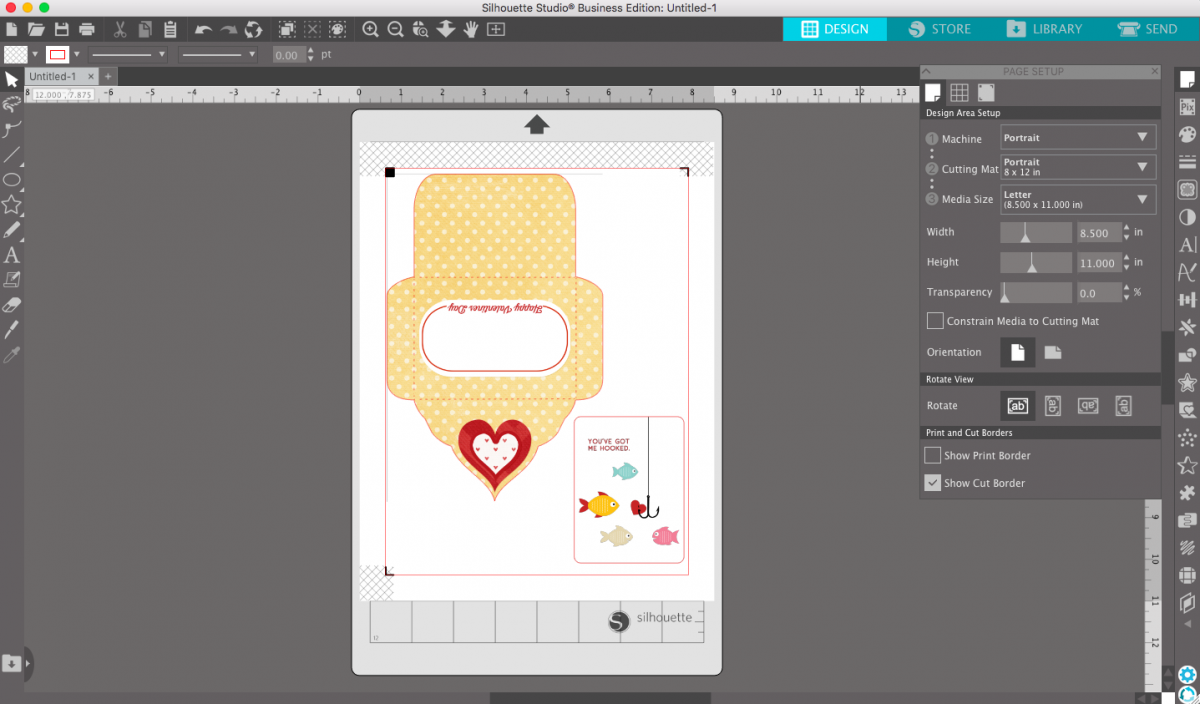
2. Once you have purchased the design from the Design Store, you will navigate to your library. Your library tab can be found in the blue section of the upper right corner. When you find the design you are looking for, double-click it to open it in your document. The design was a little bit bigger than would fit inside my registration marks, so I shrunk it down by dragging the corners in.
Step Two: Print & Cut the Design
1. Send this design to your printer by clicking File > Print. Make sure you have your printer connected and that you select to print in color! There are lots of great printers on the market that work great for crafting. Once your print is finished, pull it off the printer and make sure everything printed correctly.

2. Go ahead and load your printed piece of paper onto the cutting mat. You will find that the Portrait is the perfect size for printer-paper projects! After loading the machine, head over to your Send panel in the Silhouette Studio®. Here you will select your material that you printed on. We recommend using Cardstock since copy paper would likely tear. Make sure you haven’t moved your designs in Silhouette Studio® since printing them. (This will cause the machine to cut in the wrong places.)

Step Three: Assemble the Card and Envelope
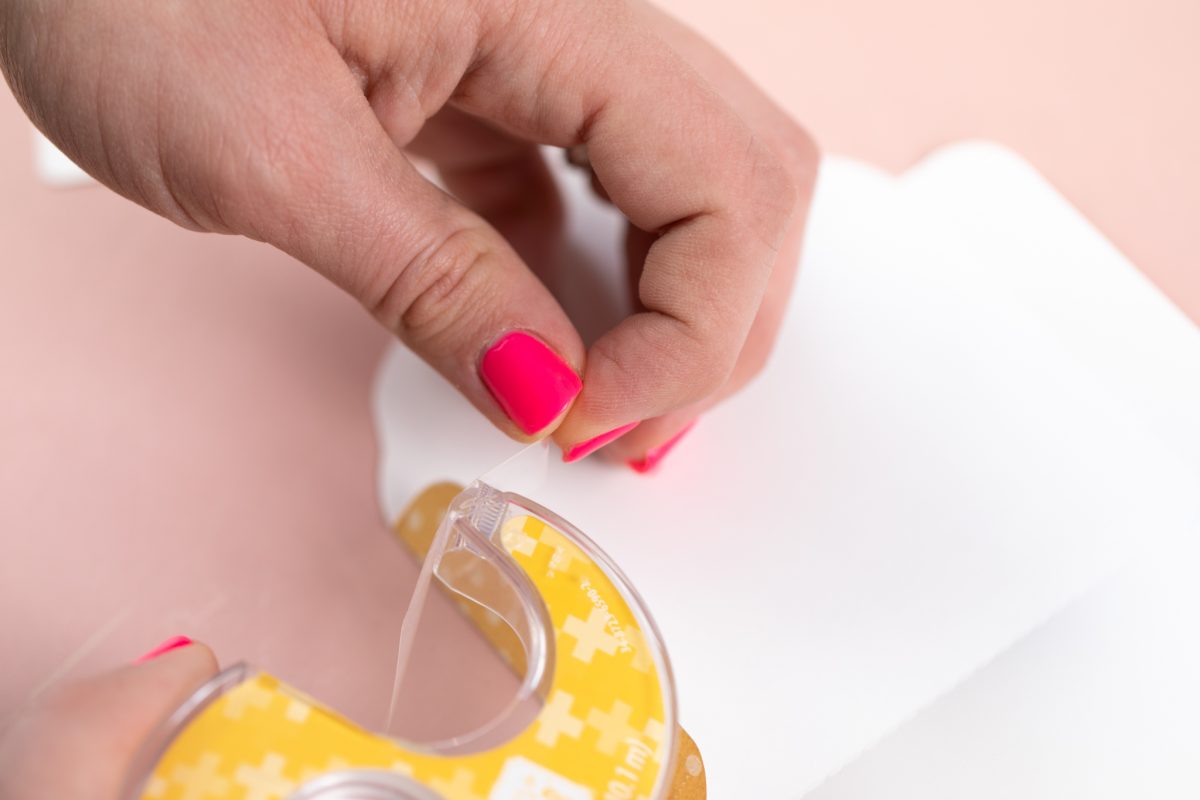
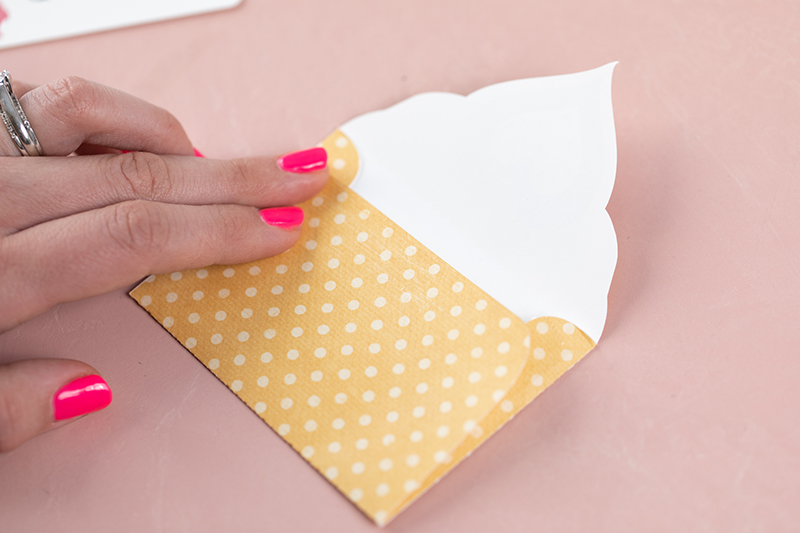
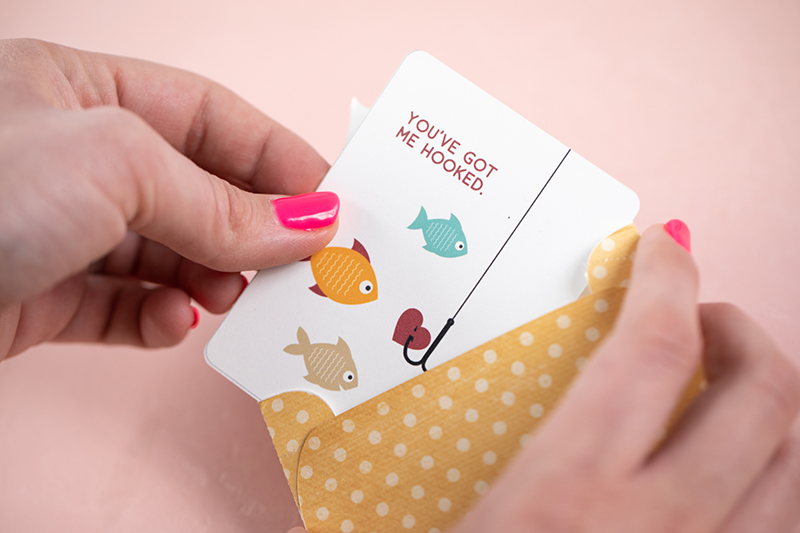
1. Once you peel the pieces off the mat, the assembly is so easy! Fold in on all of the scored lines and add a small line of double sided tape on the tabs. Once you have folded and glued everything in, you will have a printed envelope! You will then slide in your card.
2. Feel free to write a nice message on the backside of the card and add your friend’s name on the front of the envelope.
Thanks for following along! We hope you enjoyed this simple tutorial. Keep checking back for more project inspiration and helpful tips! Have a great Valentine’s Day!
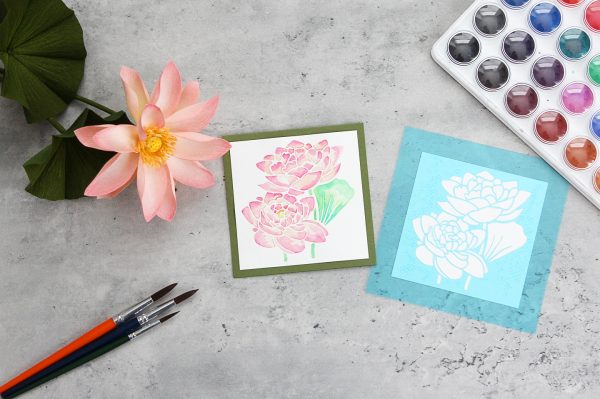 Free Class - Stenciled Lotus Card
 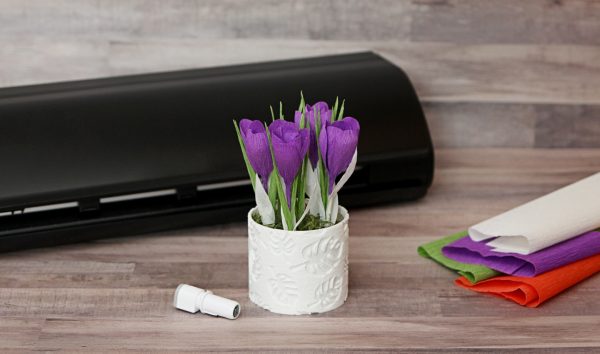 Free Class - Crepe Paper Crocuses