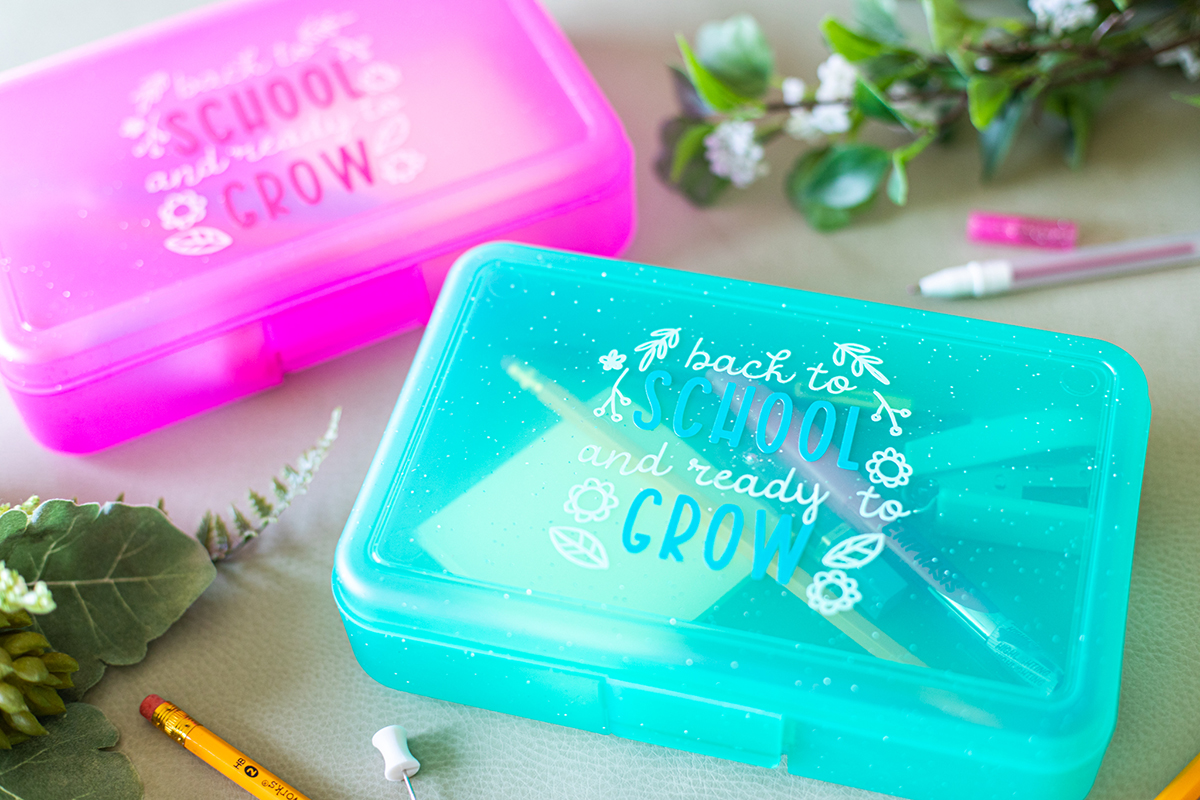
It’s back to school for the kids, which means it’s learning all about new crafting techniques for you! Layering vinyl is an amazing skill to add to your crafting tool box. If you are new to Silhouette, you’re probably creating designs with one color of vinyl, but you can level up your crafting by using multiple colors of vinyl in one design. Using multiple colors may look intimidating, but we know you can do it! Let’s get started!
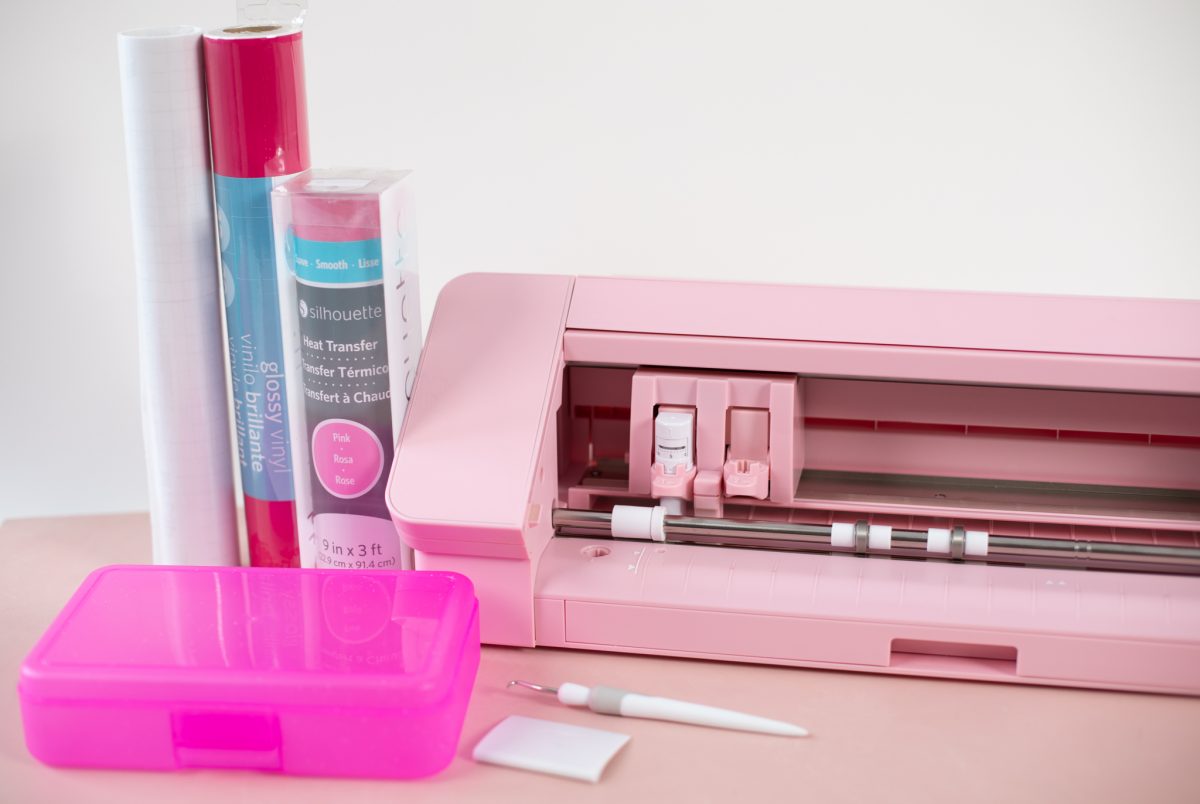
Supplies List:
- Silhouette Cameo 4
- Silhouette Glossy Vinyl – 12” – Dark Pink
- Silhouette Premium Vinyl – 9” Pink
- Oratape – Transfer Tape
- Silhouette Hook Tool
- Silhouette Scraper Tool
- Plastic Pencil Box
- Design ID #378954
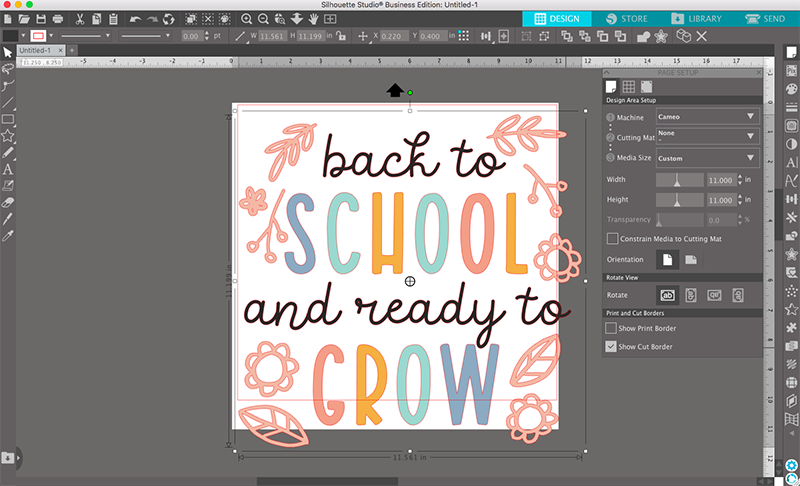
Step One: Format Design in Silhouette Studio
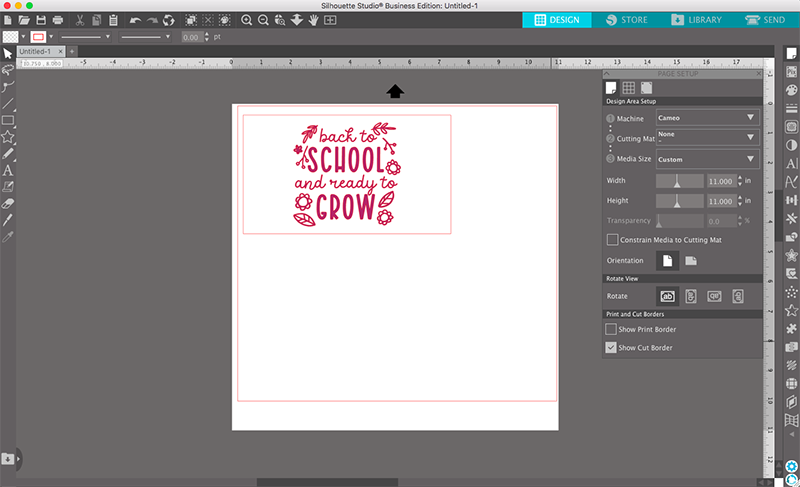
Once you’ve downloaded your design from the Silhouette Design Store, open a new document in Silhouette Studio. Open your library and double-click the design you want to import. Double-clicking the design will open it in the document that you currently have open. When it opens in the window, it’s almost as big as the cutting mat! Because we are putting it on a pencil box, let’s take some quick measurements to figure out how much smaller we want our design to be.
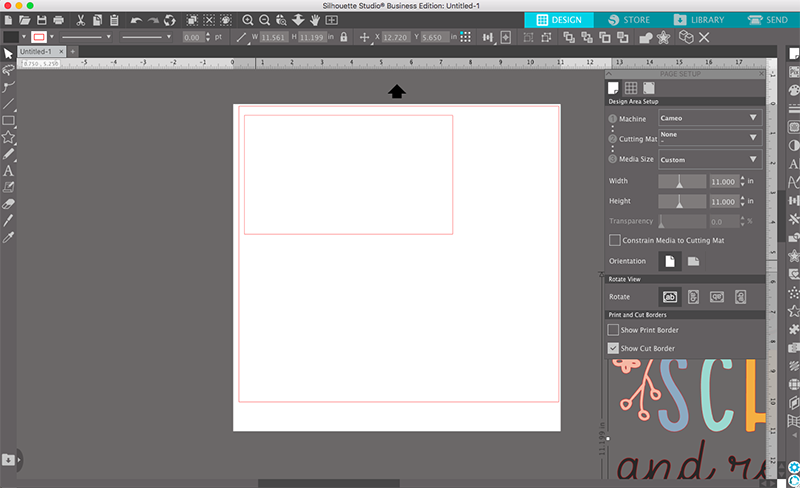
The top of our pencil box ix 4 x 7 inches, so we’re going to create a rectangle using those measurements in Silhouette Studio. Use the rectangle tool on the left side of the screen to draw a box on your cutting mat area. Don’t worry about making your rectangle the exact size right away—you can adjust the measurements in the quick access toolbar at the top of the software. Find the dimensions of your rectangle, make sure the lock icon is unlocked, and type in your exact dimensions. Be sure to lock the dimensions before dragging the box into the top corner of your cutting area. This will make sure the rectangle stays the correct size as you continue designing.
After placing your box in the corner, drag your design into the middle of that box. We made our design 3.5 inches tall to give it some space at the top and bottom of the quote. We also decided to make our design all one color so our next step will be even simpler.
Step Two: Color Your Design
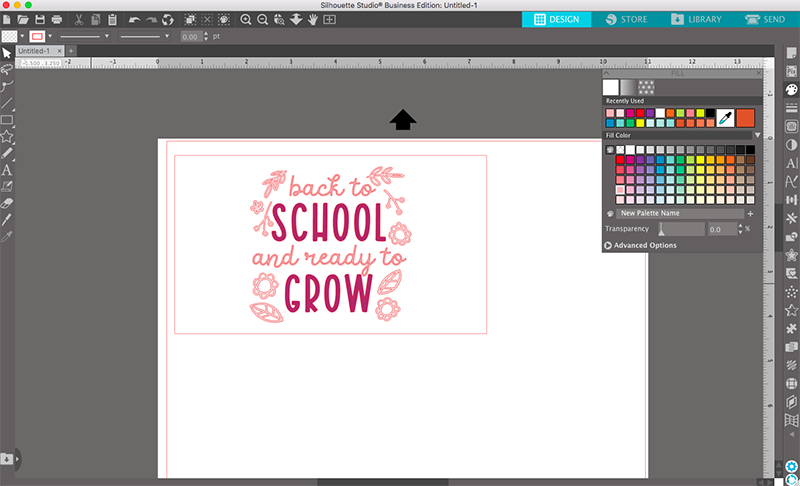
To start turning this design into a two-tone vinyl project, we’re going to change the design colors in Silhouette Studio. We will need to cut out the colors separately, but we like to decide which colors we want the different pieces to be while we’re still designing our projects. This gives us a small preview of what the final design will look like and helps us be sure to cut pieces out of the right colors once we send the design to the machine. To get started, open the Fill panel on the right side of the screen.
The first thing we need to do is ungroup our design. Do this by right-clicking your design and then clicking “Ungroup.” This design only needs to be ungrouped once for the color groups we’re going to make. Since we already made the design dark pink, we just need to change the parts that we want to be light pink.
Step Three: Duplicate and Delete
Next, we’re going to create two different groups that we’ll cut separately out of our two colors. Simply duplicate the entire design, including the rectangle, and place it under the original box. In the top box, delete all of the light pink elements. In the bottom box, delete all of the dark pink elements. Group each box with the elements inside of it. These are the shapes that we’re going to cut out of each vinyl color using our Cameo 4.

Step Four: Cut and Weed Your Pieces
We’re ready to send our designs to the machine. We need to send them one at a time for our different vinyl colors, so move the light pink elements to the side and onto the gray holding area. This makes sure that we’re only going to cut the first box out of the dark pink vinyl.
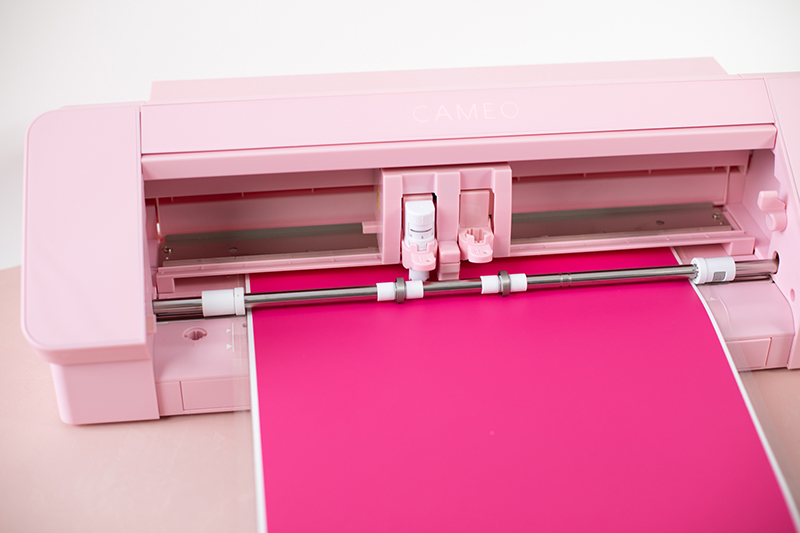
Start by loading your dark pink vinyl into the machine. We put our vinyl on a cutting mat, but you could also cut yours matless by using a roll feeder. Then, go to the Send panel and check your cut settings. We like to cut our vinyl using a blade depth of 2. We always recommend performing a test cut and adjusting your cut settings when you’re working with a new material, just to make sure that everything cuts cleanly. In case the machine doesn’t cut all the way through the vinyl, send it in for another pass.
Send this cut to the machine. Once it’s finished, remove the dark pink vinyl from the machine and load the light pink. In Silhouette Studio, remove the first box from the design page and move the second box with your light pink elements back onto the page. After that, repeat the cut process, making sure all of your cut settings are correct before sending the job to your machine.
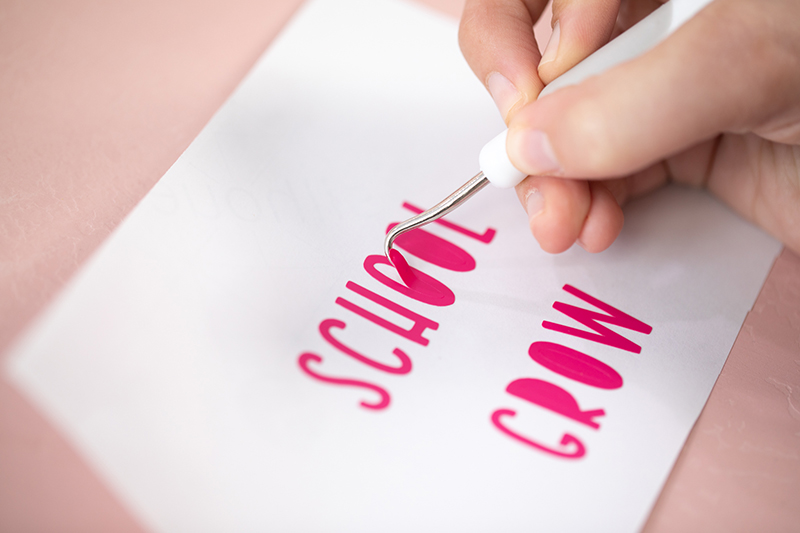
Once you’ve finished cutting both of your pieces, use your hook tool to carefully weed away the parts that you don’t need.
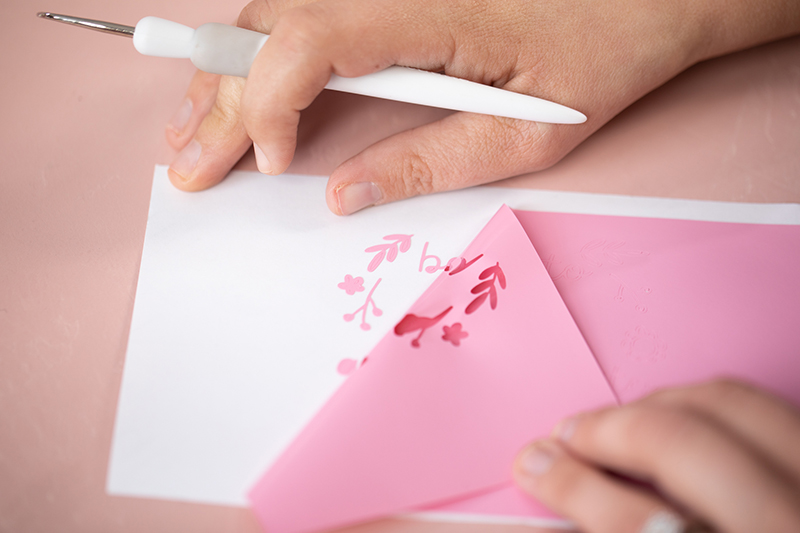
Step Five: Use Transfer Tape to Place Design
Now we’re ready to layer our vinyl. This step can seem intimidating, but don’t worry! It’s actually much easier than it seems. We’re going to use transfer tape to layer our vinyl before placing the design onto our pencil box. We like to cut our transfer tape to be the same size as the top of the box. For us, that’s 4 x 7 inches. We do this so we can line up the edges of the transfer tape and the pencil box and make sure that the design is centered.
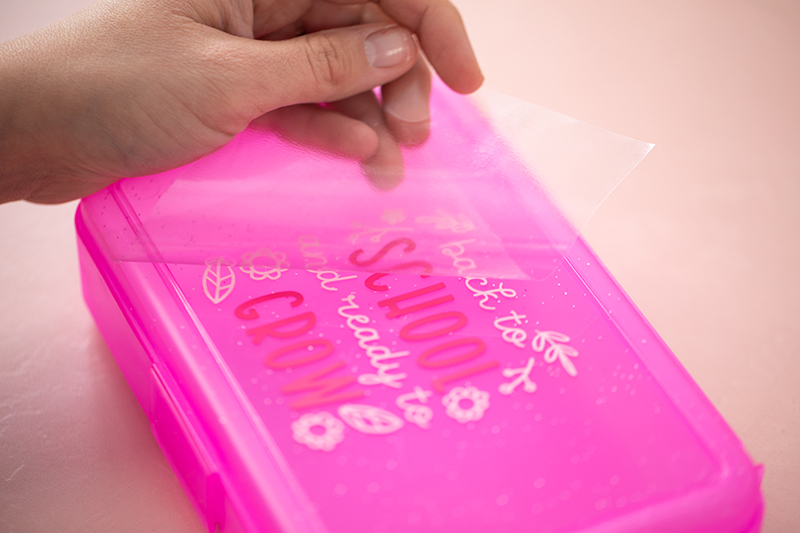
Once your transfer tape is the right size, peel off the paper backing and carefully lay it on top of your first color. Use the scraper tool to gently press the vinyl onto the tape. Now, line the edges of the tape up with the sides of the pencil box lid. When you’re happy with the placement, lay the rest of the tape down. Use your scraper tool again to press the vinyl onto the box. Slowly peel the tape off the box, making sure that all of the vinyl stays in place.
Repeat this step with your second vinyl color. You can even use the same piece of transfer tape!
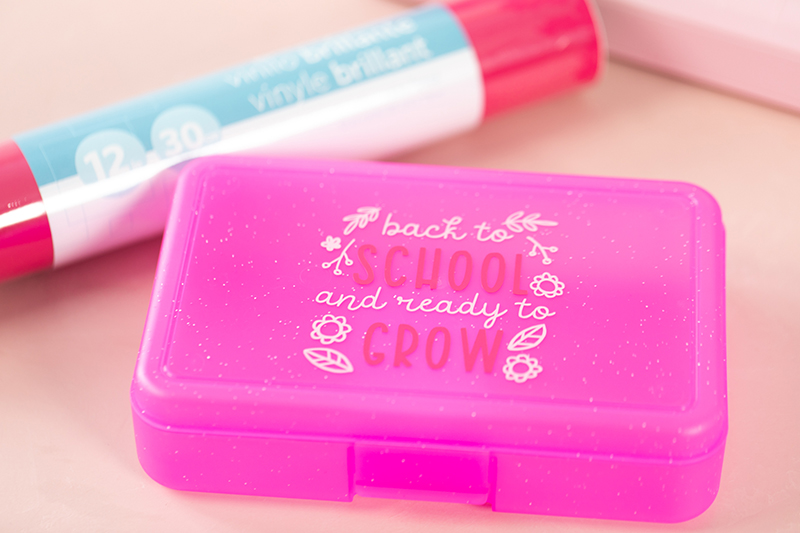
That’s it! We hope you enjoyed this tutorial on how to layer multiple vinyl colors. It is an amazing technique to add to your Silhouette crafting skill set. We have new blog posts with fun tutorials every week, so check back here next week for more great projects!
What kinds of tutorials and projects do you want to see? Let us know below. Happy crafting!
 Design Store - Over 300,000 Designs to Bring Your Creative Vision to Life
  Quirky Mug