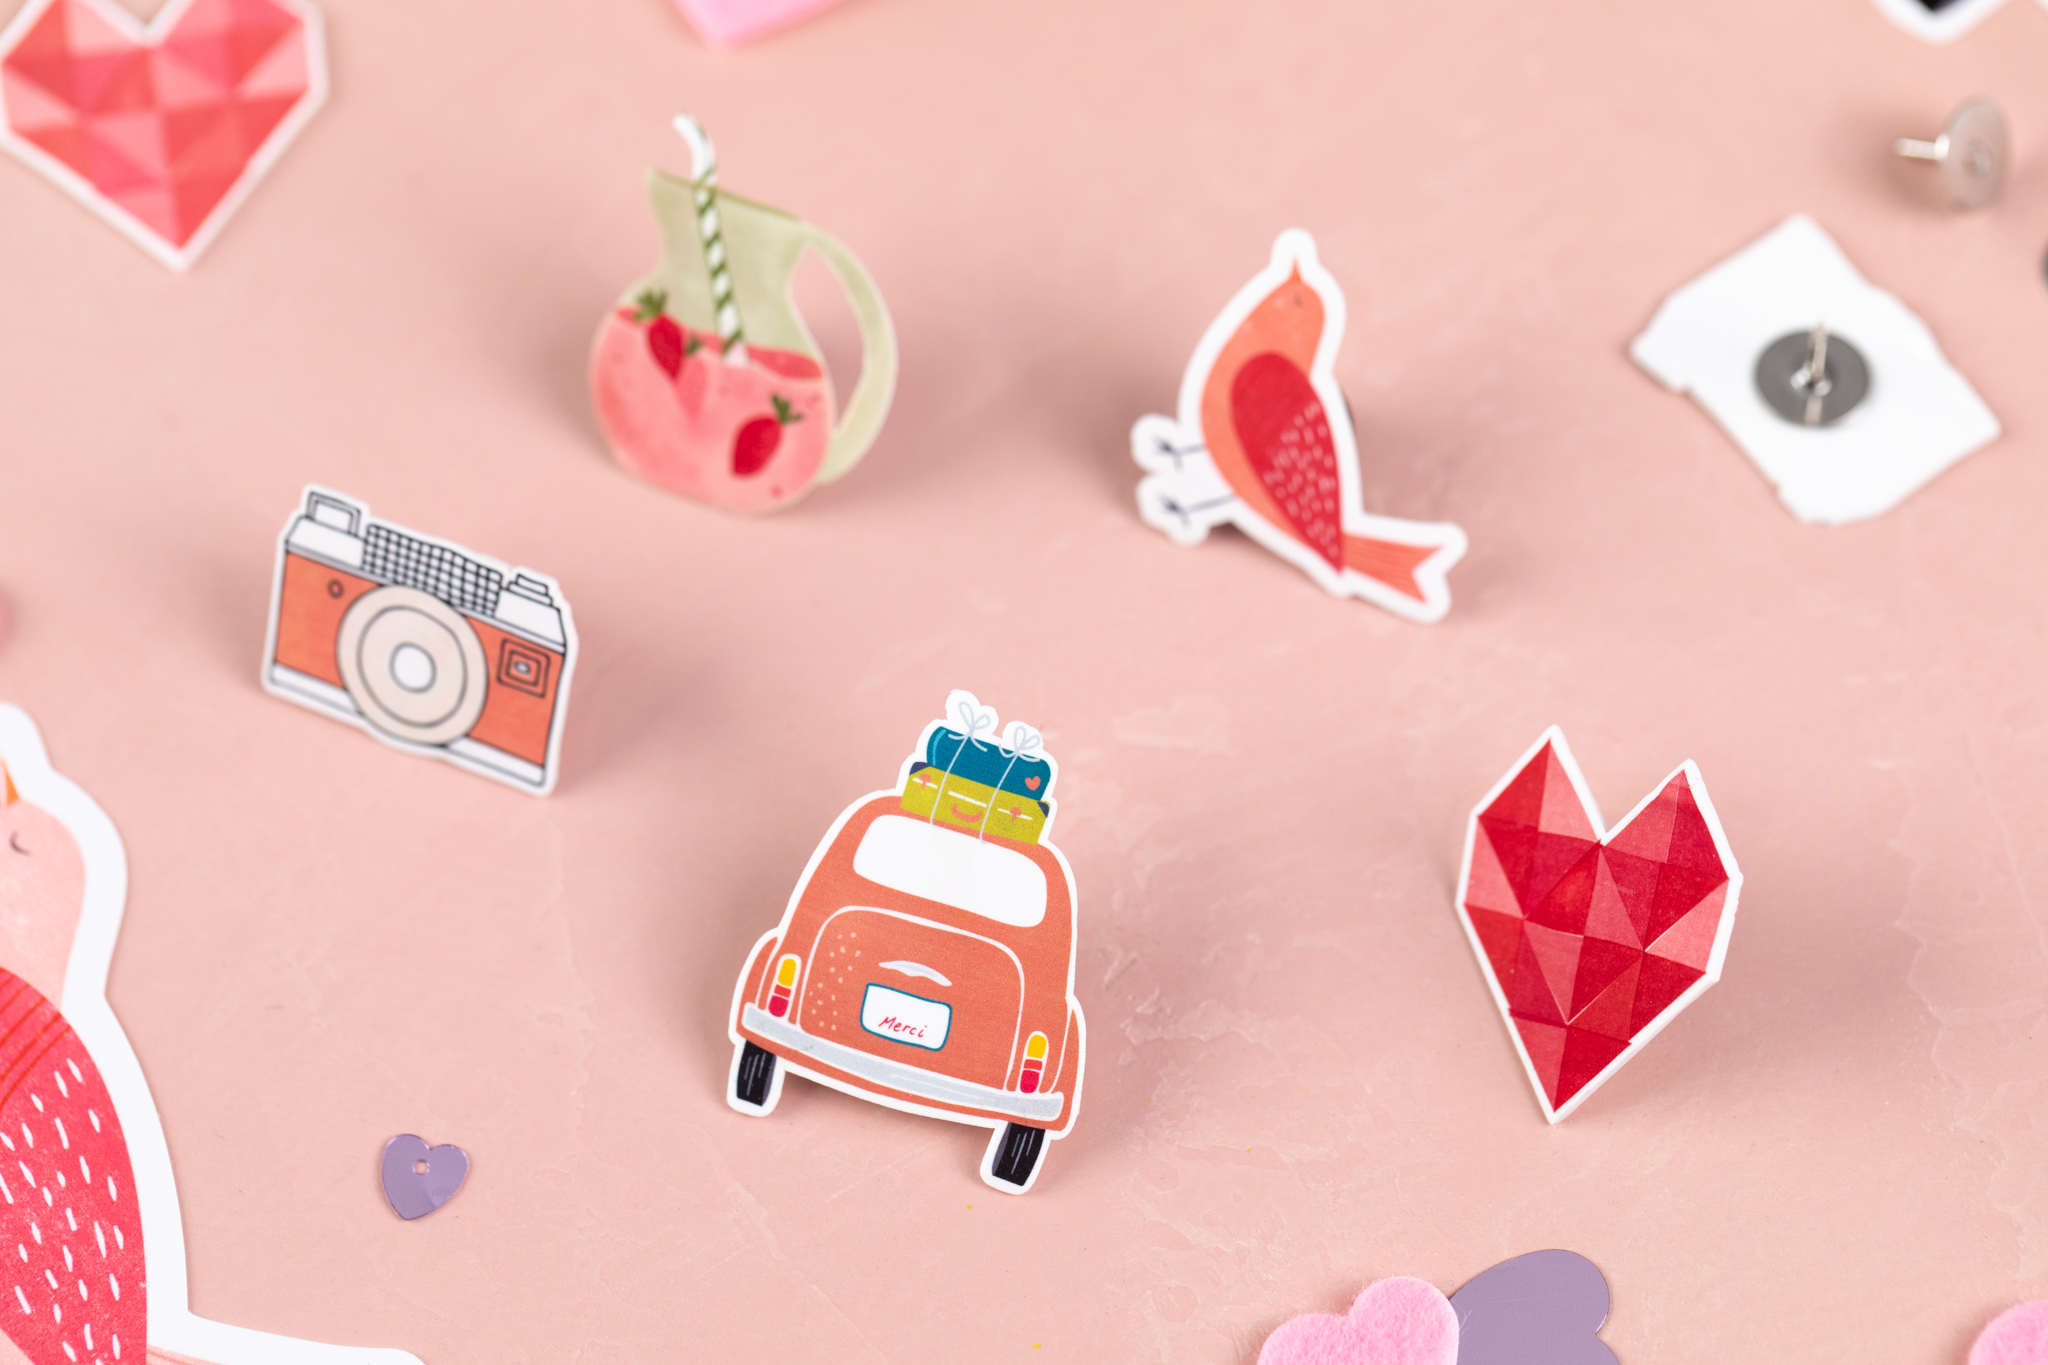
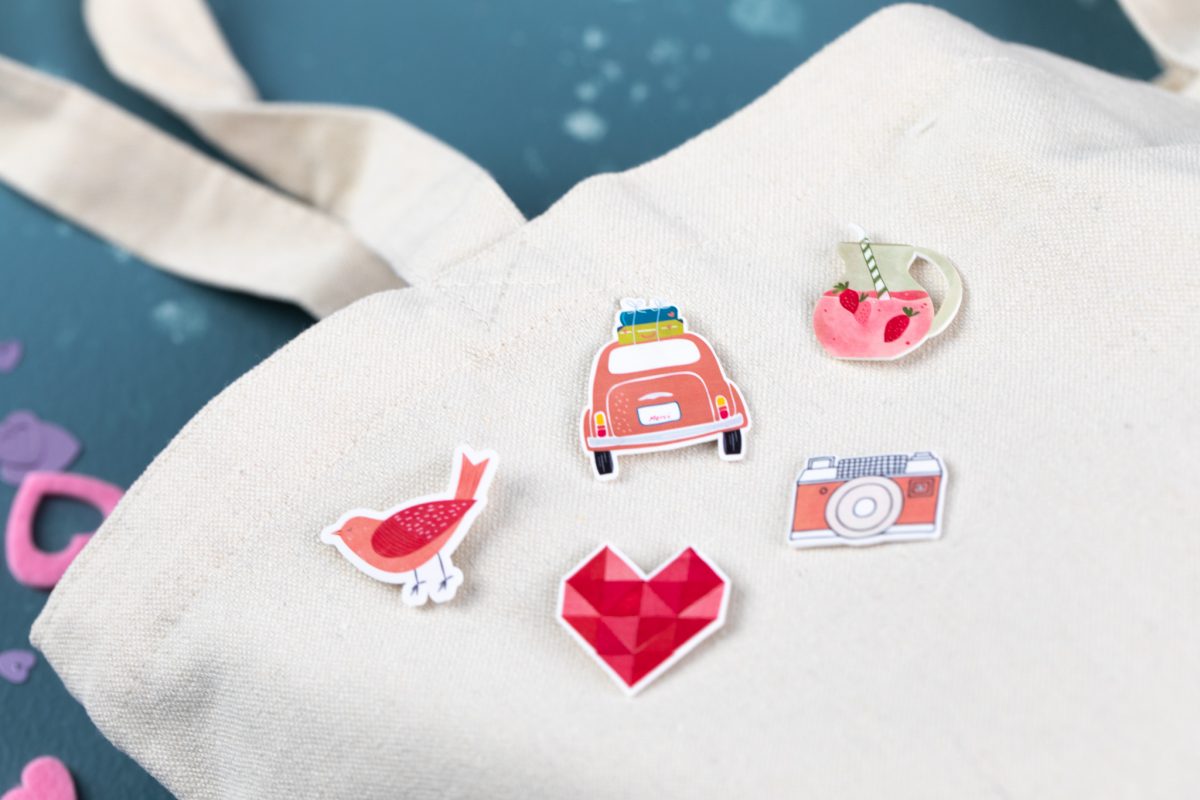
Looking for a cute DIY to gift your BFFs for Valentine’s Day? These shrink plastic pins are quick and easy to make and will look so sweet on a sweater or bag! You could also attach them to a card with a fun message like, “Stuck on You!” for simple class valentines!
Supplies Needed:
- Silhouette Cameo® or Silhouette Portrait®
- Silhouette Cutting Mat
- Silhouette Cutting Blade
- Silhouette Shrink Plastic Sheets – White
- Ink Jet Printer
- Pins and backs
- Super Glue
- Design ID #182608 for Camera, #246697 for Car, #177112 for bird, #82175 for Pitcher, and #183298 for Heart
Step One: Format Designs
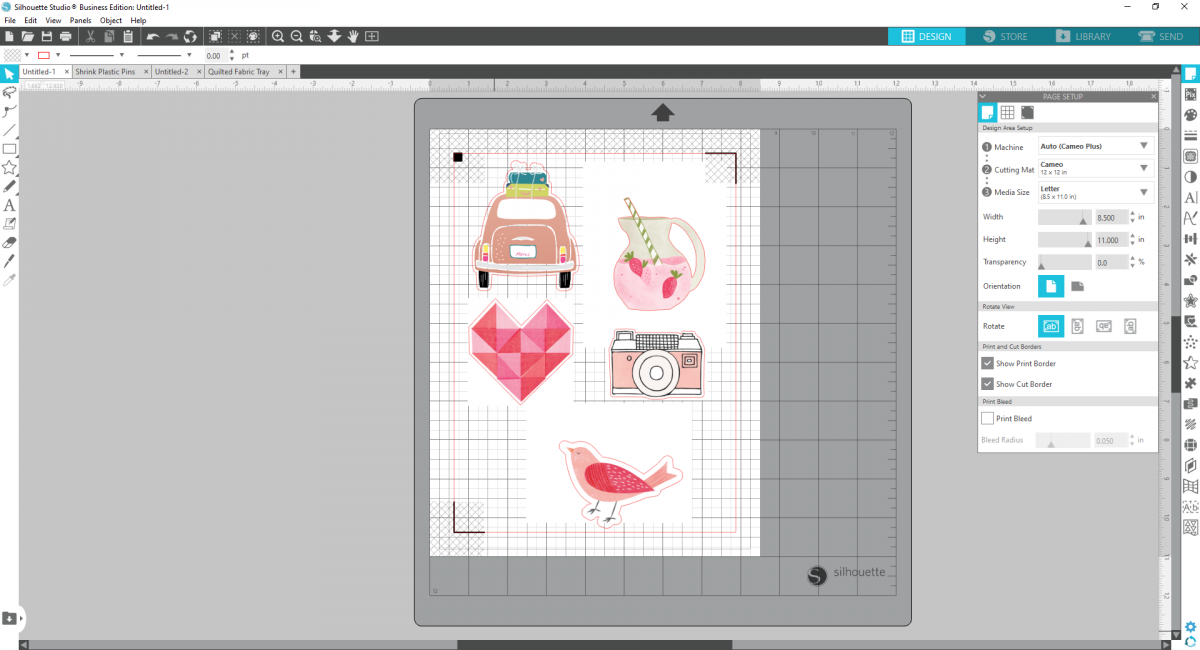
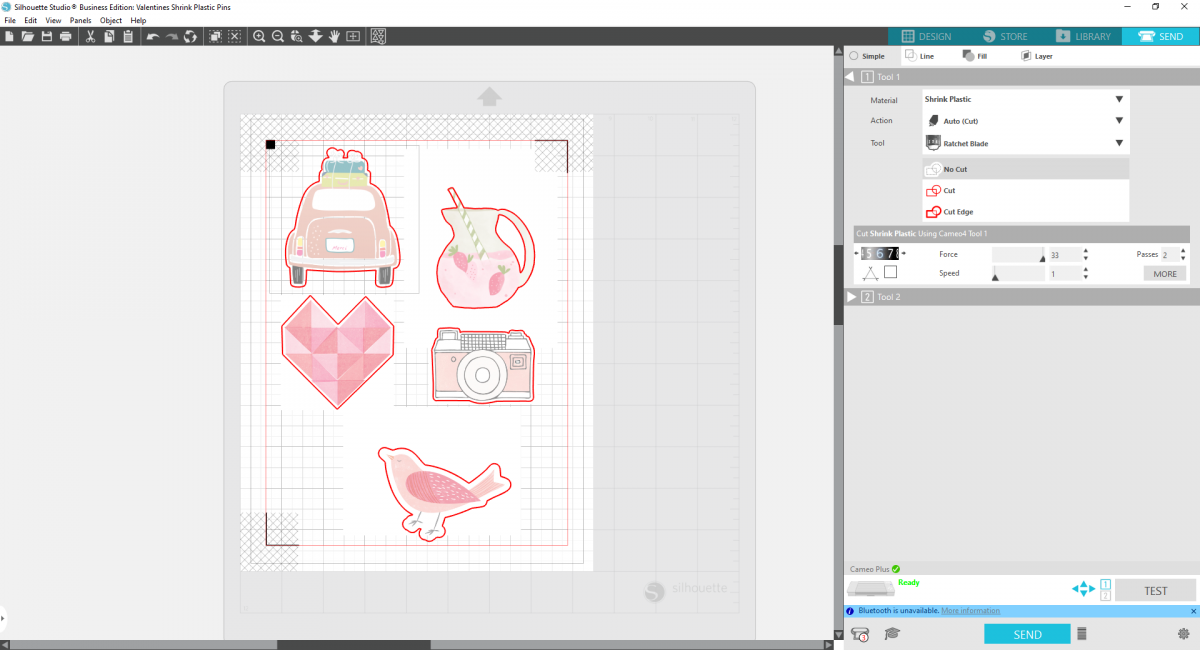
1. Insert your designs into Silhouette Studio®. Set your media size to letter and turn on registration marks and Print & Cut borders.
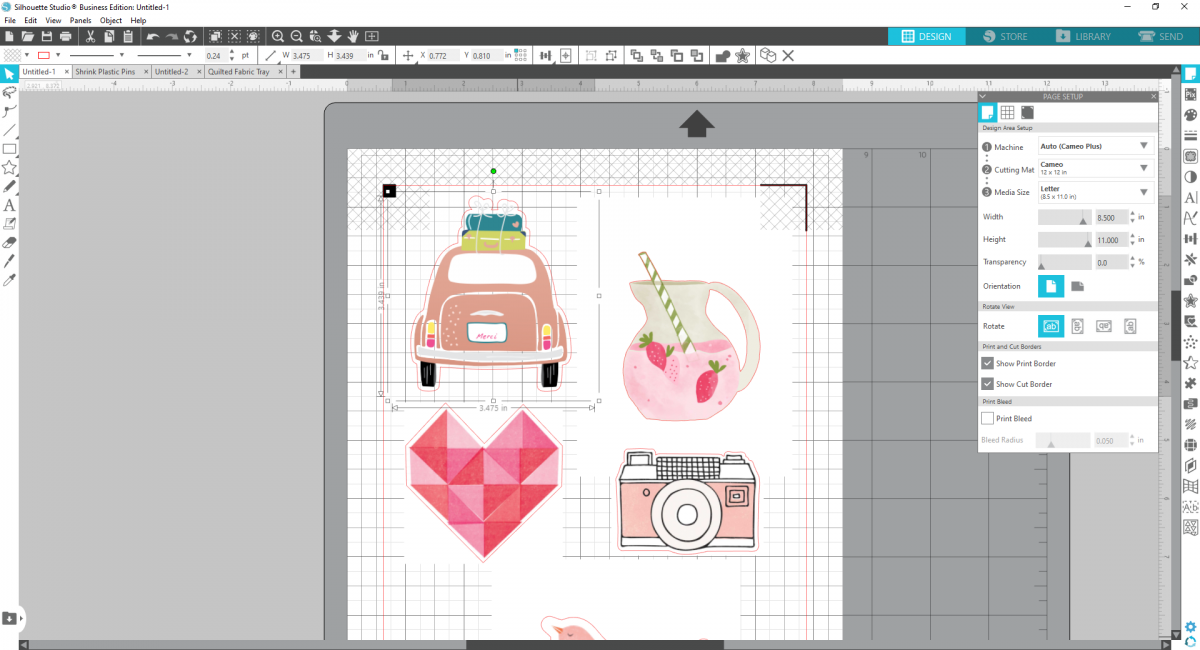
2. Size your designs. Keep in mind that your designs will shrink about 3 times smaller than the original design. We sized each of our designs around 3–3.5 inches so that the finished pin would measure around 1 inch.
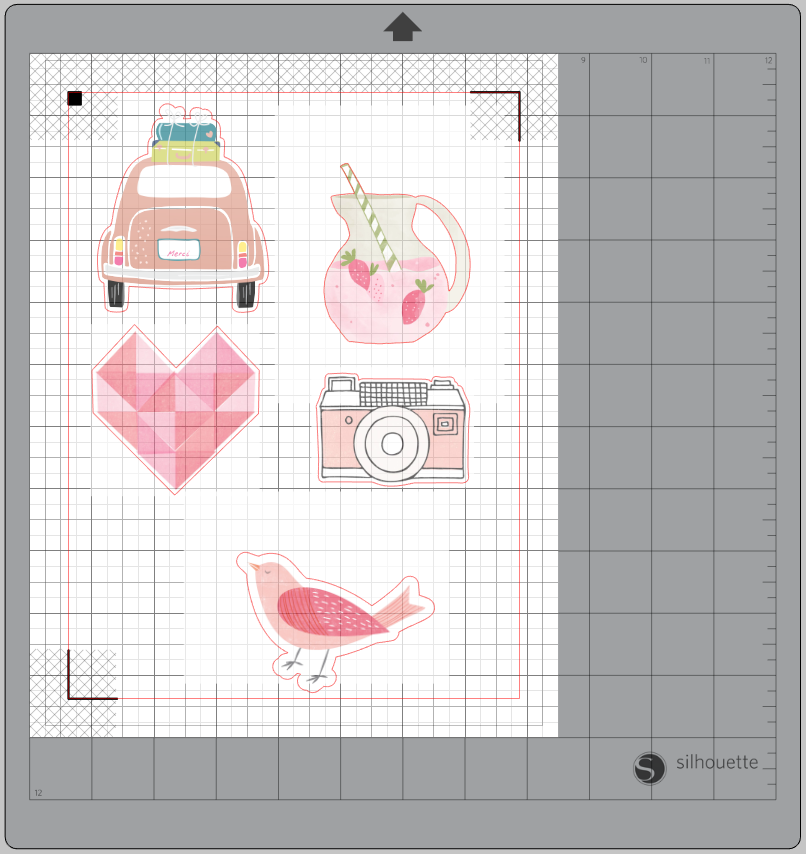
3. Make sure all your designs are within the borders and the crosshatched areas. This will ensure that your Print & Cut performs correctly.
4. Your designs will also become more saturated when they shrink, so if you’d like your designs to maintain their lighter color, increase the transparency of the designs to lighten them up in preparation to being shrunk.
5. Using an inkjet printer, print your designs on the matte side of your White Shrink Plastic page.
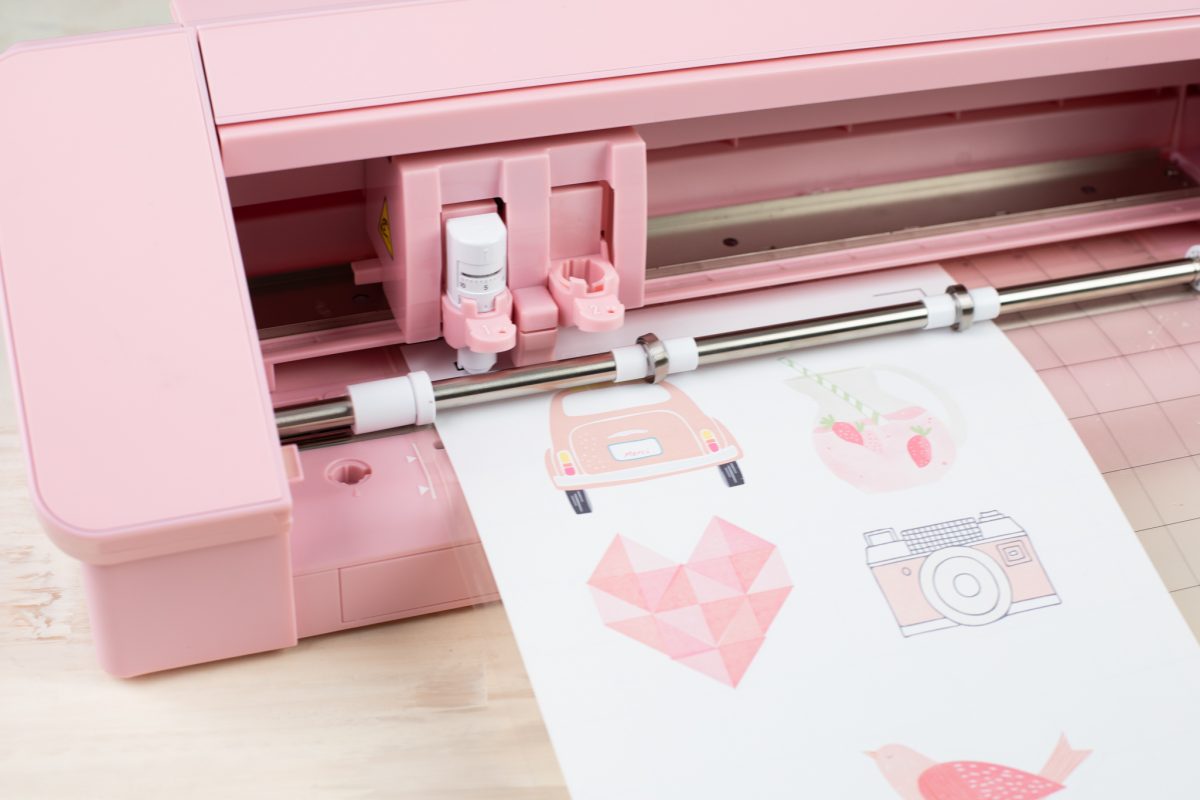
6. Then align your page on your mat in the same orientation it is within Silhouette Studio®. Load the mat into the machine and cut using the Shrink Plastic settings.
Step Two: Shrink and Apply Pins!
1. Once your designs are cut, weed them from the remaining paper.
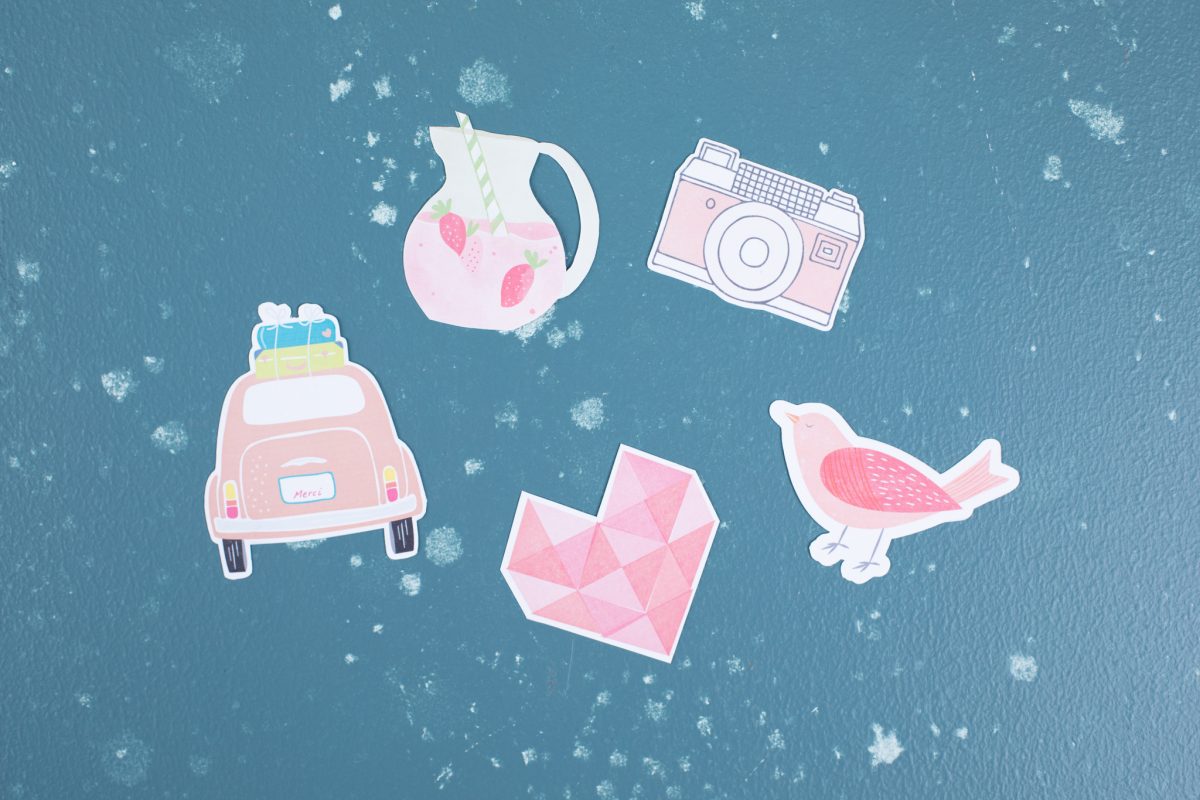
2. Using a heat gun or your oven, shrink your designs following the instructions on the package. It’s helpful to flatten the designs as soon as they finish shrinking to give them a smooth finish.

3. Glue a pin on the back of each design and let the glue dry.
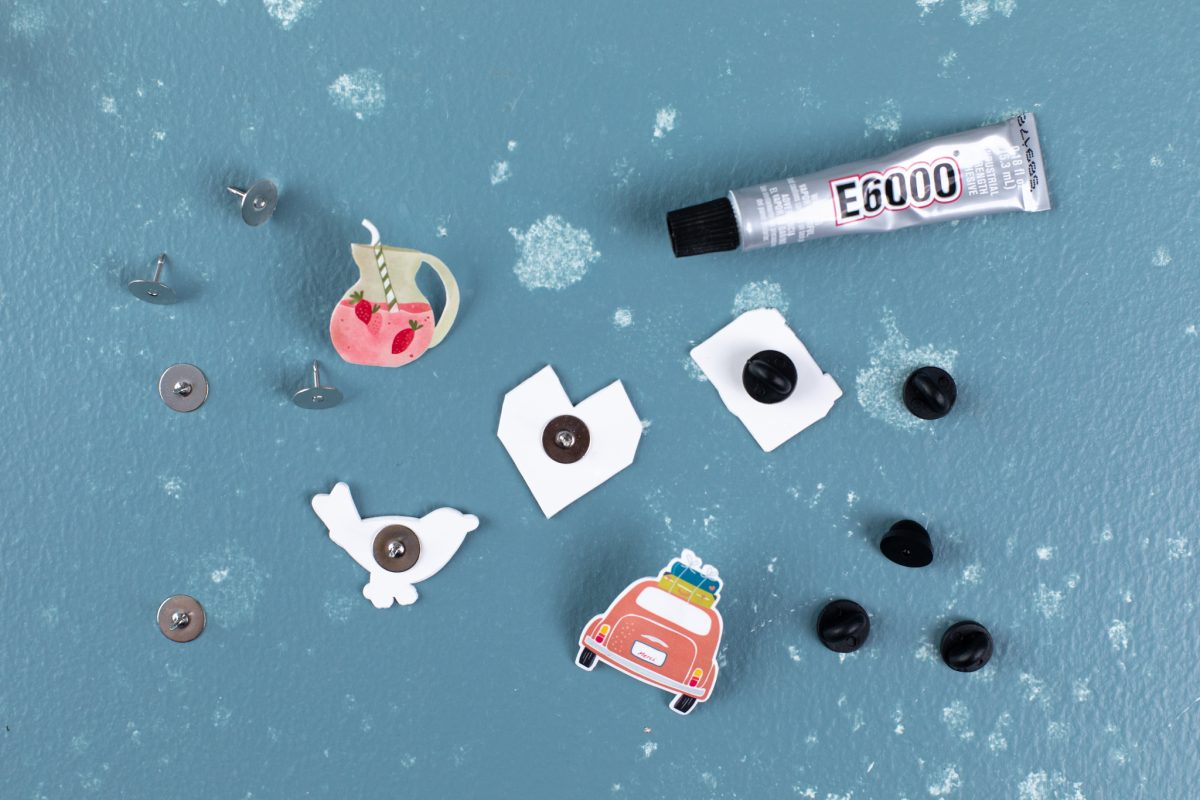
4. Attach the pin to whatever your heart desires!
 Design Store - Over 300,000 Designs to Bring Your Creative Vision to Life
 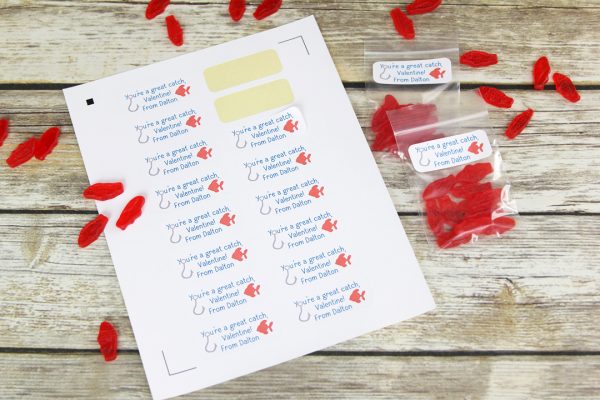 Fish Valentines to Share