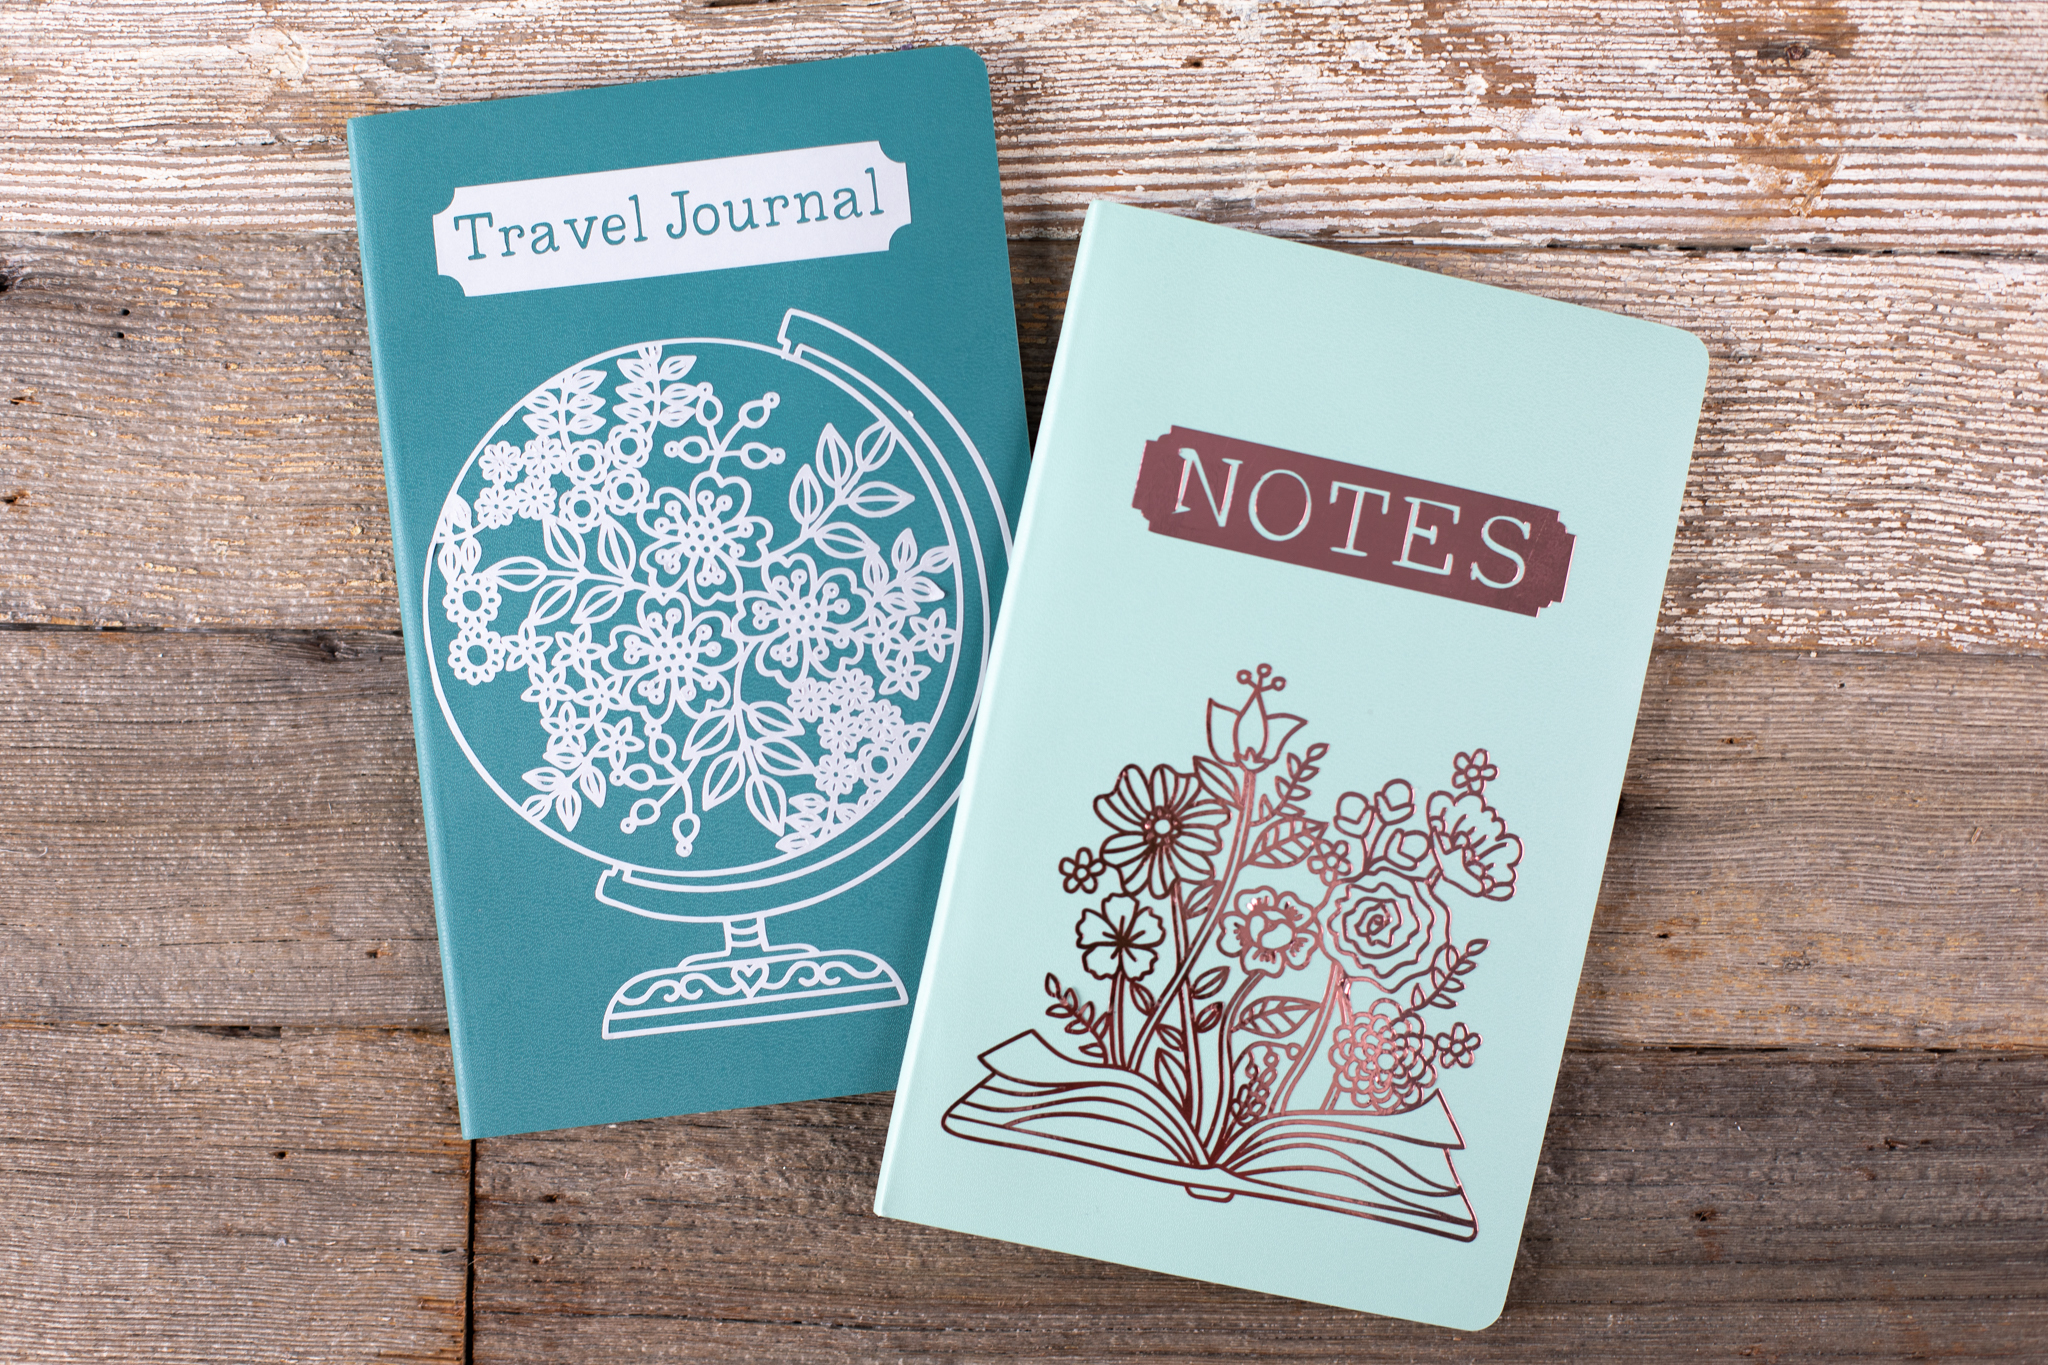
Breathe new life into a basic notebook with some vinyl designs! Silhouette offers a variety of fun and unique vinyl options that make any design a bit more interesting. We used some very detailed designs by Paige Evans and then added a customized touch with the Text tool. Metallic and reflective vinyl give the designs a special sheen too!
Supplies Needed:
- Silhouette Cameo® or Silhouette Portrait®
- Silhouette Studio®
- Silhouette Cutting Mat
- Silhouette Cutting Blade
- Metallic Vinyl in Rose Gold (available in 9-inch or 12-inch rolls)
- Reflective Vinyl in Silver
- Transfer Tape
- Hook Tool
- Notebooks
- Design ID #293960 for Flower Book and #301139 for Floral Globe, both by Paige Evans
Step One: Formatting the Design
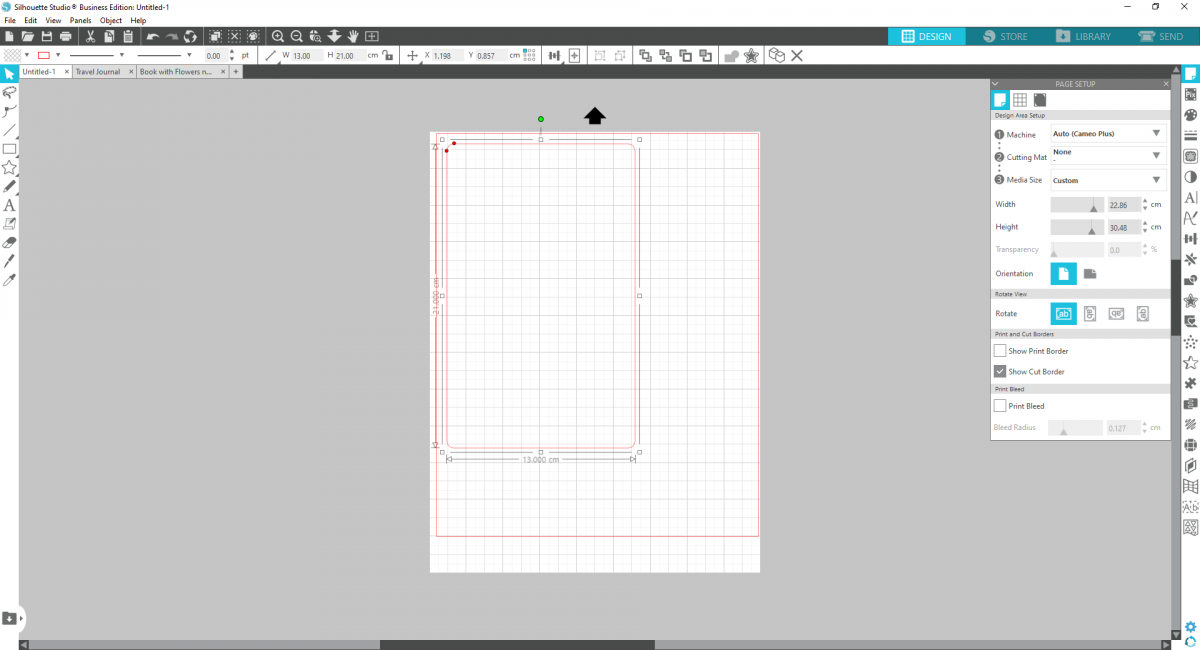
1. Set your media size to coordinate with your vinyl. I’m using 12-inch Reflective Vinyl and 9-inch Metallic Vinyl that I’m cutting off the roll, so I set my cutting mat to “None” and my media size to 9 inches wide for one of the designs (for the other design, I set the media size to 12 inches). The height measurement doesn’t really matter since we are cutting off the roll, but just make sure it is long enough for your design.

2. Start by measuring your notebook or the surface that you’re planning on applying your vinyl to. Using the Drawing Tools, create that shape within Silhouette Studio® to help you size your designs. My notebook measures 13 cm wide by 21 cm tall.
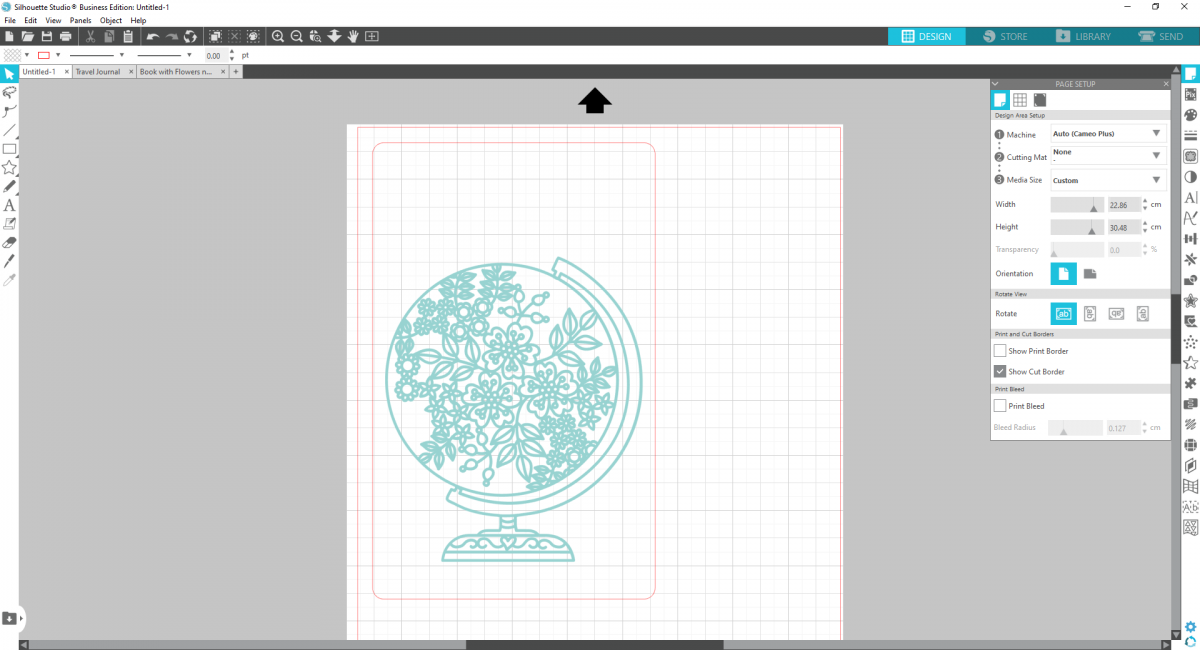
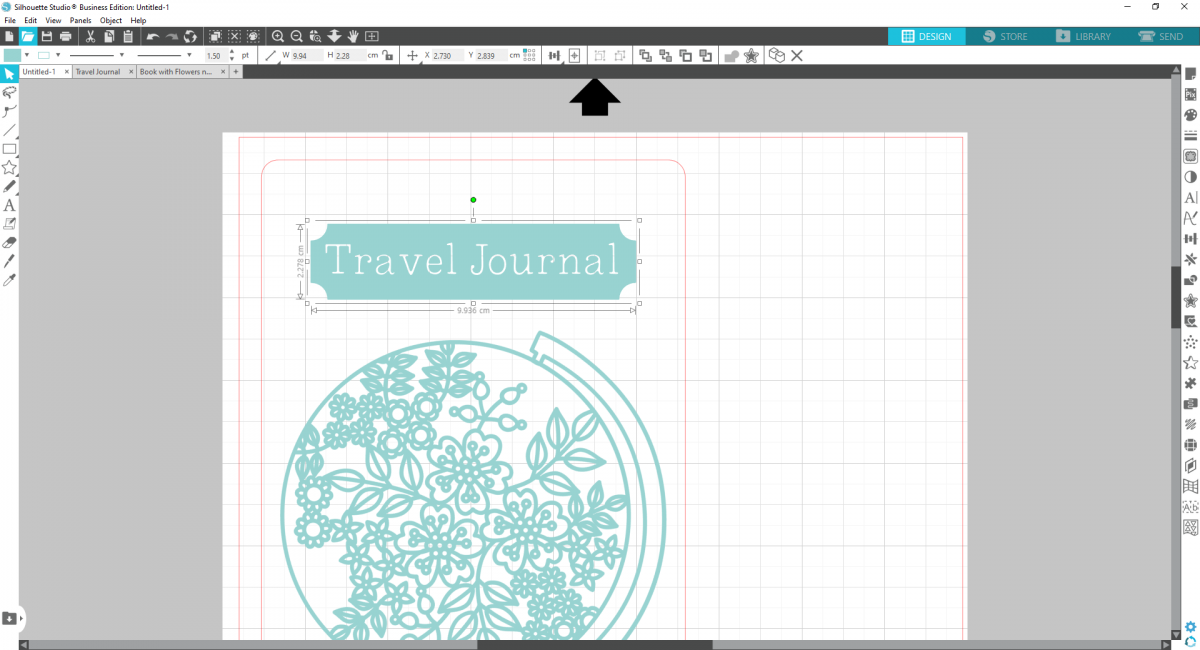
3. Now insert your design of choice. Adjust the size of the design so it fits within your notebook dimensions.
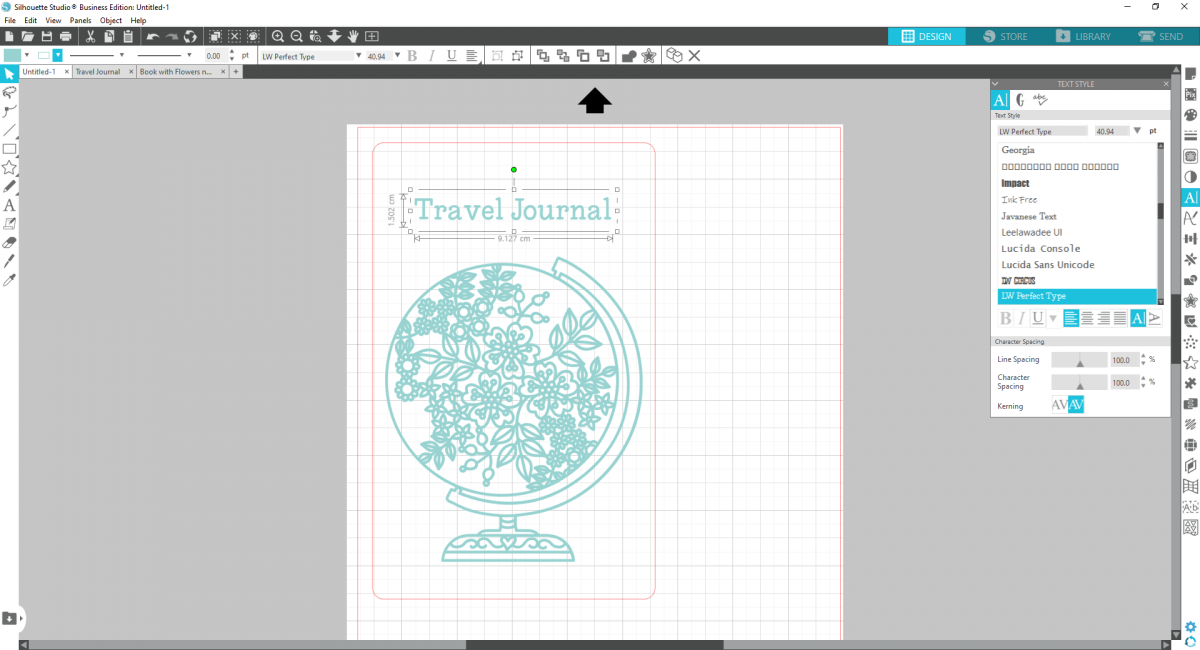
4. Now using the Text tool, write your desired phrase. We wrote “Travel Journal.” Use the Text Style panel to customize your text. We used the LW Perfect Type font.
5. For the final touch, we used the Flexishapes (available with version 4.2 Designer Edition Plus and Higher) panel to create a boarder around the text. (If you don’t have the Flexishapes tool, you can always get a border from the Silhouette Design Store.) Center the text with the border using the Align Tool.
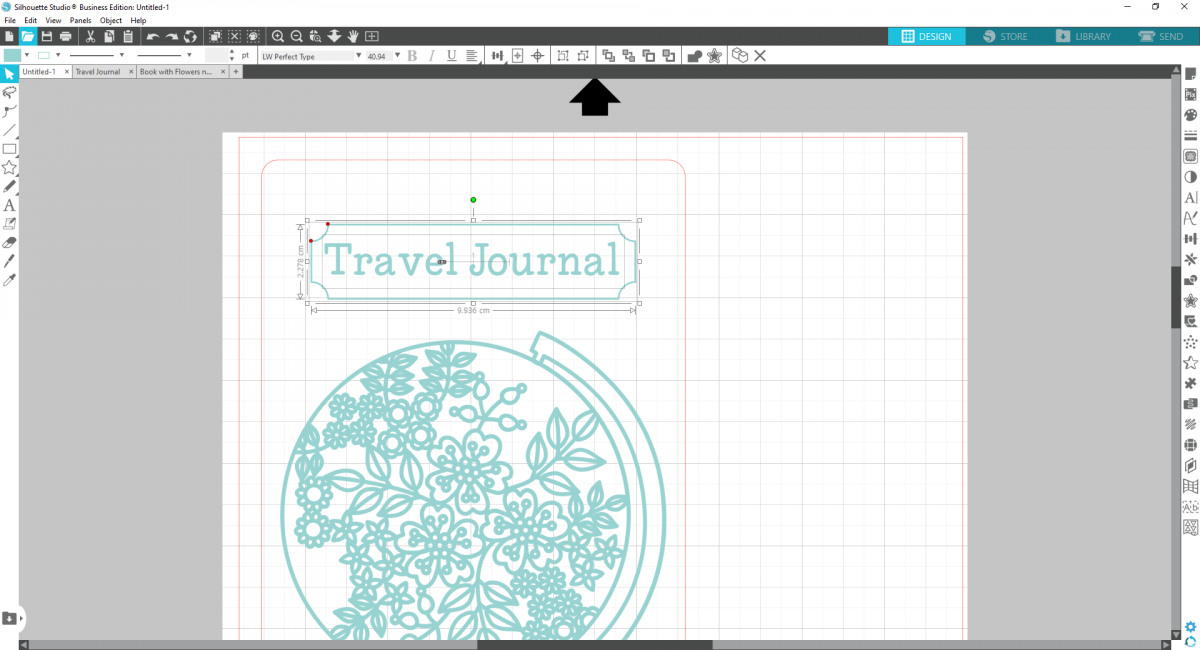
6. I wanted the text to appear like a label, so I selected both the text and border and right-clicked to “Create Compound Path.” When the design cuts, you’ll weed the actual letters, so you’re left with the words cut out from the label.
Step Two: Setting Up the Cut Settings
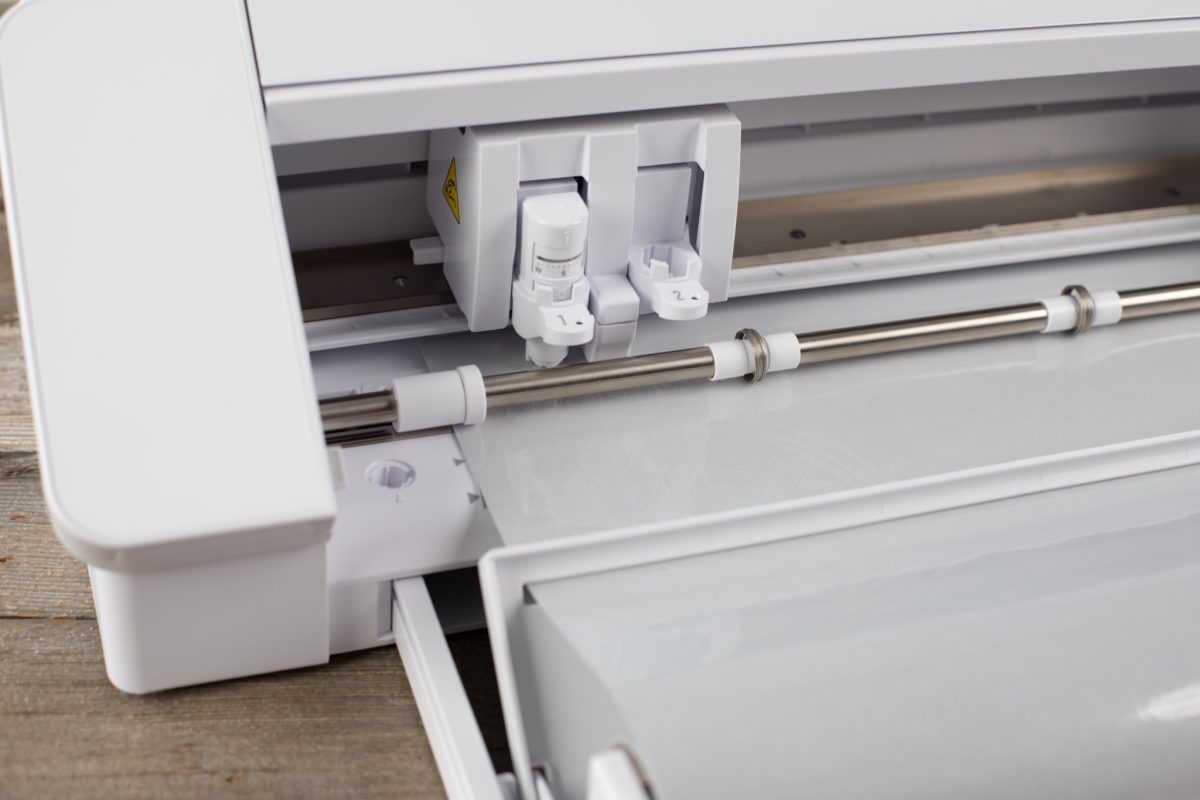
1. To cut your vinyl design, load your vinyl into the machine using the roll feeder to cut without a mat, or you can cut your vinyl down to size and apply to a mat. Both ways work!
2. Set your cut settings to the correct type of vinyl you’re using. Do a test cut and make any adjustments necessary.
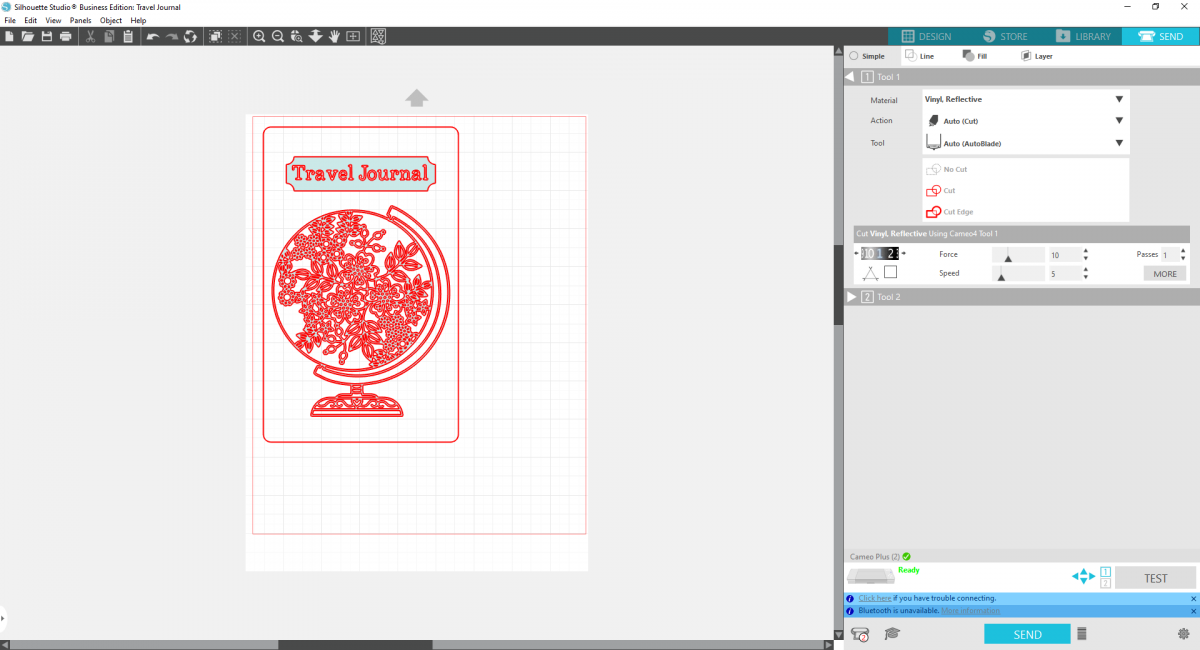
3. Send to your machine to cut!
Step Two: Applying the Decal
1. Once your design is cut, weed the negative space using the hook tool to help do this.
2. Apply transfer tape to the design using the scraper tool to firmly transfer the design.
3. Apply the decal to the notebook.

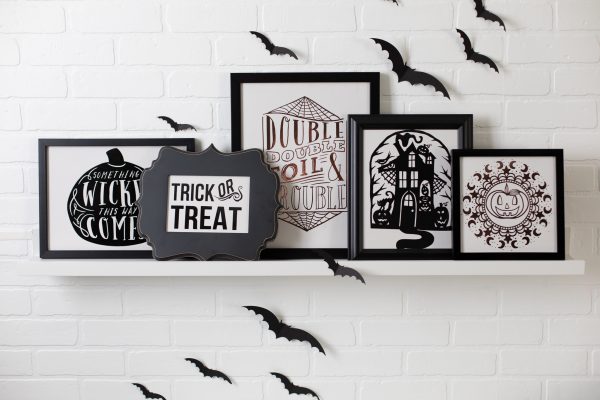 Halloween Art with Metallic Vinyl
Nasze Naturalne
September 3, 2025
Your authentic voice really shines through in everything you create and share
Naszenaturalne
September 2, 2025
Really love your style
Kelly Wayment
June 28, 2024
You can use it with vinyl as long as it is smooth and flat to allow the static charge to hold on to it. Rolled vinyl that wants to go back to its rolled shape will not necessarily work well, and it would need to be trimmed to fit the ES mat cutting area.
Kelly Wayment
June 28, 2024
Yes, you can use the heat pen while using the ES mat. 🙂
Yurii
March 2, 2024
Hello. May it be used with heat pen?
Thanks
Jerome
February 24, 2024
Hi, works this with the normal vinyl foils or only with printer papter etc?