
Doll houses are always so enchanting, and this applique house pillow is a version you can cuddle with! Using the fabric stabilizer, cut out intricate doors and windows using your CAMEO machine and sew them onto your fabric house. Use trims for the curtains and other details to add personality, stuff the pillow, and sew the pillow together! This would look adorable in a children’s bedroom and just might replace their favorite stuffed animal!
Supplies Needed:
- Silhouette CAMEO®
- Silhouette Studio®
- Silhouette Cutting Mat
- Silhouette Cutting Blade
- Fabric Stabilizer
- Fabric Scissors
- Pins
- Iron
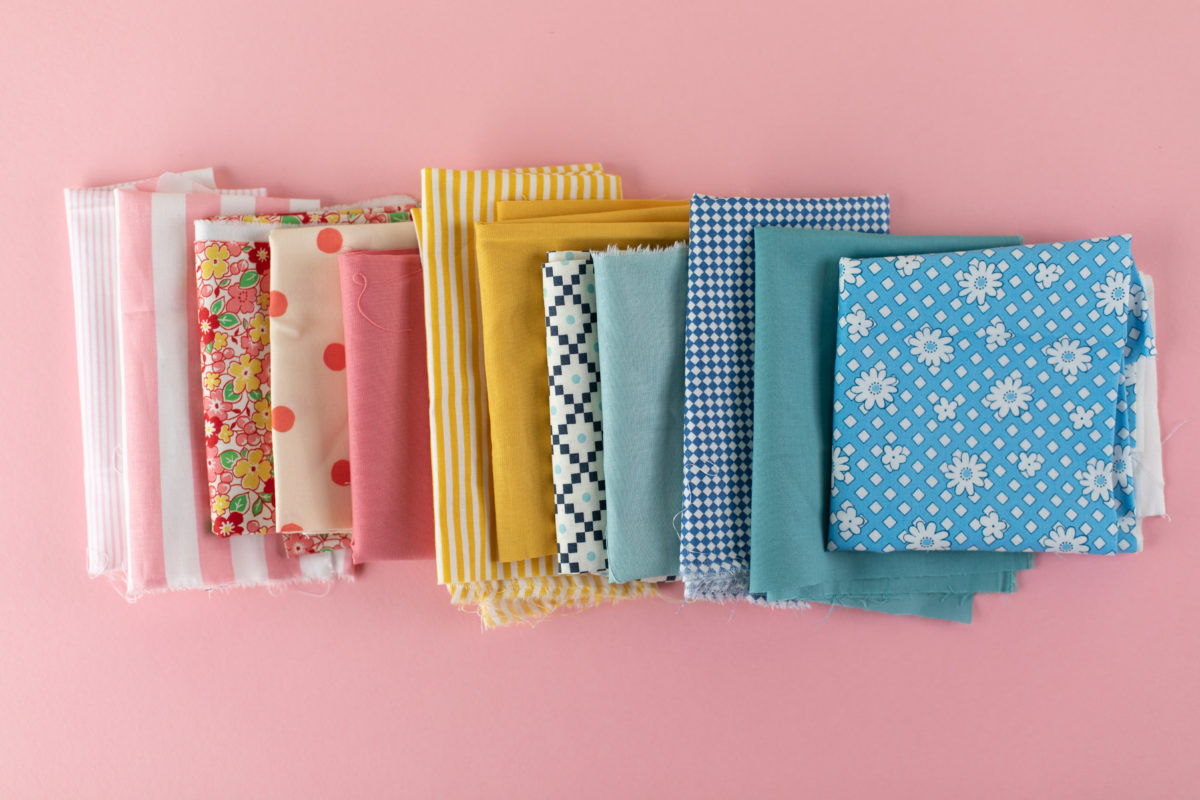
- Fabric Scraps (I used a total of 12 different fat-quarters in coordinating patterns and colors, but this is a perfect project to use up small fabric scraps you have laying around!)
- Poly-fil Stuffing
- Sewing Machine
- Needle and Thread
- Various Trims (optional)
- Design ID #18961
- Design ID #18960
Step One: Prepare Your Fabric with Stabilizer
1. Identify the fabrics you’d like to use for the windows and doors. I used 3 solid colors for the window frames and door and 5 patterned fabrics for the interior windows.
2. Cut pieces of fabric large enough for your applique pieces. Then cut pieces of fabric stabilizer slightly smaller than your fabric pieces.
3. Iron the fabric stabilizer onto the backside of the fabric, with the rough side of the stabilizer down (not facing the iron). Once adhered, remove the liner from the stabilizer, and trim off the edges of the fabric, so that it aligns perfectly with the stabilizer.
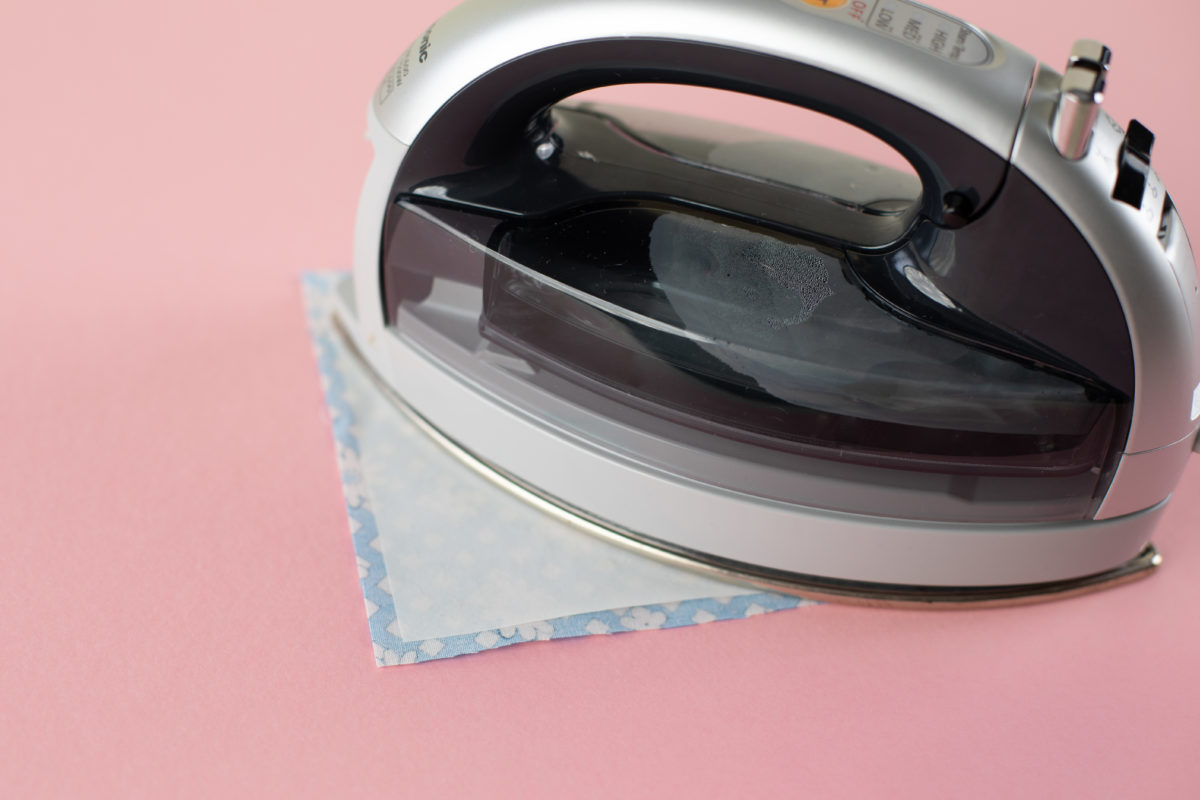
Repeat for all your fabric pieces. Set aside.
Step Two: Cutting Out the Windows and Door
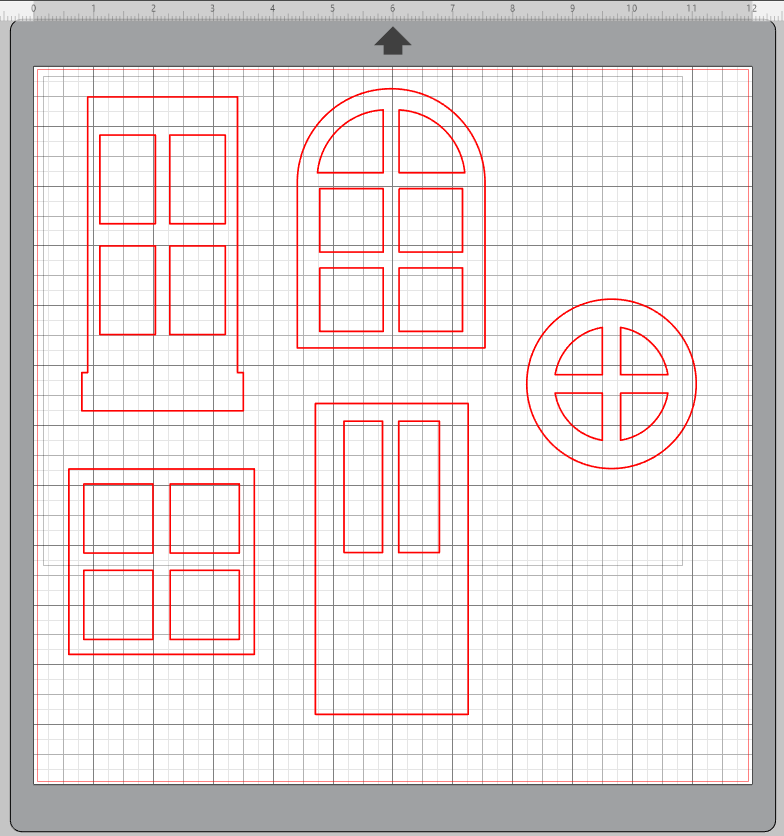
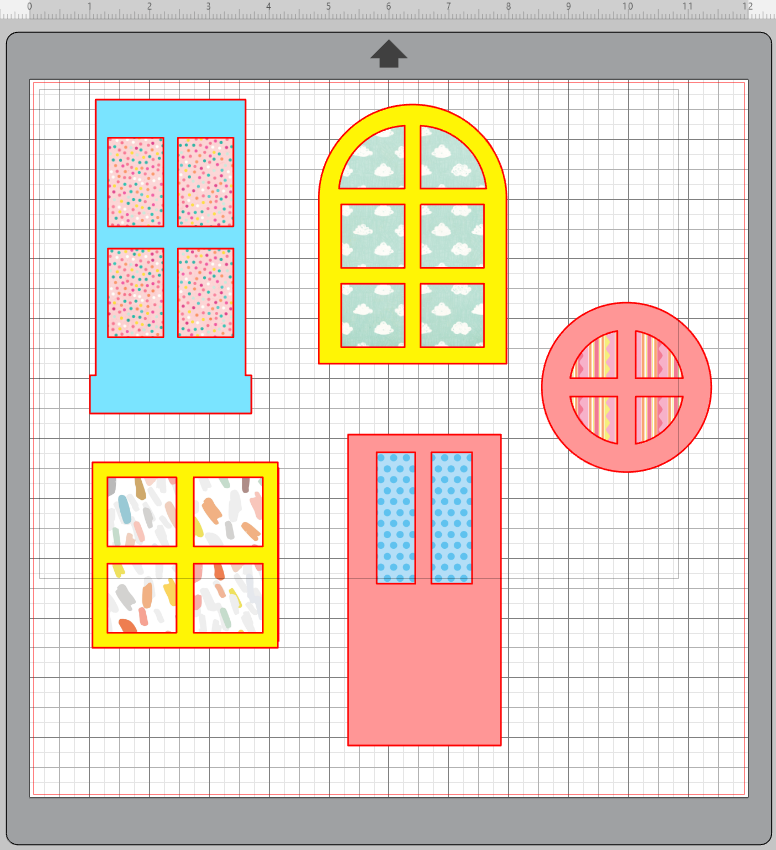
1. First open the Windows and Doors designs (Design IDs #18960 and #18961) in Silhouette Studio® and ungroup the designs. You can do this by right-clicking and selecting Ungroup from the drop-down menu.
2. Select the specific windows and door you’d like to use for your pillow. I used 4 different window types and a door with window cutouts. Each element is between 2 and 3 inches wide.
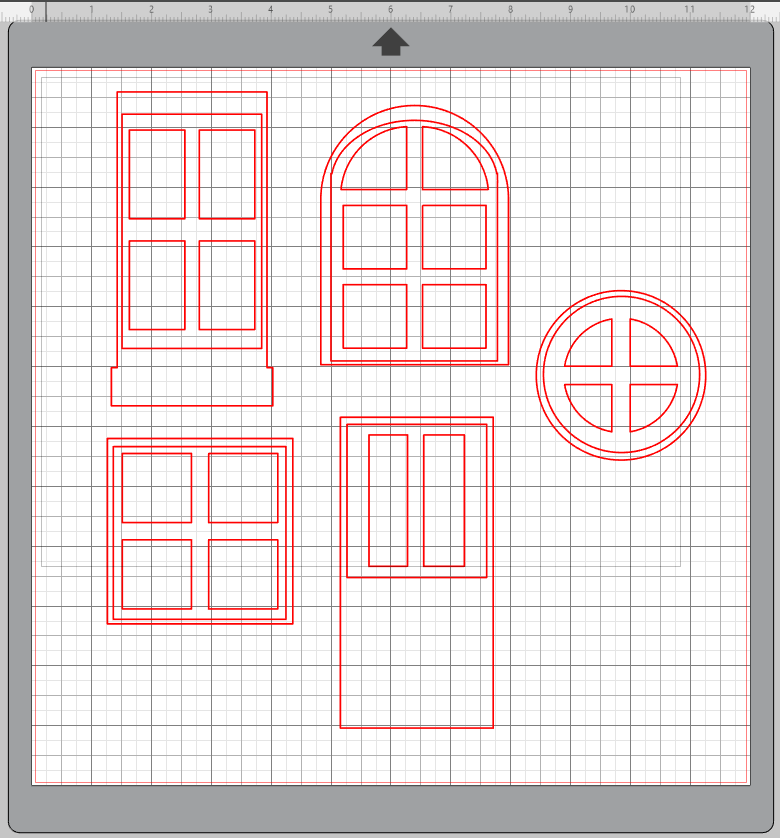
3. Next, we need to create shapes to act as the inside of the windows, since the centers of the window panes and door will be exposed. Use the drawing tool to create shapes that will fit just inside the window panes for each item. You’ll want the shapes to be slightly smaller than the window/door frame and slightly larger than the window cutouts.
4. Now you’re ready to send each element to your machine to cut. Cut the window pane/door frame out in a color that contrasts to the interior color.
5. Place your prepared fabric onto your cutting mat, with the stabilizer down, the fabric facing up. Select “Fabric, Thin (Cotton Print)” under the material settings.
Load your machine and cut. Repeat for all your elements.
Step Three: Sew the Front of the House Together
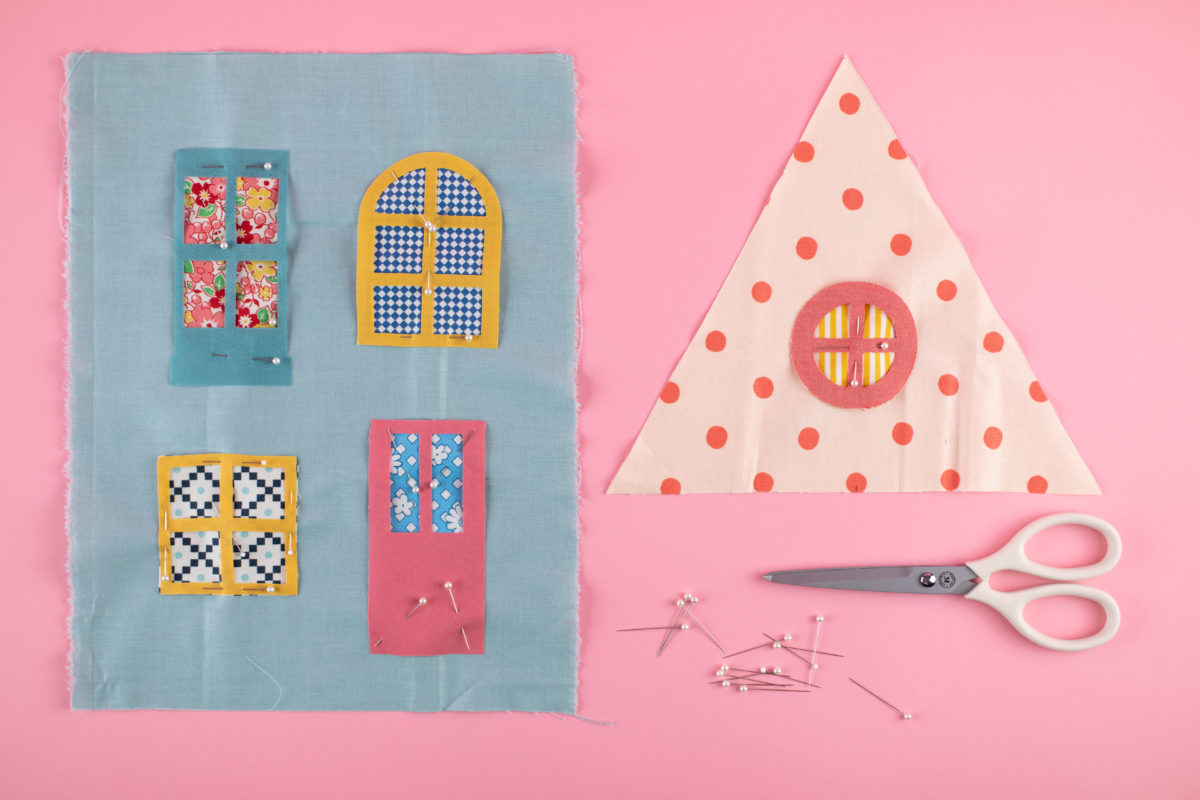
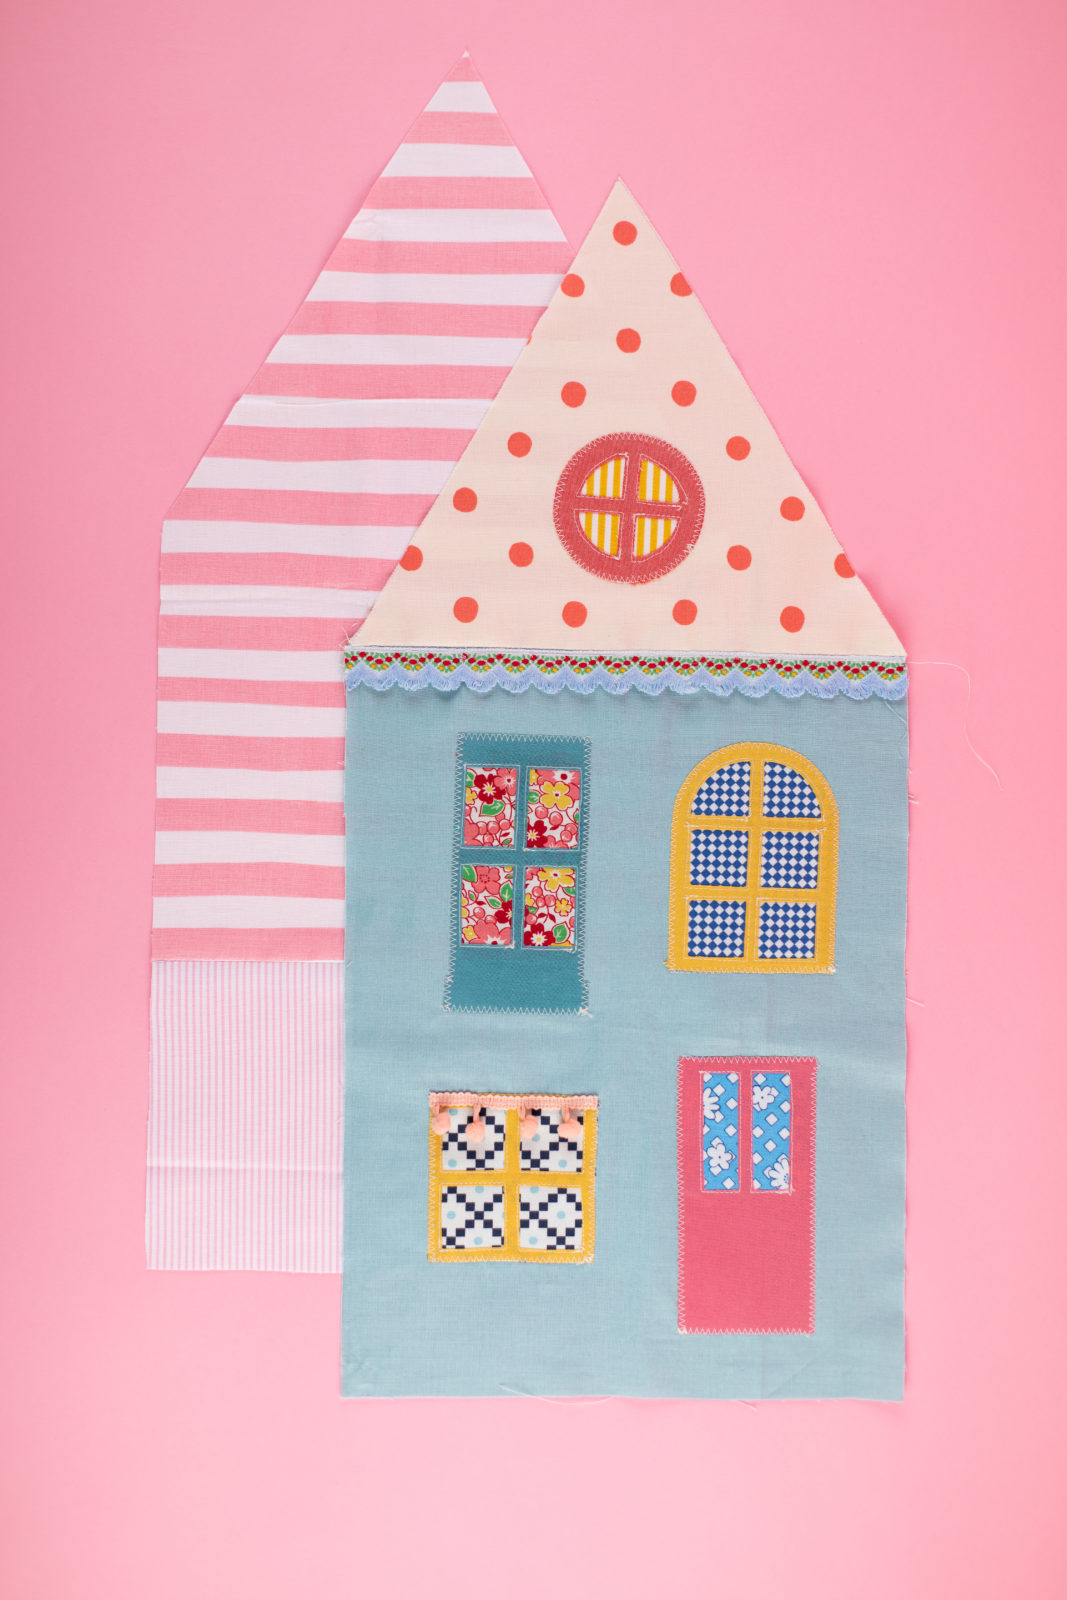
1. Select the fabrics you want to use for (1) the front of the house, (2) the roof, and (3) the back of the house. For the roof, hand cut a triangle 11 inches wide by 9.5 inches tall. For the front of the house, hand cut a rectangle 10 inches wide by 14.5 inches tall. You do not need to apply fabric stabilizer to these pieces. Set aside the fabric for the back of the house—we’ll deal with that in a bit.
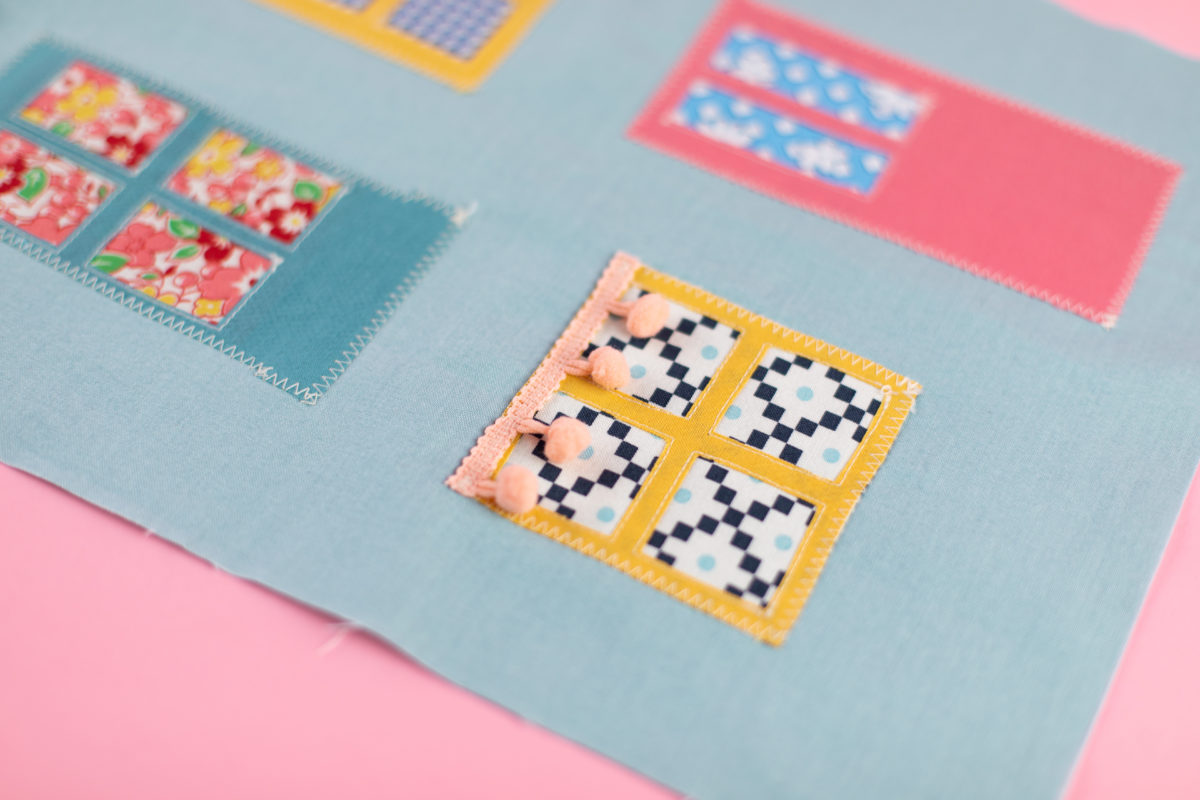
2. Layer the window and door pieces over one another and arrange on the front of the house and roof as desired. Pin into place.
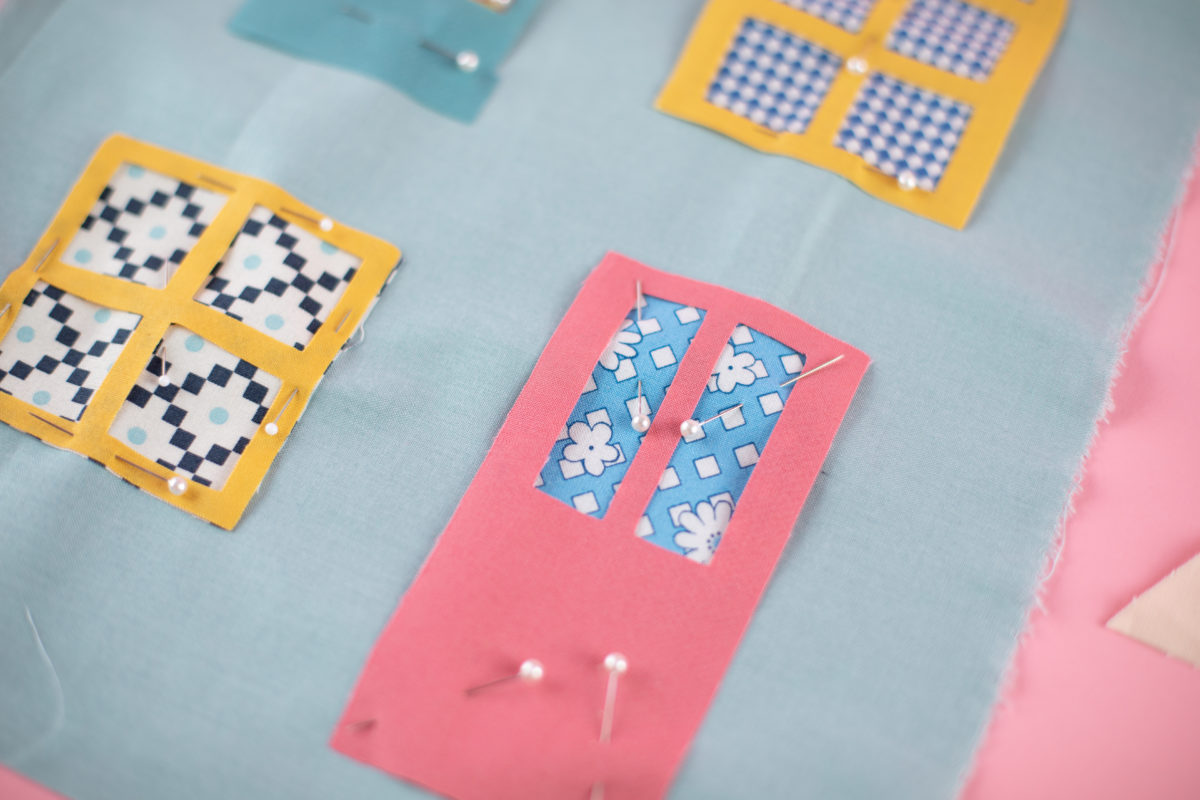
3. Using a sewing machine, sew around the outer edges and inner windows. I used a zig zag stitch around the outer edge, and a straight stitch around the inner edges.
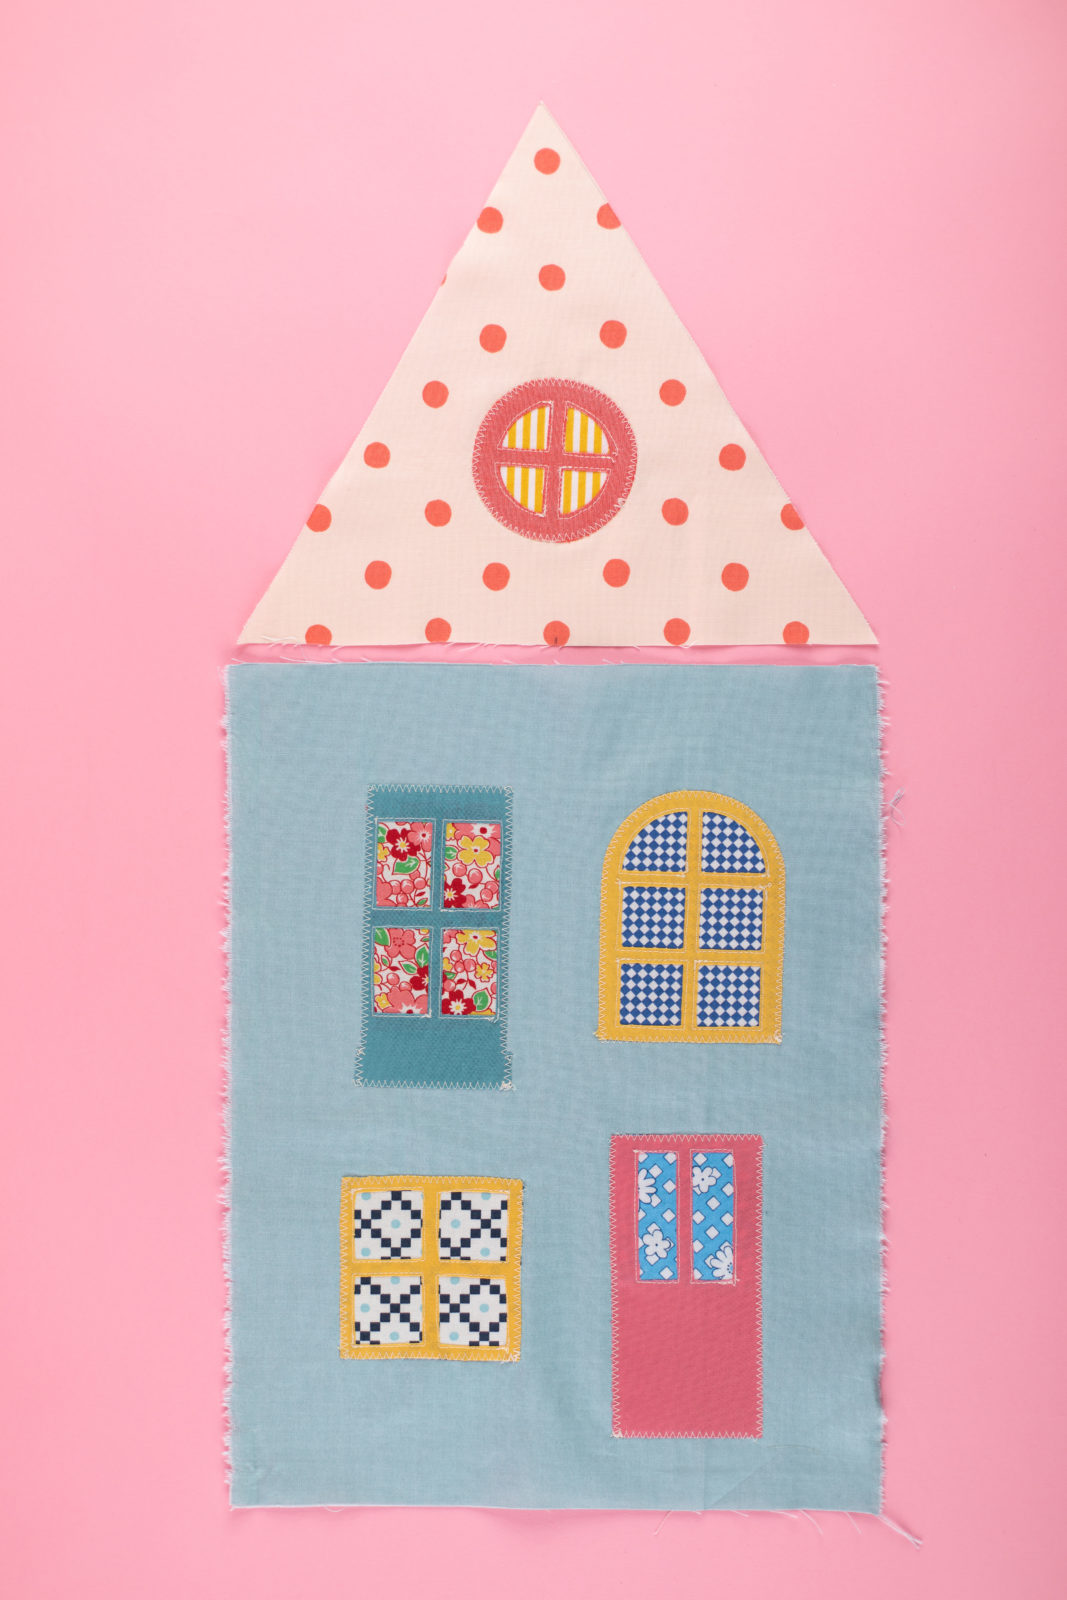
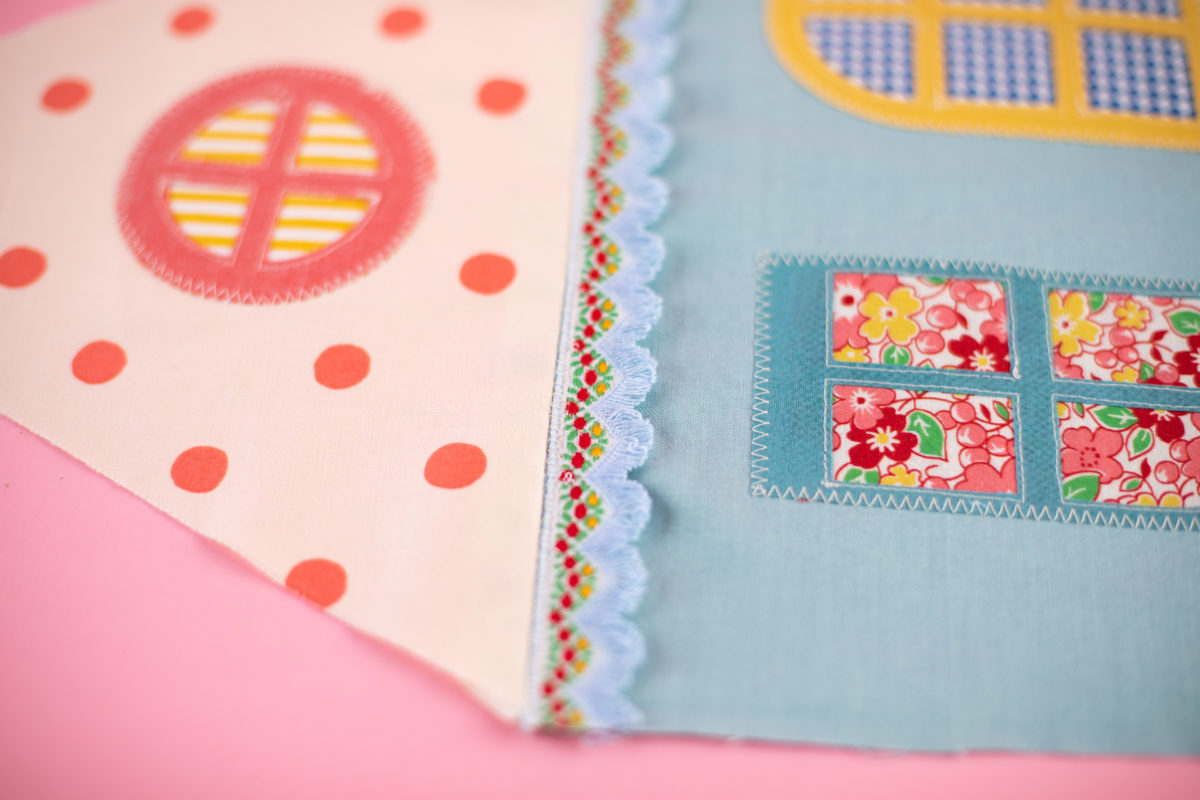
4. Once all the windows are sewed into place, sew the roof onto the front of the house.
5. Add any appliques or trims onto the house now. I added some pom pom trim to a window and a scalloped ribbon to the roof line.
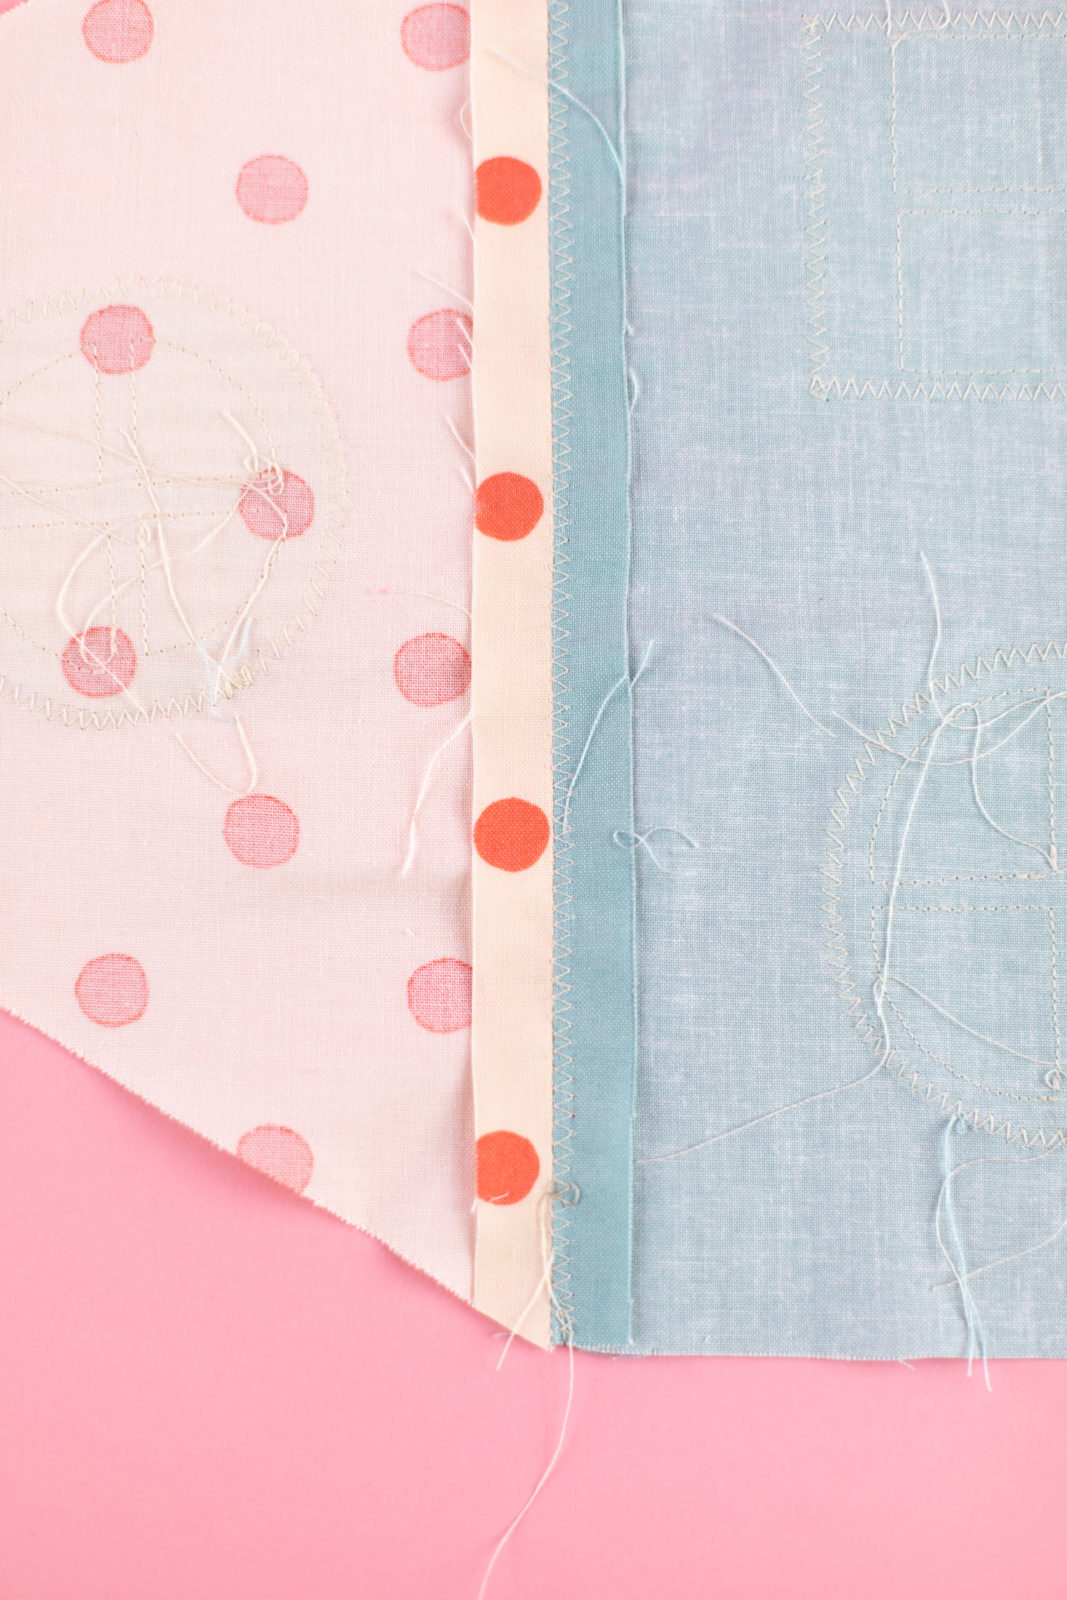
6. Next, pin the front of the house to the backing fabric and cut around. This will ensure the backing is the exact size as the front of the pillow. I ended up using two fabrics for the back because I didn’t have quite enough of the one type!
7. Pin the back of the pillow to the front, right sides together, and sew around the exterior, leaving an opening at the bottom. Flip inside out and iron flat.
8. Fill the pillow with Poly-fil stuffing using the opening at the bottom and stuff with a chopstick to make sure the pillow is firmly packed.
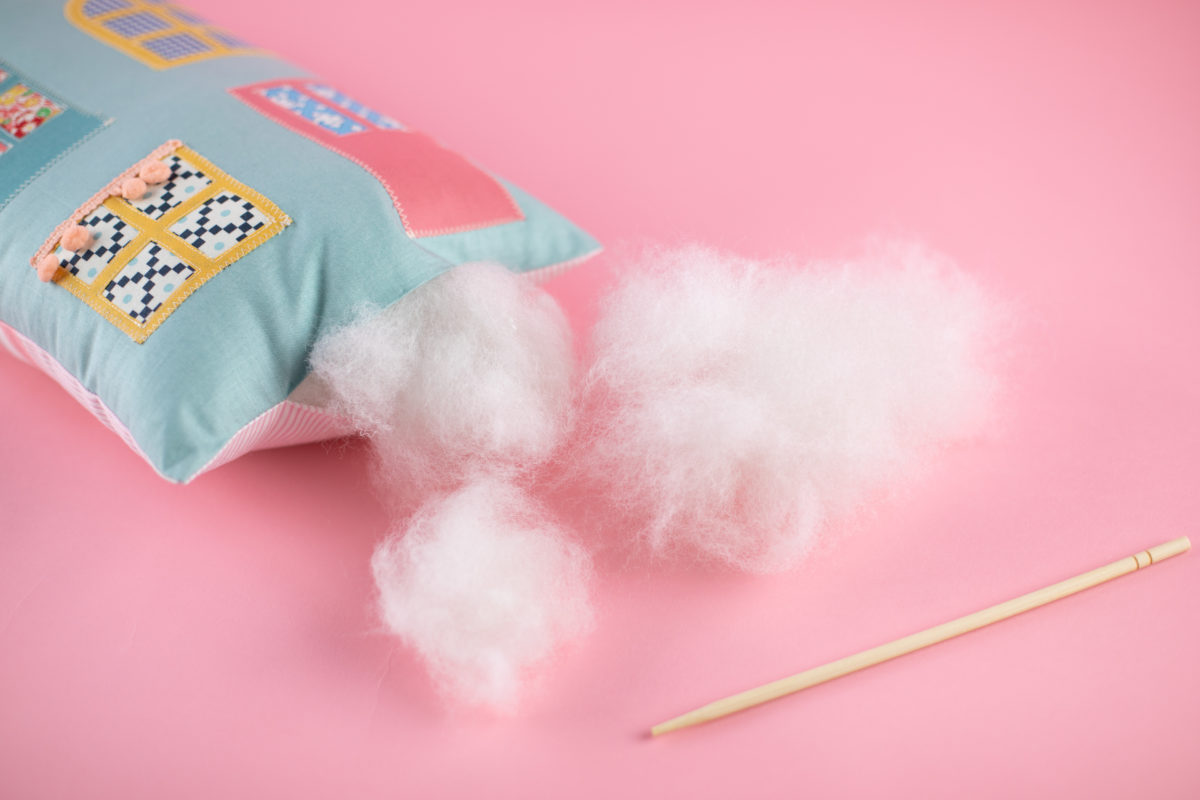
9. Hand sew the bottom closed using an invisible stitch.
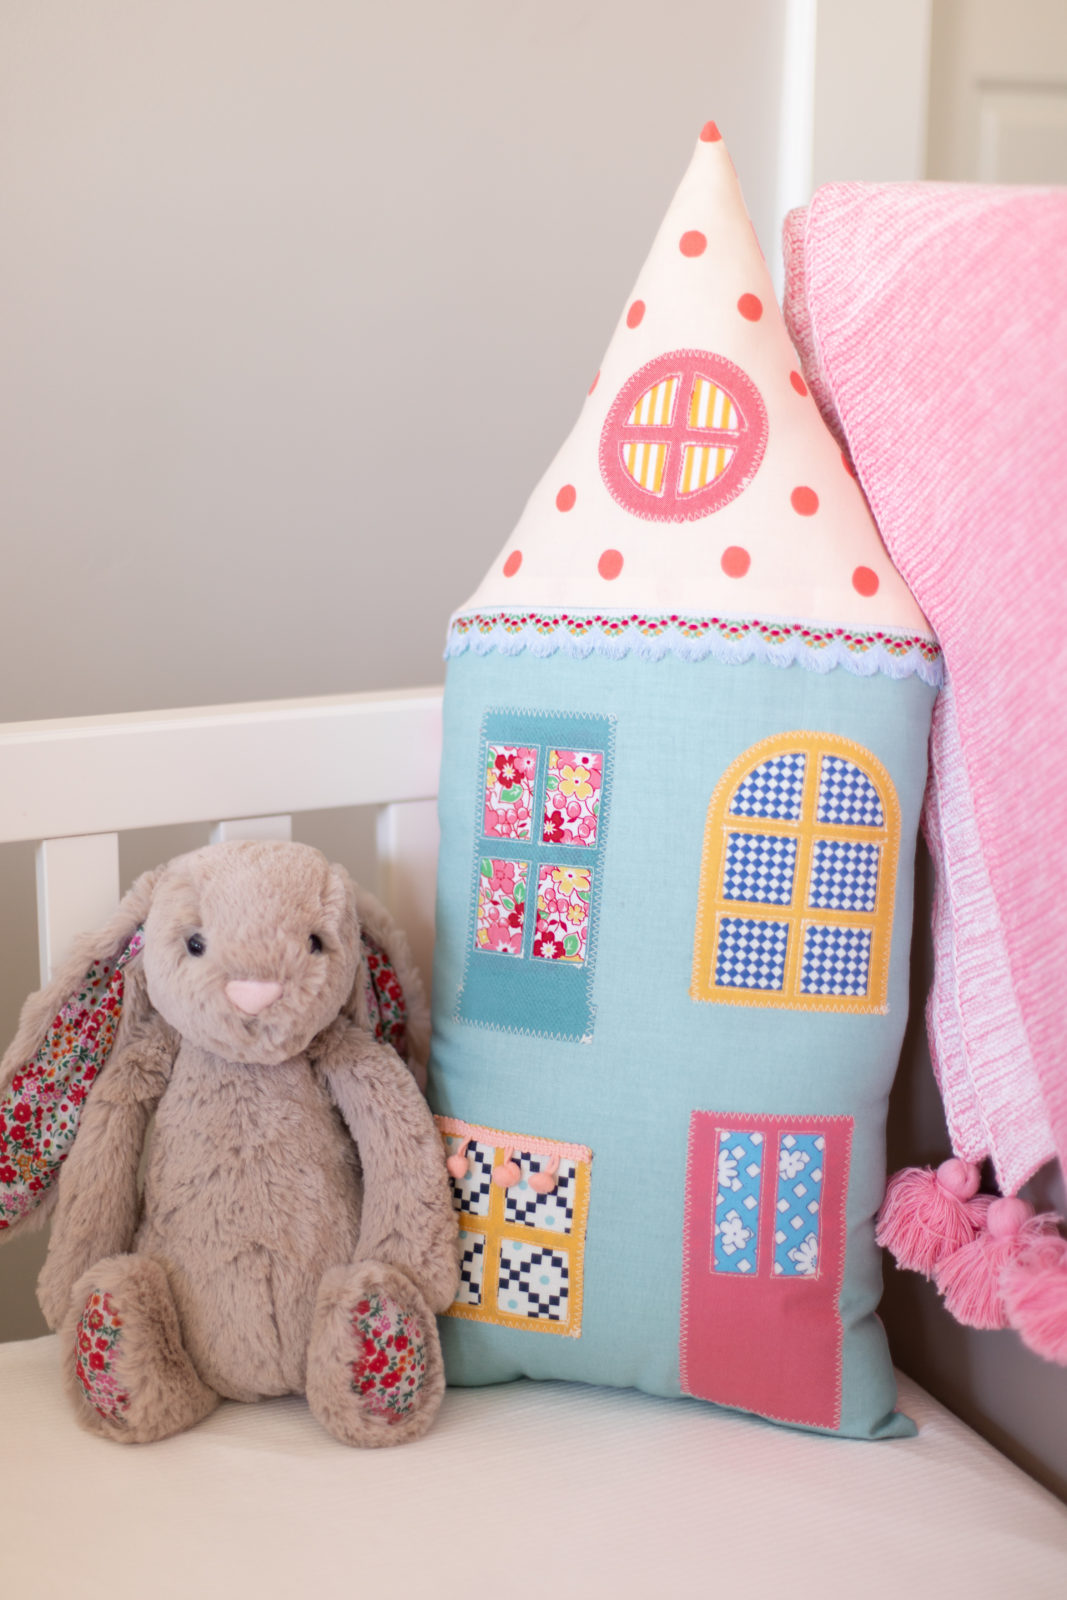
And voila! Place the pillow on a bed or a chair or style it on a shelf. This house pillow looks adorable just about anywhere!
 January Online Classes
 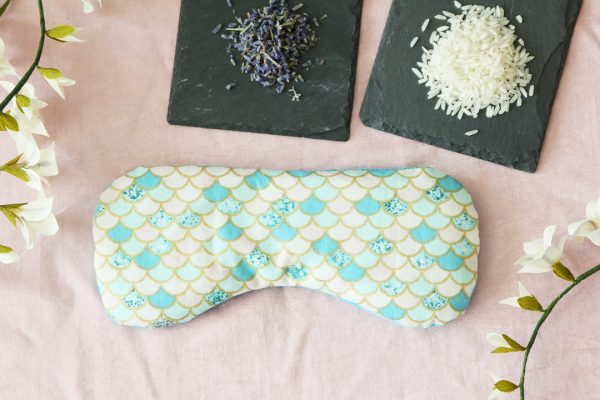 Fabric Eye Pillow with the Rotary Blade