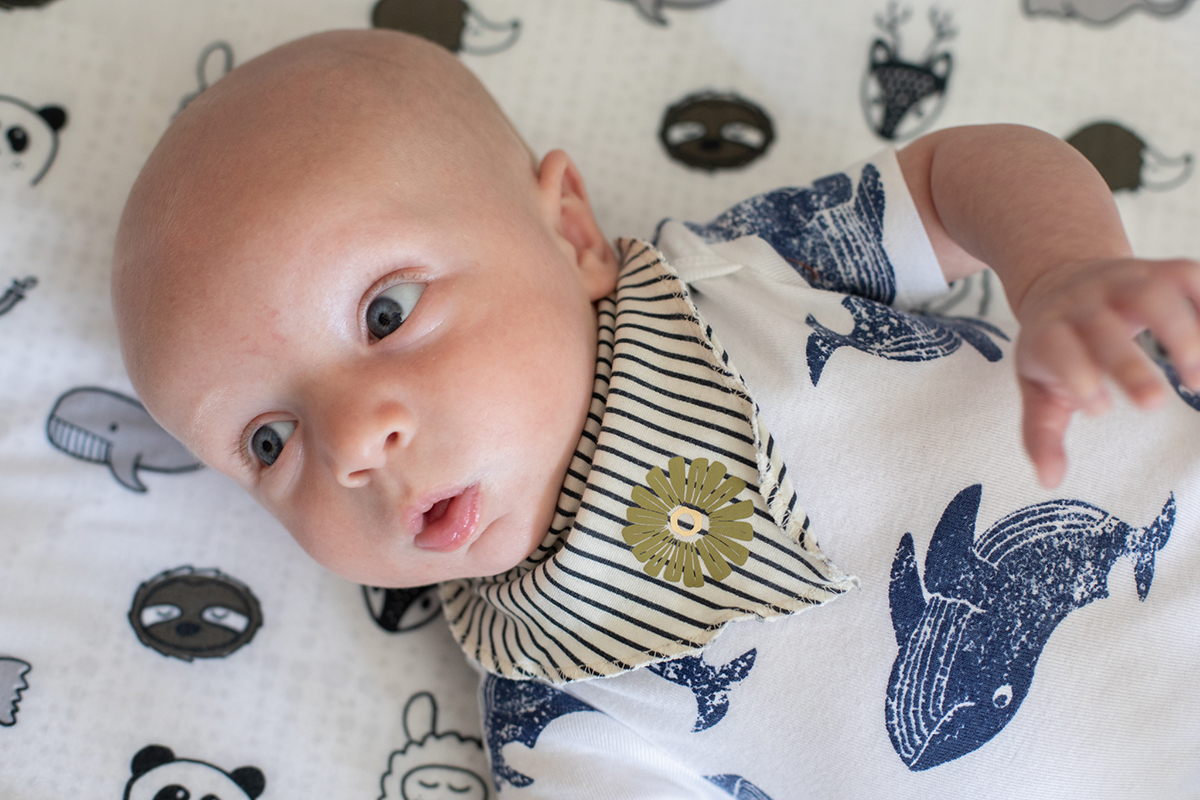
Cutting knit fabrics with your Silhouette Cameo® 4, Cameo Plus, or the Cameo Pro is a cinch using the Rotary Blade. Learn how to cut and assemble these adorable baby bandana bibs so that you can keep them on hand for your kid or an easy grab-and-go baby shower present.
Supplies:
- Silhouette Cameo® 4 Series Cutting Machine
- Silhouette Rotary Blade
- Silhouette Studio® Software
- Knit Fabric
- Coordinating Thread
- Sewing Machine or Serger
- Overcast Foot (if using sewing machine)
- Pins
- Snap Button Tool and Snaps
- Design ID #352048

1. Set up in Silhouette Studio®
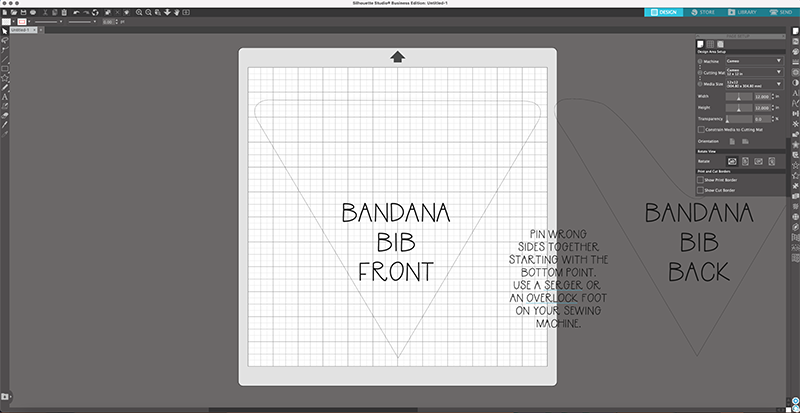
To start making this project, you will need to have downloaded the Silhouette Studio® software on your computer. Open the file, which has both the front and back of the bib pattern, and ungroup the shapes. Delete the words and only keep the larger two pieces.
2. Cut pieces
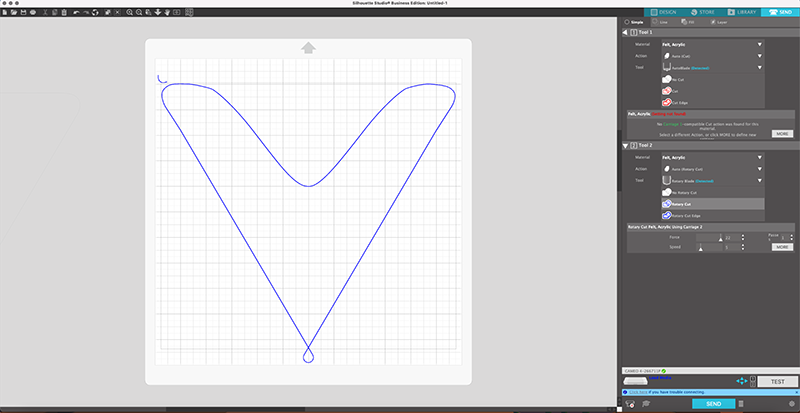
Place one side of the bib on your canvas and then select Send in the top right-hand corner. Highlight your shape and under Tool 1, select No Cut. Under Tool 2, select Rotary Cut. Be sure that your Rotary Blade is inserted into the Tool 2 slot so it can read the correct blade.
When you use the Rotary Blade, the lines will be blue and you will see little loops in your pattern. This helps the blade to rotate and not pull your fabric as it is cutting. We chose to use the felt, acrylic setting since there isn’t a knit setting in the Silhouette Studio® yet. These settings worked great!
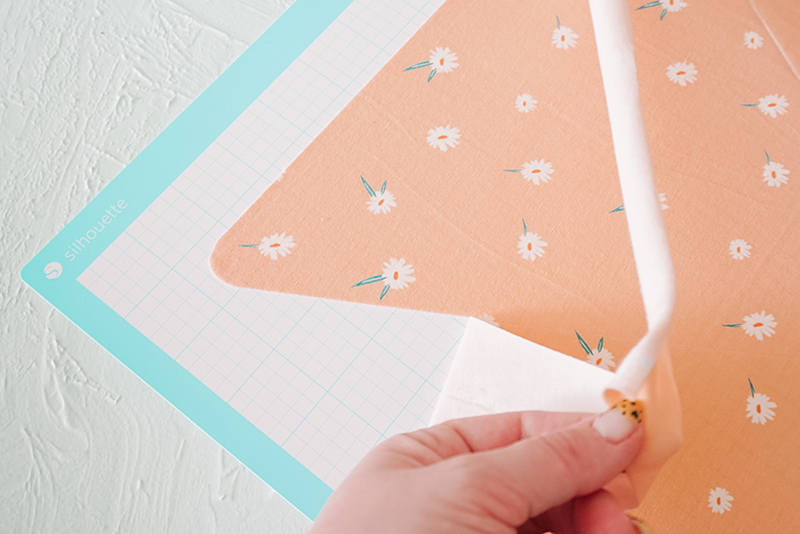
Cut your knit fabric to the size of your canvas. Use a brayer if you have one to press all the wrinkles out of your fabric and to allow it to be adhered to the mat correctly. Click Send to cut your fabric.
Cut the bottom part of the bib out of towels or microfiber if you want absorbency, but we just used the same fabric for both sides to be cute and cohesive.
3. Assemble Fabric Pieces
Now to assemble these cute bandana bibs. Lay the bottom of the bib right side down then lay the top of the bib right side up. Start by pinning both pieces together starting with the point on the bottom. Pin all the straight areas first and then work on the curves.
When you get to the curves, start by pinning the center of the two top pieces together and work outwards. There may be a little trimming needed around the ends of the bib, just because the knits like to slip all over the place.

If you are using a sewing machine like we did for these bibs, you will want an Overcast Foot. Our machine came with one originally but you can find some generic ones that are less expensive. The Overcast Foot will give you more of a ruffled edge when a Serger would make these ends pretty flat.
Use a compatible stitch with the overcast foot and start sewing. When you’re starting, you want to start at the neck area. We chose an area that was just past the curve of one end of the bib. Stitch around completely and then end with a securing stitch.
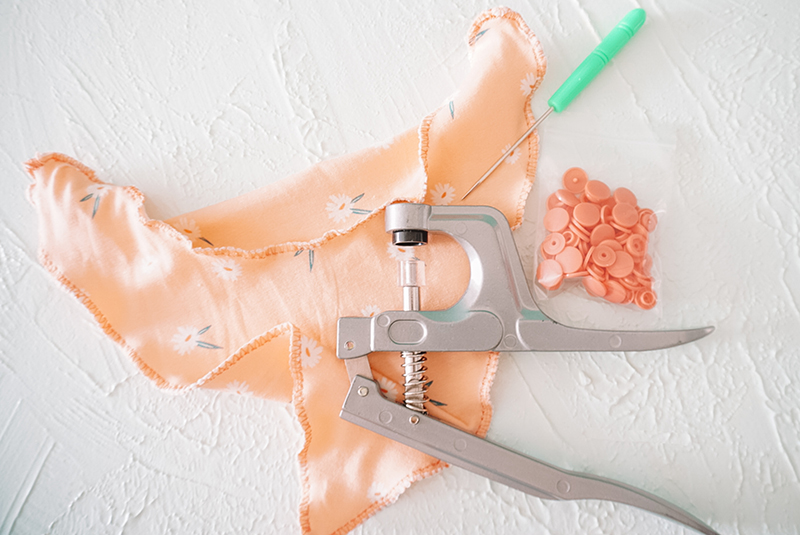
4. Add Snaps
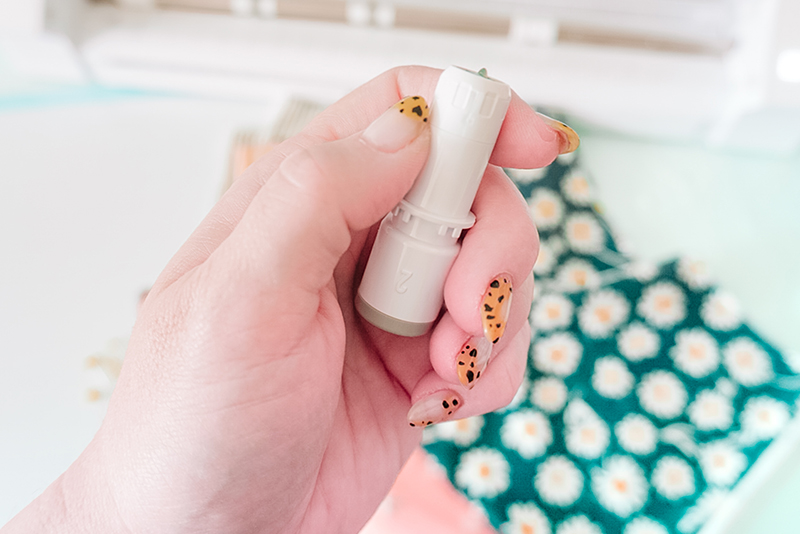
Now you’re going to use the snap setter to make an easy button snap for the bib. Most should come with some kind of awl to be able to pierce between all four layers of fabric. The snaps that we used had 2 similar ends and then the insides were two different types so that they would snap together.
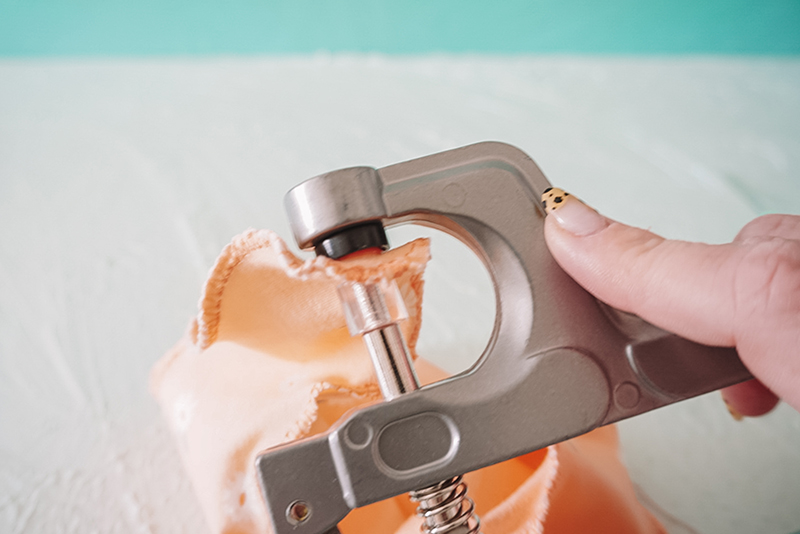
Place one of the smooth ends of the cap on the outer side of the bib then place one of the inside pieces on top then squeeze the snap setter so that it will push the plastic point into a blunt edge and secure the snap on. Repeat with the other end of the bib using the same smooth snaps and the opposite inside pieces and squeeze it together.
Snap your cute little bandana bib together and call it a day!

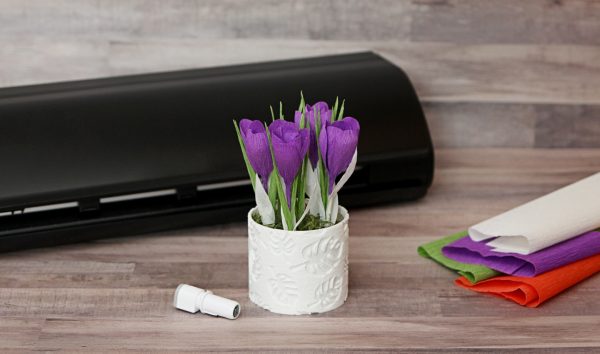 Free Class - Crepe Paper Crocuses
  January Online Classes