| PLEASE NOTE: This tutorial refers to software that is in Beta. Instructions may be out-of-date as improvements are made. |
CURIO 2 can carve details into Tooling Leather with the Leather Carving Knife. Read on to learn more about using leather blanks and the Leather Carving Knife with Silhouette Studio 5 or Silhouette Web.
Supplies
- CURIO 2
- Leather Carving Knife
- 12×12 Emboss Mat and Debris Tray (recommended)
- Real, tooling/vegetable tanned leather keyring blanks (or leather sheets if cutting out after)
- Keyrings and a pair of pliers
- A damp sponge
- Masking tape or Silhouette Tape
- A cutting blade: the 2mm Kraft Blade is recommended
- Double-sided adhesive (recommended)
- Leather stain (optional)
- Silhouette Studio or Silhouette Web
Step One: Create Design
Note: if you are using Silhouette Studio 4.5 or lower, some instructions may be incorrect.
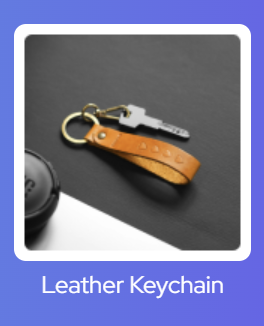
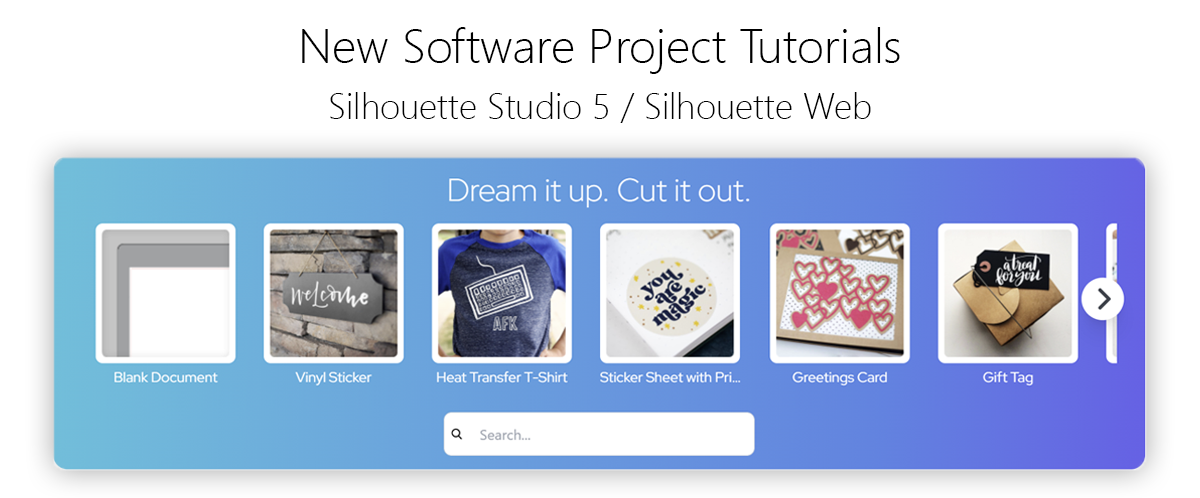
Open Silhouette Studio 5 on your computer. Alternatively, open Silhouette Web in your Chrome browser. Select the Leather Keychain project tutorial from the carousel. This will guide you through selecting your compatible machine, mat and media, will open the correct design panel for you, and display design tips. Make sure you choose a media size that matches the size of your leather keychain blanks.
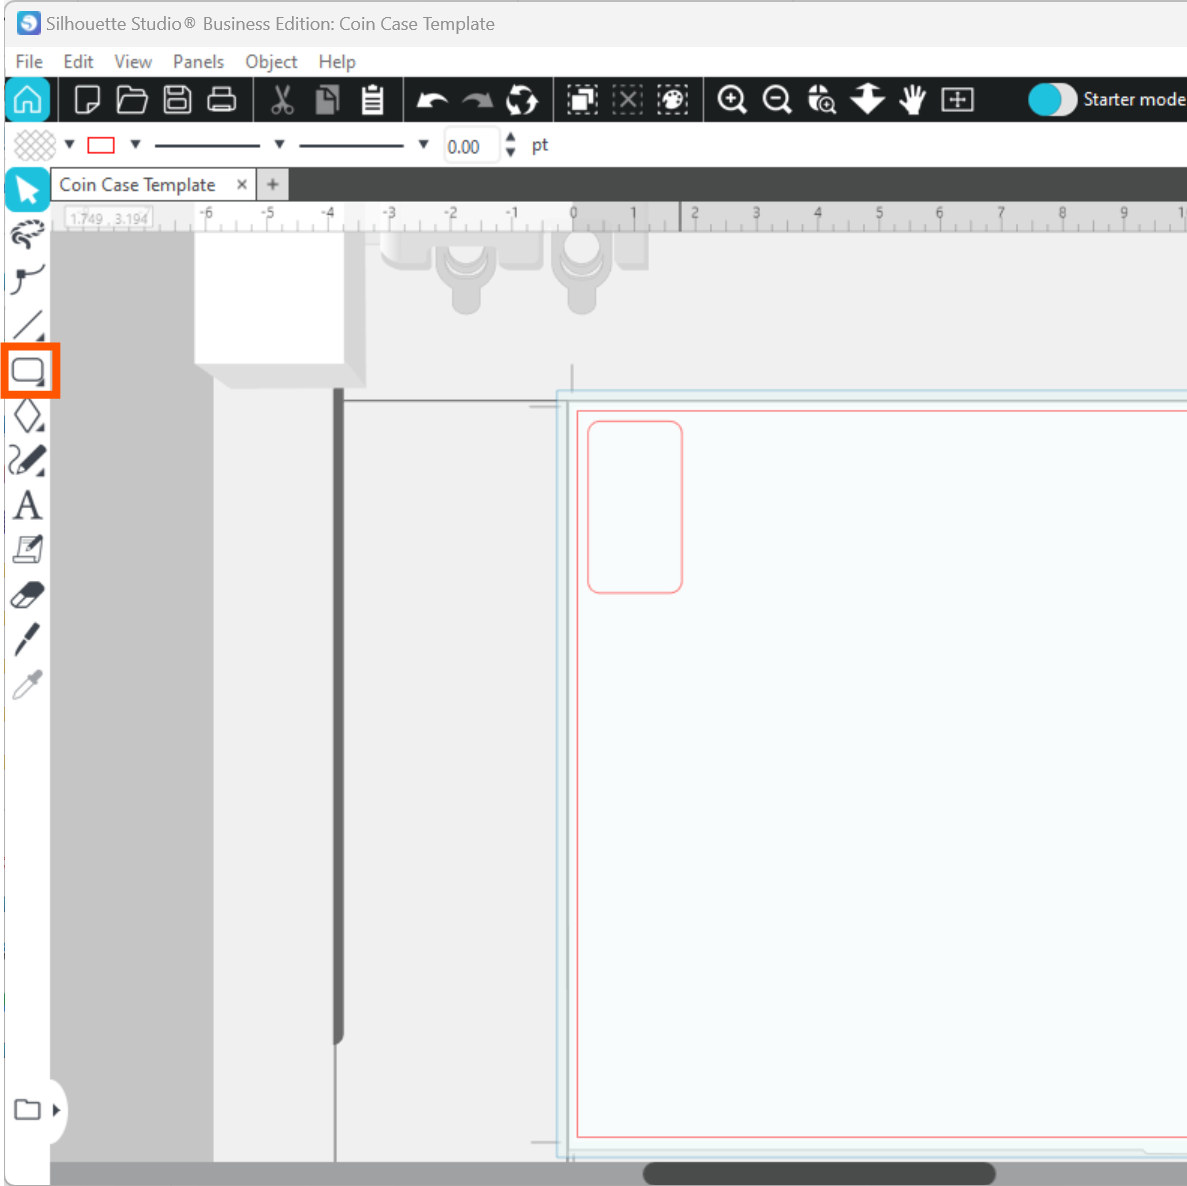
It may help you to create a template in the exact size of your keychain. To do this, first create a basic shape that matches your keychain blank:
In Silhouette Studio 5
In Silhouette Web
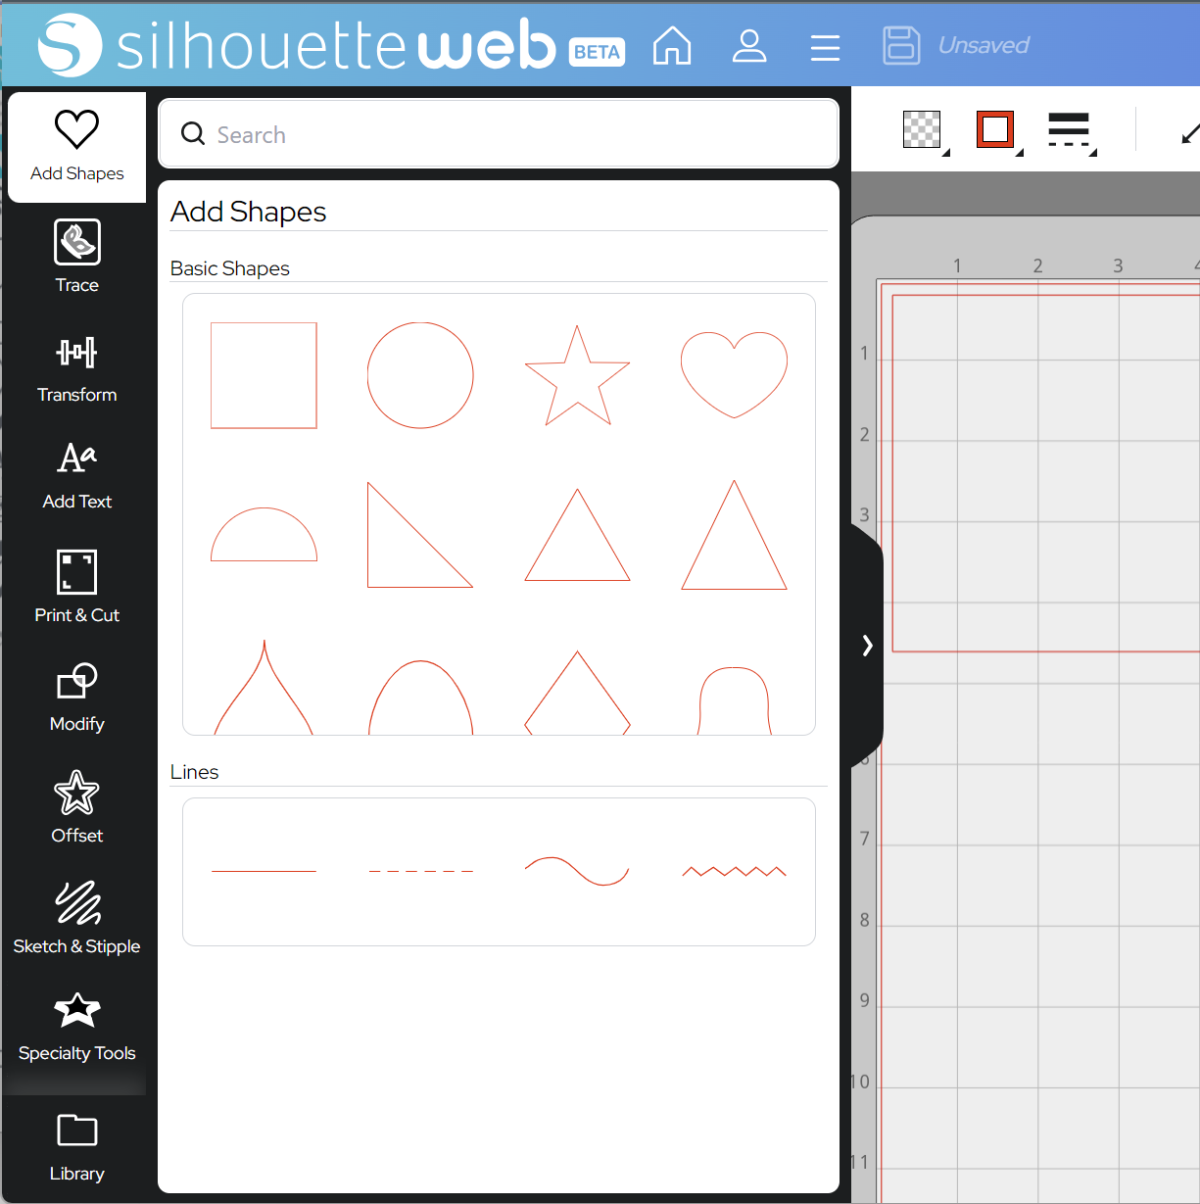
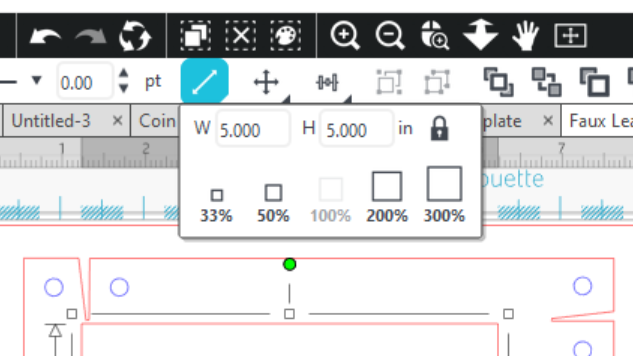
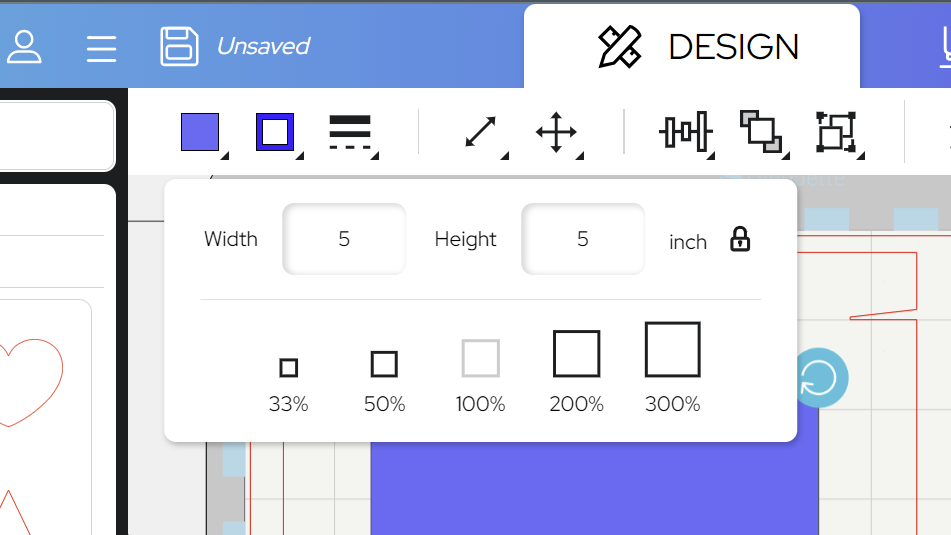
Next, resize the width and height to exactly match your keychain blank:
In Silhouette Studio:
In Silhouette Web:
Tip: you can also use the knife to score an uncut sheet of leather, and use that guideline to cut the design out later with a handheld leatherworking knife.
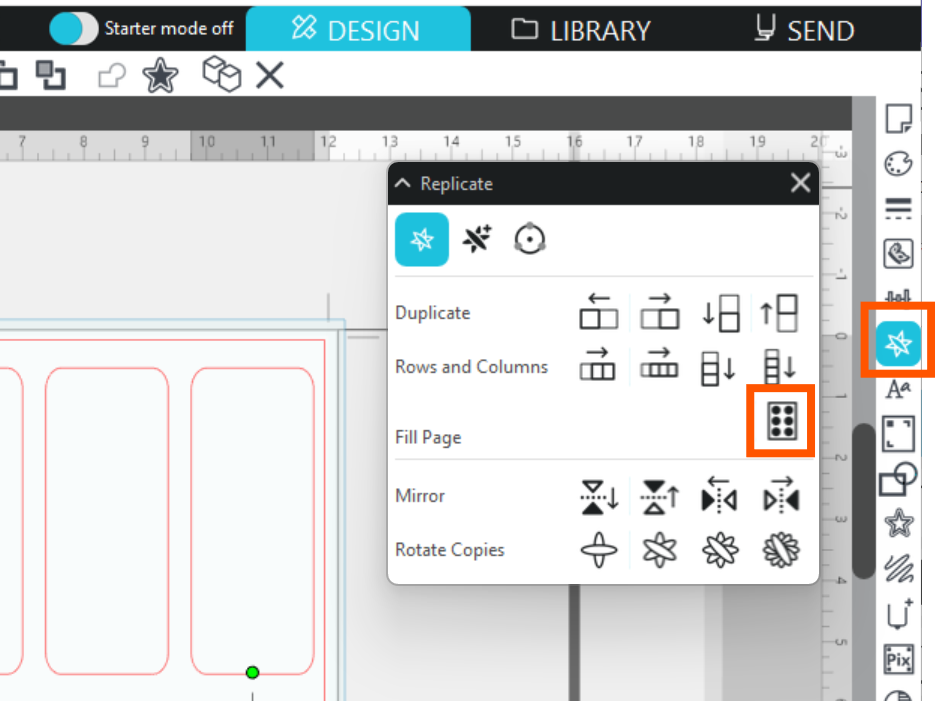
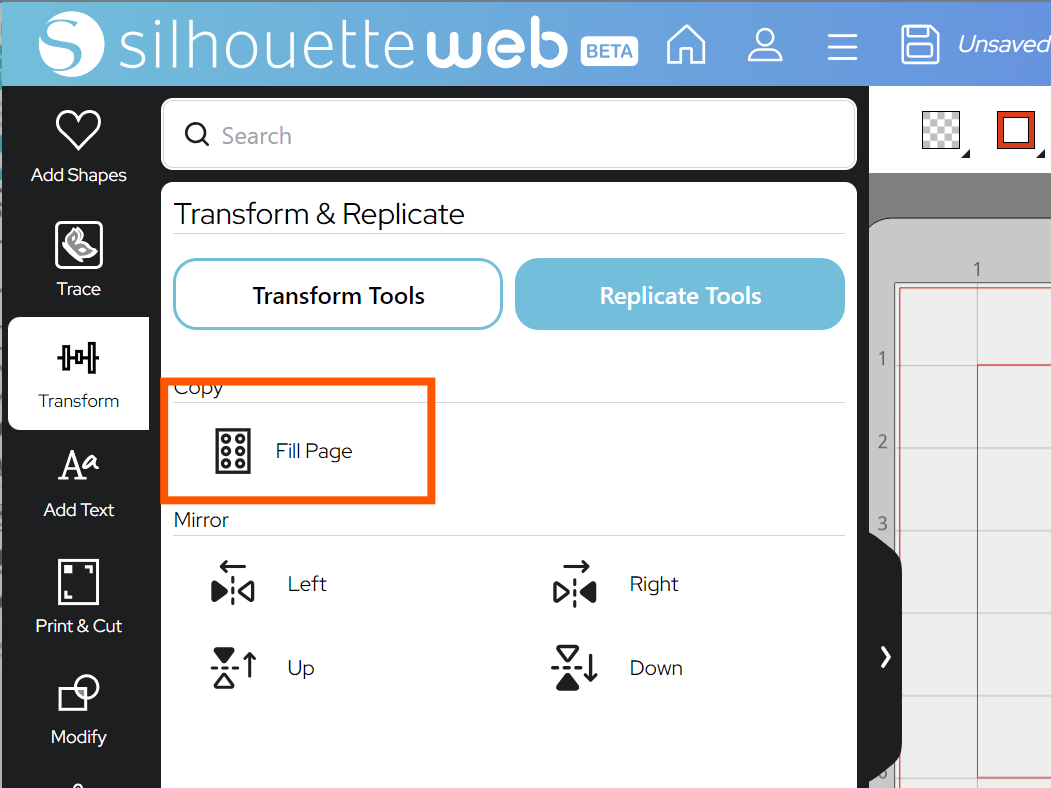
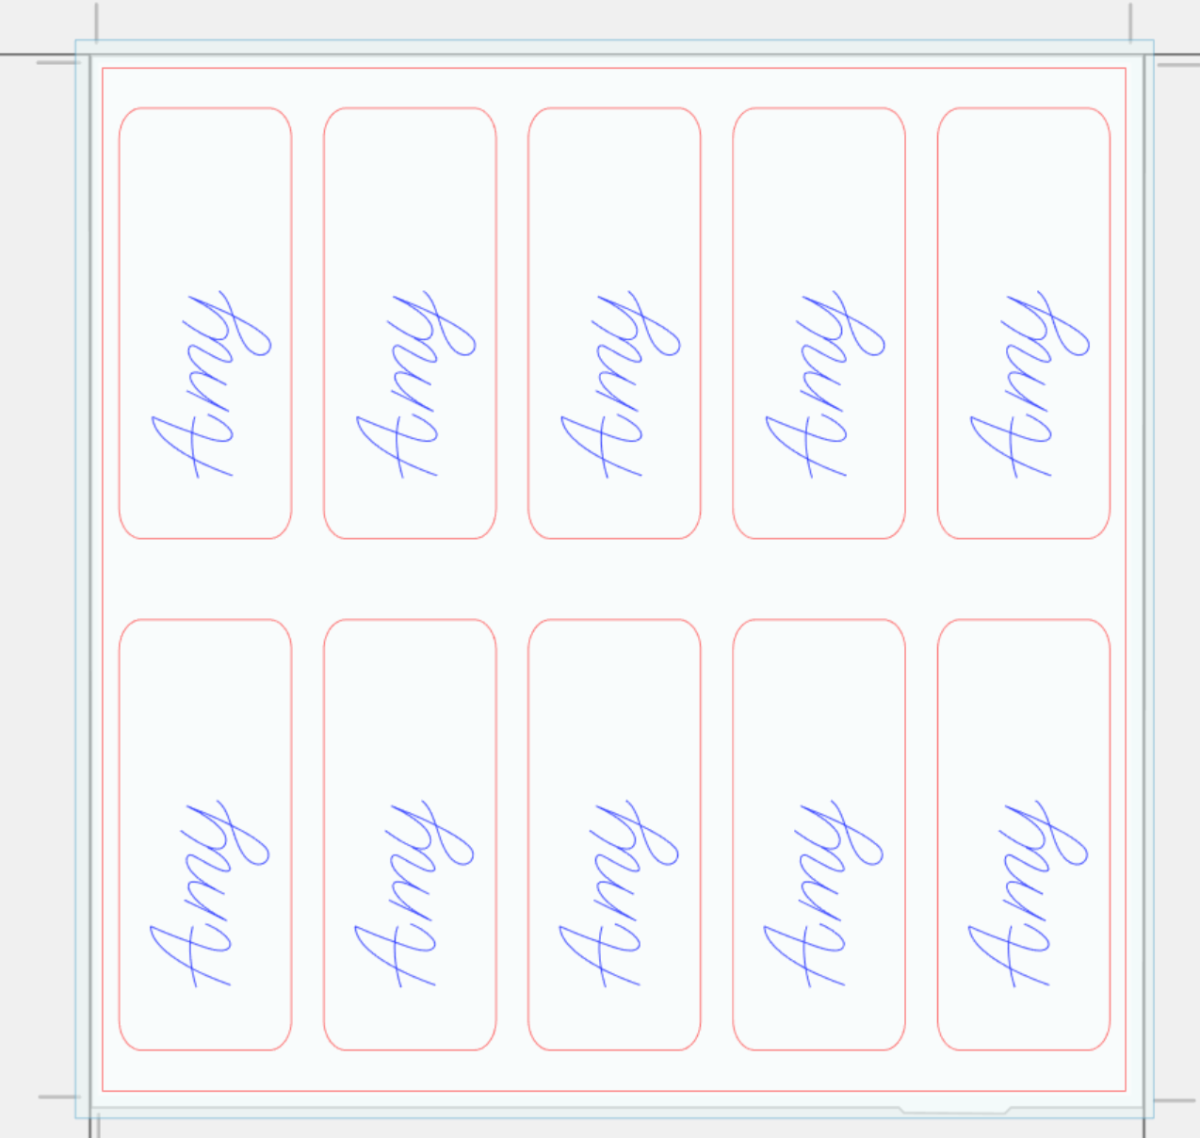
You can now use Fill Page to fill your page with blanks:
In Silhouette Studio:
In Silhouette Web:
You can carve any design you like. For this tutorial, we will demonstrate a monogram in a sketch font. Today we’re using: BFC Ballgame Sketch by Blush Fonts. To use a sketch font you have purchased from the design store, you must be signed in to your Library:
Silhouette Web:
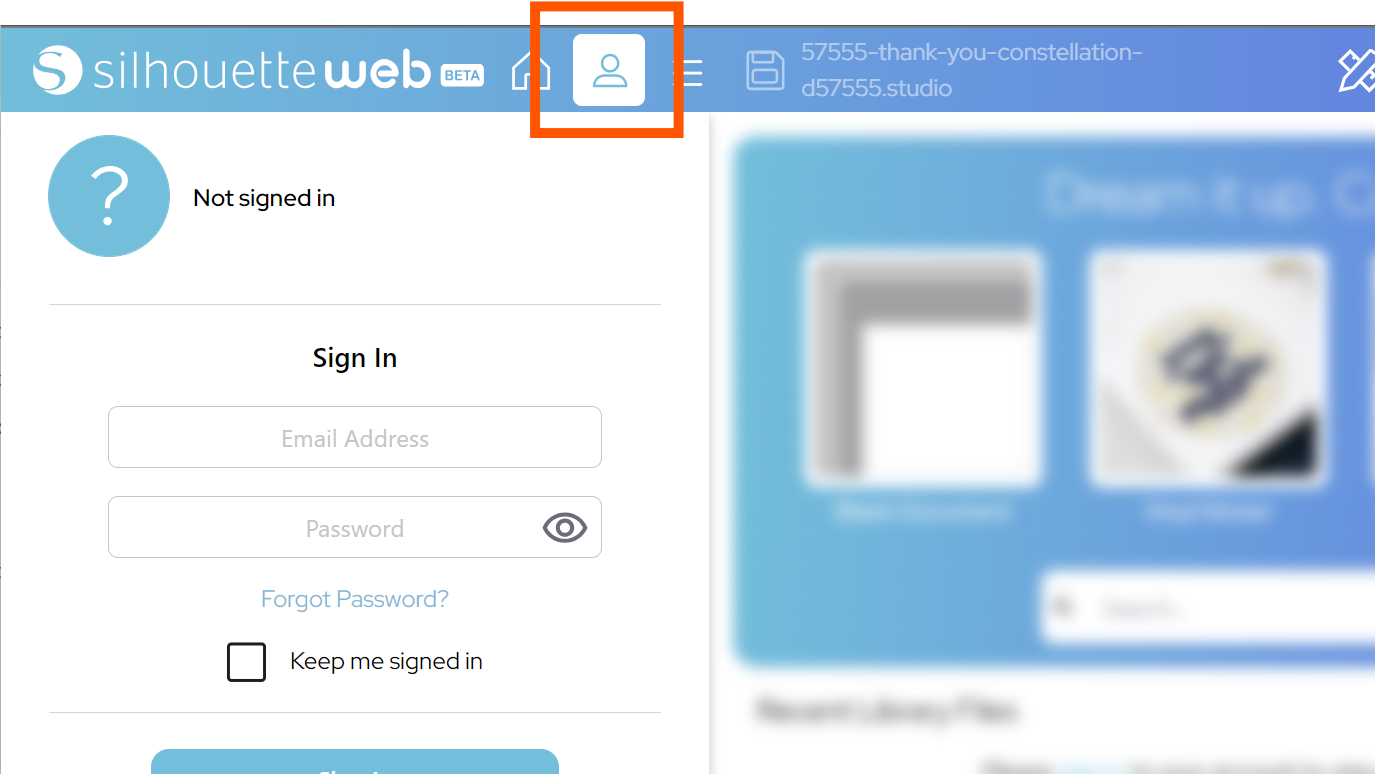
- Go to the User Menu and use the sign in option
- Once signed in, go to Design
- You may get a message to download your fonts now or later (optional)
- Open the Text panel
- Click the Library toggle
- Search for your font
- Click to add that font to your design area
Silhouette Studio 5:
- Go to the LIBRARY tab and follow the instructions to sign in
- Use the Search function in the top right to locate your font
- Double click the font to open
- This will take you back to DESIGN with the text tool open in your desired font.
Now you can position your letters within the keyring blanks, using Fill Page to quickly duplicate the text. We have also changed the font colour to keep the design lines organised:
Once you are happy with your design location, go to SEND.

Step Two: Prepare to SEND
Part One: Sending the template
First, you can use your template lines to mark where to position your blanks. There are several ways to do this – one method is to stick a piece of paper or a layer of masking tape over your Debris Tray, and then sketch the outlines on the tape with the Silhouette Pen Tool.
Tip: If you are using sheet leather instead of precut blanks, you can skip this step and instead use the leather carving tool to create a guideline for you to cut along with a leatherworking knife. To do this, skip to “Sending your Leather Carving”
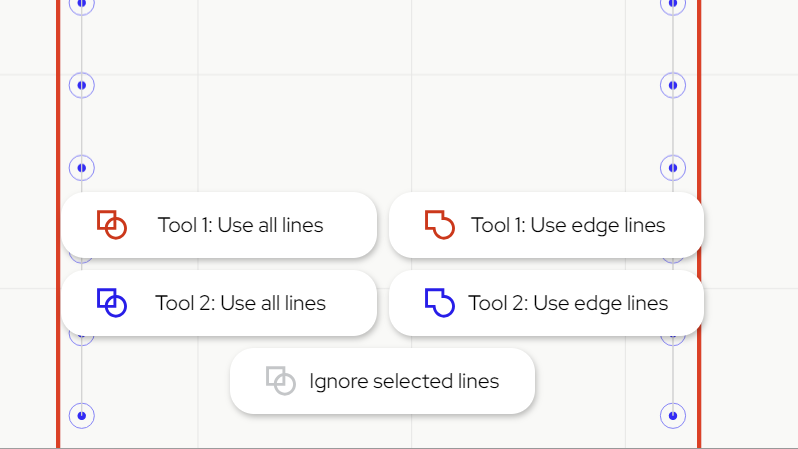
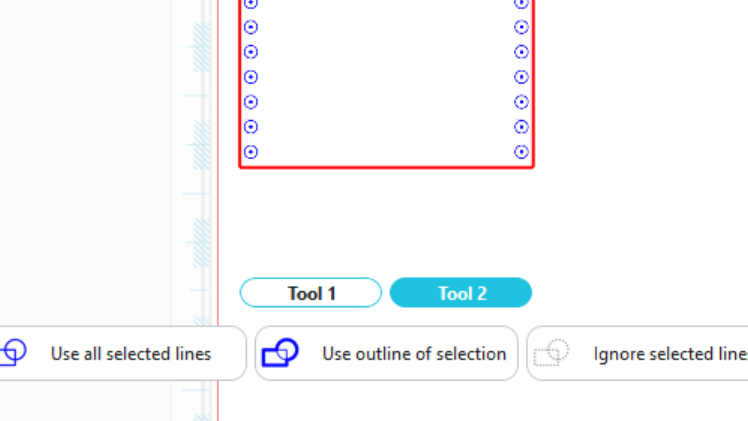
First assign your template lines to Tool 1 and your design lines to Ignore Lines by using the assign lines buttons at the bottom of the SEND preview:
Silhouette Web:
Silhouette Studio:
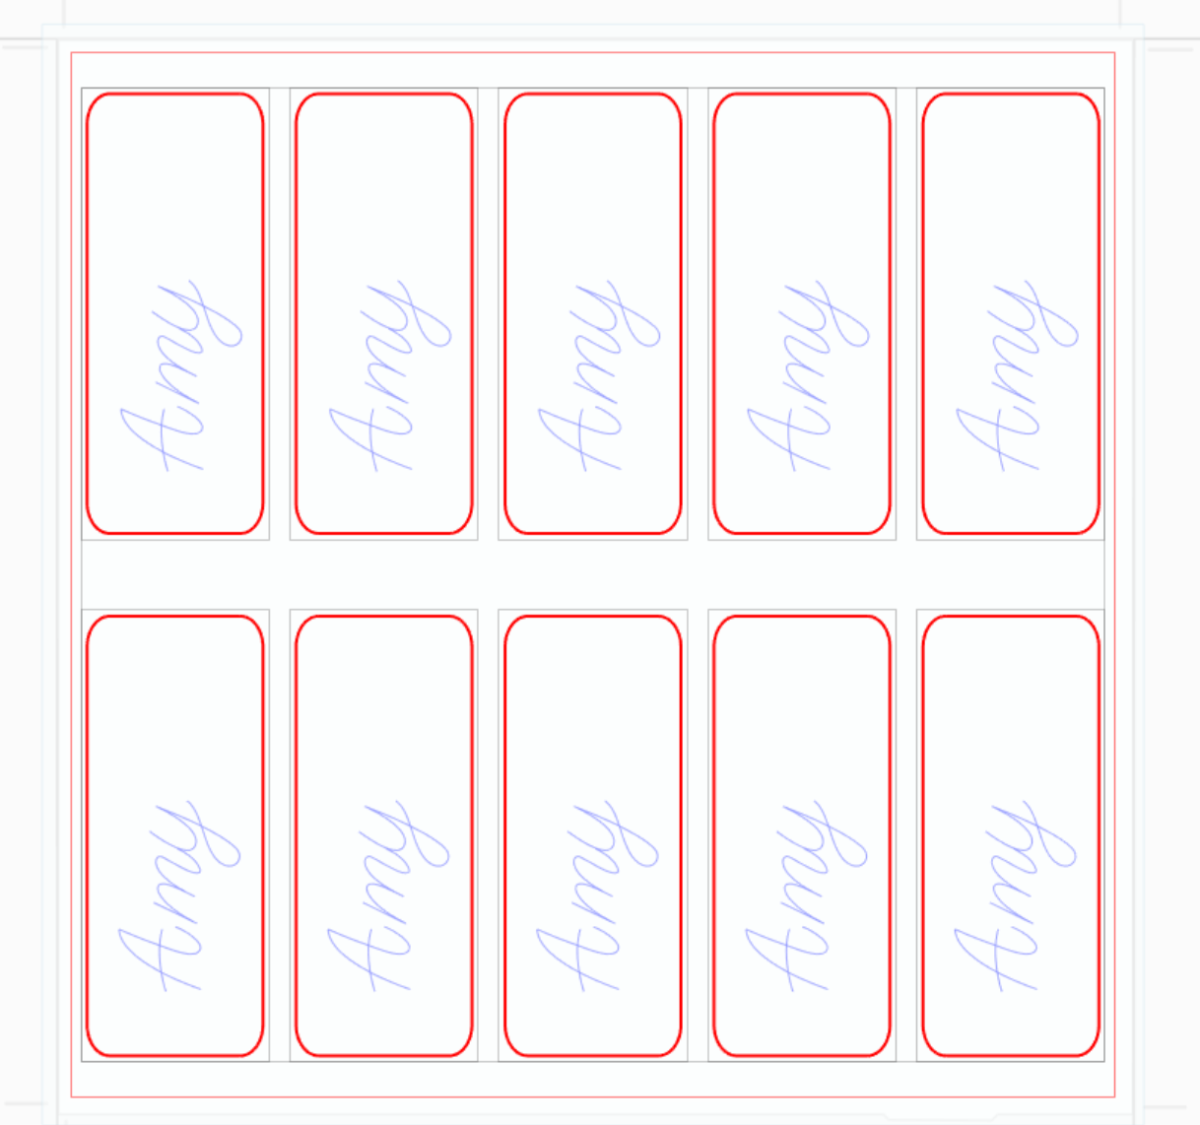
Your SEND preview should look like this, with the template lines bold and the design lines pale:
In Silhouette Studio 5 Guided Mode, and Silhouette Web, there will now be on-screen instructions on how to load your media and mat, insert your tools, and send. The steps will be:
- Connect to your machine
- Follow the instructions, choosing Copy Paper, Medium and the Sketch action.
- Send your job.
Part 2: Sending your carving job
You are now ready to carefully apply your leather blanks to the debris tray using Silhouette double-sided adhesive. This is recommended over tape or a mat due to the need to wet your leather during working. To wet your leather, wipe a damp sponge over the surface until it changes colour.
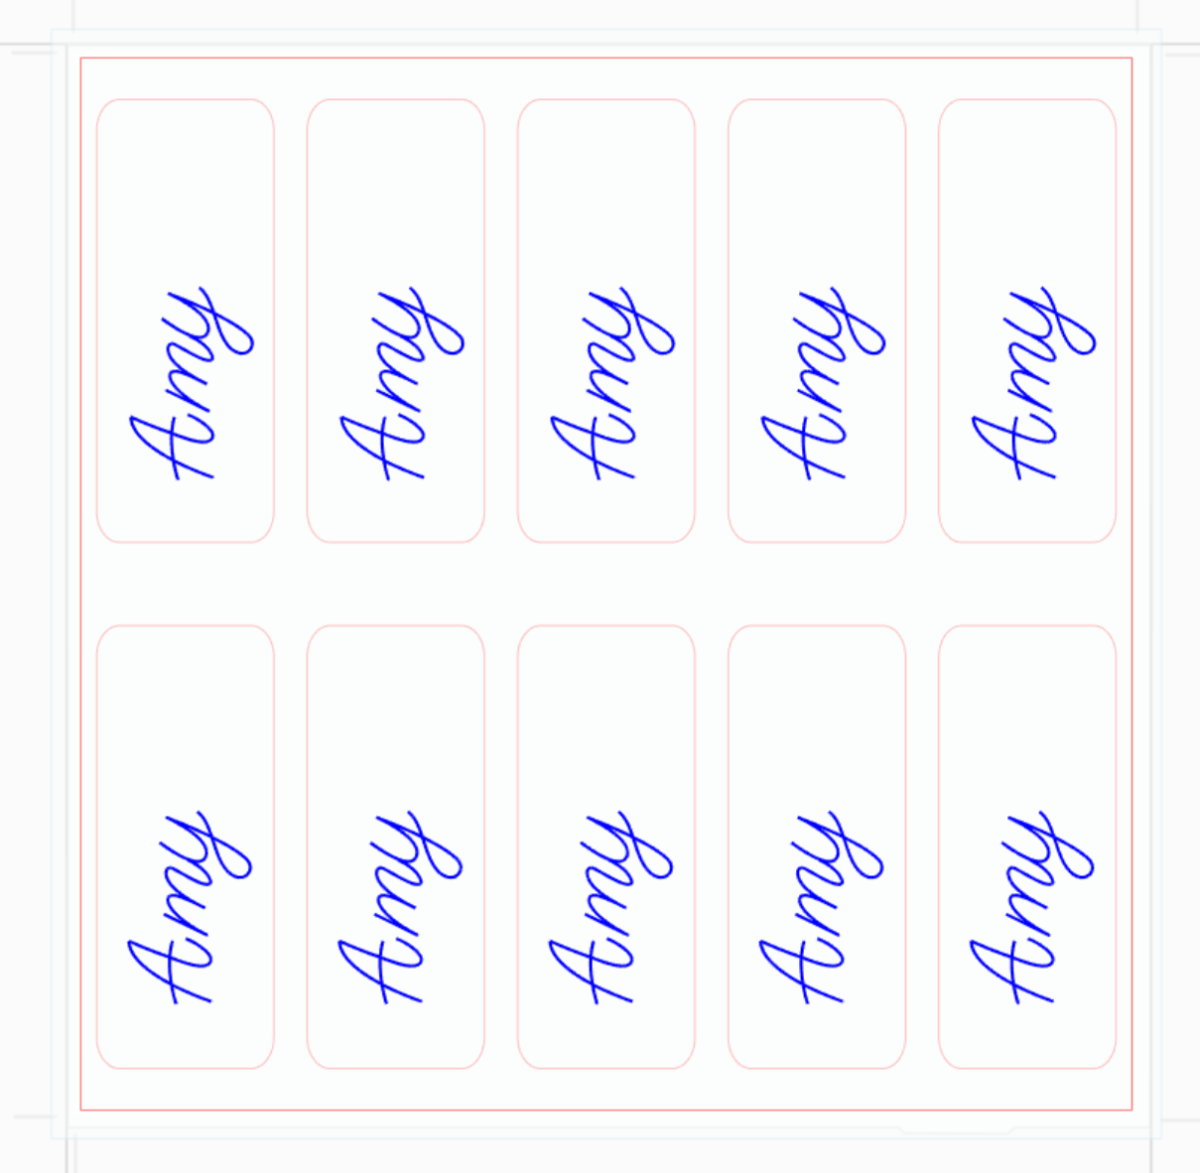
When your leather is prepared, you can now change the assigned lines so that only the lines you want to carve are bold, and assigned to Tool 2:
Once you are ready, you can send again.
The steps will be:
- Connect to your machine
- Choose Leather from the material list for Tool 2
- Assign Carve Leather action and Leather Punch tool for Tool 2
- Make sure you have dampened the surface of your leather with a wet sponge
- Place your leather blanks onto your cutting mat, matching the mat preview exactly
- Load the mat and tools onto your Curio 2, ensuring it is taped securely
- Send the job.
Step Three: Complete your Project
Remove your design from your mat. If you wish you can now apply leather stain to bring out the contrast in your design. Stain and allow to dry as per the manufacturer instructions, and you can now assemble your final custom keychain!
 Everything to Know About Silhouette Studio® Upgrades
 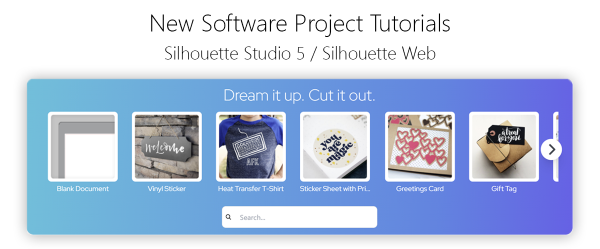 Cut, Punch & Sew a Leatherette Coin Case