Silhouette embossable foil is a great way to create an embossed sticker effect. Learn how to use Silhouette software to create a debossed sticker and develop the skills to experiment with different materials and designs.
| PLEASE NOTE: This tutorial refers to software that is in Beta. Instructions may be out-of-date as changes and improvements are made. |
Supplies
- CURIO 2, CAMEO 4 & 5 Series, Cameo Pro MK-II
- Emboss Tool for Tool 2
- 12×12 Emboss Mat
- Silhouette Embossable Foil
- An AutoBlade or Ratchet Blade
- Silhouette Studio or Silhouette Web
Step One: Create Design
Note: if you are using Silhouette Studio 4.5 or lower, some instructions may be incorrect.
Open Silhouette Studio 5 software on your computer. Alternatively, open Silhouette Web in your Chrome browser.
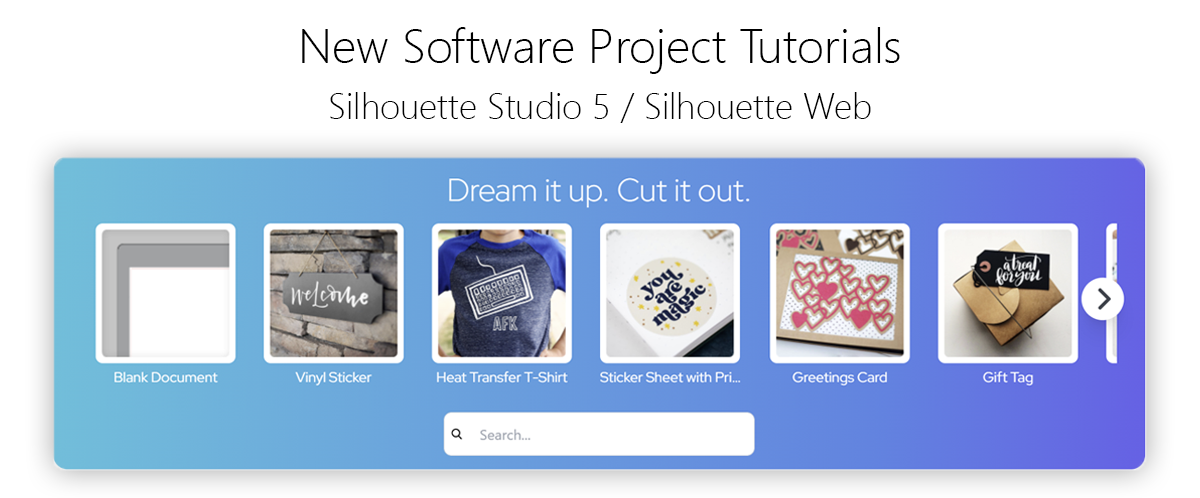
Select the Embossed Sticker project tutorial from the carousel. This will guide you through selecting your compatible machine, mat and media, will open the correct design panel for you, and display design tips.
Make sure you choose a media size that matches the size of your Silhouette Embossable Foil – you can use your cutting mat to measure.
Today, let’s create a cute sticker design to seal an envelope.
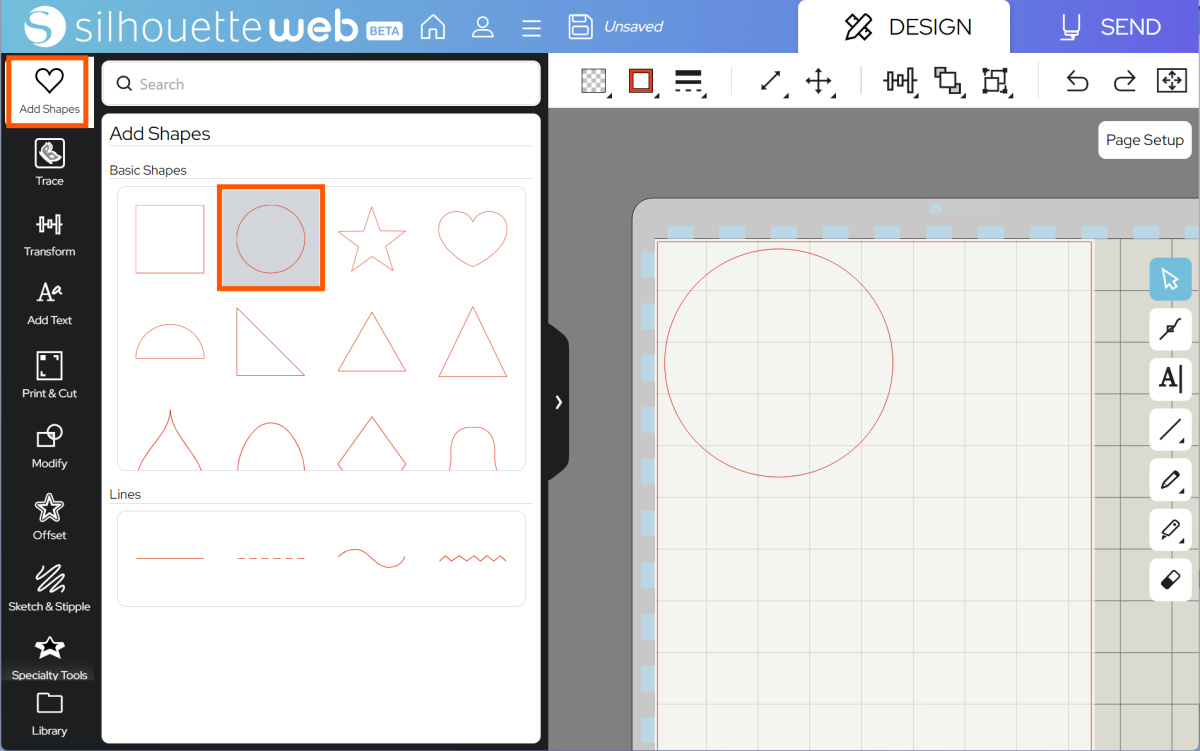
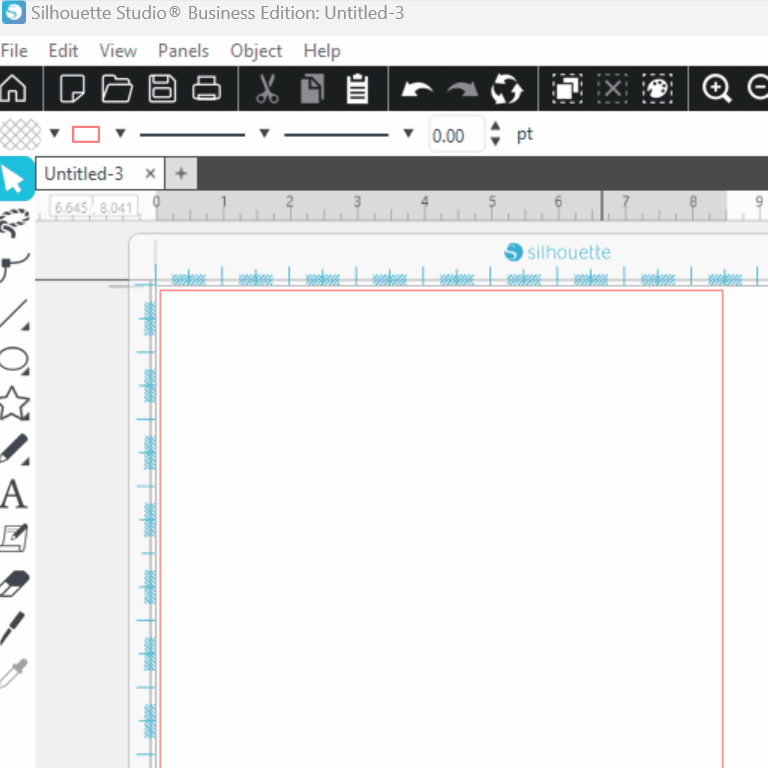
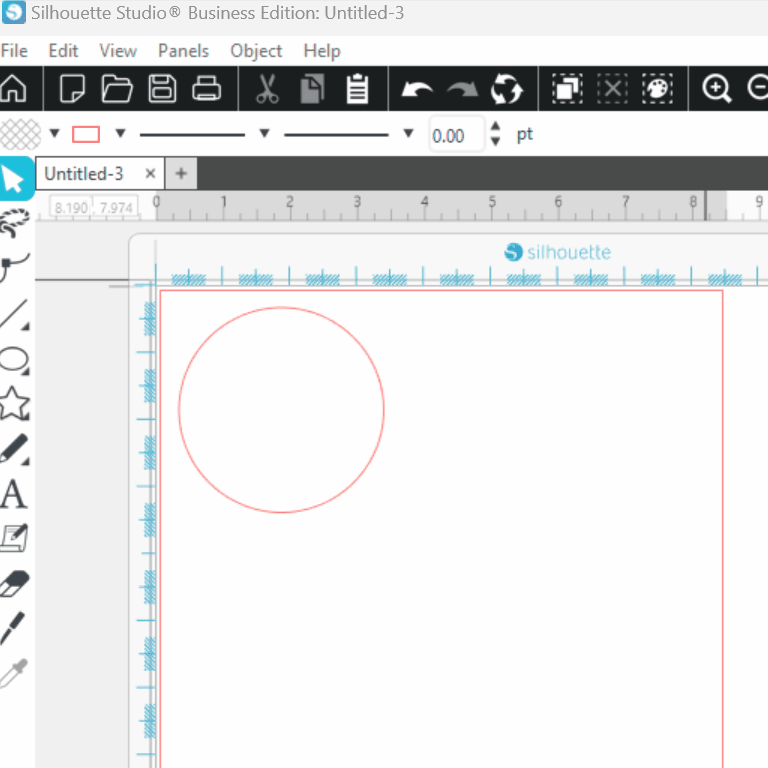
First, you will need to create the seal shape. You can use the basic shapes to create a circle.
In Silhouette Web:
In Silhouette Studio:
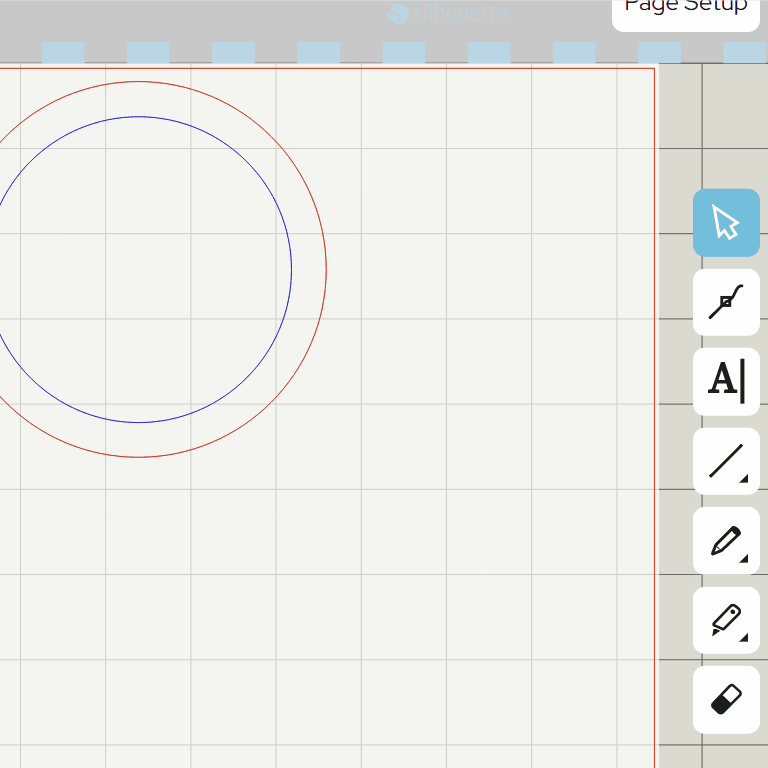
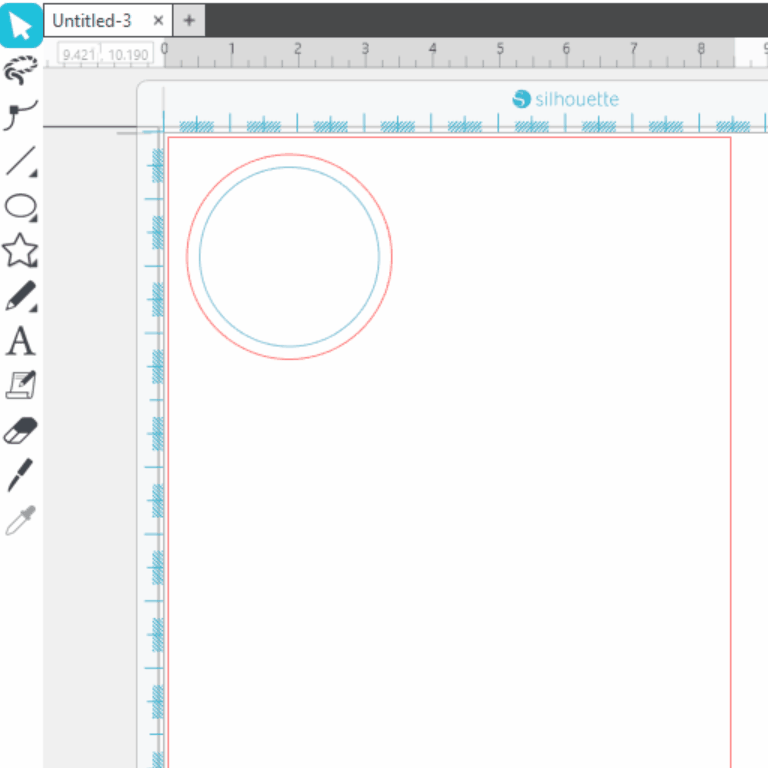
Resize your circle to be the correct size for your sticker, and then create another inner circle, to be embossed. To keep your design organized, you can color this one blue to show that it’s an emboss line:
In Silhouette Web:
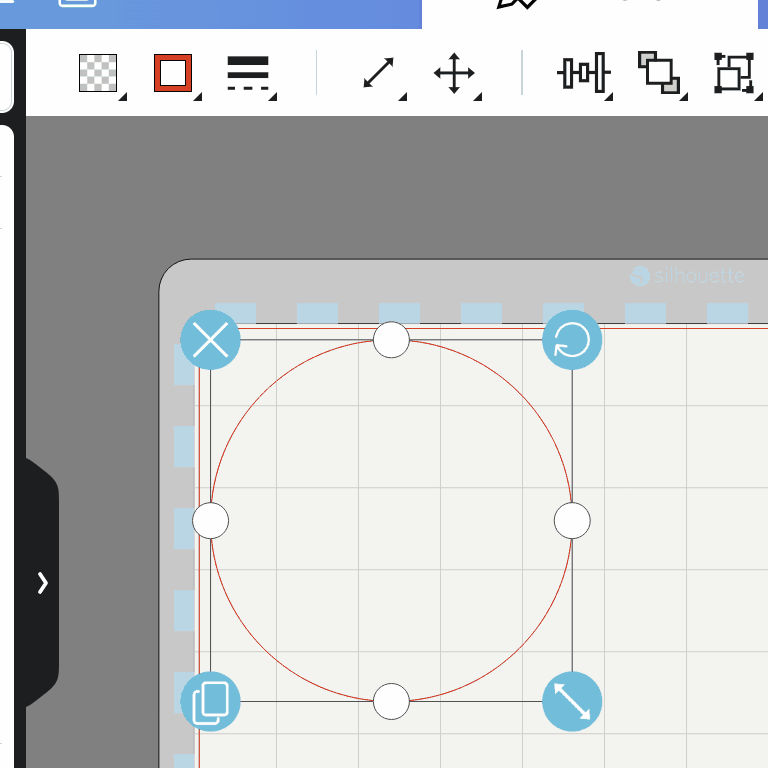
In Silhouette Studio:
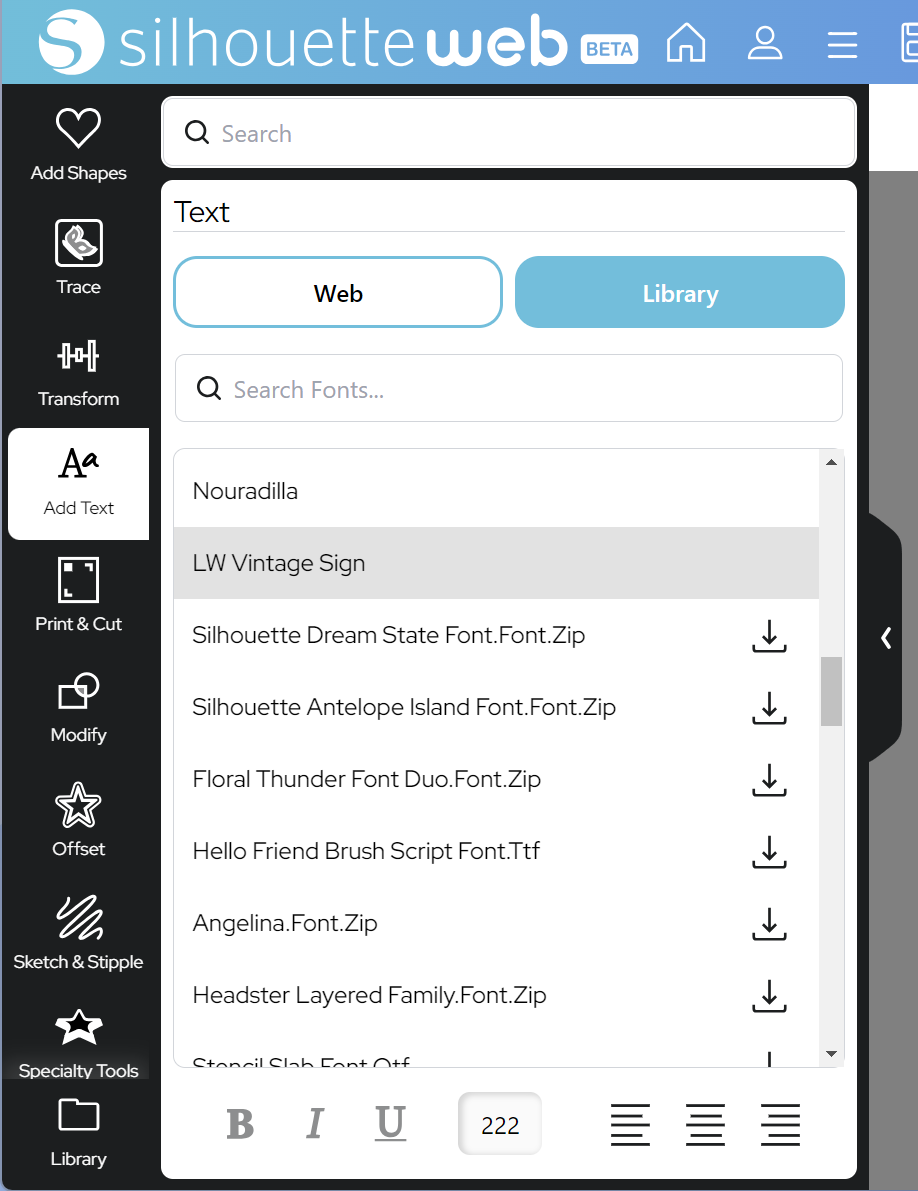
Let’s add some initials for embossing with the text tool:
Silhouette Web:
Silhouette Studio 5:
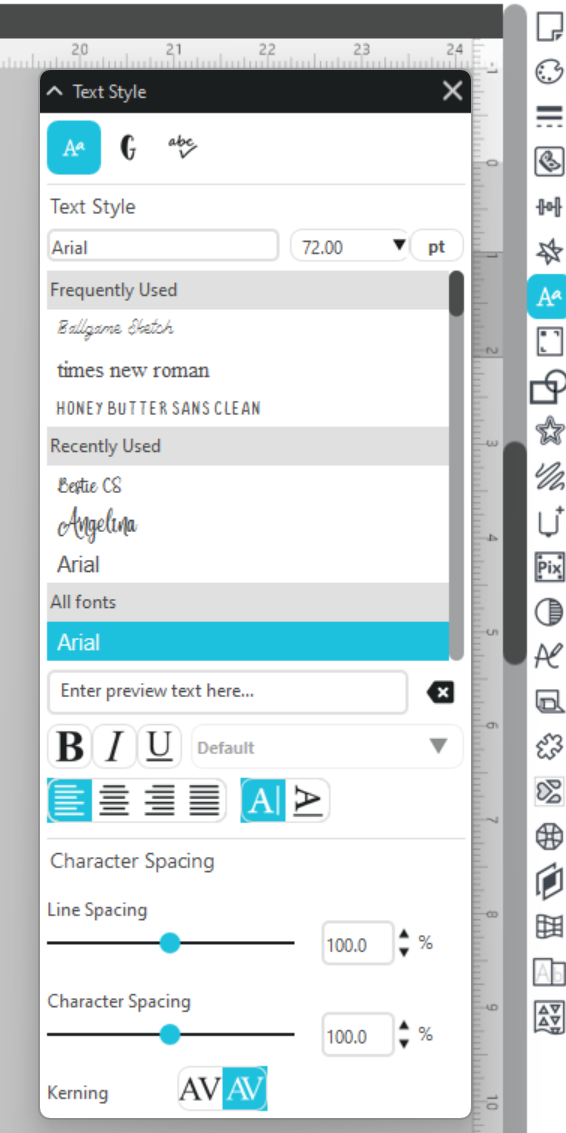
Change the font using the Text Panel:
Silhouette Web:
Silhouette Studio 5:
Tip: this is a small design, so will not need an Emboss fill. For shapes that require filling, you can use the Emboss fills in the Specialty tools panel. You can actually use any sketch fill type to fill a design, but the Specialty Tools panel has default settings tailored specifically to get a good fill result with your chosen tool.
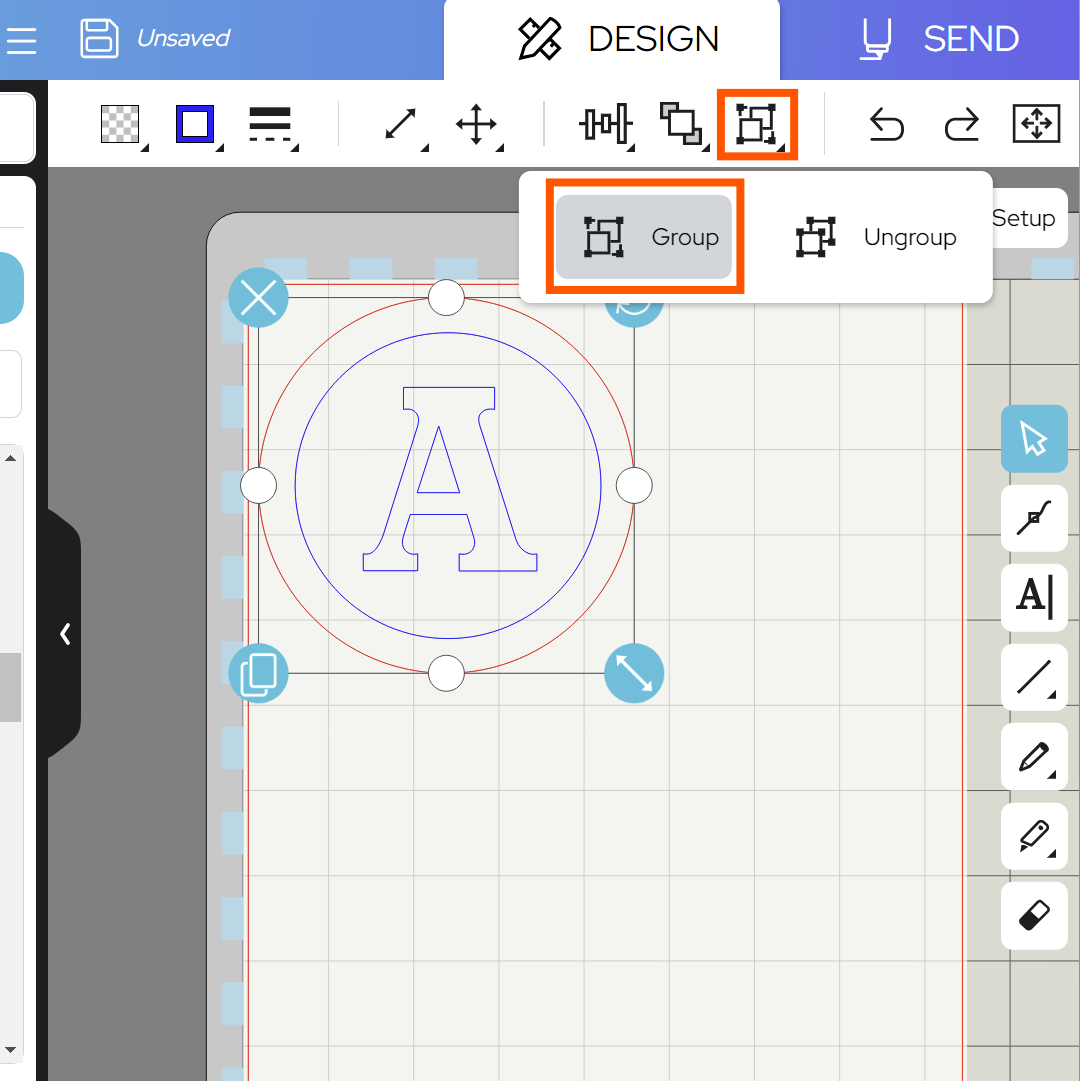
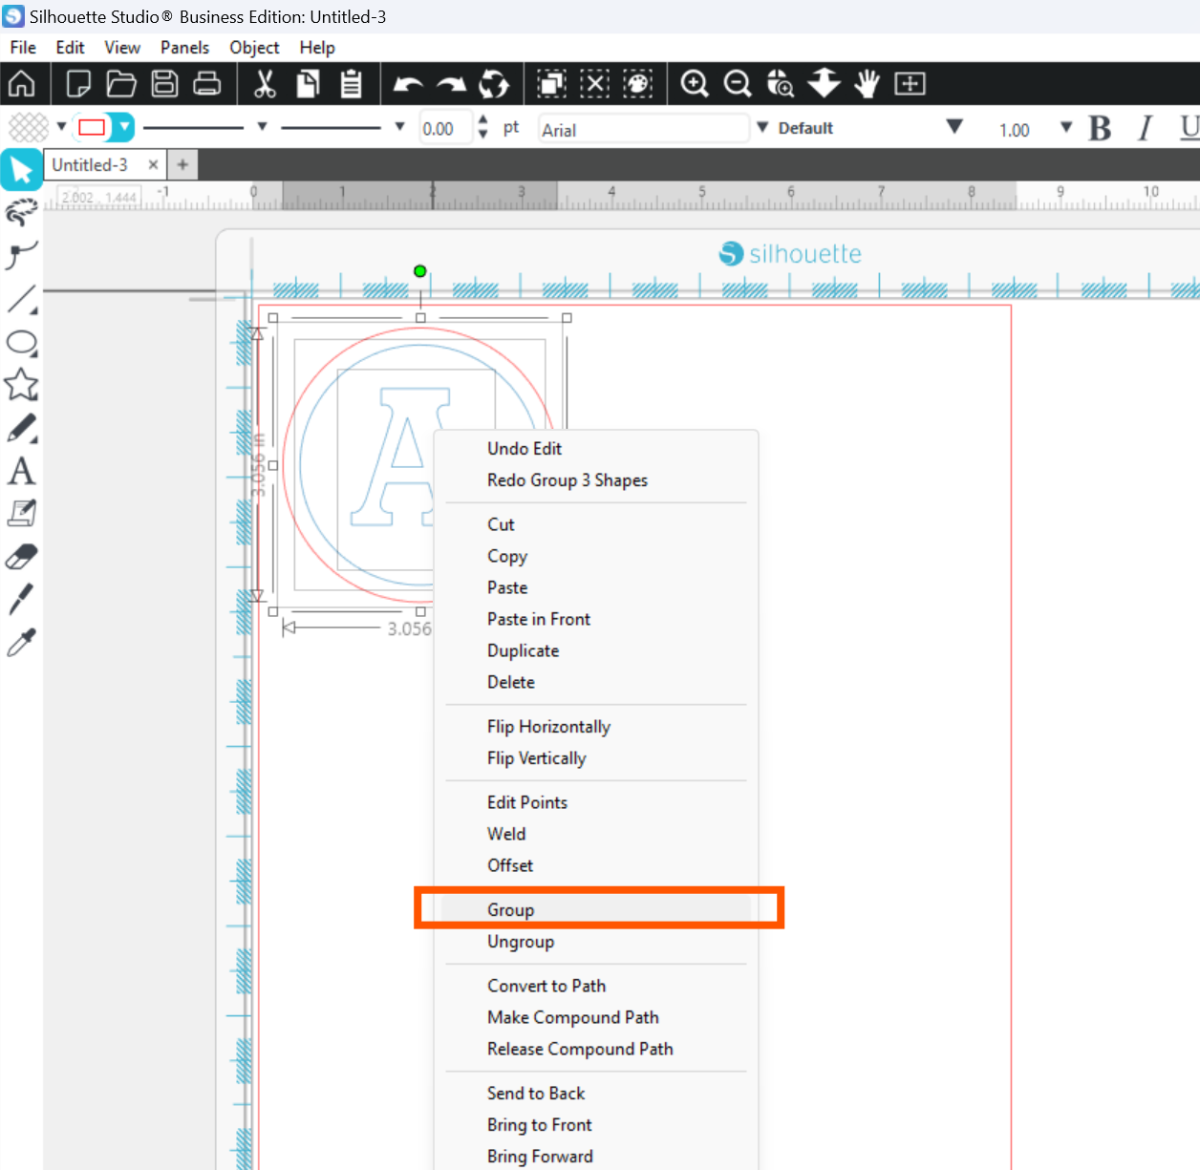
Now Group your design:
Silhouette Web:
Silhouette Studio 5:
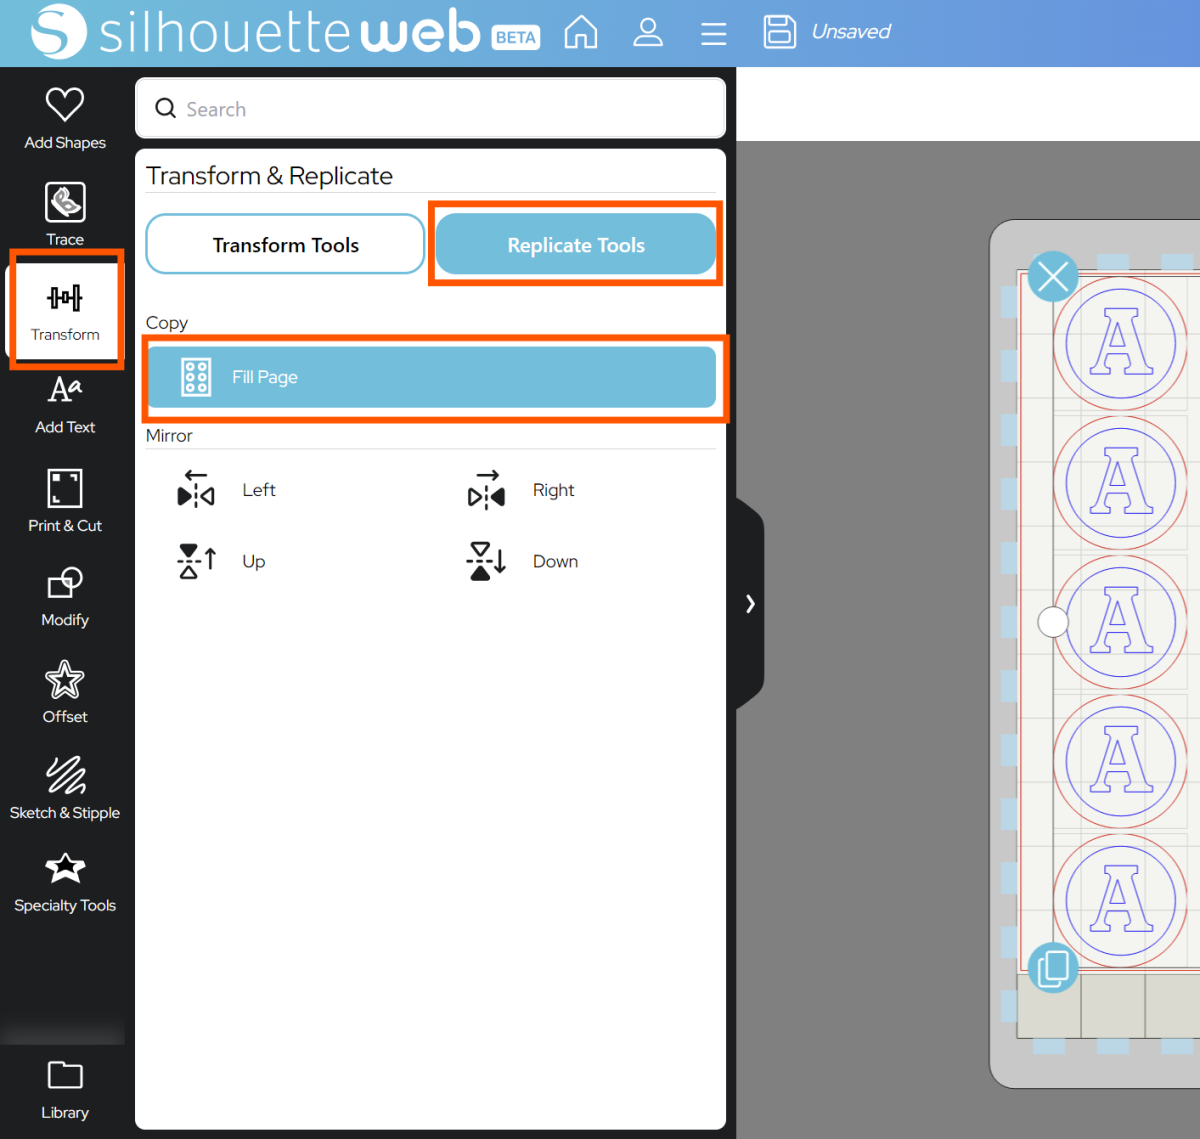
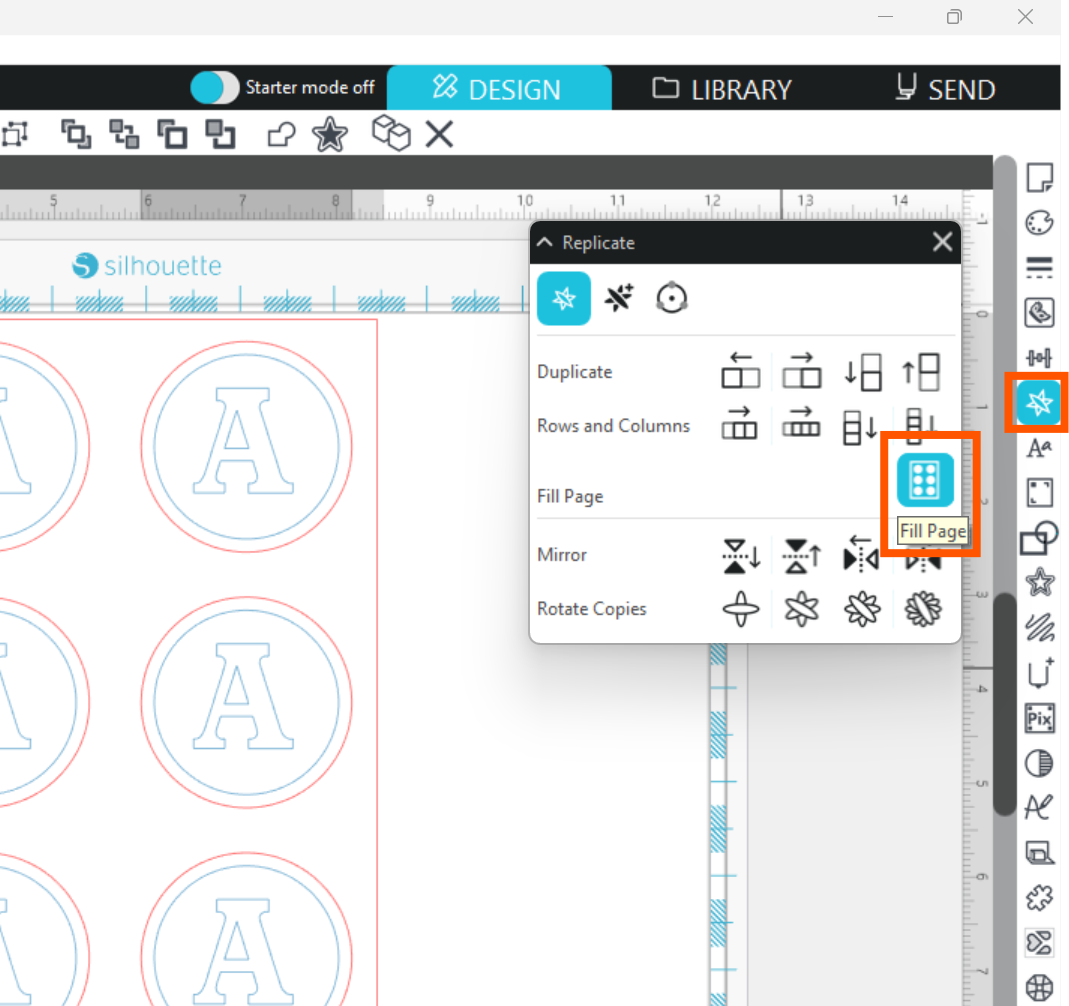
And use Fill Page to quickly fill the page with copies of your sticker:
Silhouette Web:
Silhouette Studio 5:
Once you are happy with your design location, go to SEND.

Step Two: Prepare to SEND
Go to SEND. You will see a preview of your design with the cut lines highlighted. You will need to assign your CUT lines to Tool 1 and your EMBOSS lines to Tool 2:
Now you are ready to send!
In Silhouette Studio 5 Guided Mode, and Silhouette Web, there will now be on-screen instructions on how to load your media and mat, insert your tools and send.
The steps will be:
- Connect to your machine
- Choose Embossable Foil from the material list for Tool 1 and 2
- It’s a good idea to check your settings with a Test Cut
- Choose the Cut action and your blade for Tool 1, and the Emboss action and tool for Tool 2.
- Place your foil onto your cutting mat, matching the mat preview exactly
- Load the mat and tools into your cutting machine
- Send the job.
Step Three: Complete your Project
Carefully remove your embossed foil stickers from the embossing mat – sometimes it helps to lie your mat face down and then peel it away rather than peeling your media. You can remove the excess foil around each sticker if you choose, and your design is now complete!
 Everything to Know About Silhouette Studio® Upgrades
 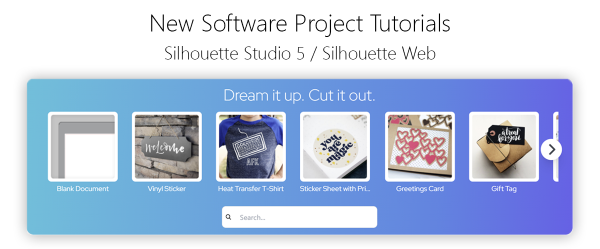 Cut, Punch & Sew a Leatherette Coin Case