| PLEASE NOTE: This tutorial refers to software that is in Beta. Instructions may be out-of-date as changes and improvements are made. |
Learn how to emboss with confidence with this embossed library card design.
Supplies
- CURIO 2, CAMEO 4 & 5 Series, Cameo Pro MK-II
- Emboss Tool for Tool 2
- 12×12 Emboss Mat
- Cardstock or Score & Emboss Paper
- Silhouette Studio or Silhouette Web
Step One: Create Design
Note: if you are using Silhouette Studio 4.5 or lower, some instructions may be incorrect.
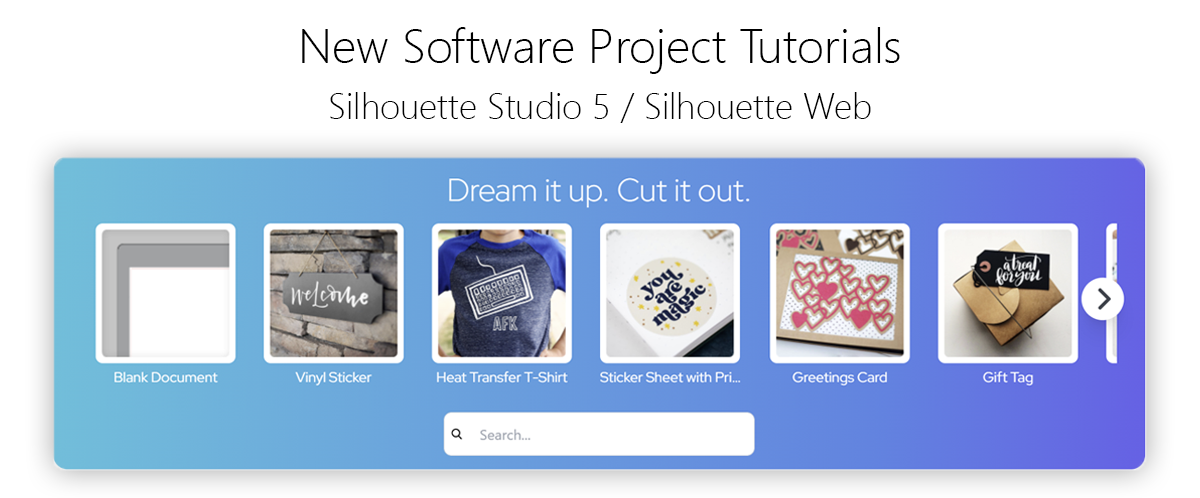
Open Silhouette Studio software on your computer, or open Silhouette Web in your Chrome browser. From the Home Screen, select the Embossed Card project tutorial from the carousel. This will guide you through selecting your compatible machine, mat and media, will open the correct design panel for you, and display design tips.
Make sure you choose a media size that matches the size of your card – you can use your cutting mat to measure.
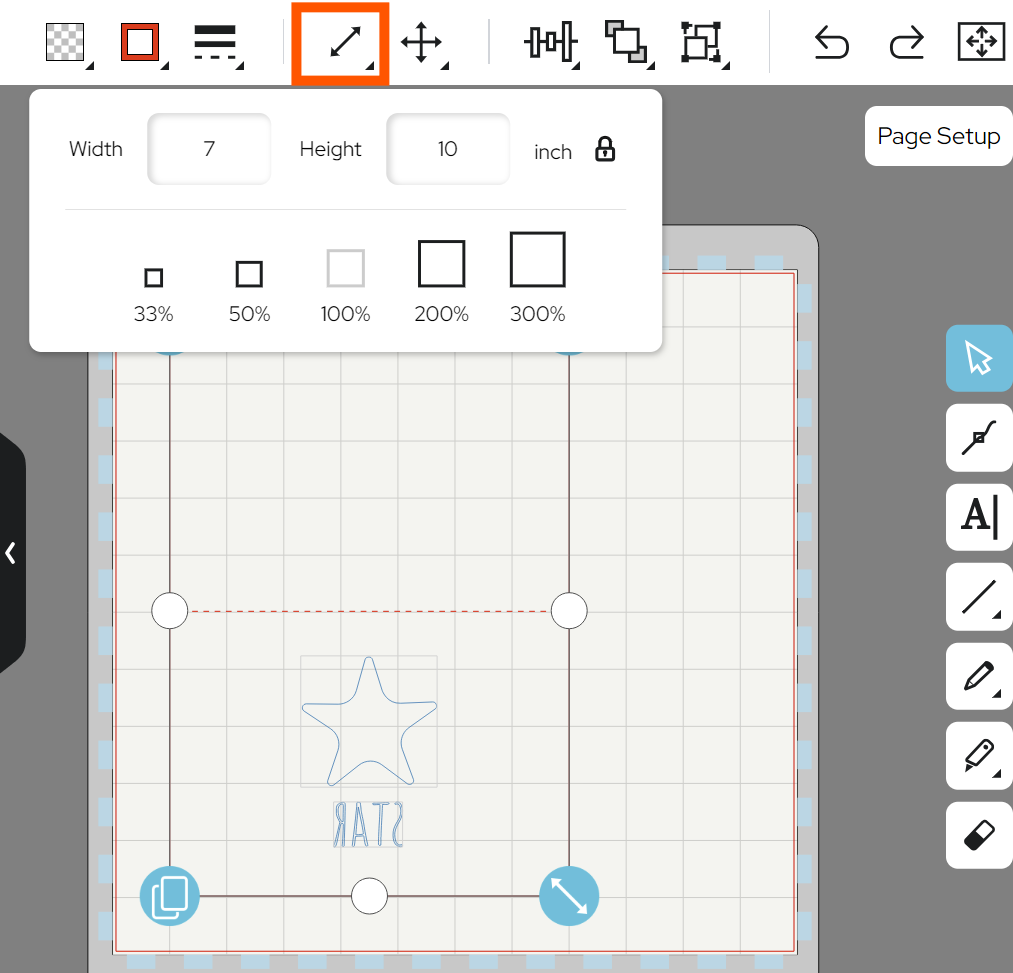
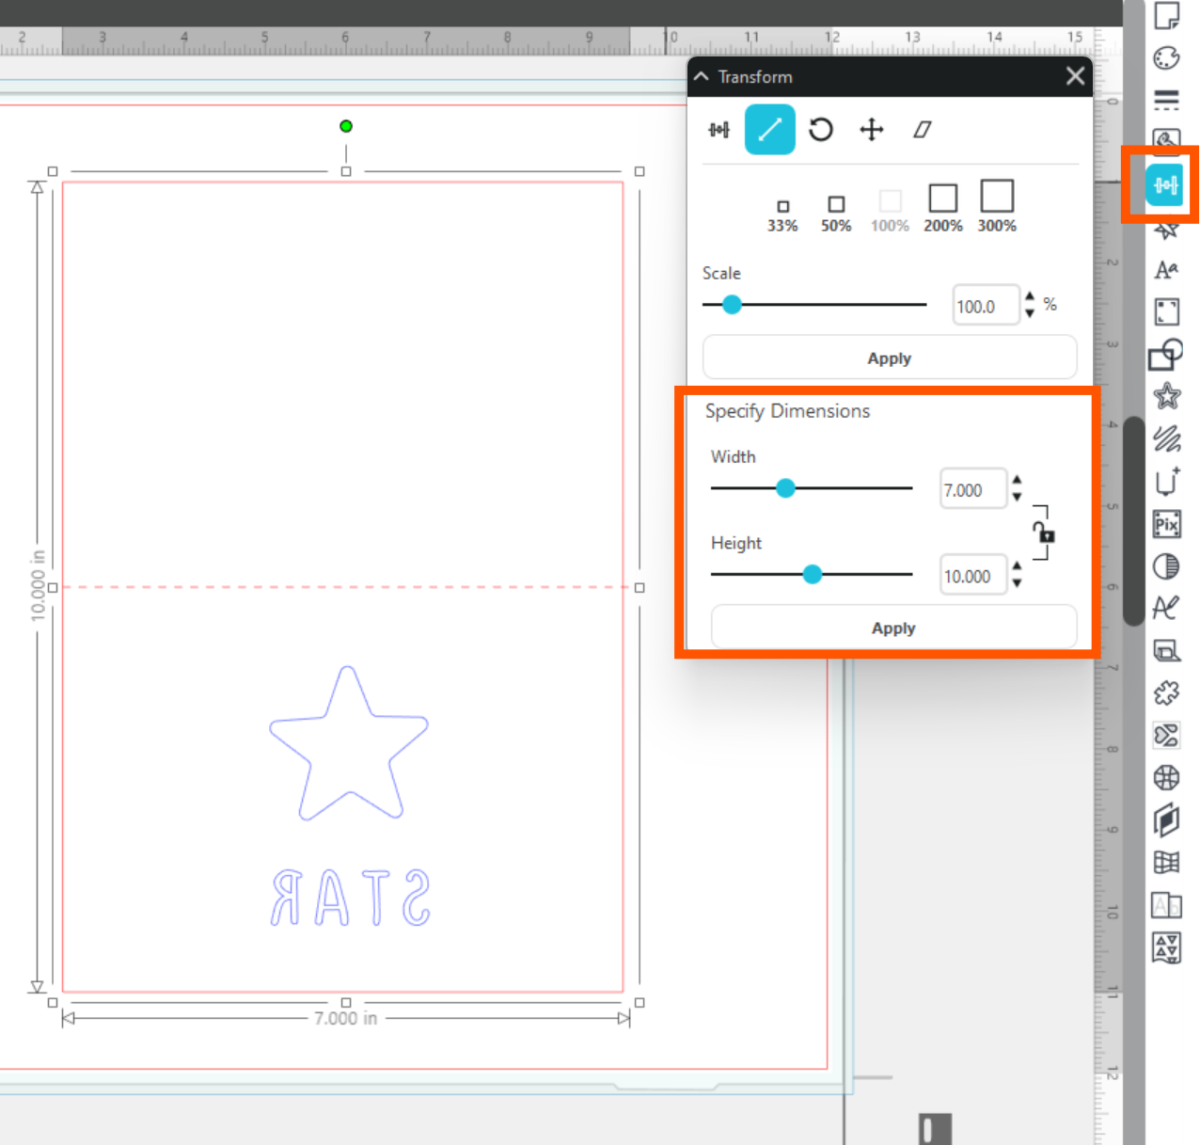
At the end of the tutorial you will see an example card design within a template. This will make a 5×7″ embossed star card, but you can resize it using the Scale feature in the Dynamic Toolbar:
In Silhouette Web
In Silhouette Studio 5
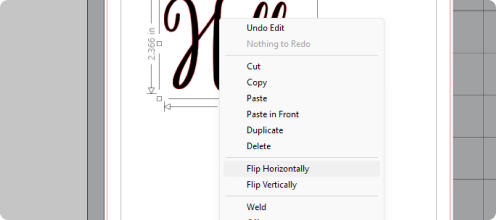
You can also customise your design by adding new shapes, designs from your Library, or customising your text. Remember that for embossing, your text will need to be flipped so that the raised area is the right way around.
In Silhouette Web
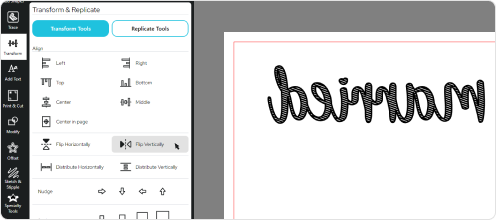
In Silhouette Studio 5
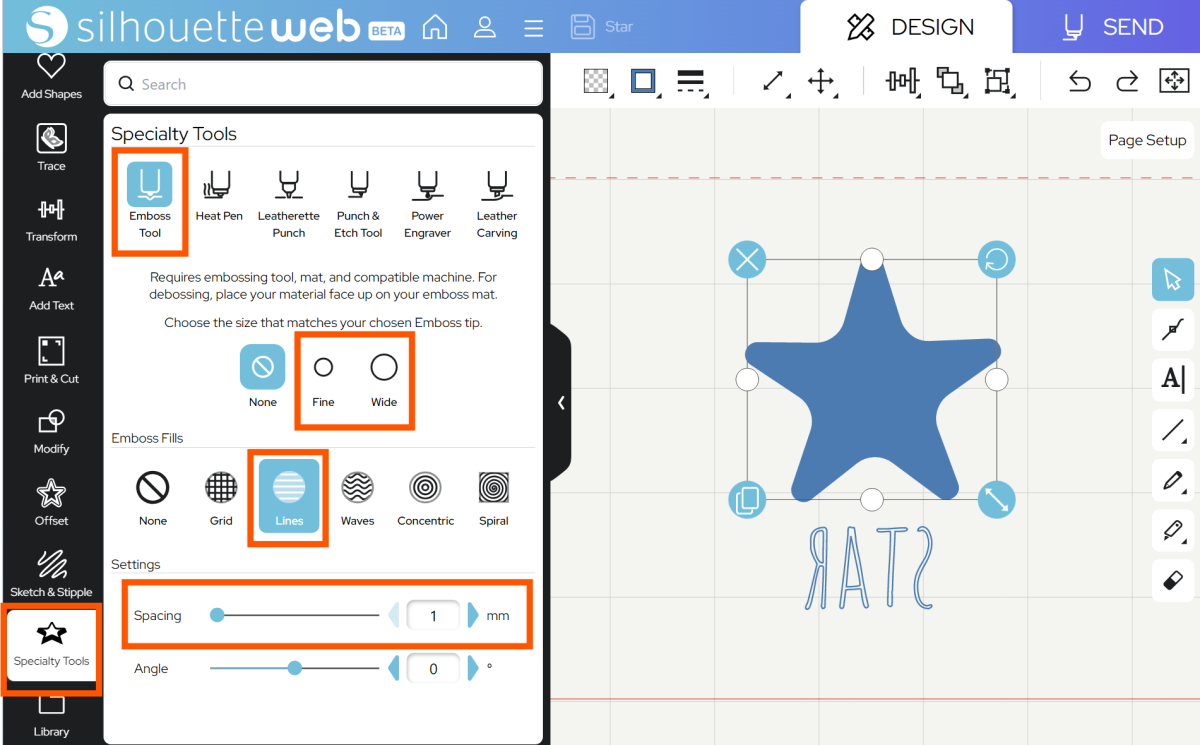
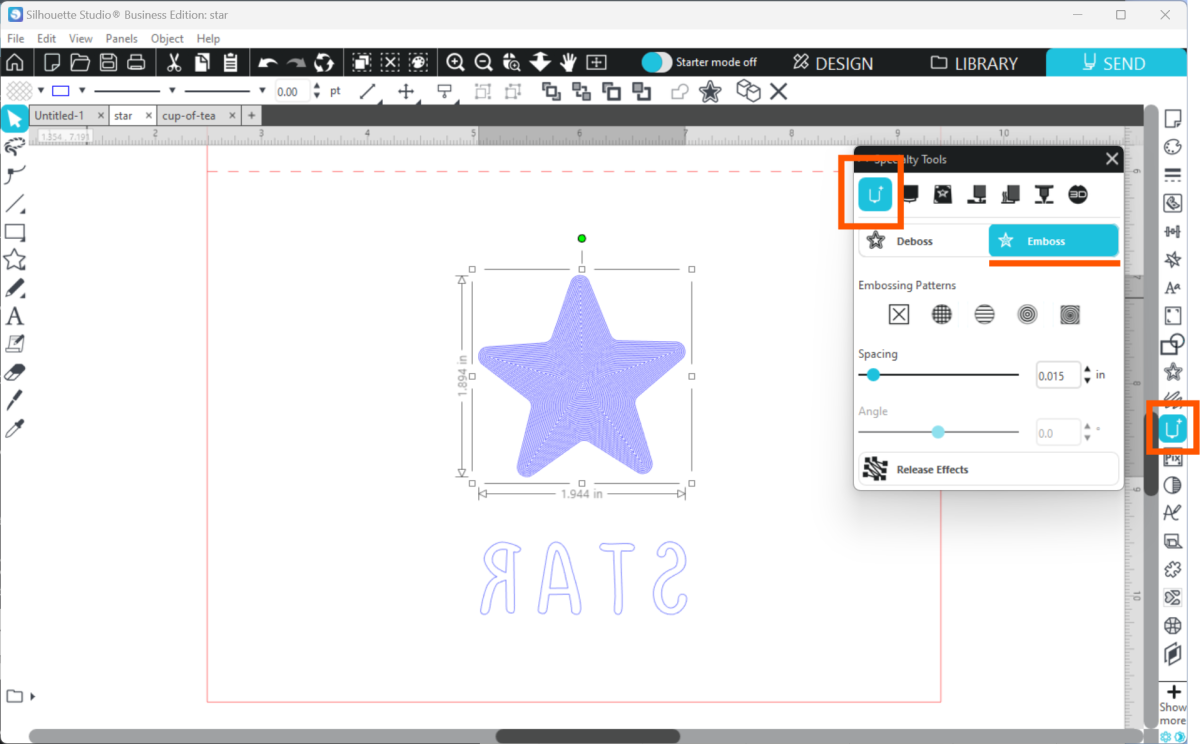
Currently, only the outlines of your star shape will be followed by your chosen etching tool, so we need to use a fill from the Specialty Tools panel. Select the star, open the Emboss section of the Specialty Tools Panel, and then choose a fill type:
In Silhouette Web:
In Silhouette Studio 5
Tip: you can use any sketch fill type to fill a design, but the Specialty Tools panel has default settings tailored specifically to get a good fill result with your chosen tool.
Don’t forget to reposition your design on your media if you need to. Once you are happy with your design location, go to SEND.

Step Two: Prepare to SEND
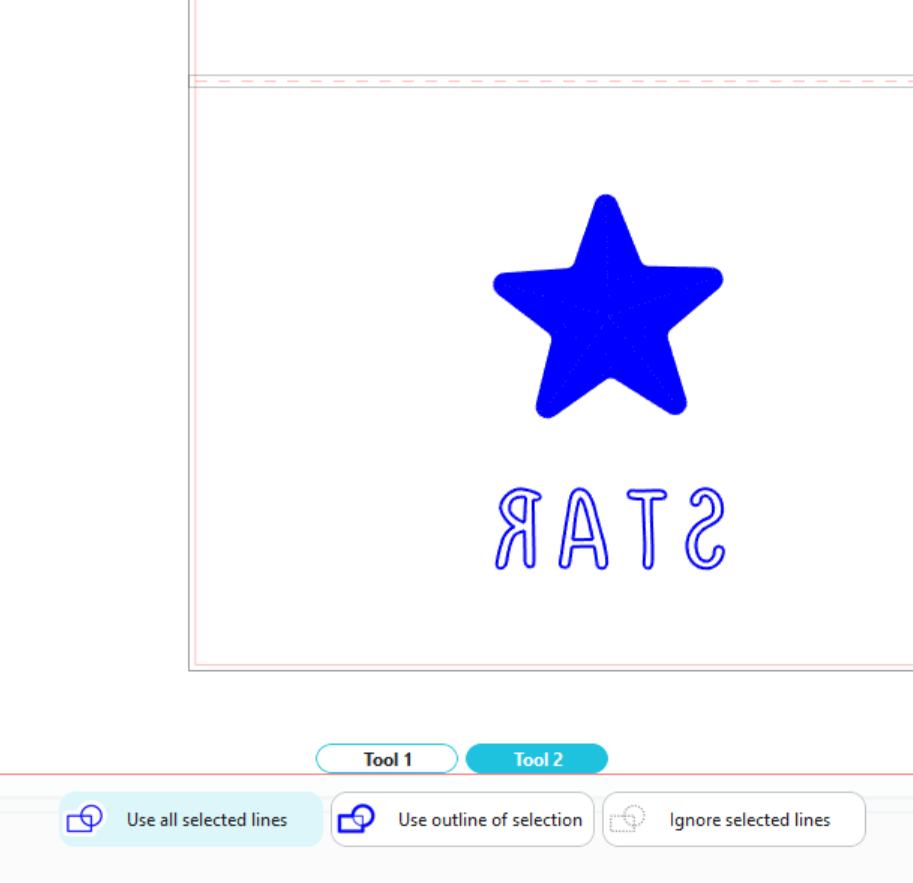
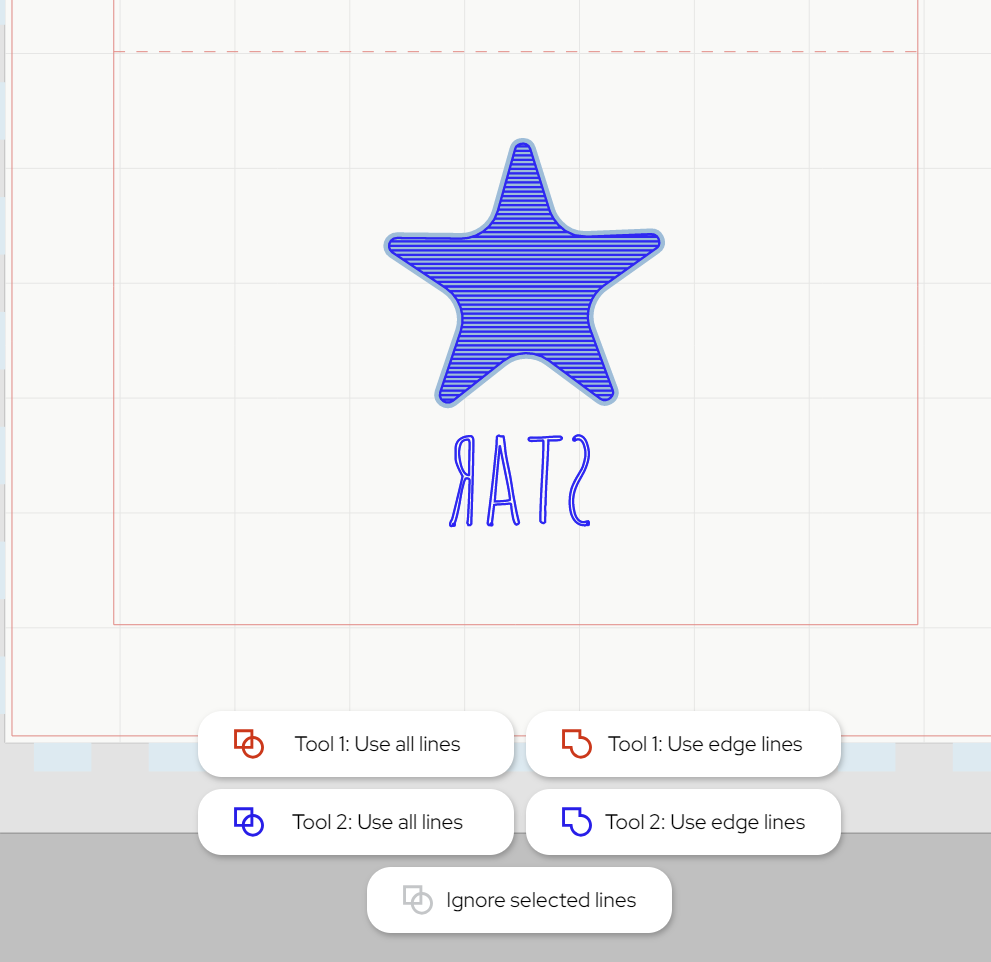
Go to SEND. You will see a preview of your design with the cut lines highlighted.
There are two ways to create this card: Emboss in the first job, and then cut in the second, or Cut and Emboss at the same time. Embossing and then cutting takes more time and may be less accurate, as your mat loading location may vary slightly. Cutting and embossing in the same job takes less time, but the cutting or embossing action may dislodge your cut card, as Tool 1 actions occur first in Standard sending. We recommend cutting and embossing together for a project with a large surface area like this card, but smaller cut-outs might benefit from embossing first.
Tip: Try Cut by Line in Silhouette Studio to control the order that your emboss & cut job occurs.
Start by assigning your Emboss Lines to Tool 2. Assign Cut lines to Tool 1, if cutting together.
In Silhouette Web:
In Silhouette Studio 5:
Now you are ready to send!
In Silhouette Studio 5.0 Guided Mode, and Silhouette Web, there will now be on-screen instructions on how to load your media and mat, insert your tools and send.
The steps will be:
- Connect to your machine
- Choose Score & Emboss Paper from the material list
- Choose your Action and Tool
- Place your card onto your cutting mat, matching the mat preview exactly
- Remember to place your cardstock face-down to get an embossed effect!
- Load the mat and tools into your cutting machine
- Send the job.
Step Three: Complete your Project
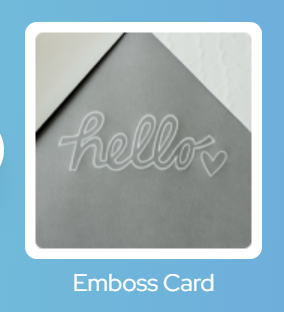
Carefully remove your paper from the embossing mat, and fold along the dashed lines. You now have an embossed card design!
 Everything to Know About Silhouette Studio® Upgrades
 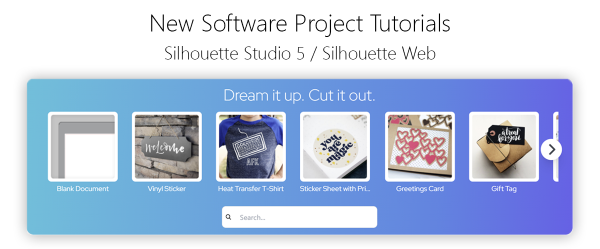 Cut, Punch & Sew a Leatherette Coin Case