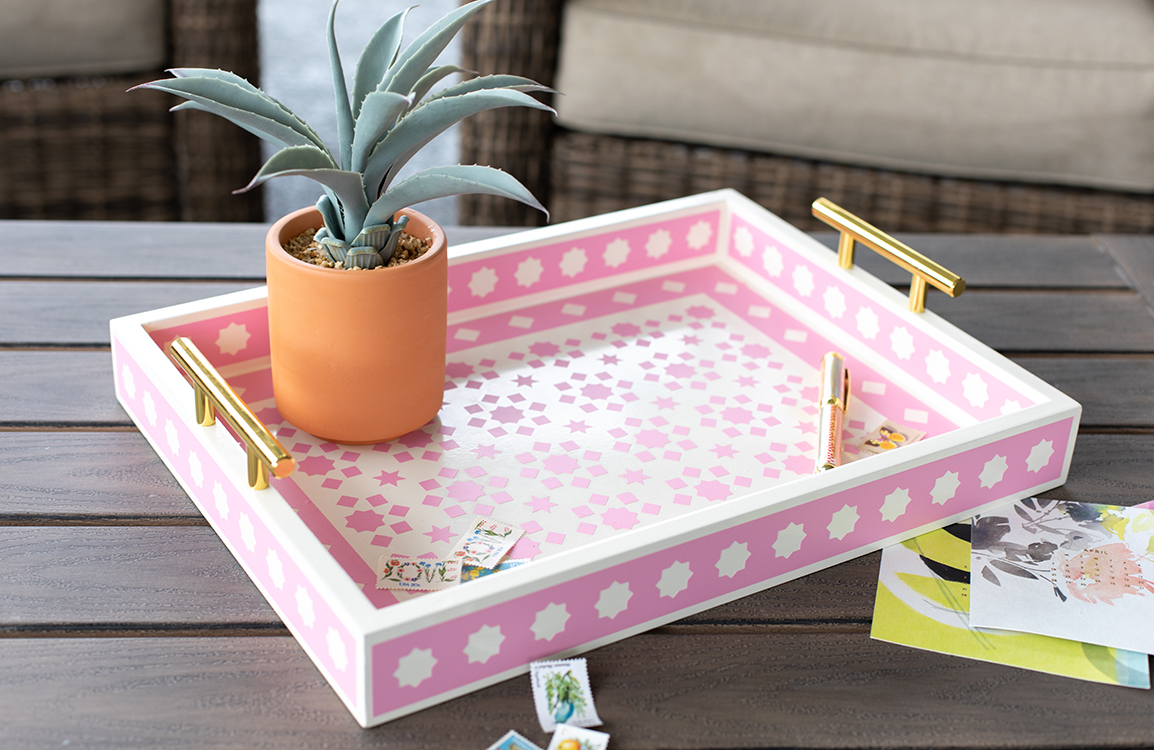
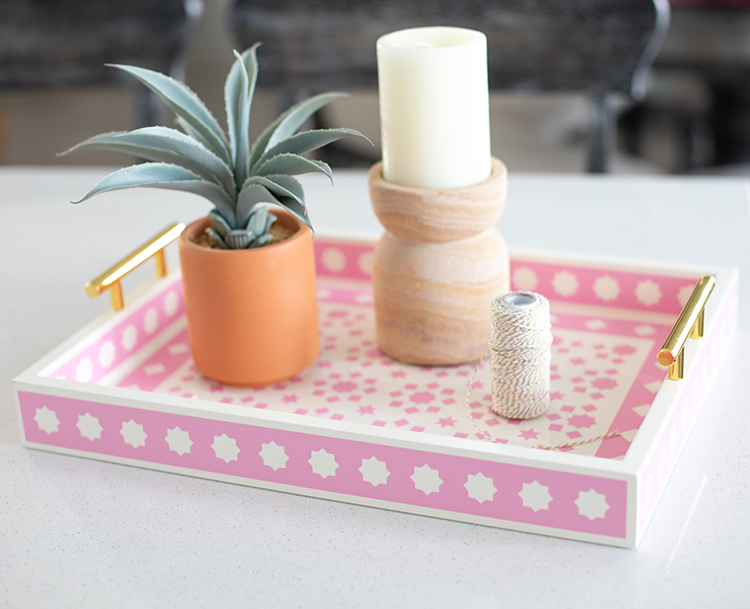
Are you familiar with the technique of bone inlay? Originating in India, the process involves creating intricate designs using discarded bones and set into resin. They are most commonly used in furniture pieces as they make for exotic and striking home decor pieces. This tray is a nod to those traditional designs but uses vinyl instead to create a colorful geometric pattern!
Supplies Needed:
- Silhouette CAMEO® or Silhouette Portrait®
- Silhouette Studio®
- Roll Feeder
- Silhouette Cutting Blade
- 12-inch wide Matte Vinyl in desired color. (We used Light Pink.)
- Transfer Tape
- Scraper Tool
- Hook Tool
- Acrylic Tray
- Design ID #68204
Step One: Preparing the Design
Note: The size of tray you are using will determine the dimensions of your design, so you’ll want to measure the inner panels as well as the outer edges so you know how large to size your vinyl designs. We made all our designs 1/5-inch smaller than the tray so there was a small white border between all the edges.
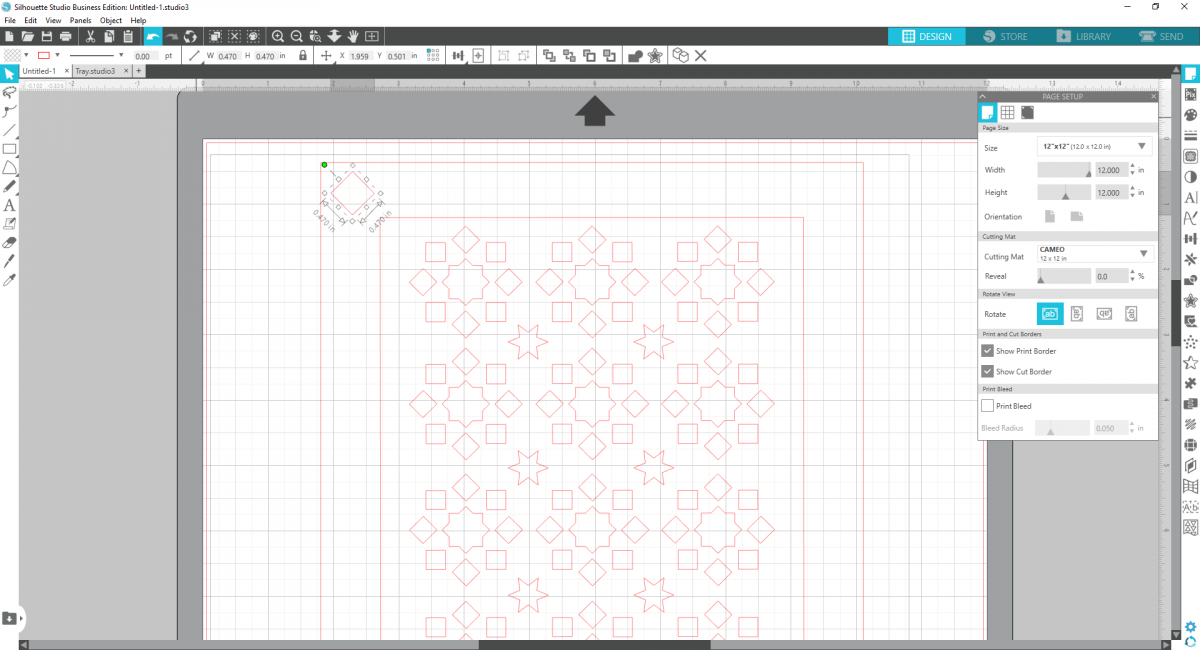
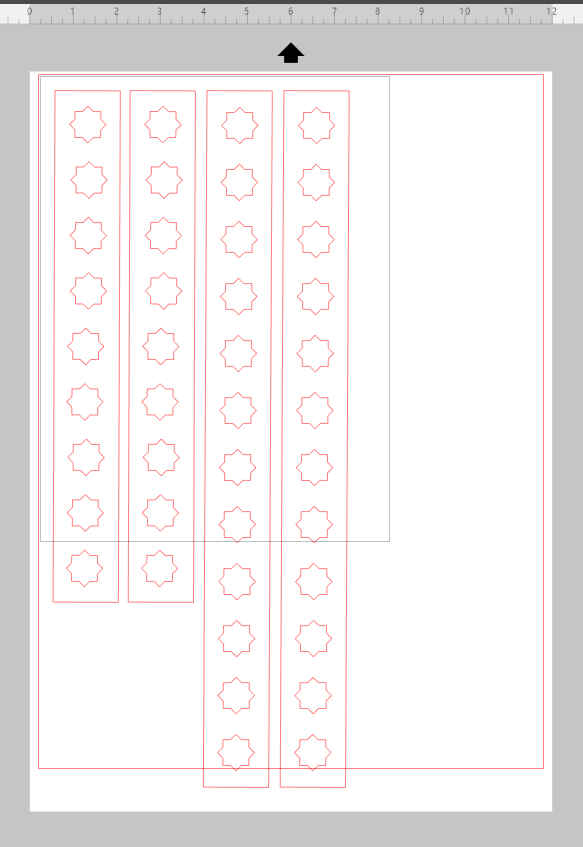
1. Insert the design (ID #68204) into Silhouette Studio®, and ungroup all the components. Delete the card background and score line so that you’re just left with the geometric design in the center.
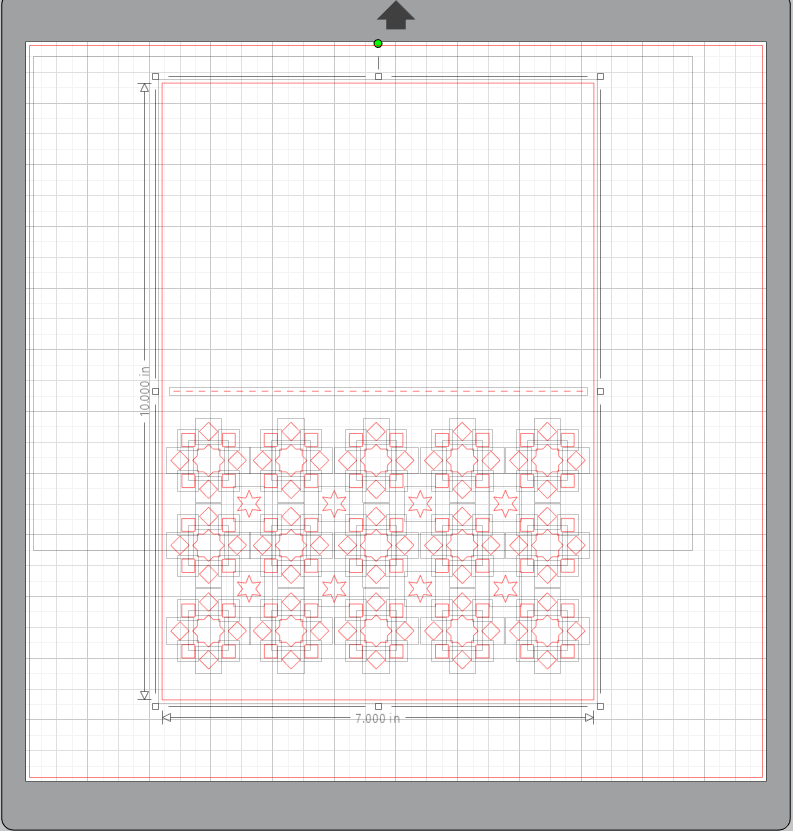
2. Using the drawing tools, draw a rectangle around the geometric design. Group the design, rotate it vertically, and increase the size a bit.
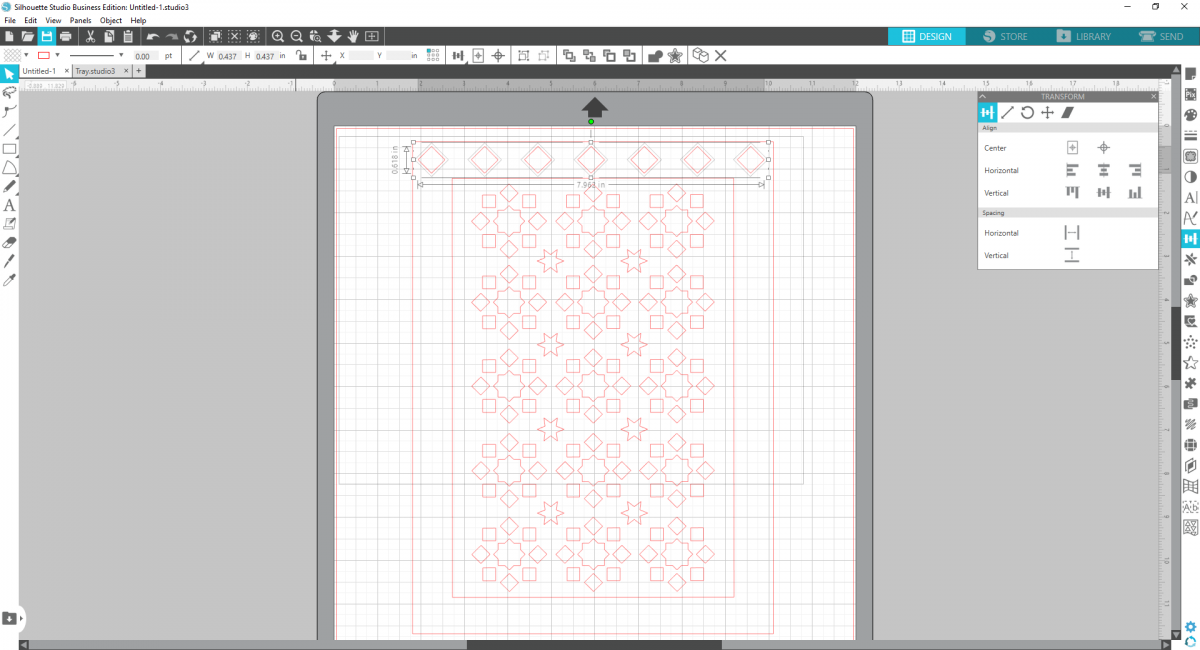
3. Then draw another rectangle around your design, leaving about a 1-inch space between the design and the outer border.
4. Using the shape tool, create a small diamond shape to use in the border.
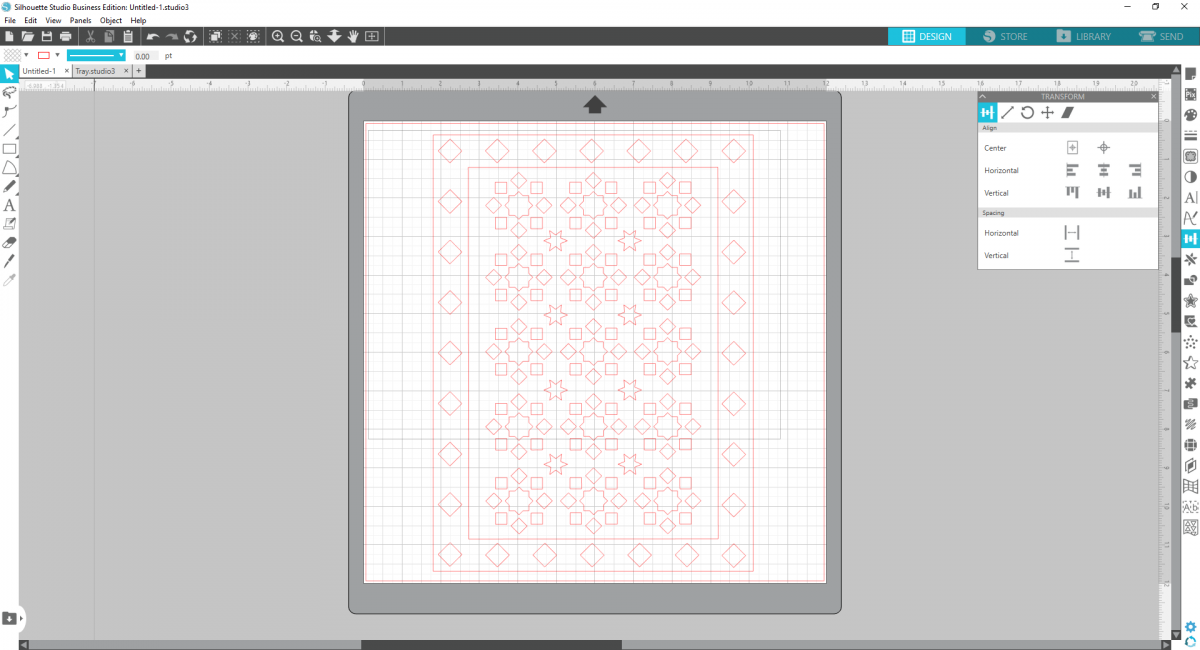
5. Duplicate the shape and use the horizontal spacing tool in the Transform panel to equally space the diamonds across the border. Repeat this process for the other three sides of the rectangle.
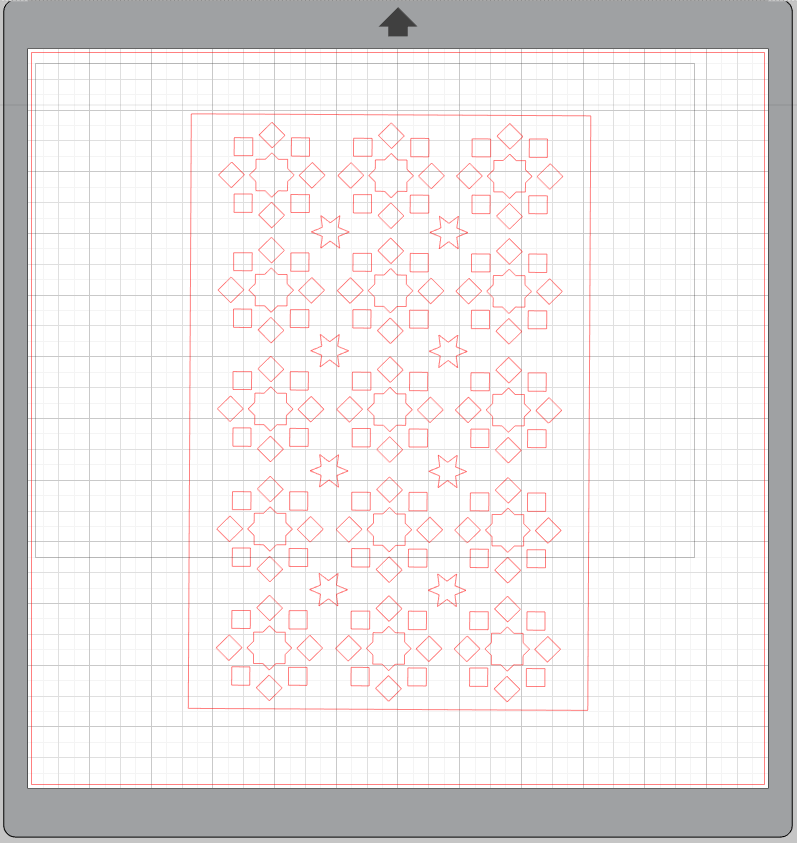
6. Group the entire design, and adjust the size so that it will fit appropriately on the inside of your tray. We sized ours to 11 inches wide by 15 inches tall. This allowed a 1/2-inch border between the sides of the tray.
7. Change your settings in the Page Setup panel so that you no longer have a mat, and increase the material size to accommodate your design.
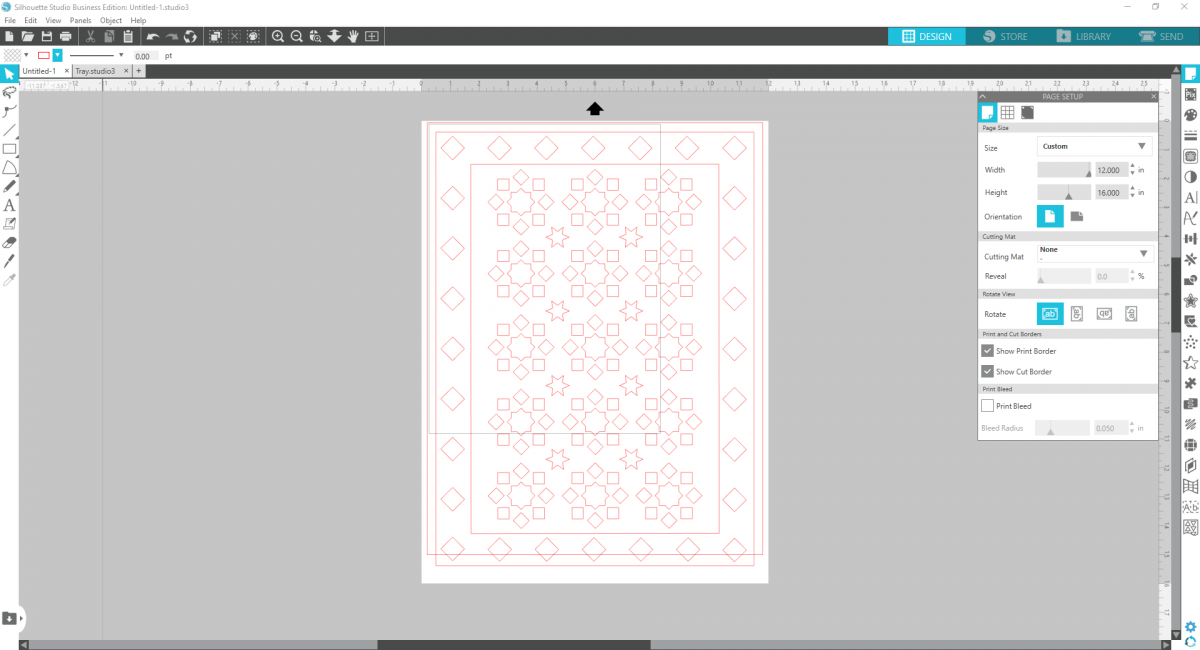
8. Using your roll feeder to hold the vinyl, load the vinyl, and cut out your design.
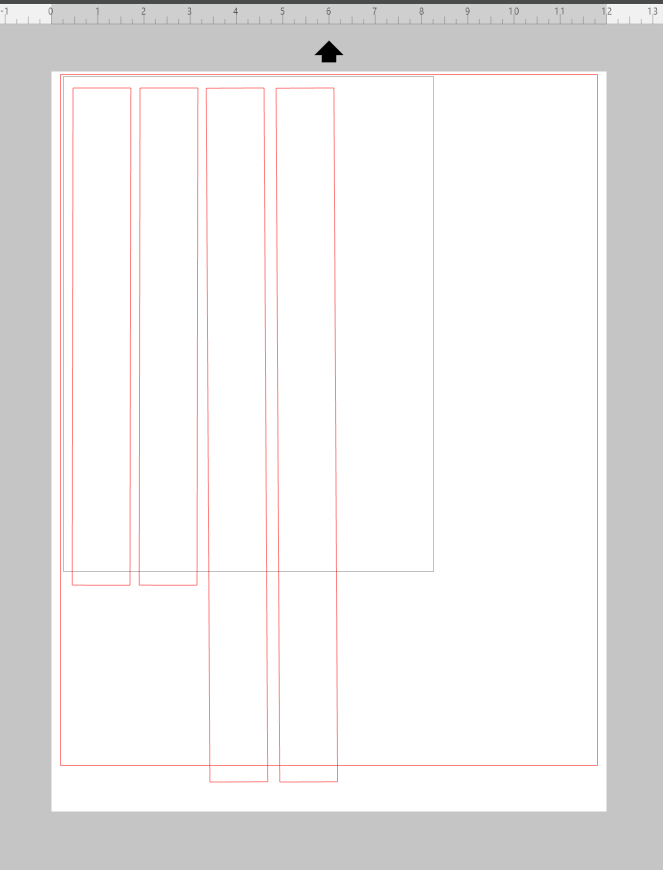
9. To create the designs for the side panels, measure the dimensions of the panels so you know how large to create the designs. Again, we made shape 1/2-inch smaller than the panels to create a border.
10. Using the shape tool, draw rectangles in the appropriate size. You’ll need 4 rectangles for the inner edges, 2 for the vertical edges, and 2 for the horizontal.
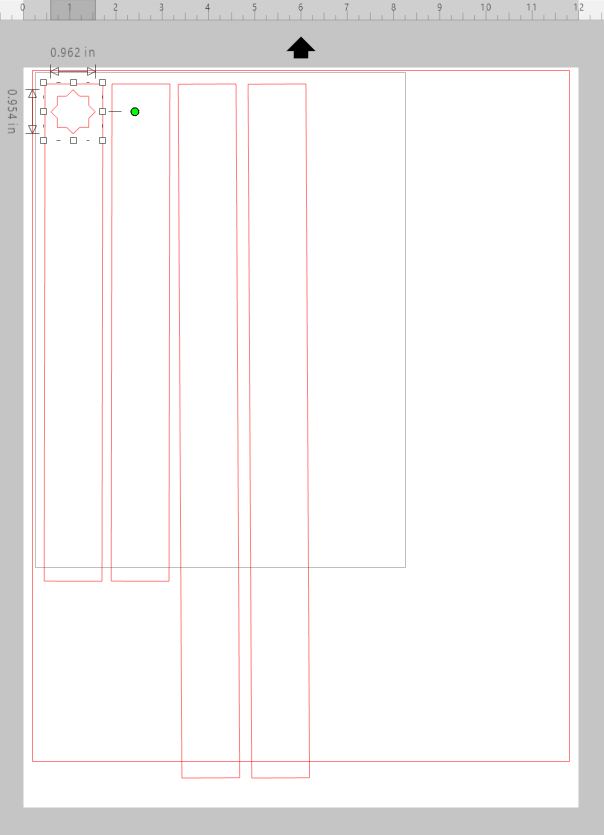
11. Then copy one of the stars from the geometric design in the center to use in the border designs.

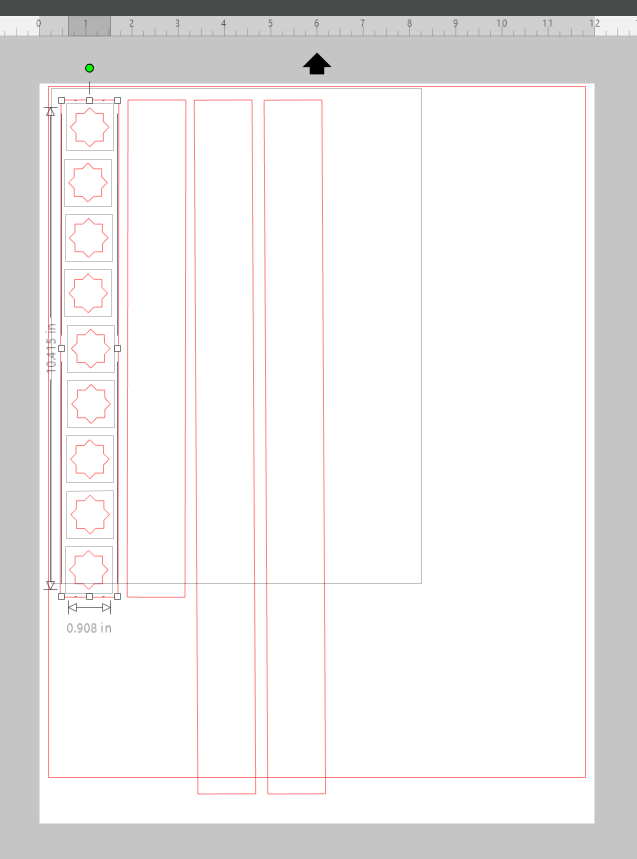
12. Use the replicate and transform panel to duplicate the shape and equally space it out within the rectangles.
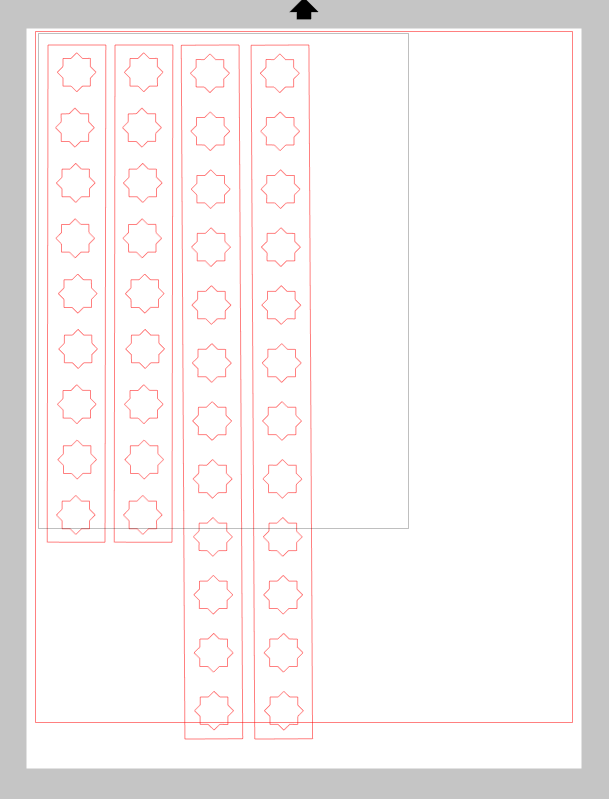
13. Repeat this for the outer edges—just make the rectangle shapes slightly larger to fit the sides.
14. Cut all your designs out onto the matte vinyl using the roll feeder.
Step Two: Add Vinyl to the Tray
1. Once the vinyl is all cut out, weed the excess vinyl. You’ll want to weed the inner designs for all the borders, and weed the background for the main geometric design.
2. Using transfer tape, apply your designs to the corresponding sides of your tray, using the scraper tool to smooth down the vinyl and secure it to the tray.
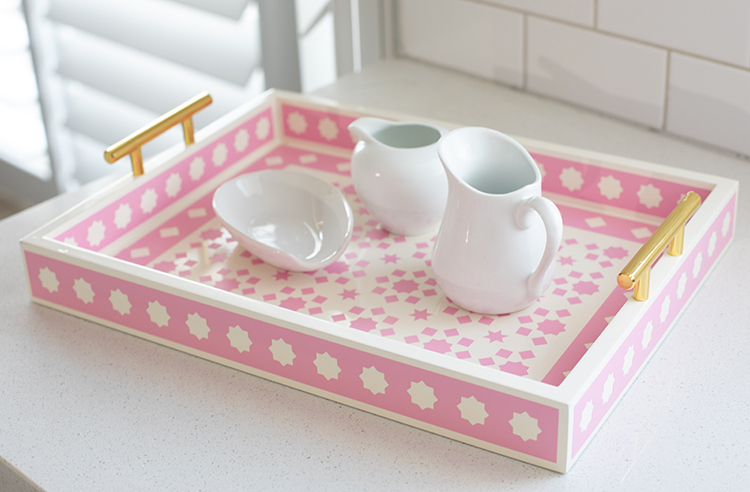
And now your tray is complete! It’s such a cute and custom-looking piece. Tell us how your try turned out in the comments below!
 Quirky Mug
  Quick Spring Welcome Sign