| PLEASE NOTE: This tutorial refers to software that is in Beta. Instructions may be out-of-date as improvements are made. |
Learn how Silhouette can assist your handicrafts by creating this leatherette jewelry tray with the Leatherette Punch tool.
Supplies
- CURIO 2
- Leatherette Punch Tool
- 12×12 Emboss Mat
- Leatherette
- Leather cord and a needle OR a rivet setting kit
- Masking tape or Silhouette Tape
- A cutting blade: the 2mm Kraft Blade is recommended
- Silhouette Studio or Silhouette Web
- Optional: decorative fabric or felt for lining the tray
Step One: Create Design
Note: if you are using Silhouette Studio 4.5 or lower, some instructions may be incorrect.
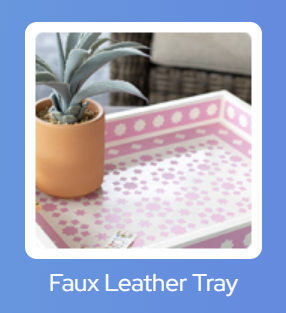
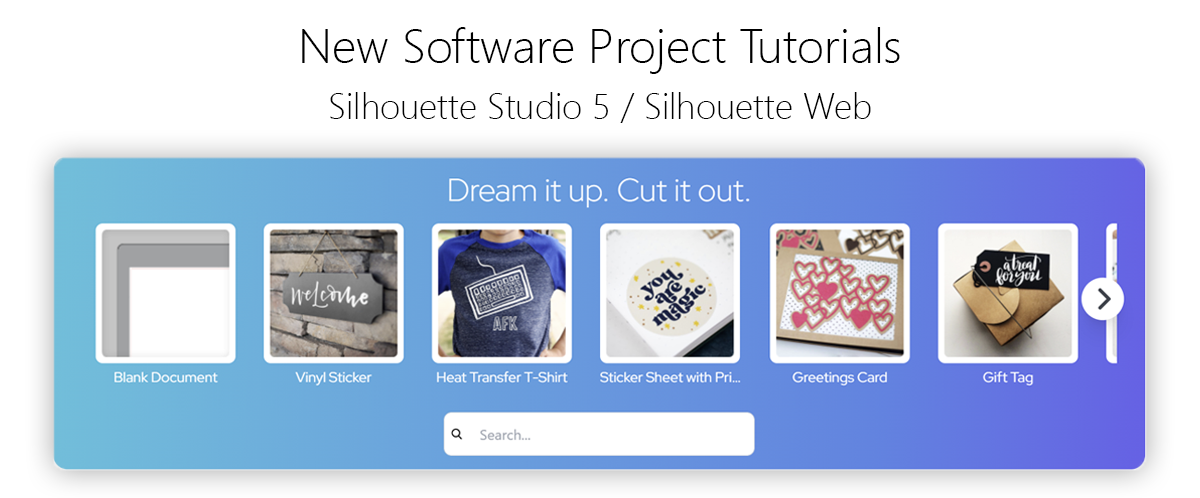
Open Silhouette Studio 5 on your computer. Alternatively, open Silhouette Web in your Chrome browser. Select the Faux Leather Tray project tutorial from the carousel. This will guide you through selecting your compatible machine, mat and media, will open the correct design panel for you, and display design tips. You will also see a template ready for you to use.
Make sure you choose a media size that matches the size of your leatherette.
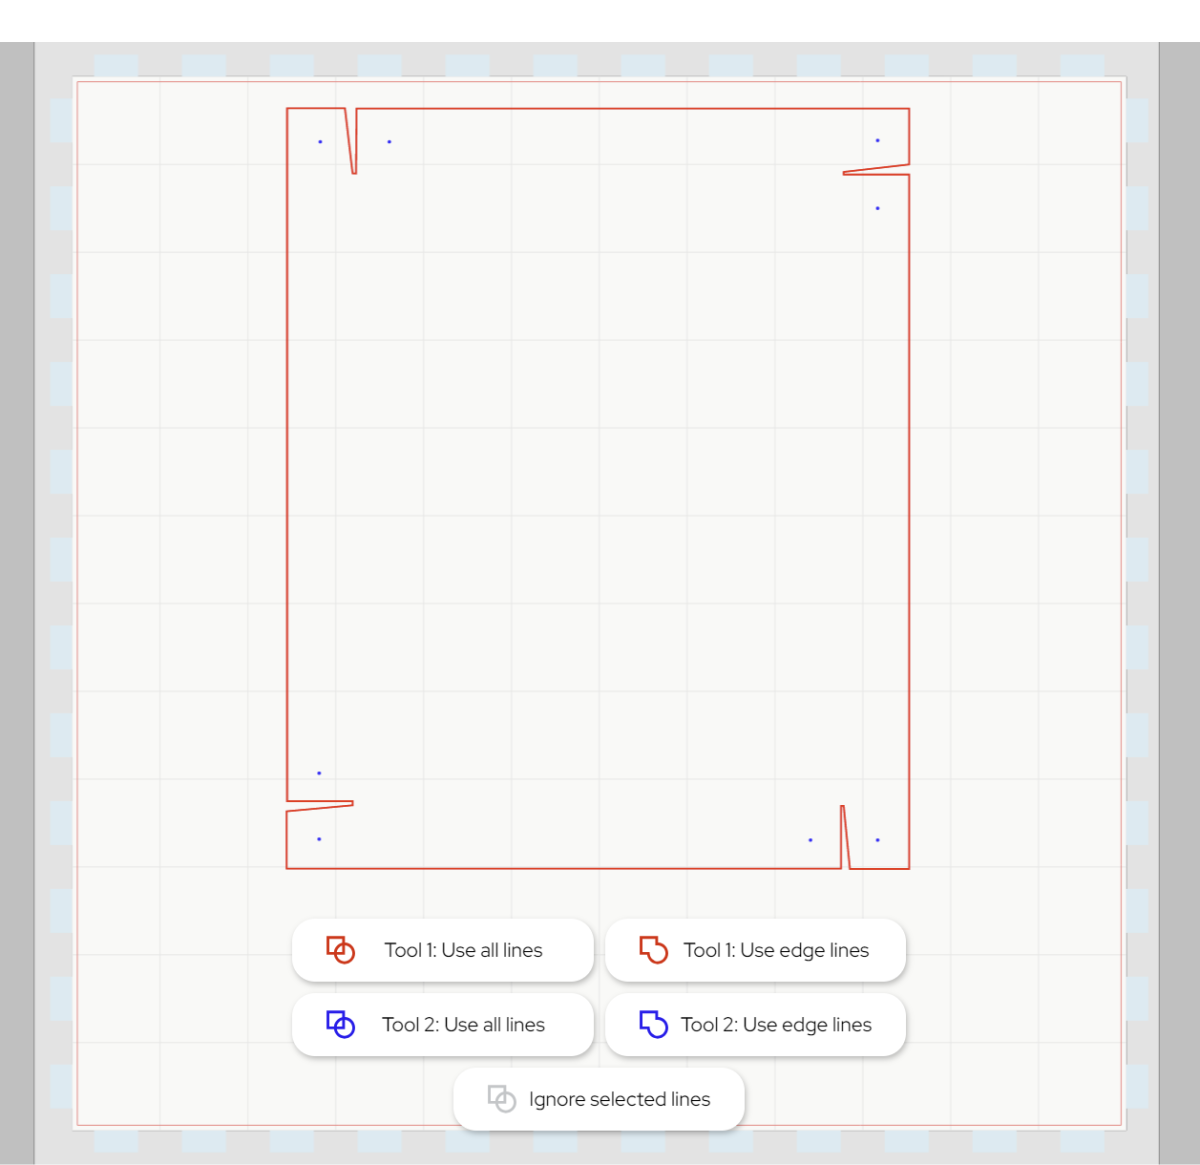
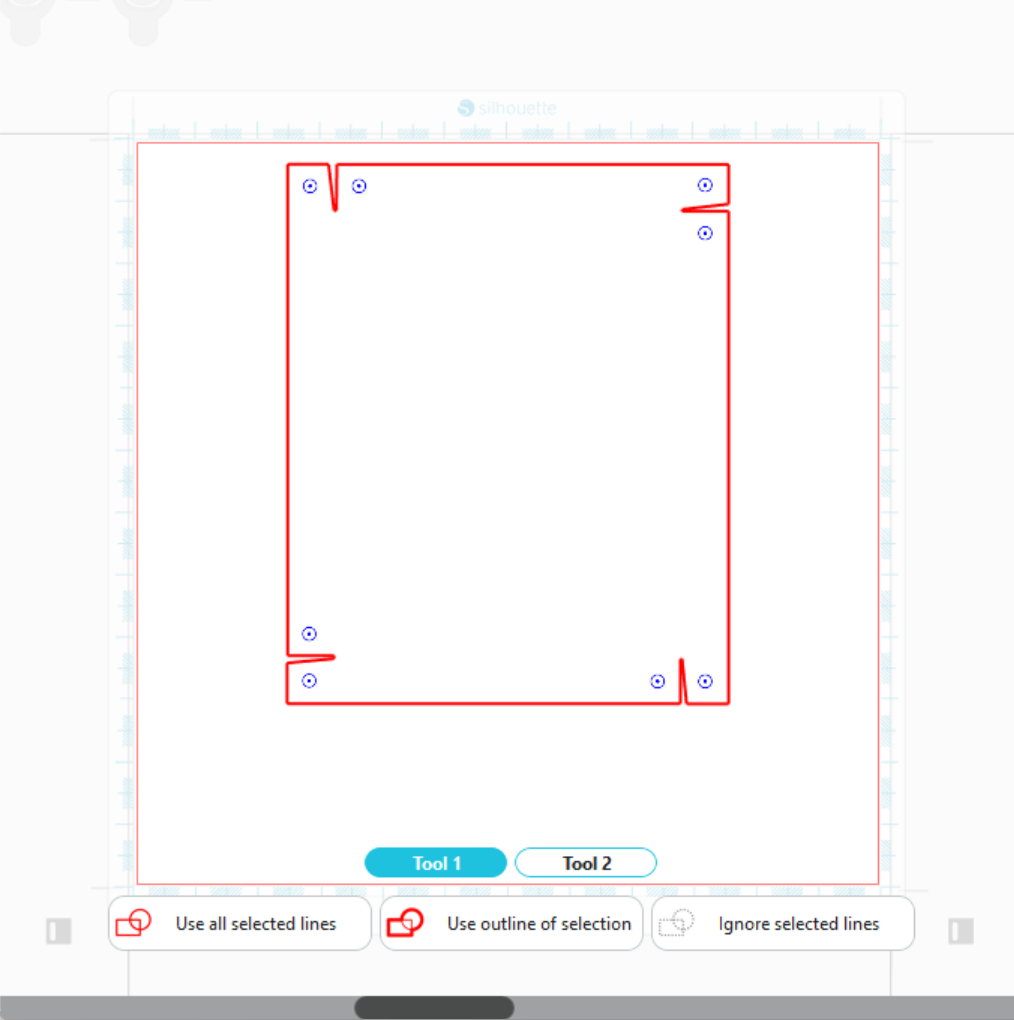
If you have used the Project Template, you don’t need to do anything more – the design is ready to send and sew. The blue dots represent the stitching hole locations for the tray. Once the shape is cut and punched, you will be able to match the holes in each corner and stitch them together to make the tray.
You can customize this design by resizing it, or by adding a custom cutout or punch pattern. You can even try embellishing it with a leatherette-compatible pen, or add heat foil with the Silhouette Heat Pen. You can also use the red cut lines as a template to line your tray with felt for a more luxurious feel.
Today, let’s just change the size of the punch holes. Select the blue dots, go to the specialty tools panel, and choose your tip size:
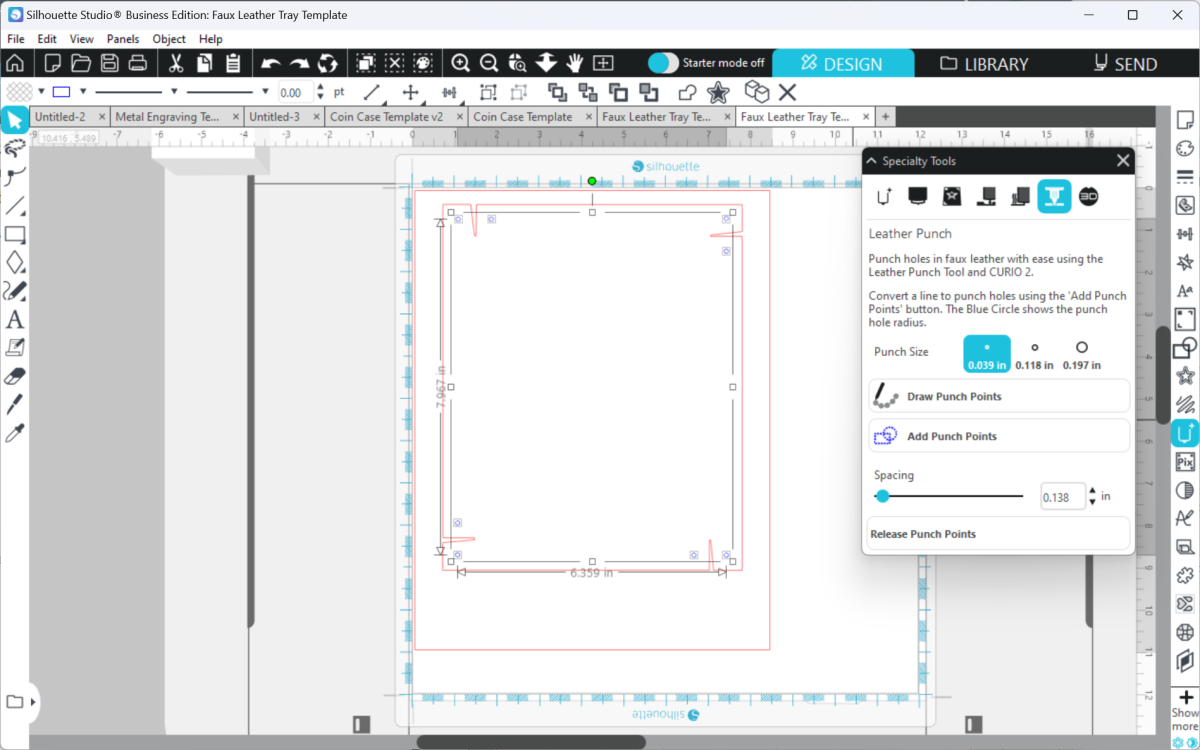
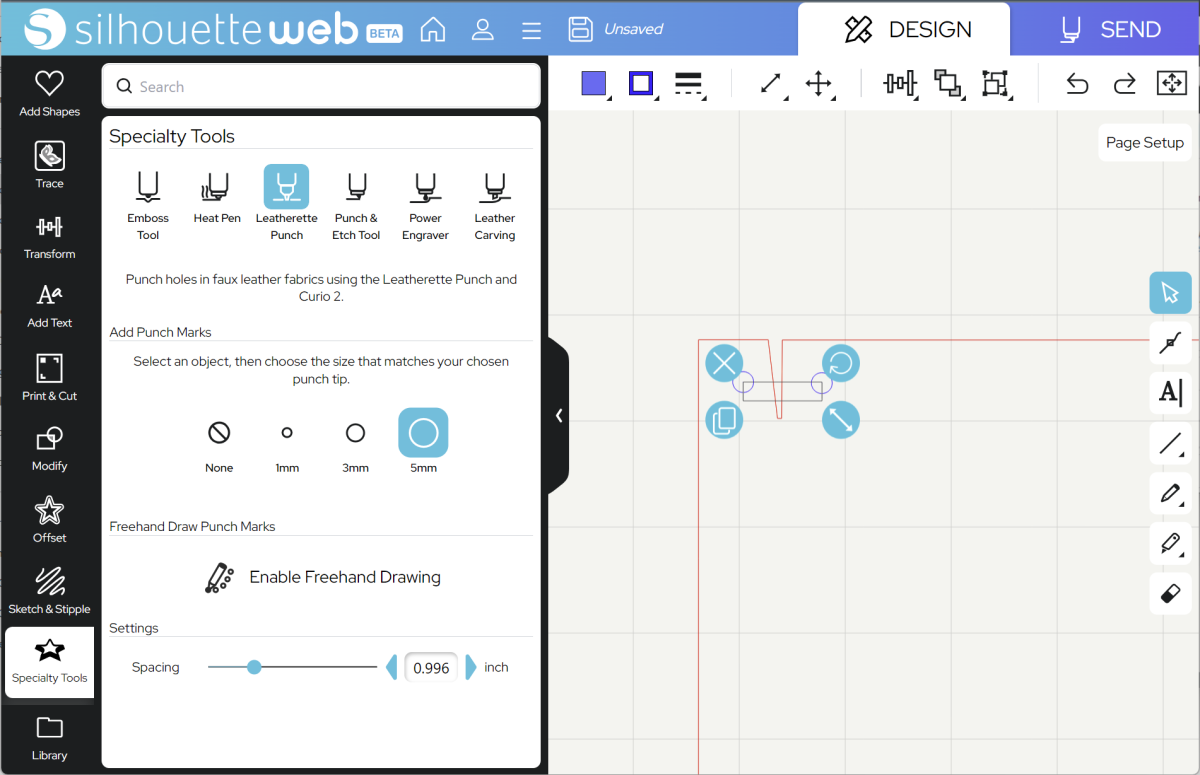
Note: this only changes the display size of your punch holes. Please ensure that you are using the punch tip size to match what you have selected. Refer to the package instructions to change your punch tip size on your tool.
Once you are happy with your design location, go to SEND.

Step Two: Prepare to SEND
Go to SEND. You will see a preview of your design with the cut lines highlighted. You will need to make sure you assign your cut lines to Tool 1 and your punch dots to Tool 2:
Now you are ready to send!
In Silhouette Studio 5 Guided Mode, and Silhouette Web, there will now be on-screen instructions on how to load your media and mat, insert your tools and send.
The steps will be:
- Connect to your machine
- Choose Leatherette from the material list for Tool 1 and 2
- It’s a good idea to check your settings with a Test Cut first
- Choose the Cut action and your blade for Tool 1, and the Leatherette Punch action and Leatherette Punch tool for Tool 2
- Place your leatherette onto your cutting mat, matching the mat preview exactly
- Load the mat and tools into your cutting machine
- Send the job.
Step Three: Complete your Project
Remove your design from your mat, and push out any attached holes. You can now stitch the sides together with thick thread and an embroidery or leather needle. You can also use the holes to place rivets or poppers.
You now have a custom leather tray to store jewelry, craft tools, pens, keys and more.
 Everything to Know About Silhouette Studio® Upgrades
 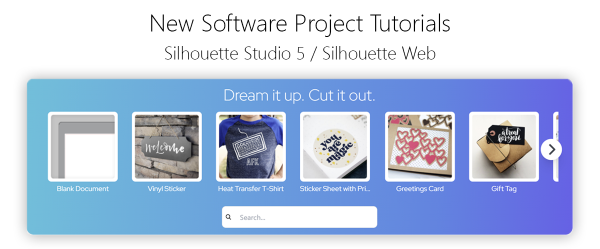 Cut, Punch & Sew a Leatherette Coin Case