| PLEASE NOTE: This tutorial refers to software that is in Beta. Instructions may be out-of-date as improvements are made. |
Create a shiny custom notebook with Silhouette heat foil and the CURIO 2!
Supplies
- Silhouette CURIO 2
- Compatible cutting mat
- Debris tray recommended
- Silhouette Heat Pen
- Heat Foil
- Masking tape or Silhouette tape
- A paper or faux leather notebook under ¾ of an inch (2cm) thick
- Silhouette Studio® or Silhouette Web
Step One: Create Design
If you are using Silhouette Studio 4.5 or lower, some instructions may be incorrect.
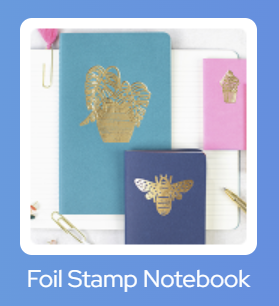
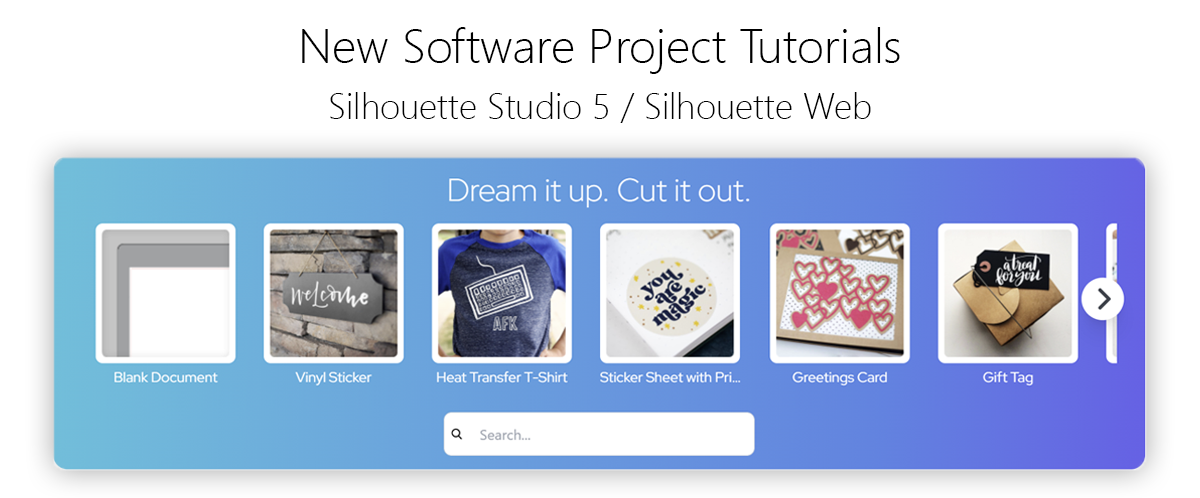
Open Silhouette Studio 5 software on your computer or Silhouette Web in your Chrome browser. Select the Foil Stamp Notebook project tutorial from the carousel. This will guide you through selecting your compatible machine, mat and media, open the correct design panel for you, and display design tips. Make sure you choose a media size that matches the size of your notebook – you can use your cutting mat to measure.
For this tutorial, we will apply foil using a simple Design Store design. Let’s begin by selecting and deleting the example design.
Silhouette Web:

Silhouette Studio 5

You will need to have a Design Store account to add content from the Design Store Library. You can create one in Silhouette Web or Silhouette Studio:
Silhouette Web:
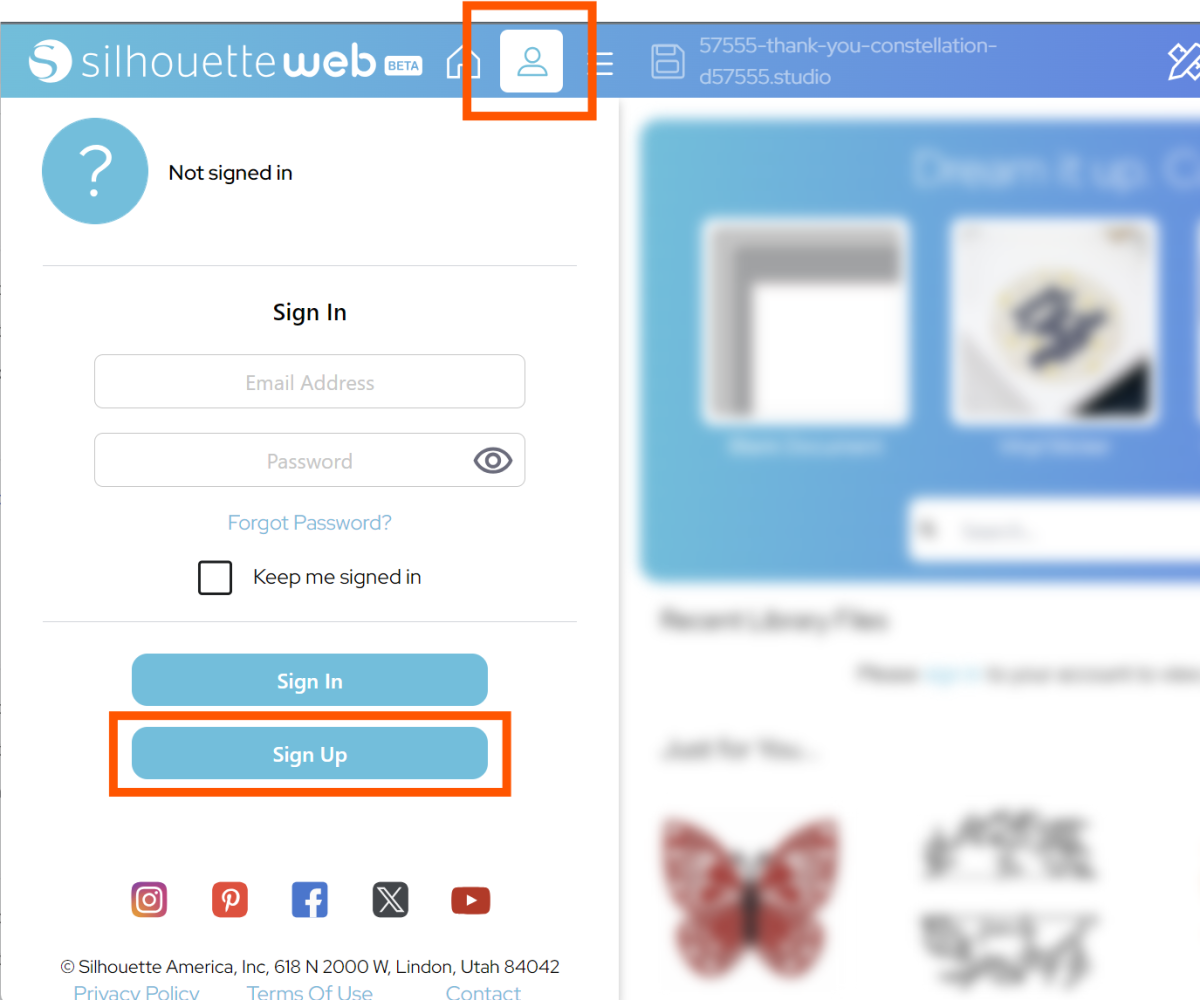
Press the User Management menu, choose Sign Up, and then follow the instructions.
Silhouette Studio 5:
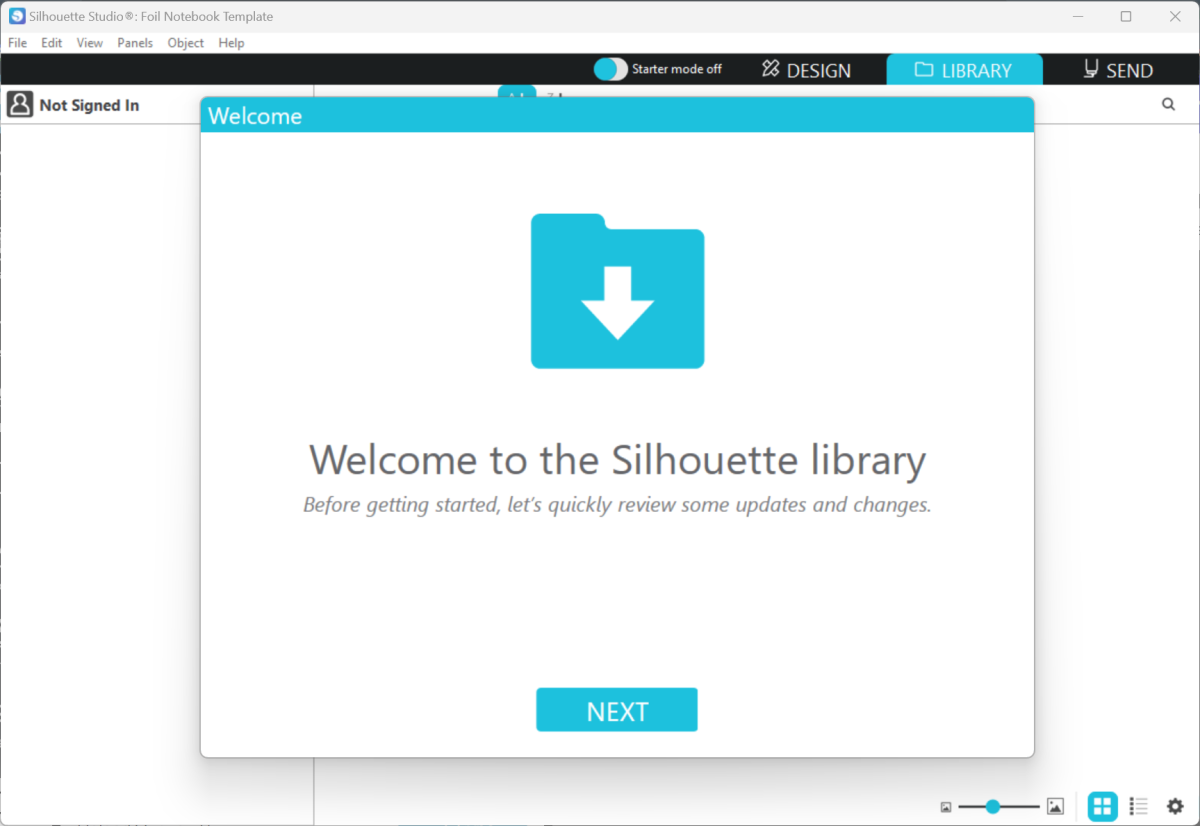
Open Studio, Go to the LIBRARY tab and follow the instructions.
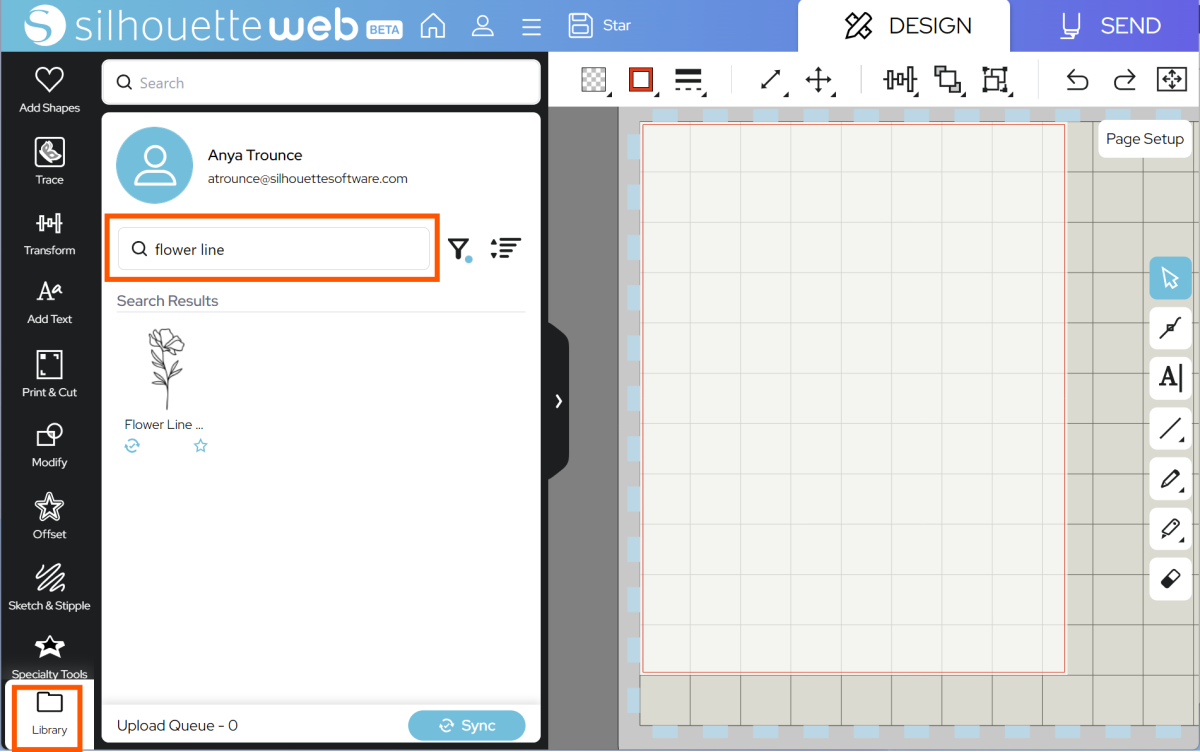
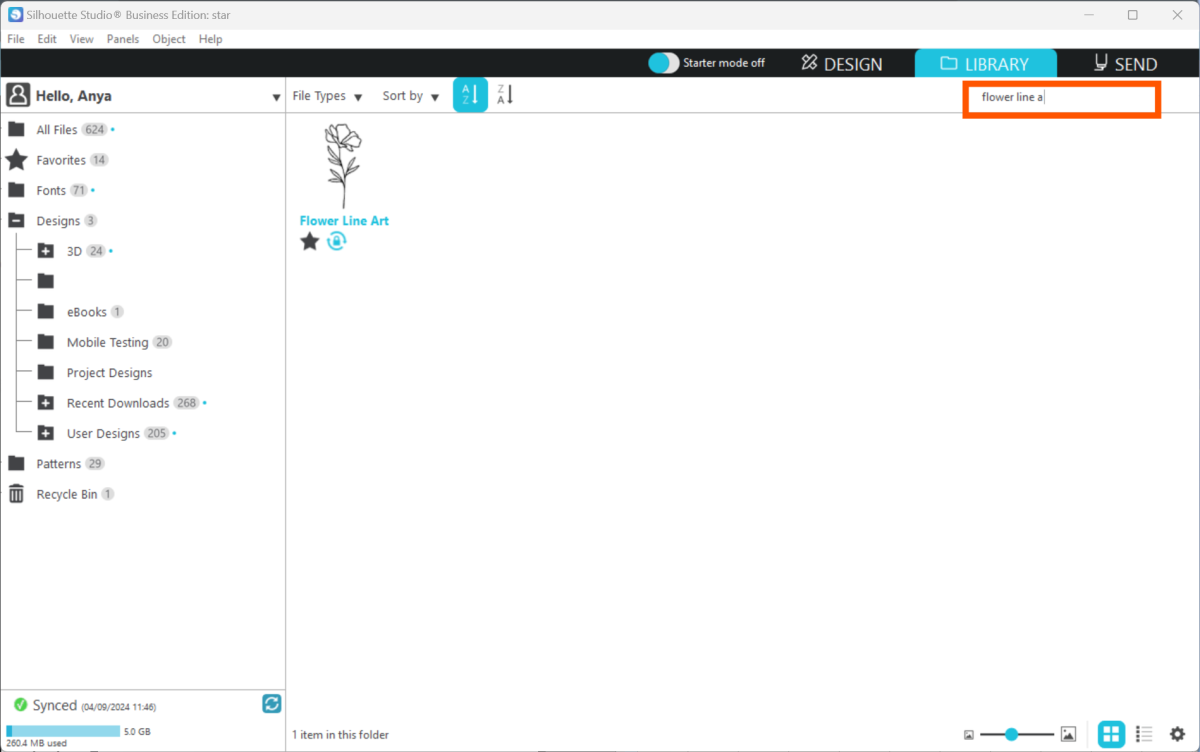
You can find a Design Store design, once purchased, by searching for it in your Library. Today we are using Flower Line Art by RachelFCreative.
Silhouette Web:
Silhouette Studio 5:
This design uses narrow lines perfect for the heat pen, so we don’t need to change anything. But you can add more shapes, further design store designs, or custom text to your creation. For filled shapes, you can use the Heat Pen tab of the Speciality Tools panel.
Make sure that your design is lined up with your media, and that your media size exactly matches your notebook size. Once you are happy with your design location, go to SEND.

Step Two: Prepare to SEND
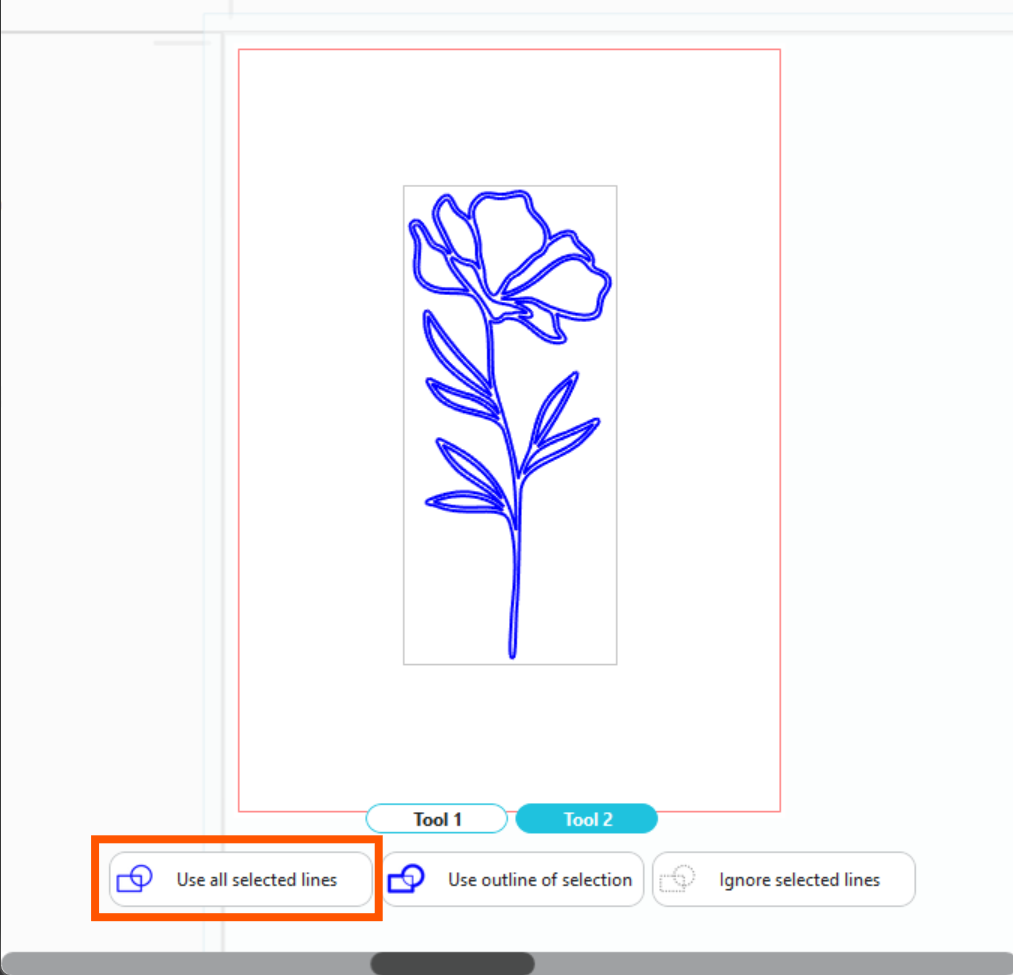
Go to SEND. You will see a preview of your design, with the cut lines highlighted. You will need to assign your heat pen lines to Tool 2:
Silhouette Web:
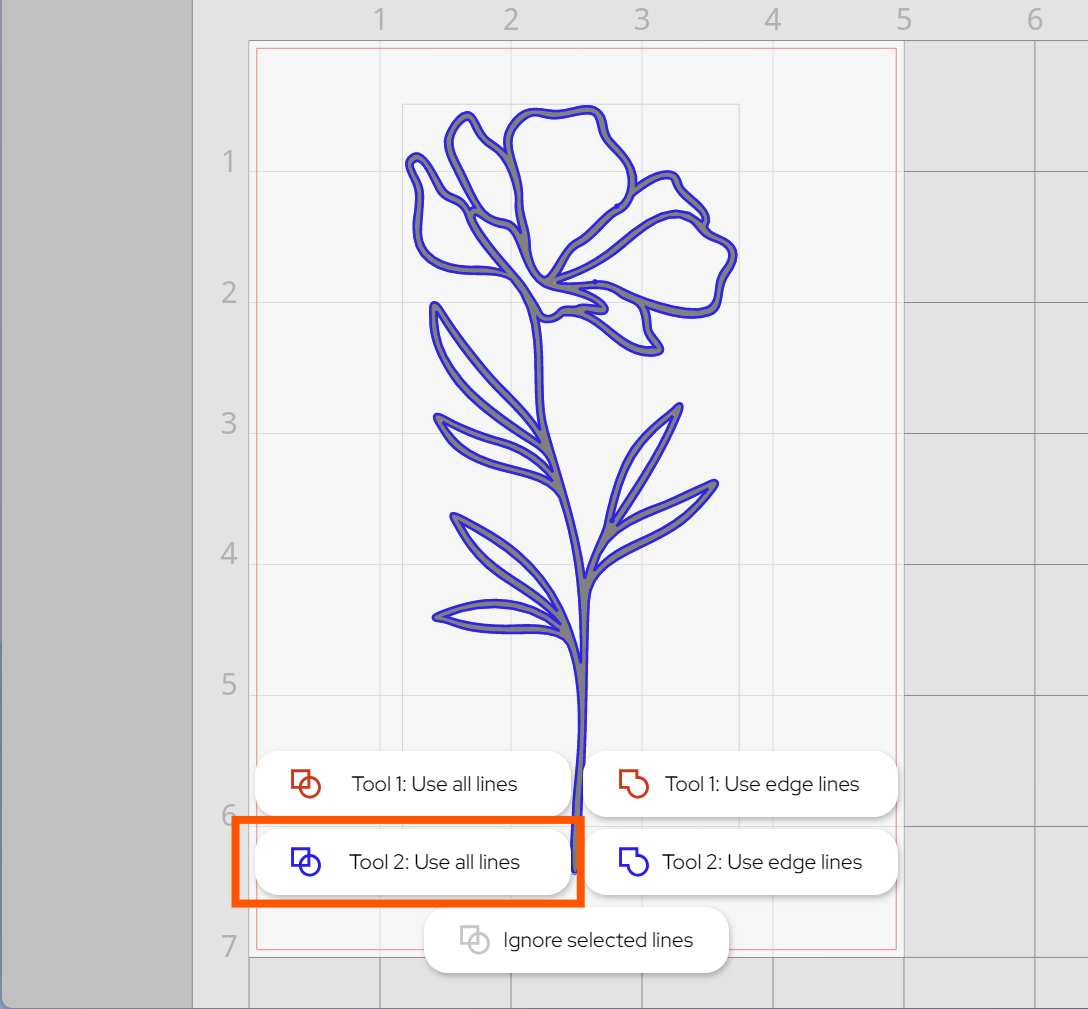
Silhouette Studio 5:
In Silhouette Studio 5.0 Guided Mode, and Silhouette Web, there will now be on-screen instructions on how to load your cardstock onto your mat, add foil, heat the heat pen and send.
The steps will be:
- Connect to your machine
- Choose Cardstock, Plain from the material list for Tool 2 (depending upon your notebook type).
- Note: it is recommended to always test settings. This is especially important when using a notebook with an unknown surface type, in case it is not compatible with heat foil
- Choose the Foil action and the Heat Pen tool
- Place your heat-activated foil on your notebook over the area you wish to foil, shiny side up. Ensure that the foil covers the intended design area completely
- Tape the foil tightly over the notebook using Silhouette tape or card-safe masking tape.
- Load your Notebook onto your cutting mat, matching the mat preview exactly
- Load the mat into your CURIO 2 and ensure it is securely taped down. It may help to add additional tape to the notebook
- Follow the instructions to send the job.
- Note: both Silhouette Studio and Silhouette Web will pause to heat your heat pen. This takes approximately three minutes.
The CURIO 2 will move the heat pen slowly over the foil, applying heat to transfer the foil onto the notebook. A slow speed is required to ensure that the foil transfers.
Step Three: Remove Foil
Remove the tape holding the mat and notebook down to your CURIO 2, and then carefully remove the foil transfer sheet. Your custom notebook is now complete!
 Everything to Know About Silhouette Studio® Upgrades
 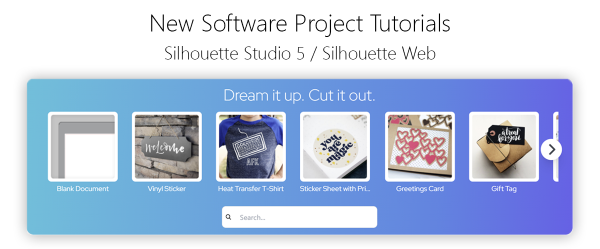 Cut, Punch & Sew a Leatherette Coin Case