With vinyl, you can apply precisely cut designs to almost any surface. Silhouette’s vinyl is available in over twenty-five different colors, two sizes (9-inch and 12-inch widths), and comes in glossy permanent, matte removable, and various specialty finishes.
In this tutorial, we will show how to apply vinyl with transfer tape and something called the hinge method.
Supplies Needed:
- Silhouette CAMEO® or Silhouette Portrait® or Silhouette Curio™
- Silhouette Cutting Mat (if you cut a small piece of vinyl)
- Silhouette Cutting Blade
- Silhouette Vinyl
- Roll Feeder (only with the Silhouette CAMEO® or Silhouette Portrait®)
- Silhouette Hook
- Silhouette Scraper
- Silhouette Transfer Tape
- Scissors
- Tape
Step One: Cut Out Vinyl
- Open design in Silhouette Studio® and resize as desired. Select your type of vinyl from the material drop-down list in the Send panel.

- Load the vinyl into your Silhouette. A cutting mat is not necessary; however, if your vinyl piece is smaller than what the rollers can adjust to, you will need to use a cutting mat. Click “Send.”
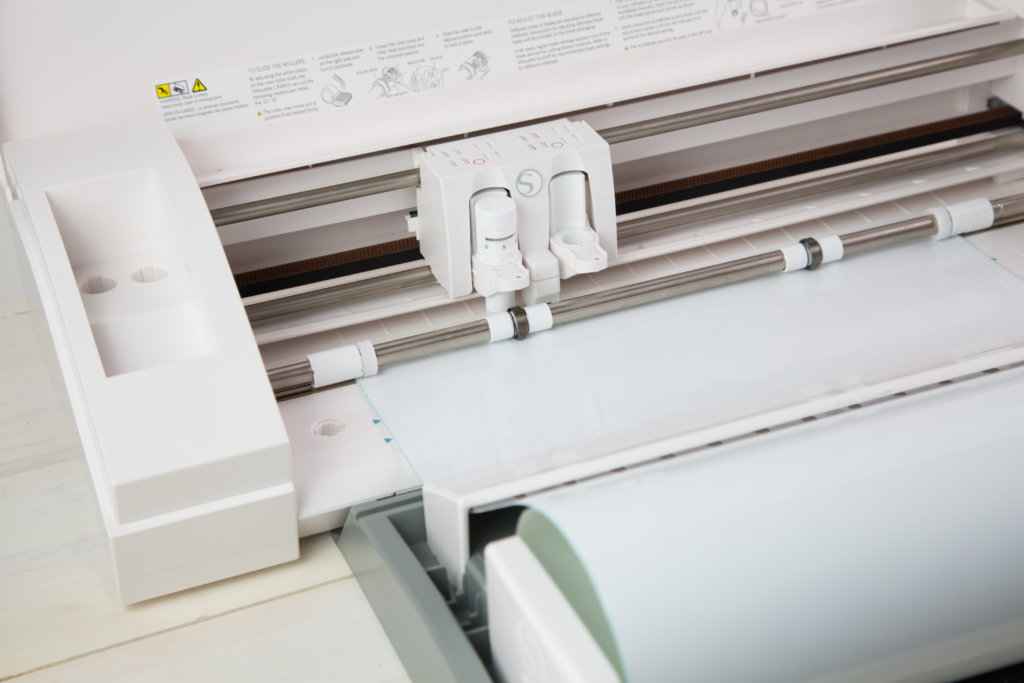
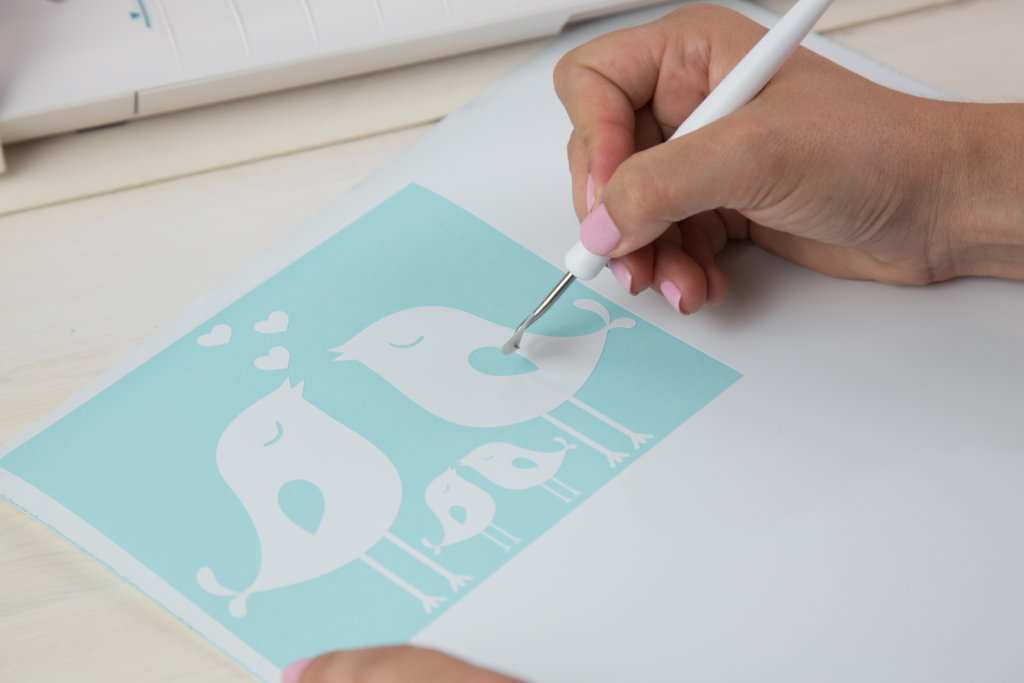
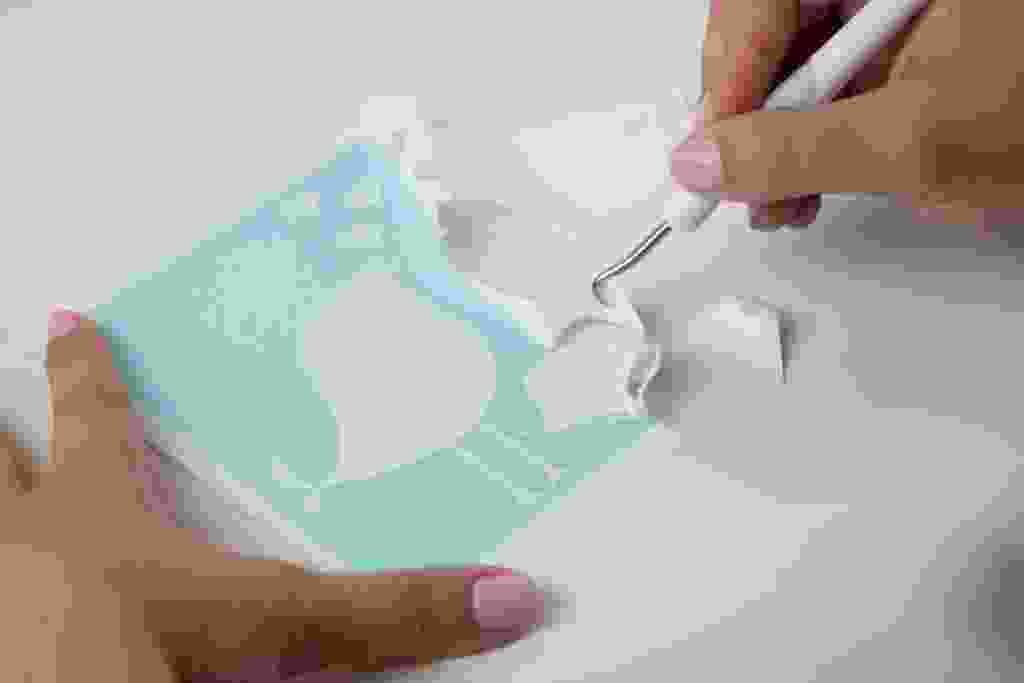
- After your image is cut, remove the vinyl from your Silhouette. Weed (peel away) the negative space so all that remains of the vinyl backing is your design. The next step is to get the vinyl onto your project.
Step Two: Apply Vinyl Using Transfer Tape and the Hinge Method
- Make sure all of the unnecessary vinyl is removed from your design.
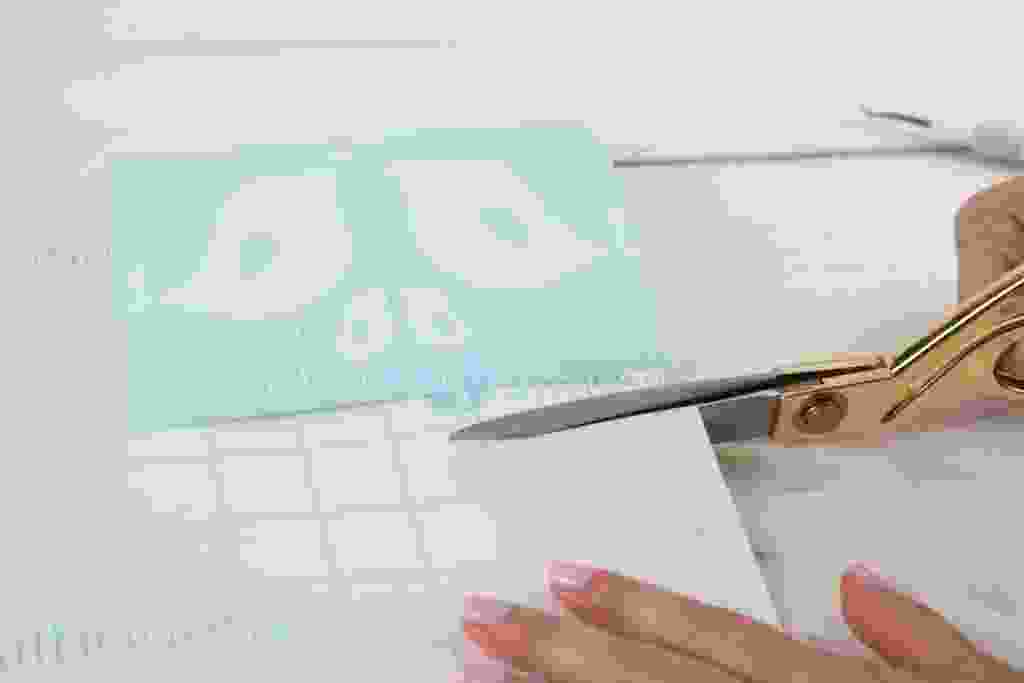
- Cut a piece of transfer tape big enough to cover your entire design.
- Remove the backing from your transfer tape. Using a Silhouette scraper, apply the transfer tape to the vinyl. Press it down hard so that it evenly adheres to the transfer tape.
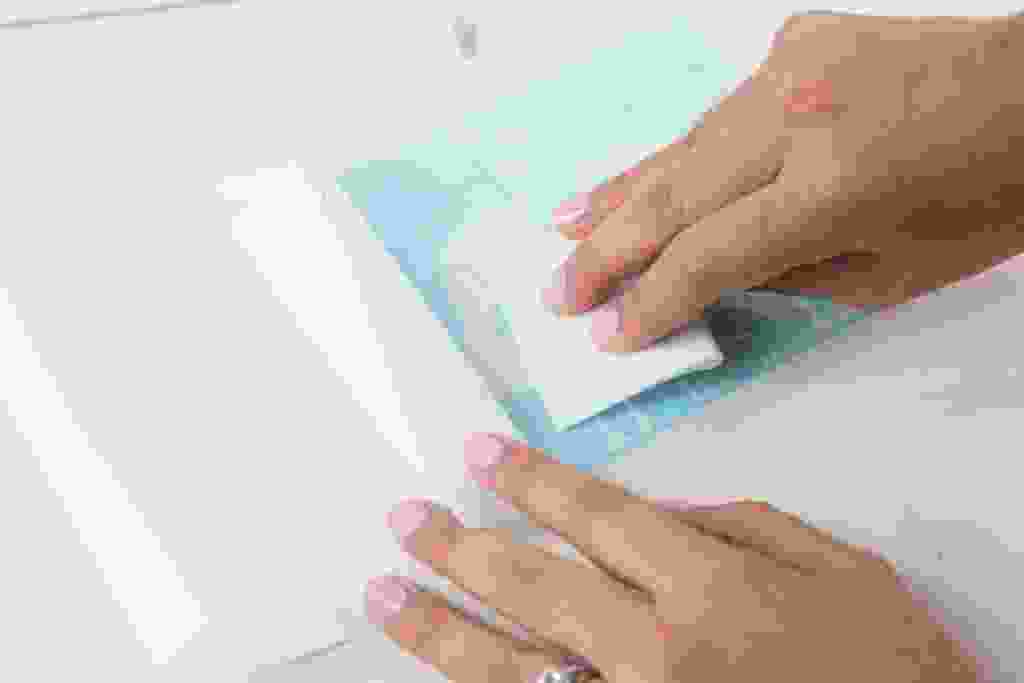
- Move your vinyl to your project and place it where you want. Place a piece of tape down the middle of your project. This tape will act as the hinge.

- Gently pull up one side of your design. Remove the vinyl from the adhesive backing.

- Use scissors to cut away the adhesive backing from that one side.
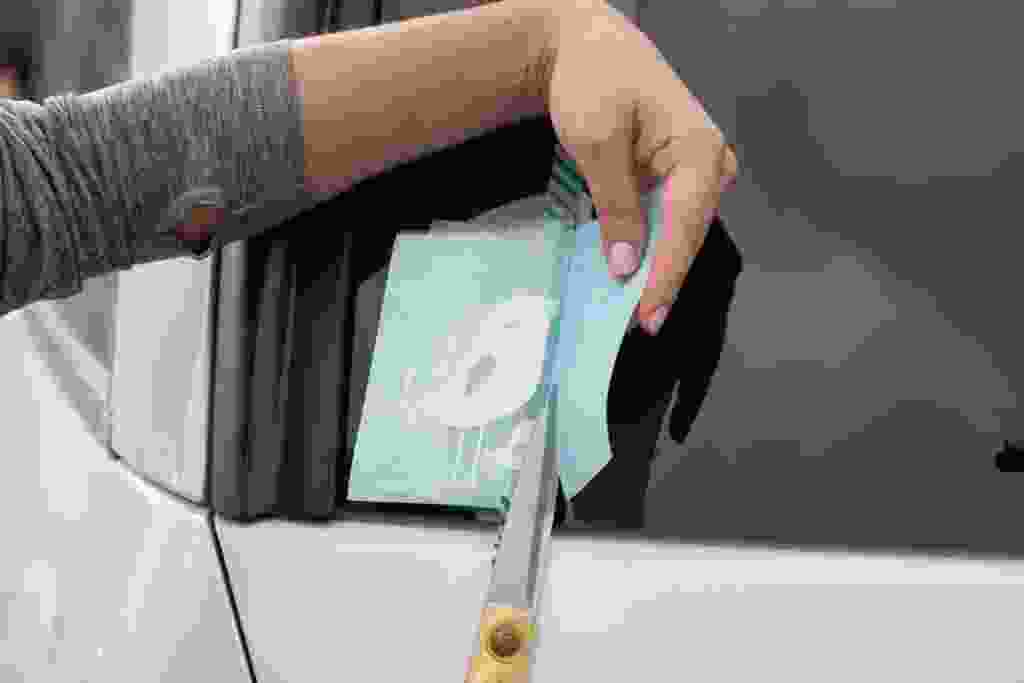
- Press your vinyl onto the surface. Use a scraper to press out any bubbles.
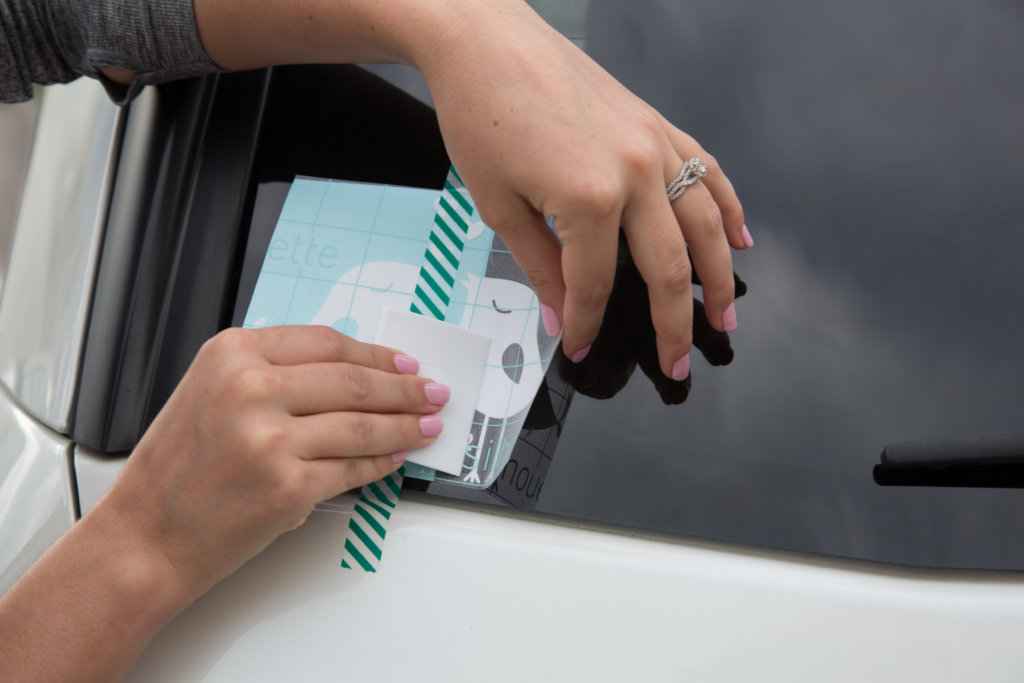
- Remove the tape from the middle.
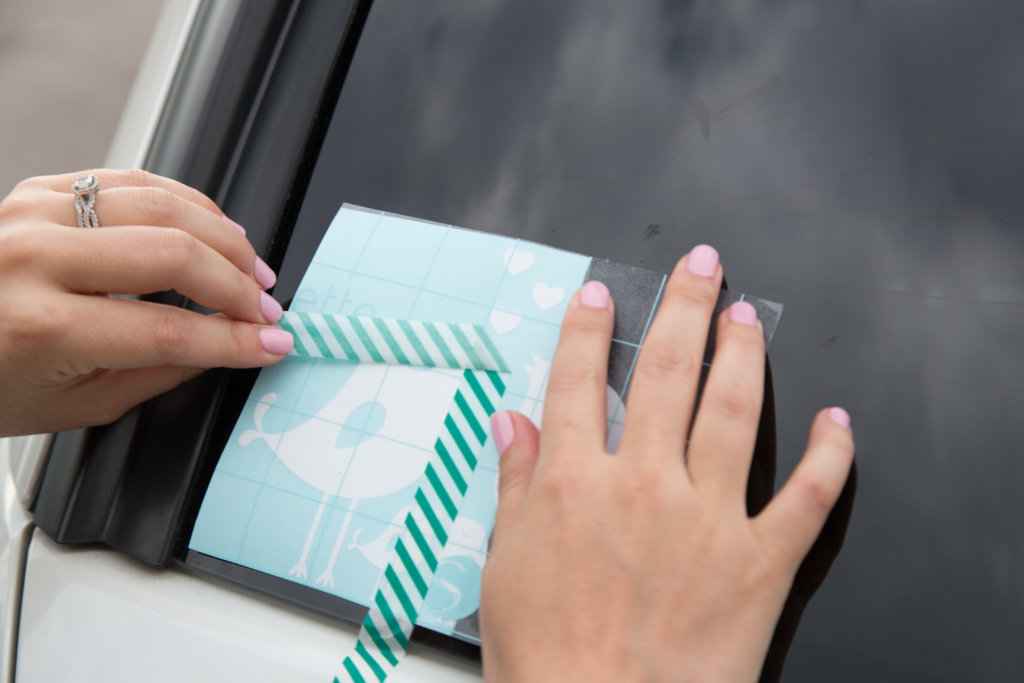
- Gently fold back the other side of your design.
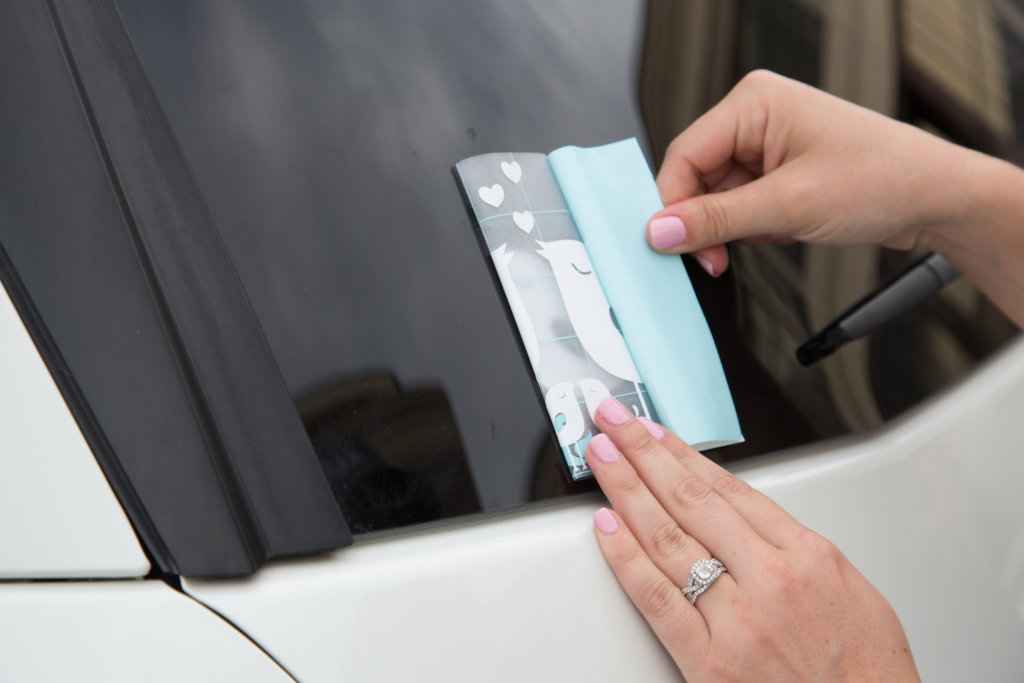
- Remove the adhesive backing from that side.
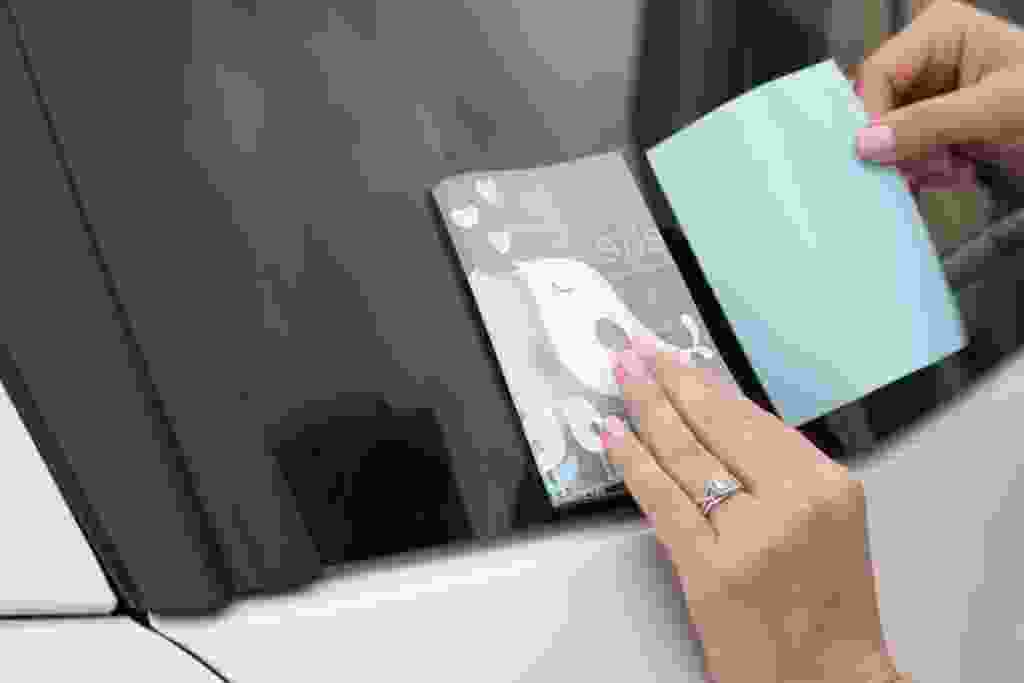
- Press that side down onto your surface. Use a scraper to adhere it and press out bubbles.

- Remove the transfer tape. Be careful to make sure all of the vinyl sticks to your surface.
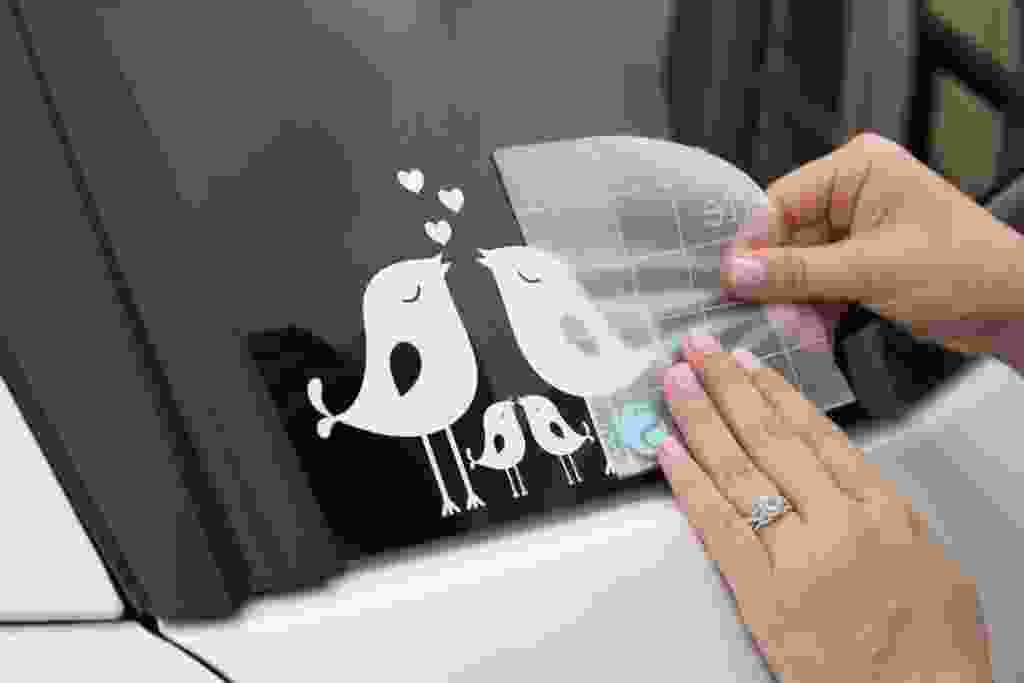
- You perfectly aligned your project.

If you have a small design, you don’t need to use the hinge method to apply your vinyl. Simply place your design on your project like a sticker and peel off the transfer tape.


 Quirky Mug
  Quick Spring Welcome Sign
Kelly Wayment
June 28, 2024
You can use it with vinyl as long as it is smooth and flat to allow the static charge to hold on to it. Rolled vinyl that wants to go back to its rolled shape will not necessarily work well, and it would need to be trimmed to fit the ES mat cutting area.
Kelly Wayment
June 28, 2024
Yes, you can use the heat pen while using the ES mat. 🙂
Yurii
March 2, 2024
Hello. May it be used with heat pen?
Thanks
Jerome
February 24, 2024
Hi, works this with the normal vinyl foils or only with printer papter etc?
Kelly Wayment
February 16, 2024
Once you’ve pushed the mat up against the rollers, just press the “Load” arrow button (bottom right on the display). Does a regular sticky mat load into the machine for you?
Michelle a goodall
January 24, 2024
Hello! I just got my new electrostatic mat and have watched every video i can find on it. However, what i can t find is why it wont feed into my cameo 5/ it slides right up the rollers but wont go any further. and yes- iam pushing the into button. help!