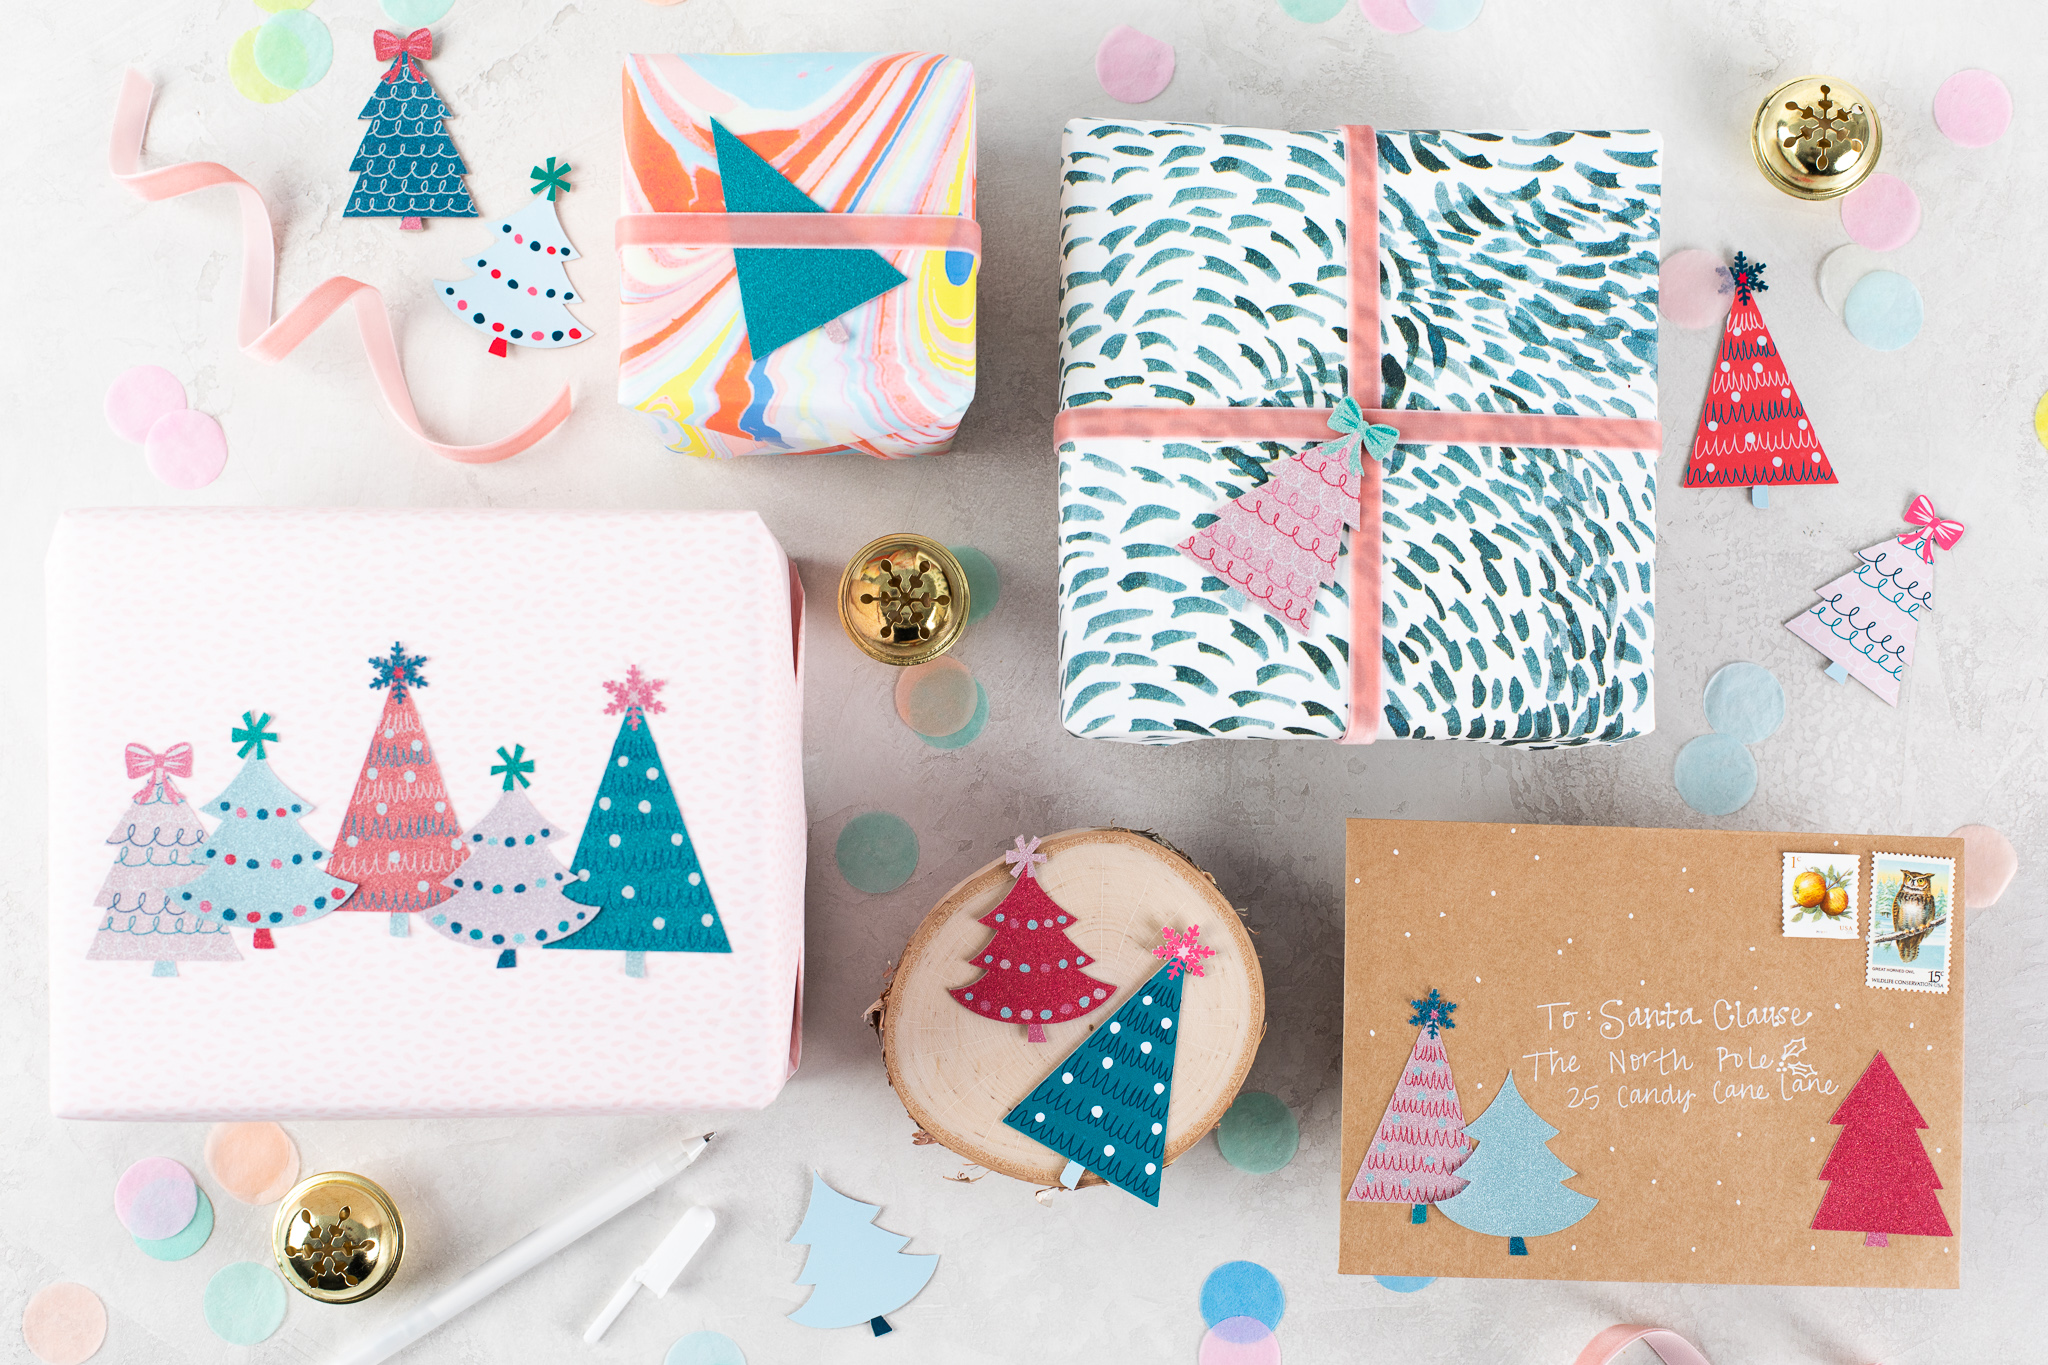
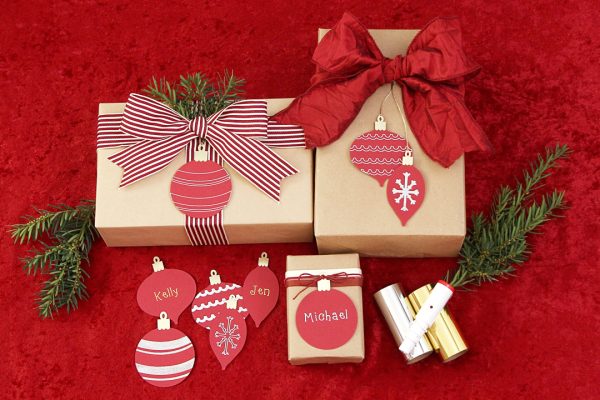
If you’re looking for a quick way to jazz up your Christmas gifts and cards this year, look no further! The Print & Cut feature in Silhouette Studio® is an amazing way to create custom stickers perfect for the holidays! And using the glitter sticker paper gives them a festive touch!
Supplies Needed:
- Silhouette Cameo® or Silhouette Portrait®
- Silhouette Studio®
- Silhouette Cutting Mat
- Silhouette AutoBlade or Silhouette AutoBlade for Cameo 4
- Printable Glitter Sticker Paper
- Chipboard, if you’d like to make tags
- Inkjet Printer
- Design ID #301828
Step One: Formatting the Designs
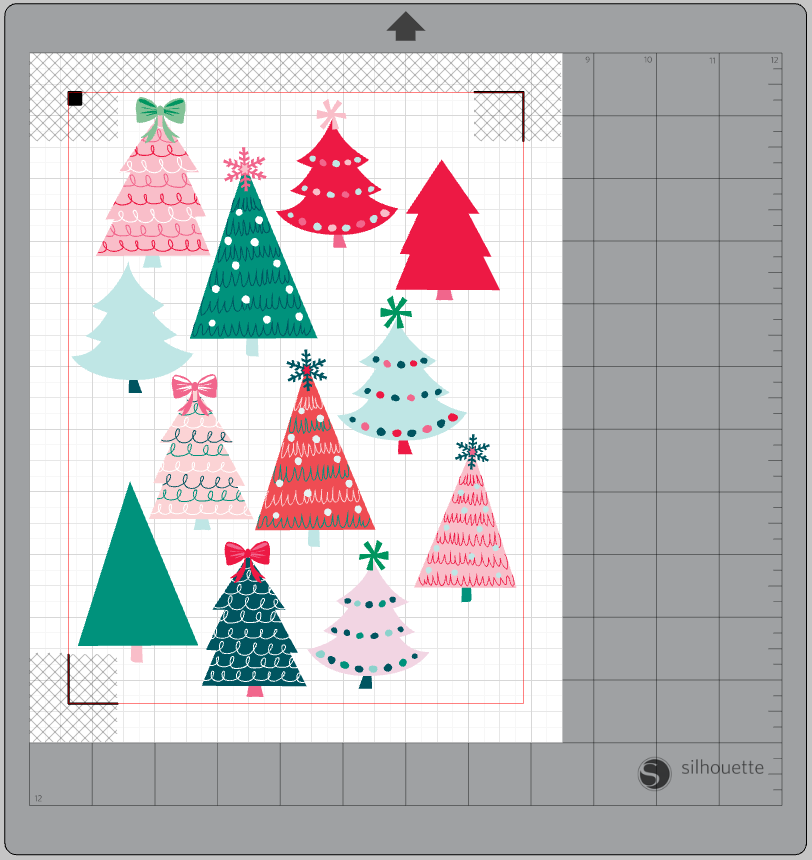
1. For any Print & Cut project you’re doing, the first thing you want to do is set your media size to the correct dimensions—the glitter sticker paper is letter sized—and turn on registration marks in the “Page Setup” panel. Open your design in Silhouette Studio®.
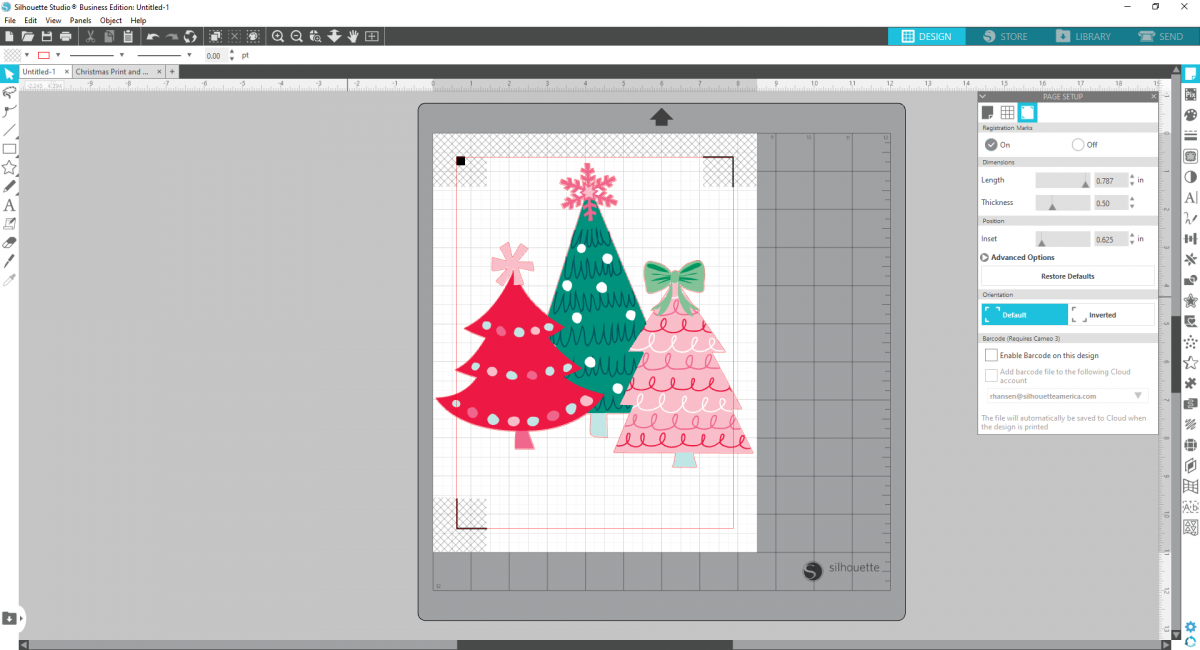
2. Then right-click on your design and select “Ungroup” to separate the trees from one another and from the cut line surrounding them. You’re welcome to skip this step if you want your sticker to look exactly like the original trees, but I wanted them to be separated.
3. Now delete the tree outline and then size the trees to your desired dimensions for your stickers. Now you can fill the page with as many trees as you want (within the registration marks, of course) and go ahead a print your page! However, if you would like to edit the colors of the trees, I’ll show you how to do that now!
4. So I love the coloring of the original trees in this design. However, I wanted to make a bunch of slightly different trees, but within the same color palette. To begin, start by opening the Fill Panel. Now below the Fill Colors, you should see a tiny painters palette that says “New Palette Name…” next to it. This is where we’re going to create our color palette, so that you’ll be able to save and remember all the colors you used and have them in one place!
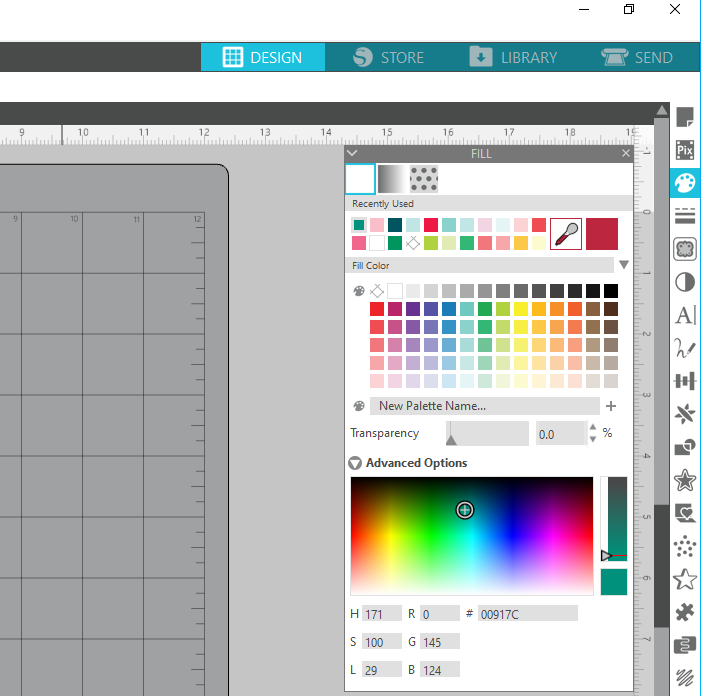
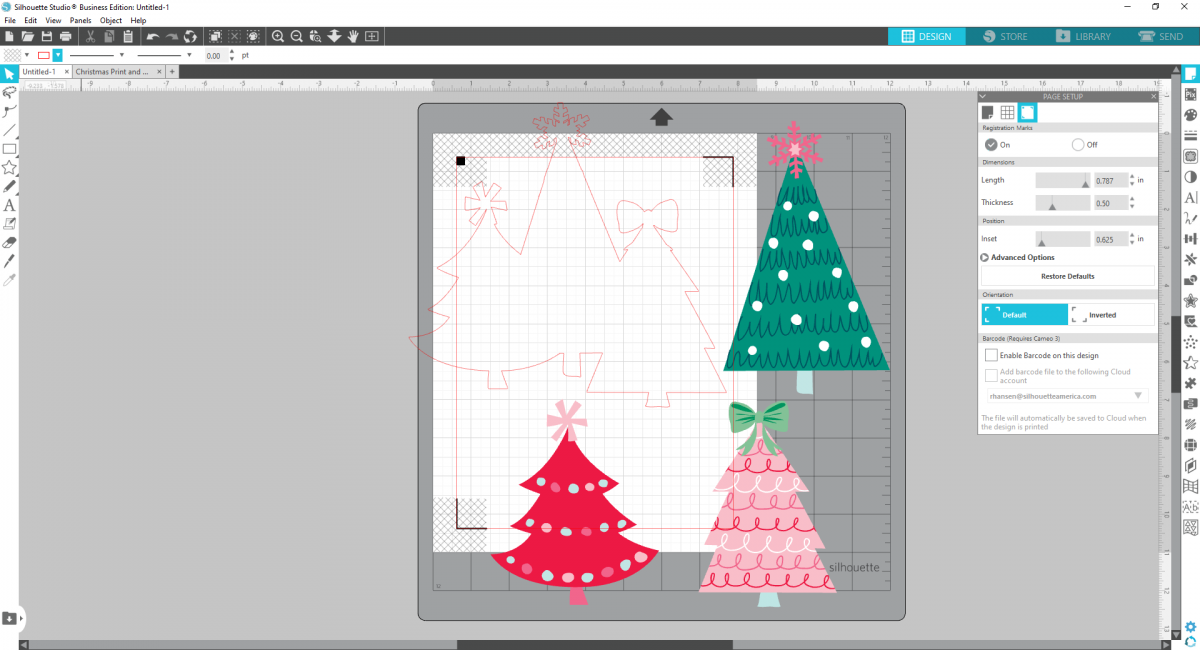
5. I’m going to name my palette “Christmas Tree Stickers.” Now we can begin adding colors to our palette. To select each color used in the Christmas Tree design, we’ll need to further ungroup the elements of each tree. Depending on the design, you may need to ungroup parts of the tree multiple times to get in completely separated. You’ll know you’ve ungrouped the design completely when there is a box surrounding each element, and you can select each one individually.
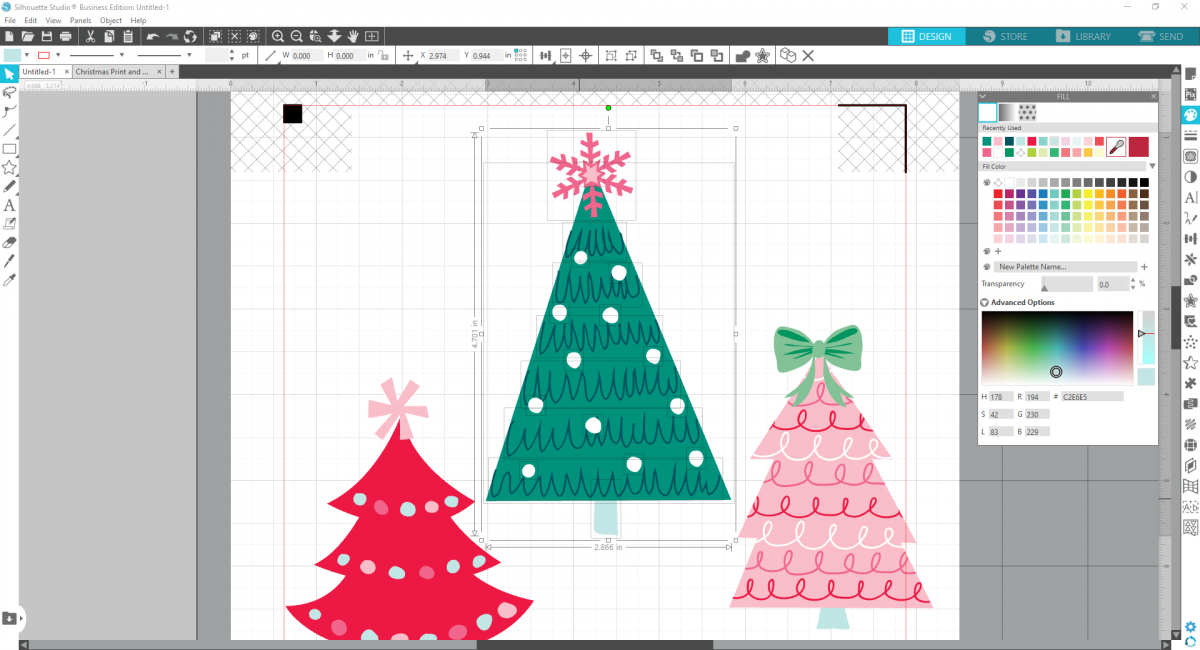
6. Now start by selecting each element and then selecting the plus sign (+) next to the color palette you named. This will add the color to your palette.
7. Continue selecting all the elements until you’ve added all the colors. You can add additional colors as well if you’d like to expand the palette beyond the colors of the design.

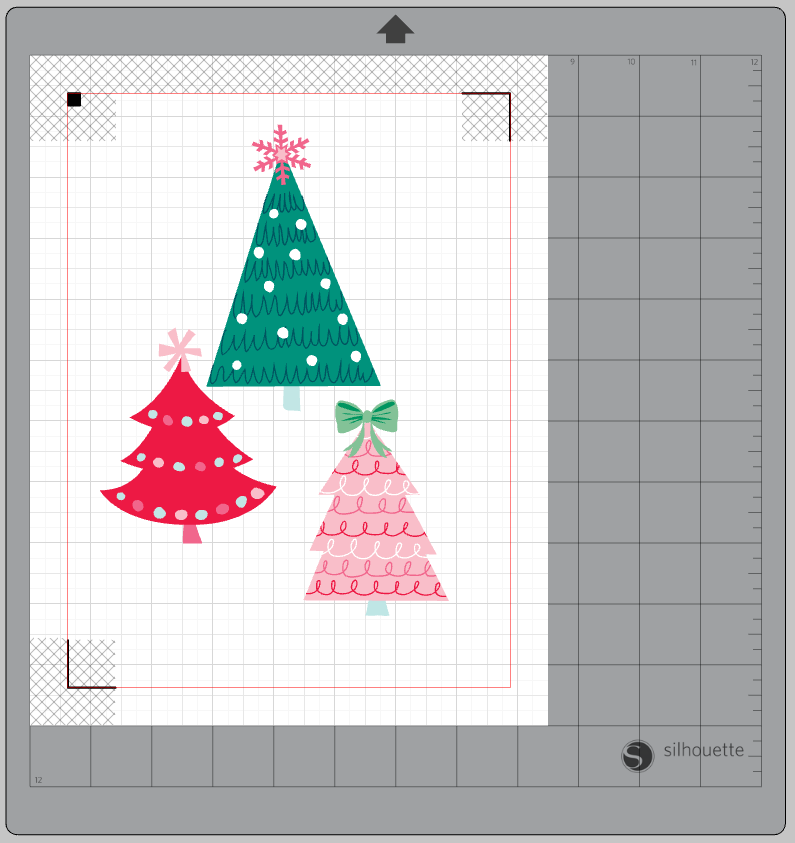
8. Now that you have your completed palette, select all the components (since you’ve ungrouped them, they all won’t move together in one piece unless you highlight them all) and duplicate it by right-clicking and selecting “duplicate.”
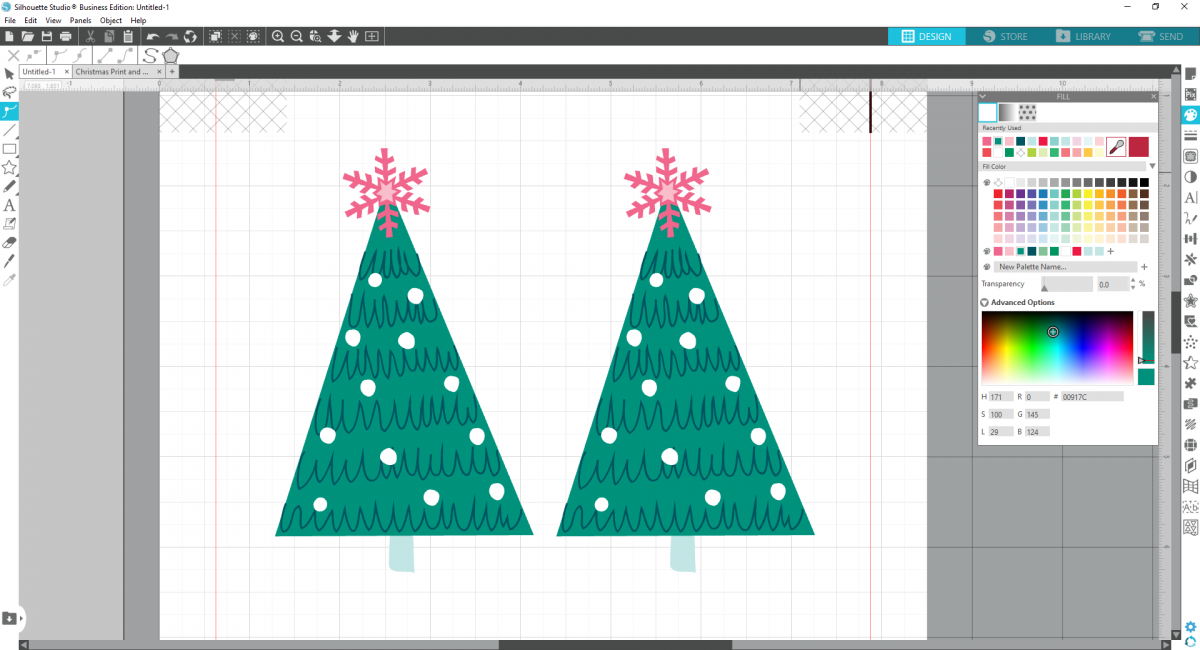
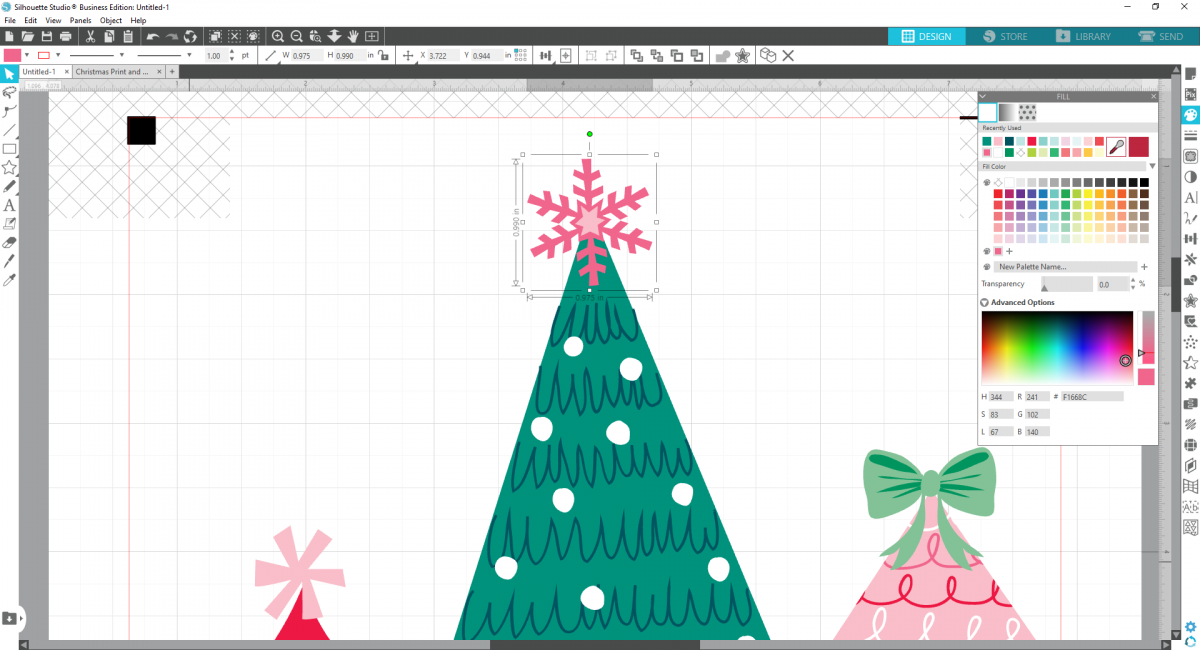
9. Now you can select each individual element and change the fill color, using the colors you’ve saved in your palette! So just click on each element and then select the color you’d like to fill it with!
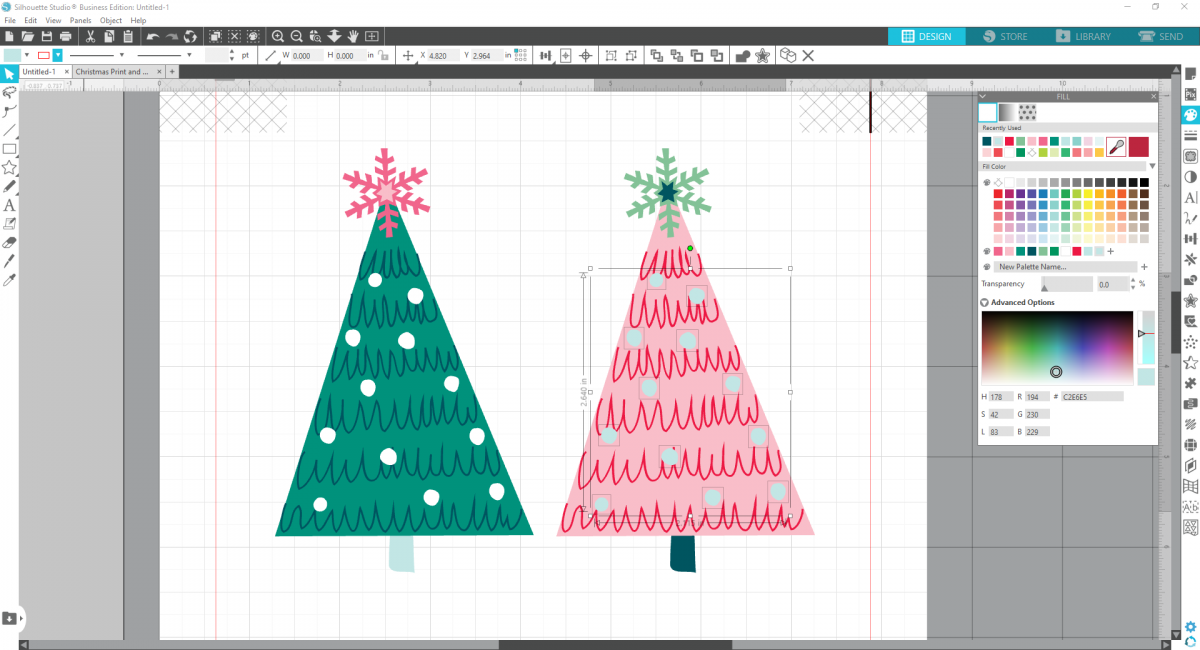
10. You can also select multiple elements at the same time by pressing and holding down the shift key while you select multiple elements. Now use this same method to alter the colors of as many trees as you’d like!
Step Two: Print & Cut the Designs
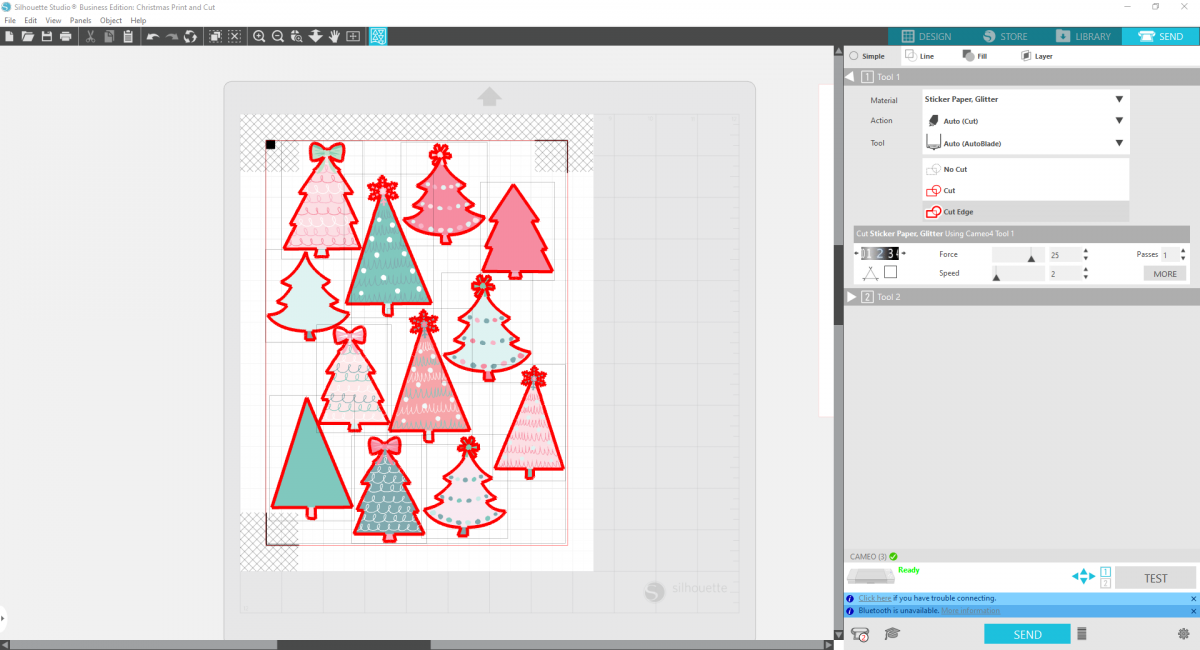
1. Insert your glitter sticker paper into your printer and print! Remember to set your print settings to the highest quality and turn your Print Bleed settings on in your page set up panel. This will print a little extra color around all your designs to ensure that once cut, you won’t have any white space around your images.
2. Once printed, place your sticker paper onto your cutting mat, making sure the square registration mark is in the upper left-hand corner, and load into your machine. Set your settings to “Sticker Paper, Glitter” and select “Cut Edge” so that your stickers are cut around the perimeter of each tree.
3. When the cut job is completed, unload your stickers, peel, and stick onto your gifts! No bow necessary!
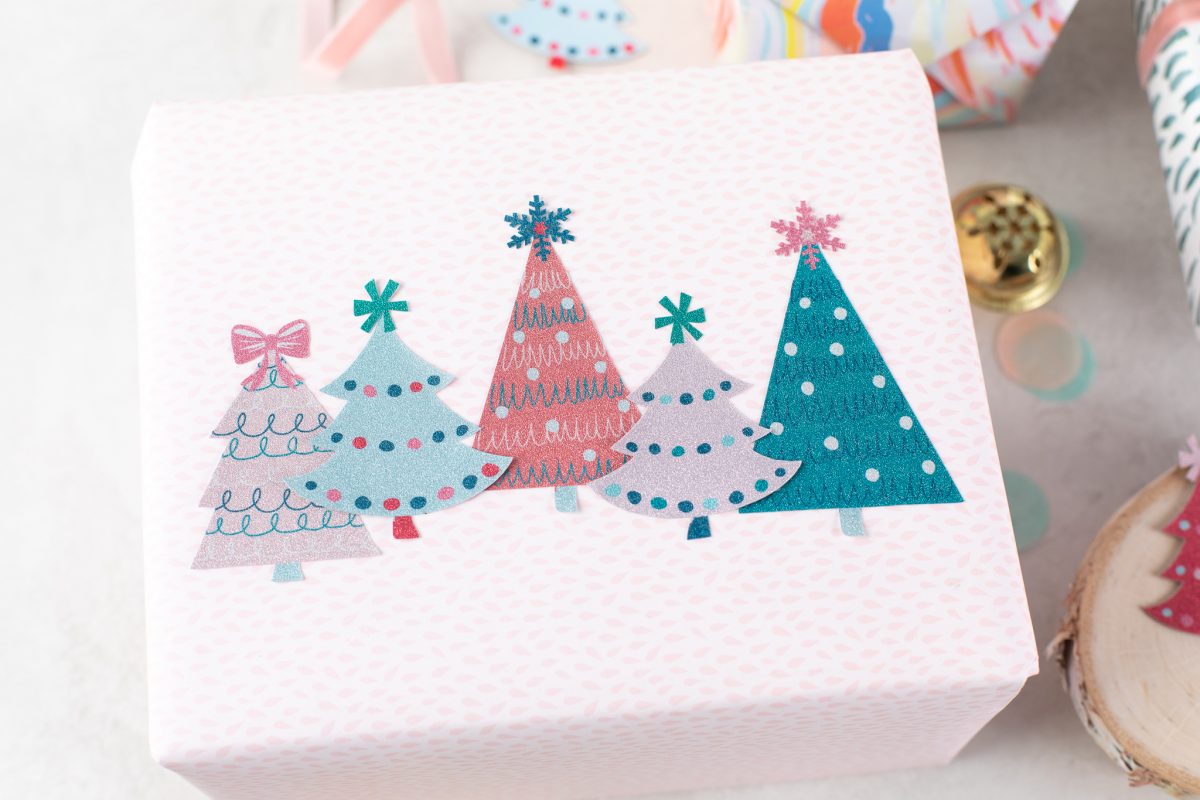
4. If you want to turn your stickers into tags, simply cut out the tree shapes from chipboard and align the stickers on top!

 Free Class - Foiled Gift Tags with the Heat Pen
  Fish Valentines to Share