
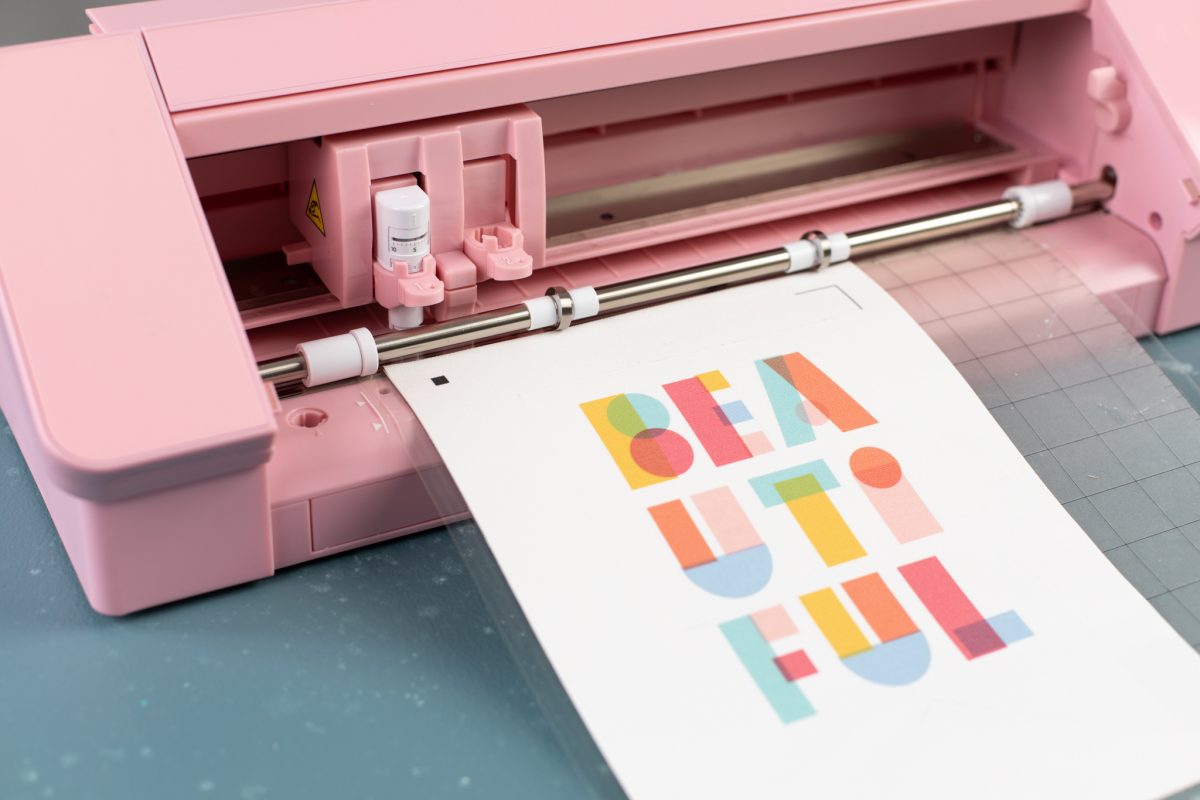
If you’re hoping to spruce up your walls, this customizable pennant is a simple and sew-free project! We printed a fun phrase on printable canvas and then applied this to a felt pennant shape we cut with the Rotary Blade. The printable canvas has an adhesive backing, which makes it easy to apply. This would look super cute in any kid’s room or office space!
Supplies Needed:
- Silhouette Cameo® 4
- Silhouette Studio®
- Silhouette Cutting Mat—Use a high-tack or extra sticky mat
- Silhouette Rotary Blade for Cameo 4
- Cotton Canvas Sticker Sheets
- 1 piece of 9-by-12-inch felt
- Wooden dowel and twine for hanging
- Design ID #75323 for Pennant Shape by Hazel & Ruby and #177118 for Beautiful print by Amy Tangerine
Step One: Prepare the Canvas
1. Insert the “Beautiful” design into Silhouette Studio®. In the Page Setup panel, set your media size to Letter and turn on the registration marks.
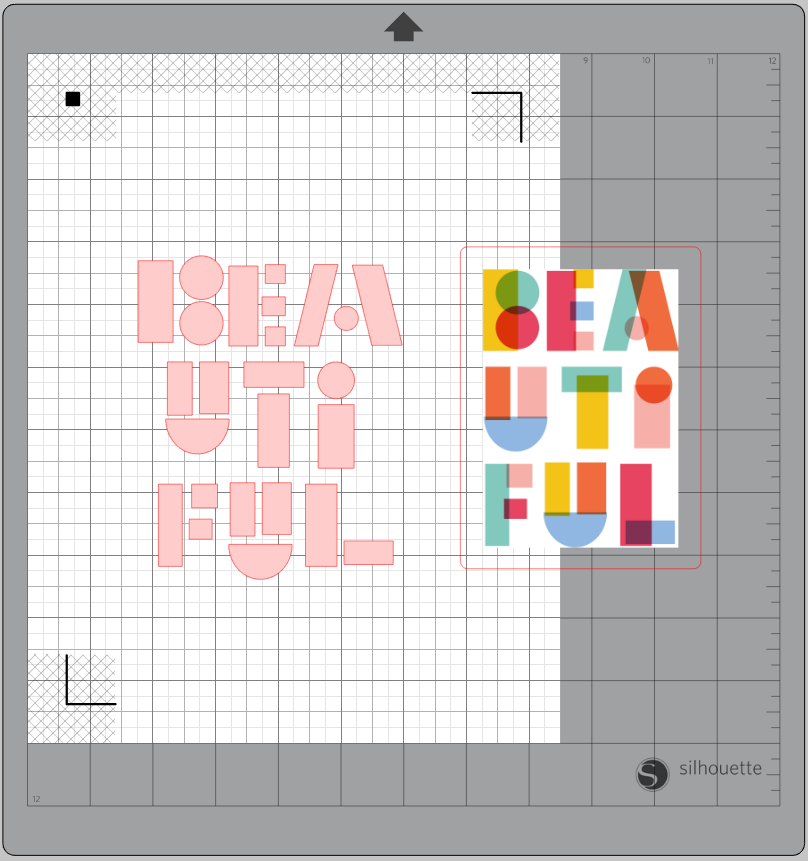
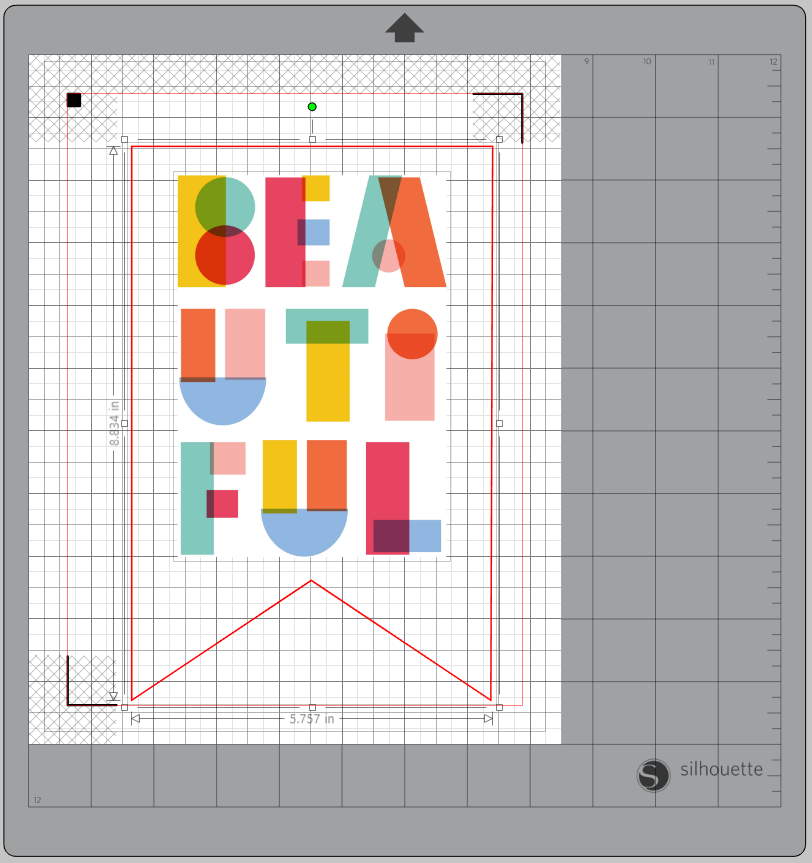
2. Delete the letter outlines and the rectangle shape so that all you’re left with is the actual print. Then size the print so it’s 4.292 inches wide by 6.091 inches tall.

3. Now insert the pennant design into Silhouette Studio®. Ungroup that design and delete the two triangles. Size the pennant shape to be 5.757 inches wide by 8.834 inches tall. Center around the “Beautiful” design using the align tools and then fit within the registration marks and Print & Cut borders.
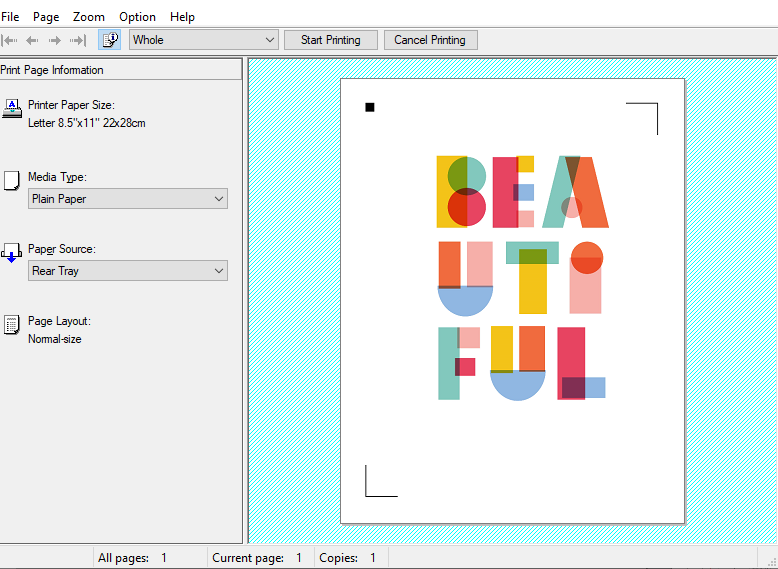
4. This portion is now ready to send to the printer! Load your printable canvas into the printer and print. Always use Print Preview to make sure everything looks correct.
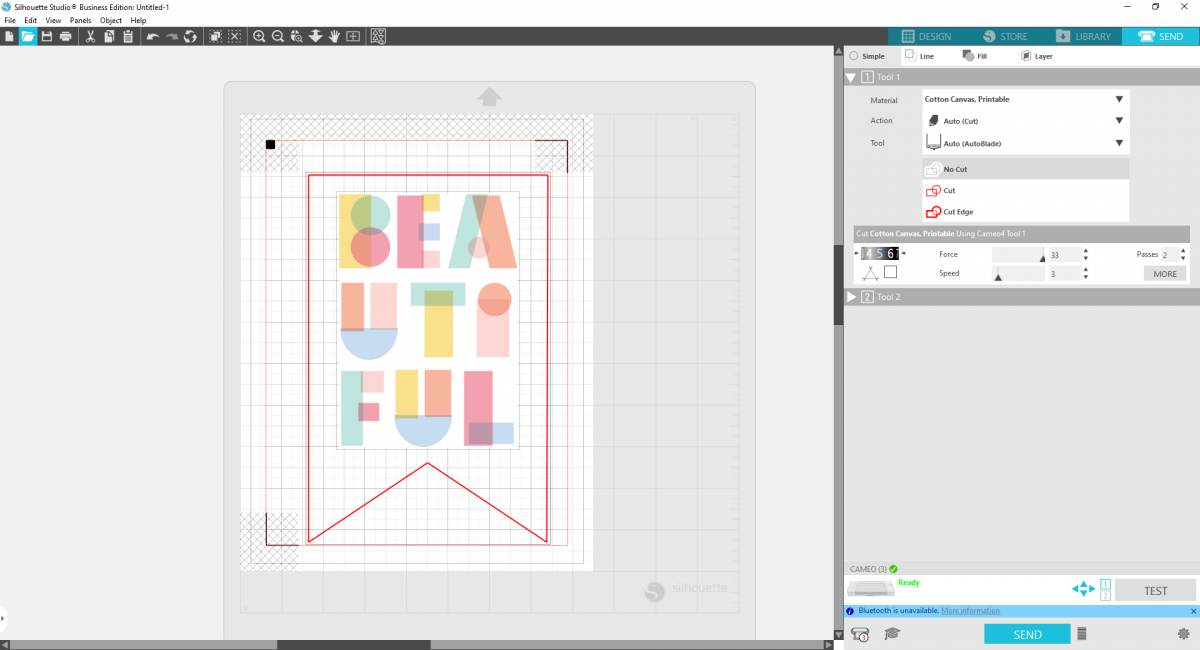
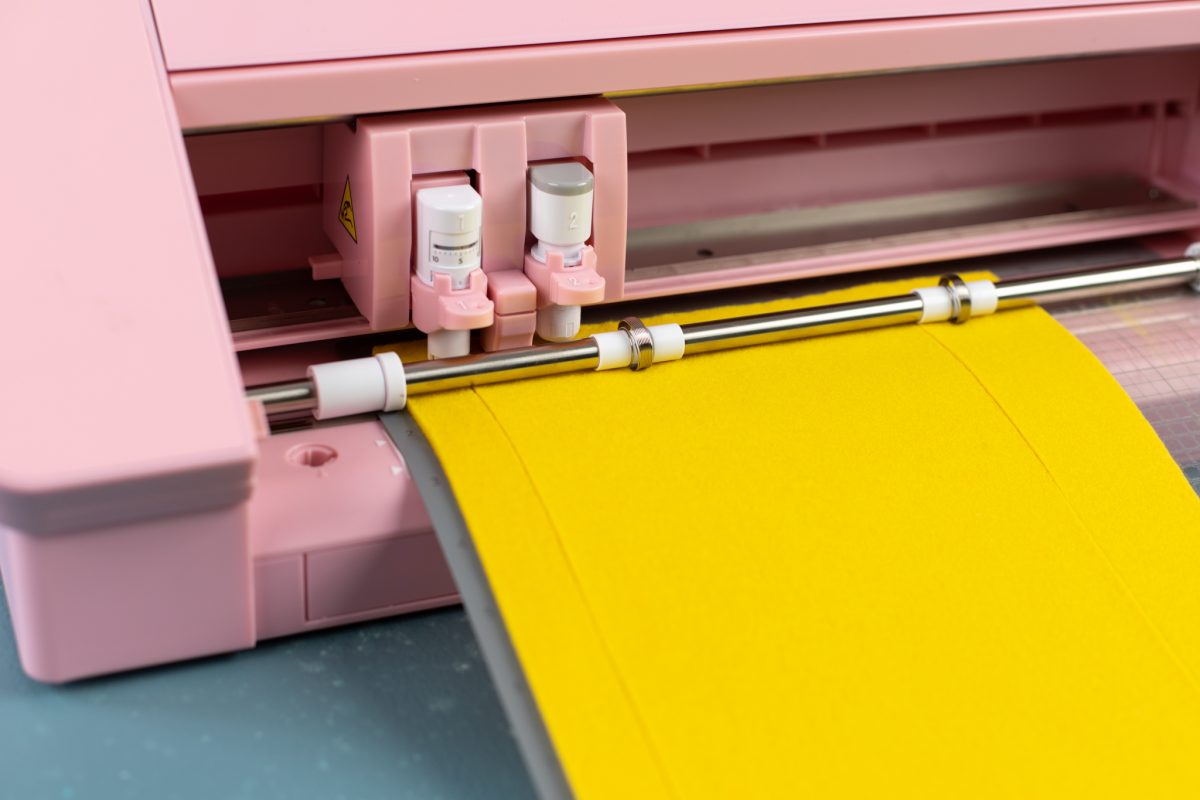
5. Once the design is printed, align in the upper left-hand corner of your mat and load into your machine. Set your cut settings to “Cotton Canvas, Printable” and ensure that your machine will cut only the pennant outline.
Step Two: Prepare the Felt Pennant
1. To create the felt shape, set aside the ‘Beautiful’ design, change your media size to your felt sheet (mine measures 12 by 9 inches), and turn off the registration marks.
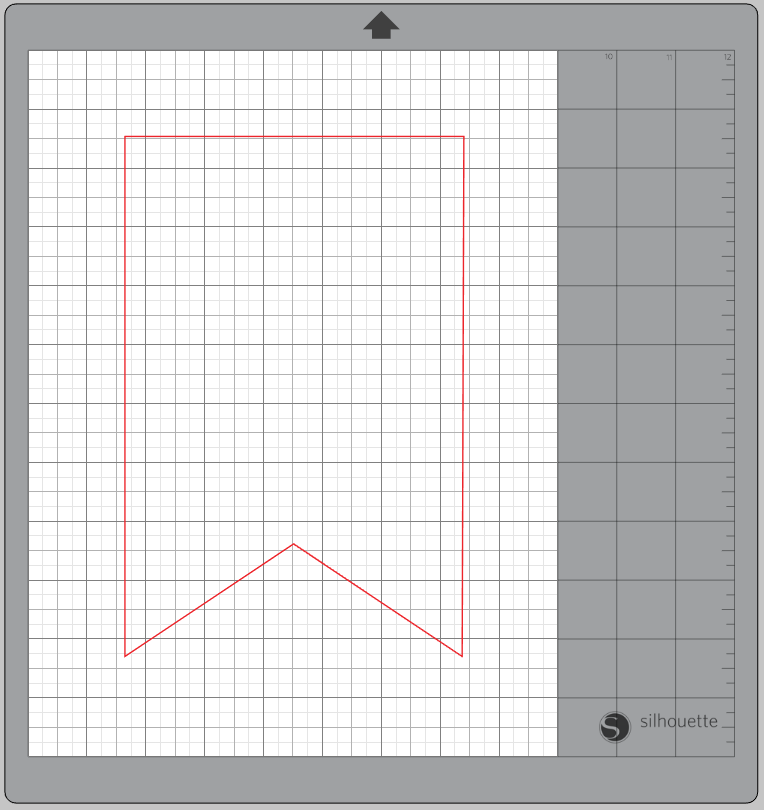
2. Now select the pennant and create a .3 inch Offset with sharp corners.
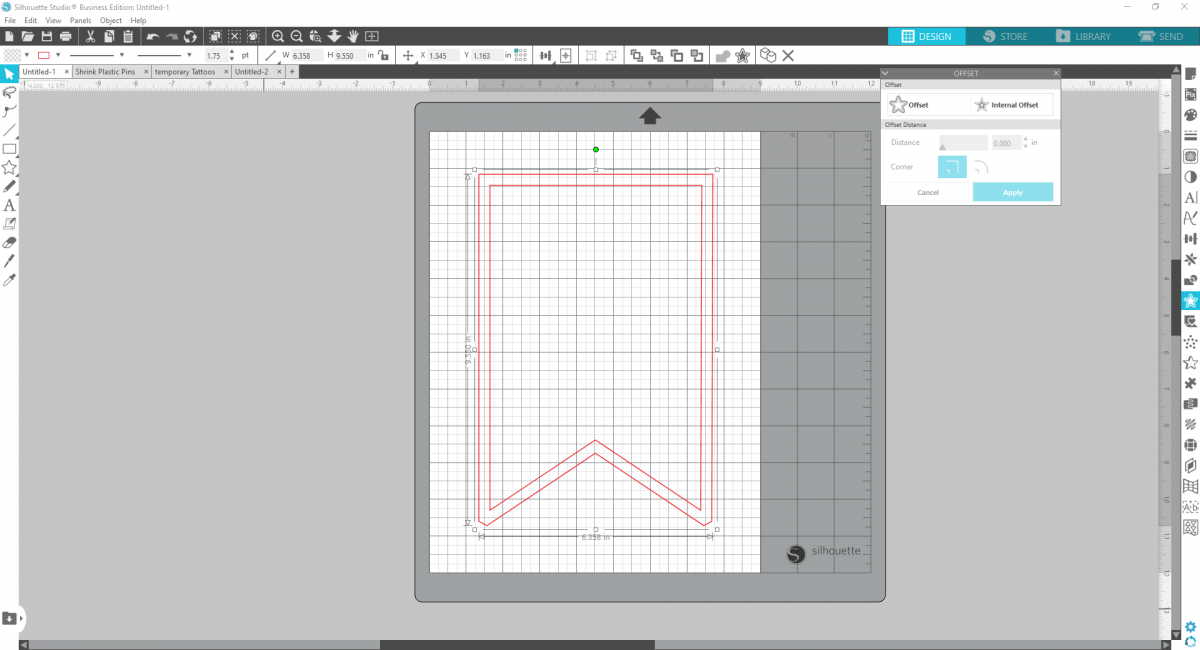
3. Use the Edit Points to make the offset corners sharp at the points and to raise the top line 1.5 inches or so to create room to fold over the felt to make a loop to insert a dowel for hanging. This step is optional. You can leave the top line as is and hang the pennant in a different manner.
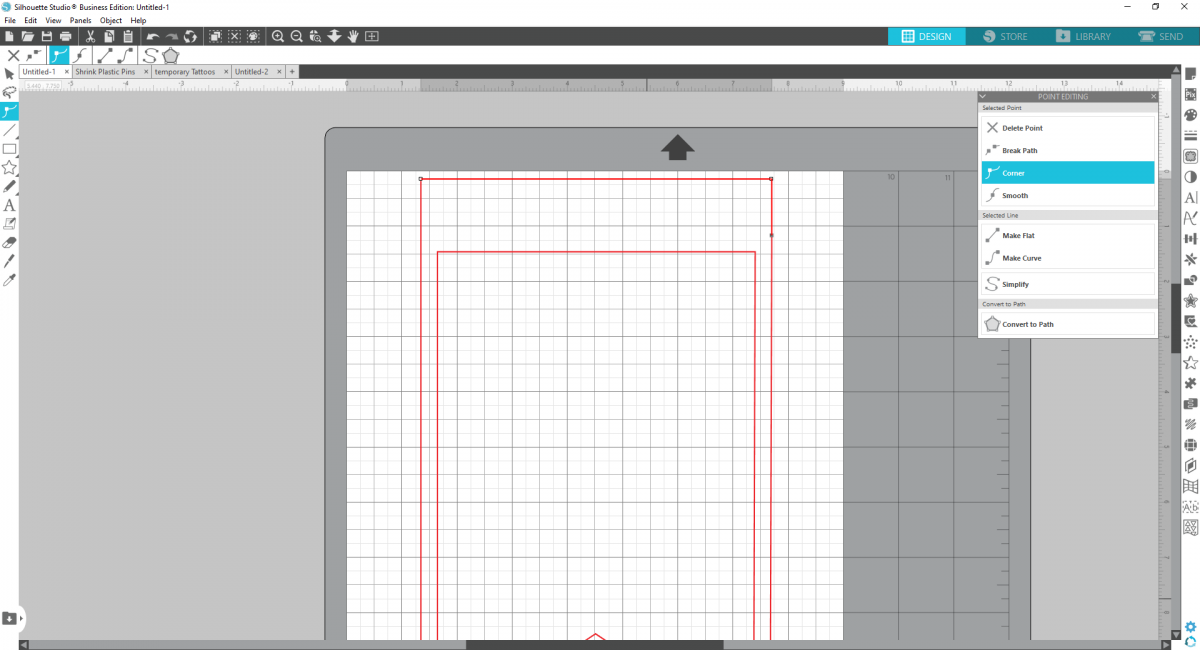
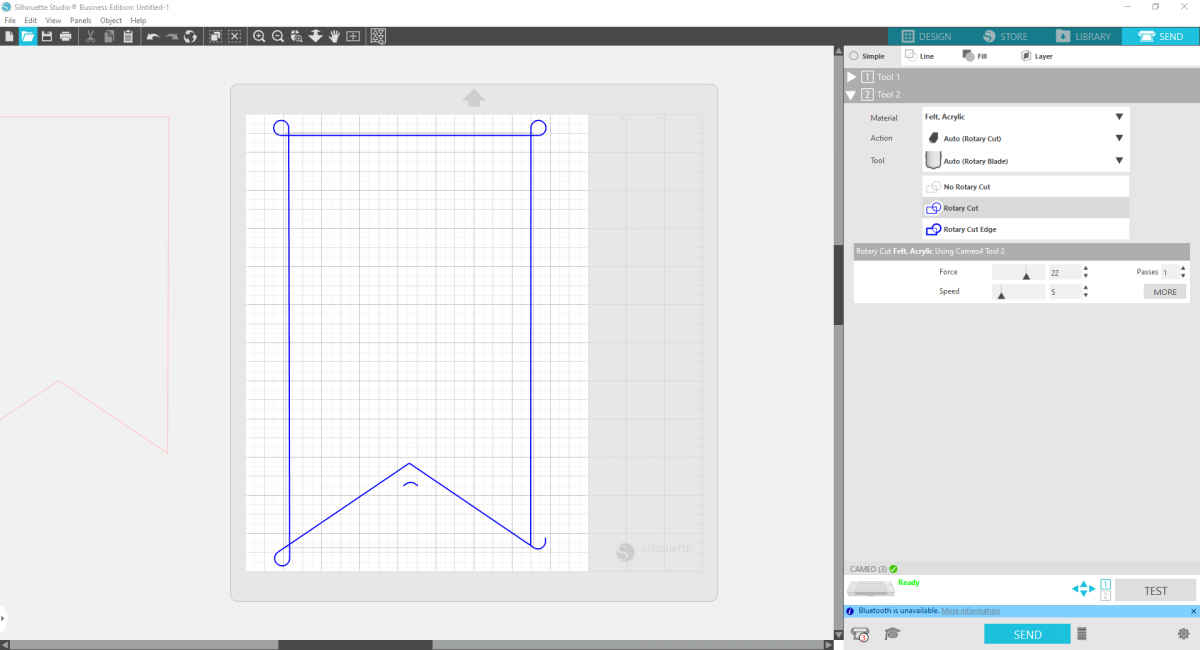
4. Now move the original pennant off to the side and cut out the offset pennant from felt using the Rotary Blade and the “Felt, Acrylic” setting. Make sure the Smart Cut markings are activated.
Step Three: Assemble the Pennant
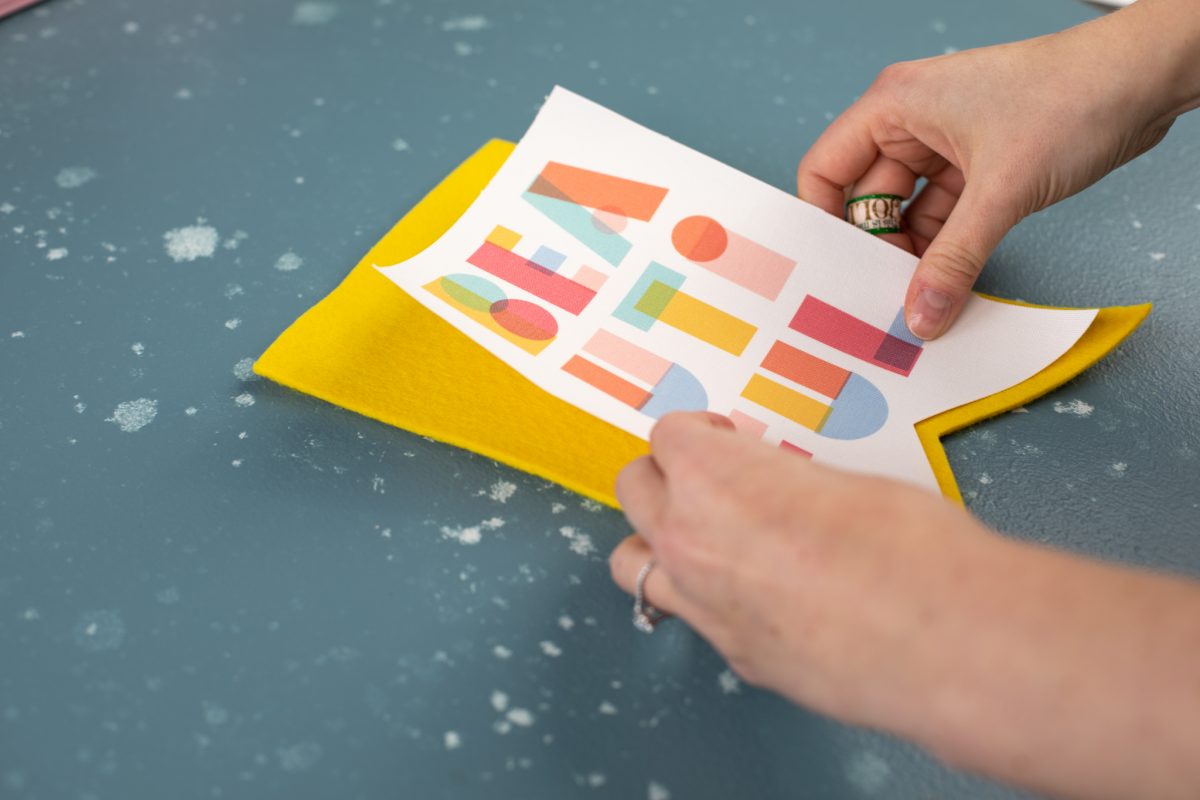
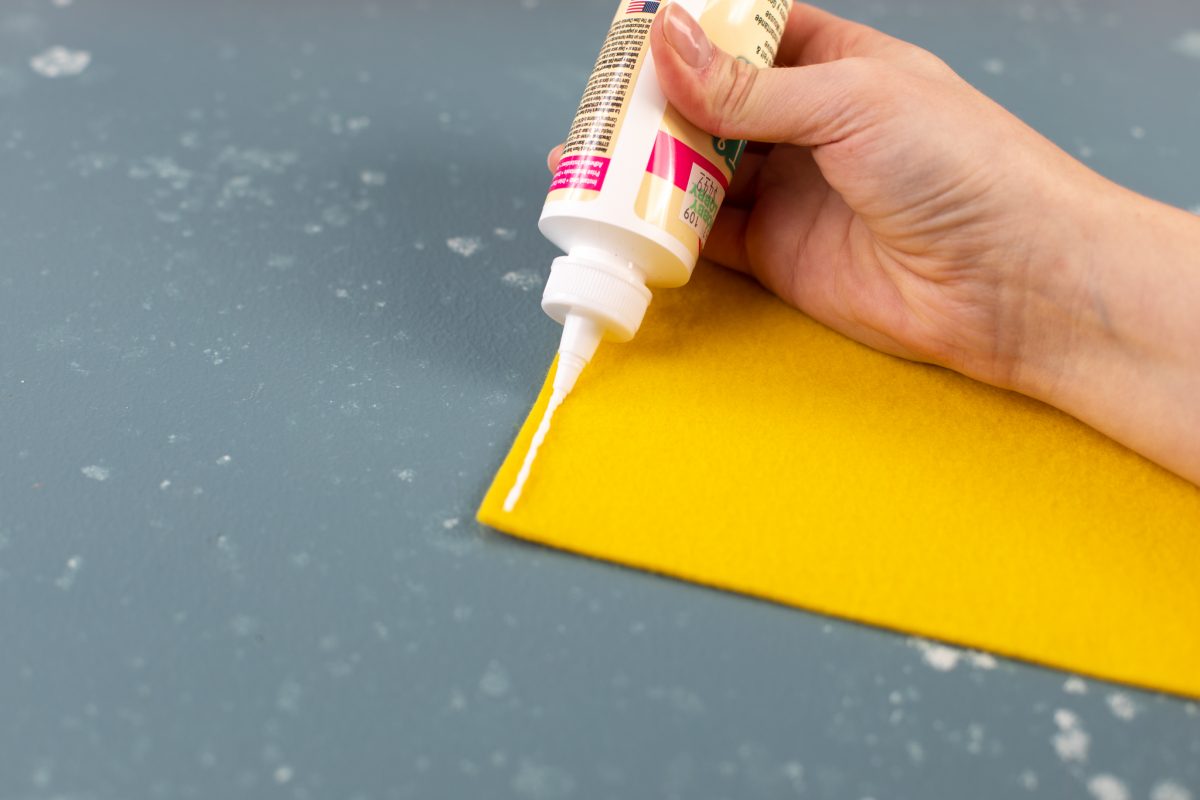
1. Apply your canvas to the center of your felt, leaving the space at the top to fold over.
2. Fold over the top and use fabric glue to secure to the back to create a loop large enough for a dowel to fit through.

3. Tie twine onto the edges to hang.

4. Hang on your wall for a little friendly reminder!

 Free Class - Crepe Paper Crocuses
  Quirky Mug