
This color-blocked catchall is just the thing to collect all your odds and ends! It’s a perfect solution to finding lost keys while making a color-packed statement! We made one tray using the new Cameo 4 Plus (available now!) to accommodate a larger-sized tray. See the video! We also scaled down the design and used our Cameo 4 for another version, with instructions here. In both cases, you’ll cut out all your fabric pieces using the Rotary Blade and sew them together!
Supplies Needed:
- Silhouette Cameo® 4 Plus or Silhouette Cameo® 4
- Silhouette Studio®
- Silhouette Cutting Mat—Use a high-tack or extra sticky mat
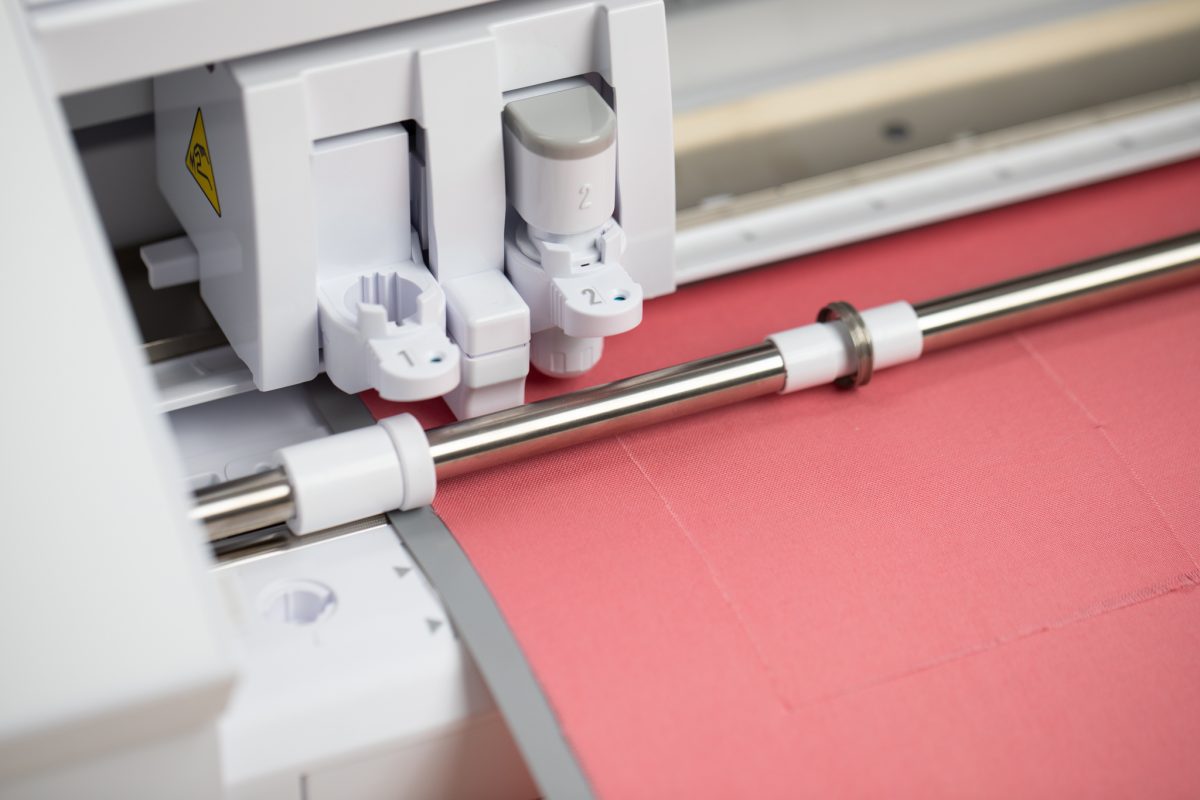
- Silhouette Rotary Blade for Cameo 4
- Cotton fabric in various colors. We used a few different shades, but you can use as many or few as you’d like! This is a perfect project for your fabric scraps!
- 9.5-inch square of Cotton Batting
- Sewing Machine
- Needle and Thread
- Straight pins
Step One: Cutting Your Fabric
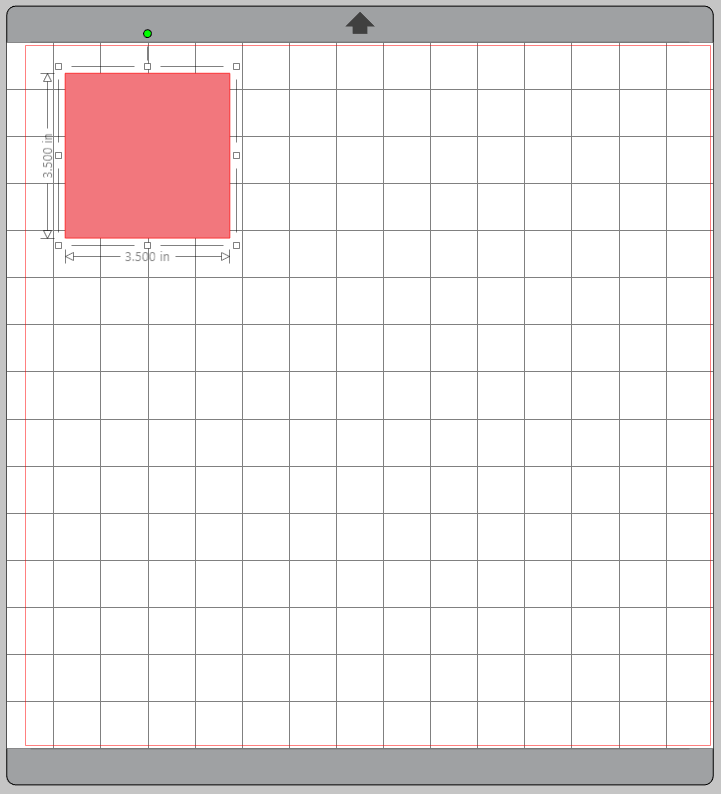
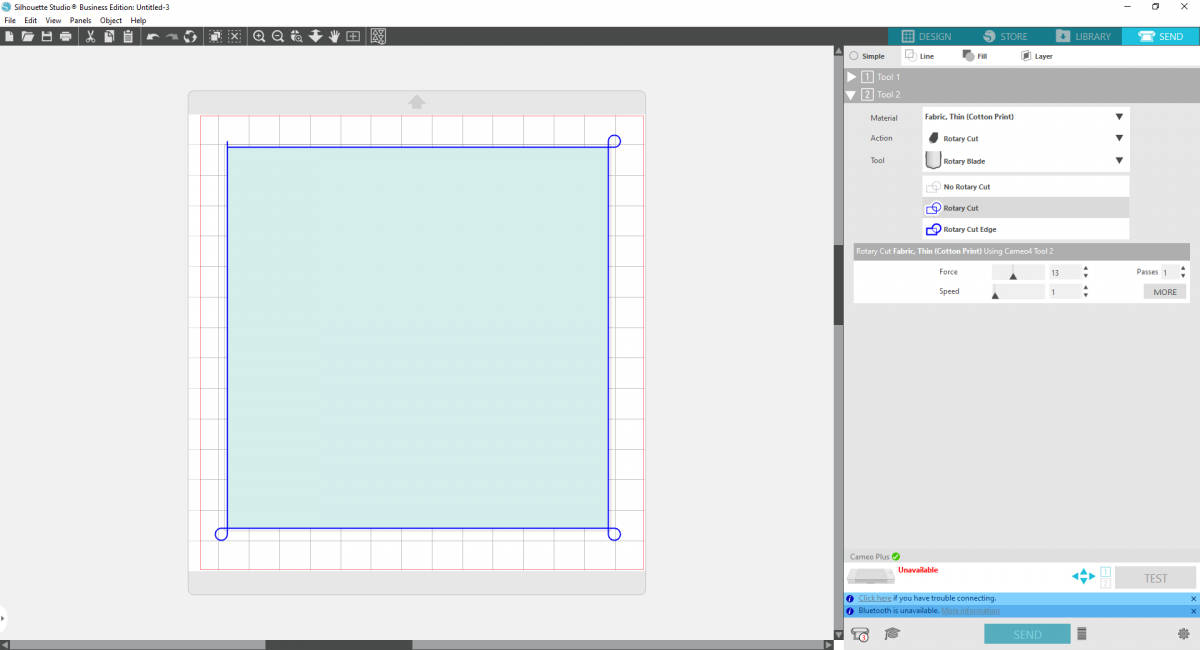
1. Within Silhouette Studio®, create a 3.5 inch square with the drawing tools function.
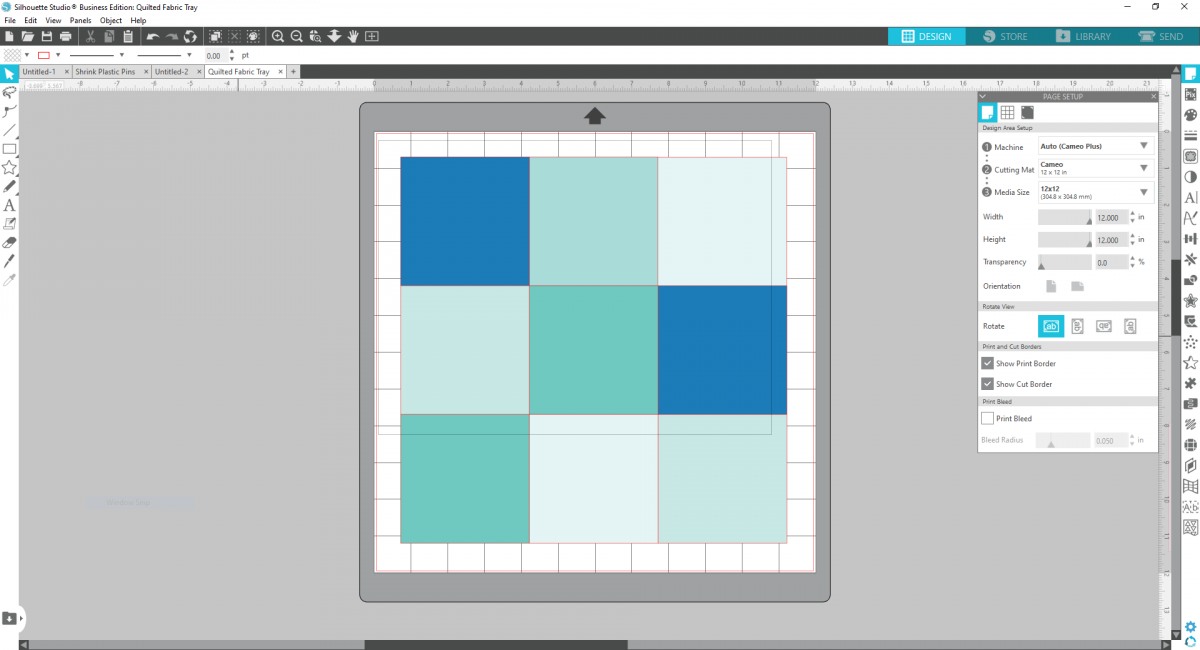
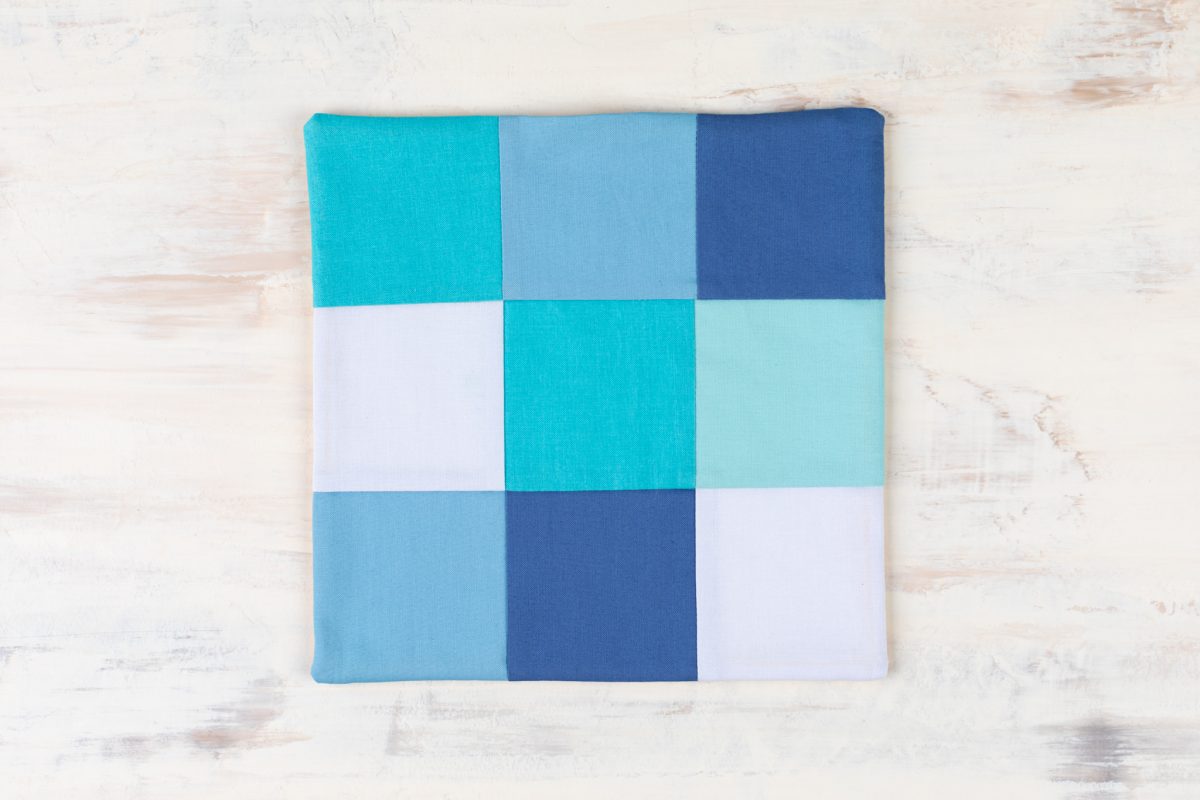
2. We’re going to cut 9 of these 3.5 inch squares, each of a different color! Again, use as many or few different fabrics as you’d like. I wanted to layout my squares in Silhouette Studio® to visualize the finished design.
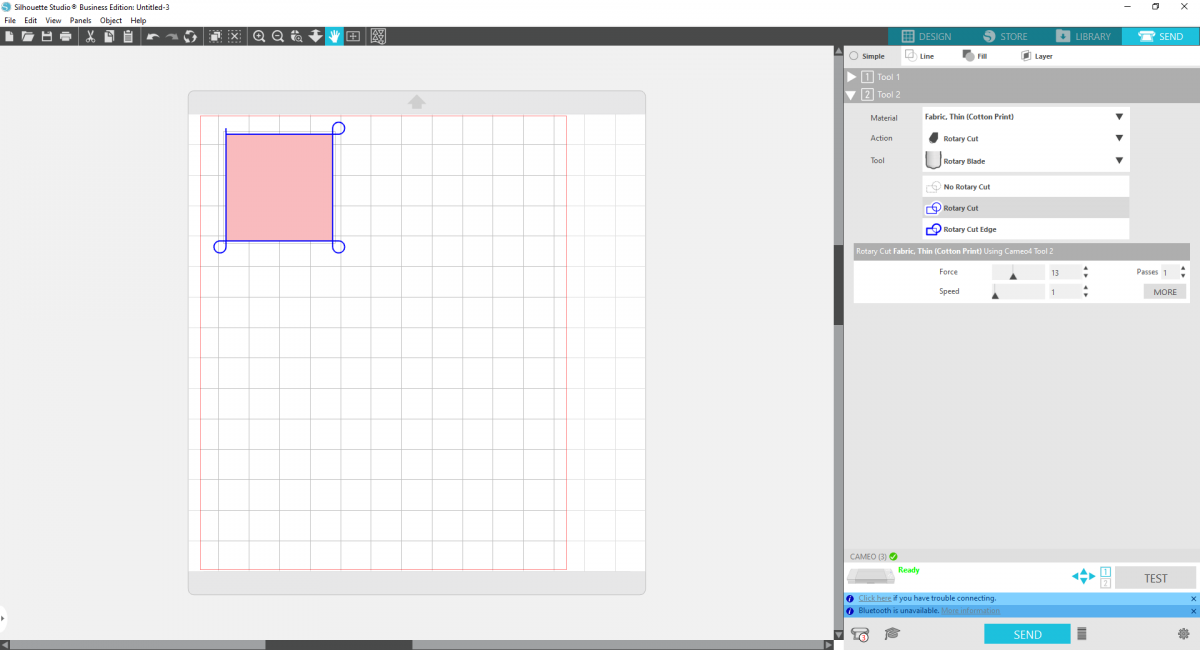
3. Change your cut settings to “Fabric, Thin (cotton print),” your action to “Rotary Cut,” and your tool to “Rotary Blade.” Make sure you click on your square and select “Rotary Cut” so the cut lines turn blue and the smart cut marks are enabled (These are the little loops created to make the Rotary Blade perform properly).
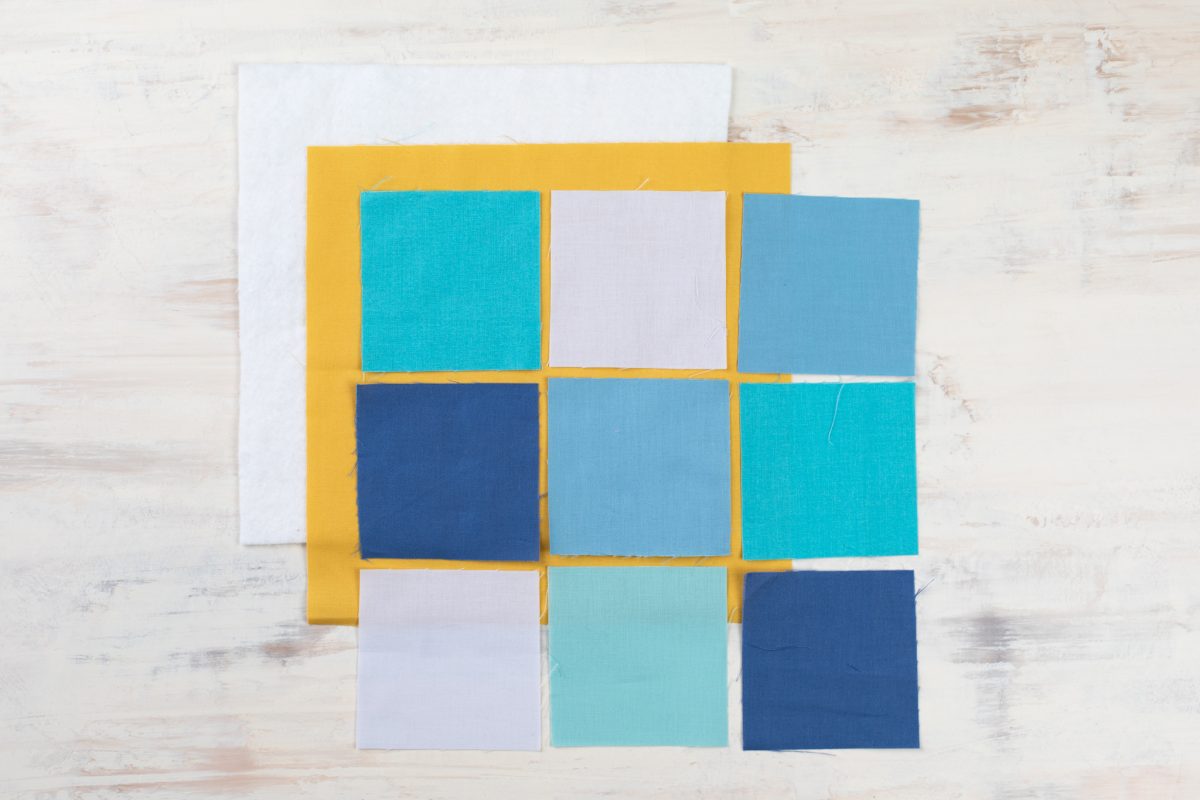
4. Once all 3.5-inch squares are cut, cut 1 large 9.5-inch square out of one of your fabrics to act as the backing.
5. So you should have 9, 3.5 inch fabric squares, 1, 9.5 inch fabric square, and 1, 9.5 inch square of cotton batting.
Step Two: Sewing Together Your Tray
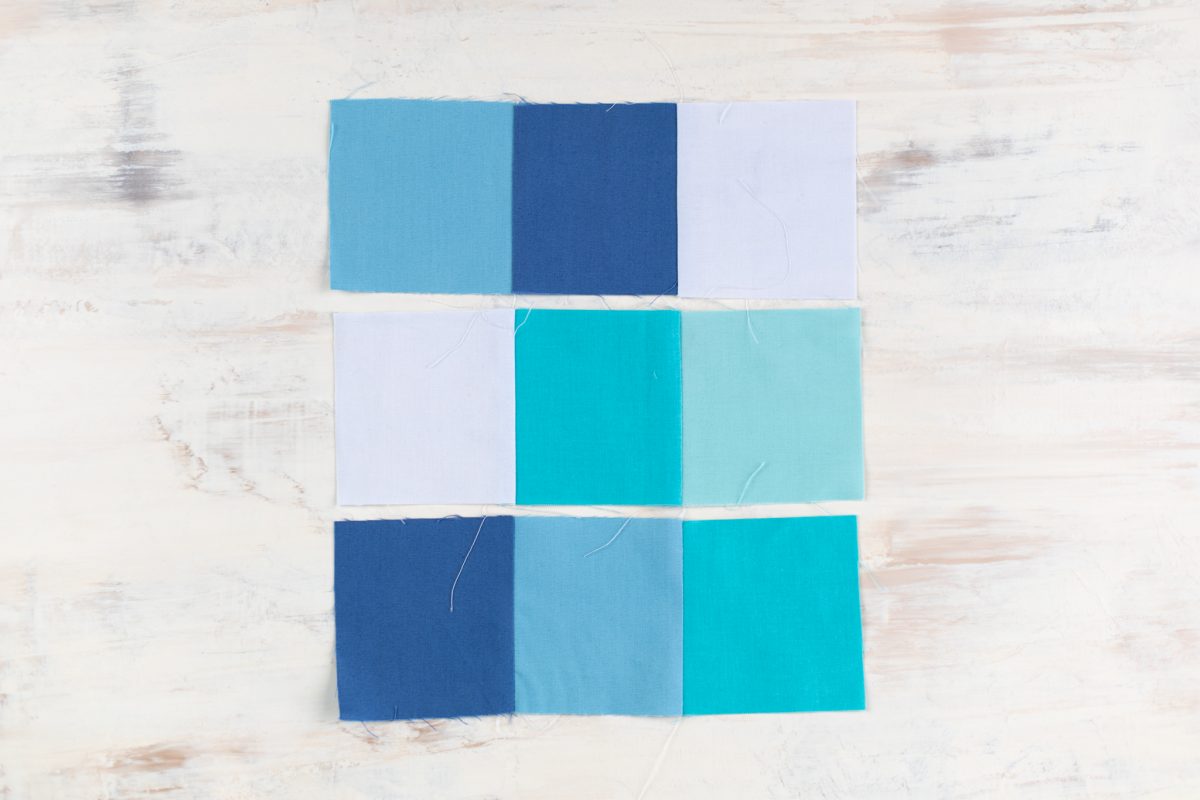
1. Sew all your squares together using a 1/4-inch seam allowance. Sew each row of 3 (or 4 if you’re making a larger size!) together.
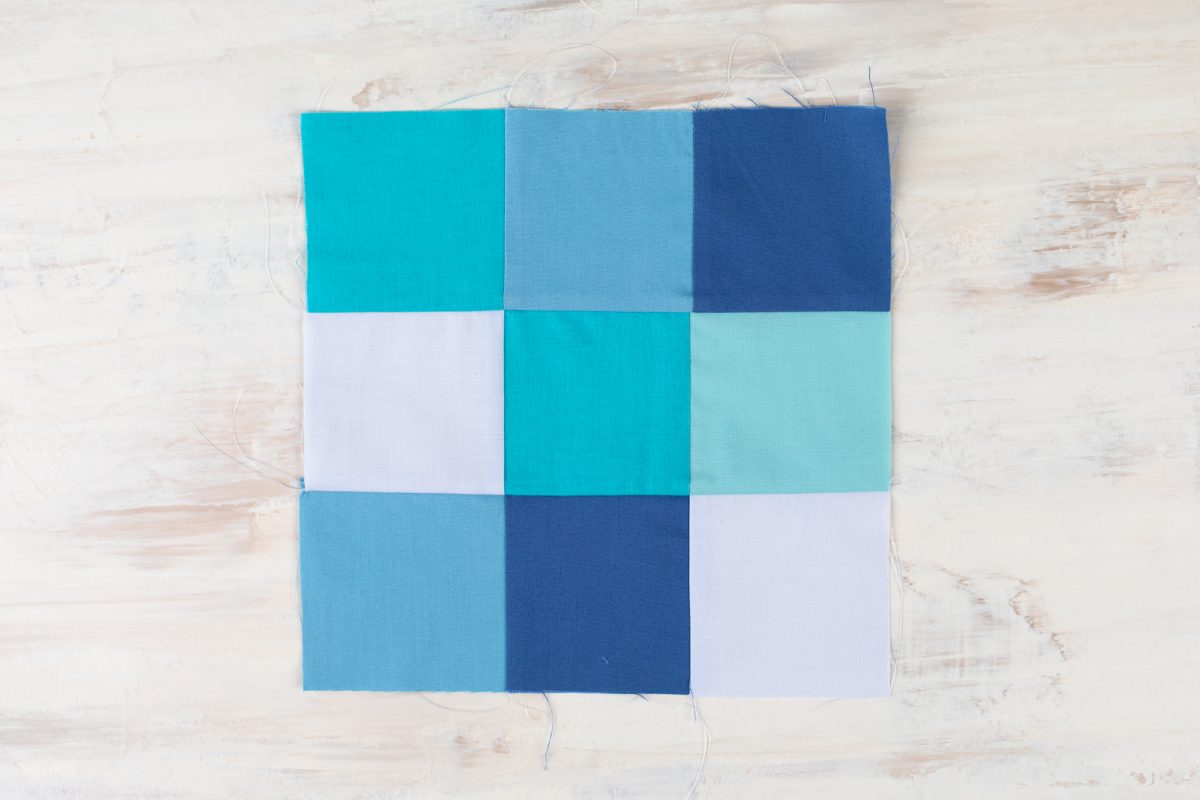
2. Then sew the rows together. Iron your seam allowances.
3. Place the batting down on a flat surface. Place the solid square on top with the right side facing upward, and then place the patchwork square on top of that with the wrong side facing upward. Make sure all straight edges are aligned and pin them together. Stitch around the outside of the square using a 1/4-inch seam and leave a 1.5-inch gap on one side for turning.

4. Trim the seam allowance at the corners and then turn right side out through the gap. Poke out the corners and press.
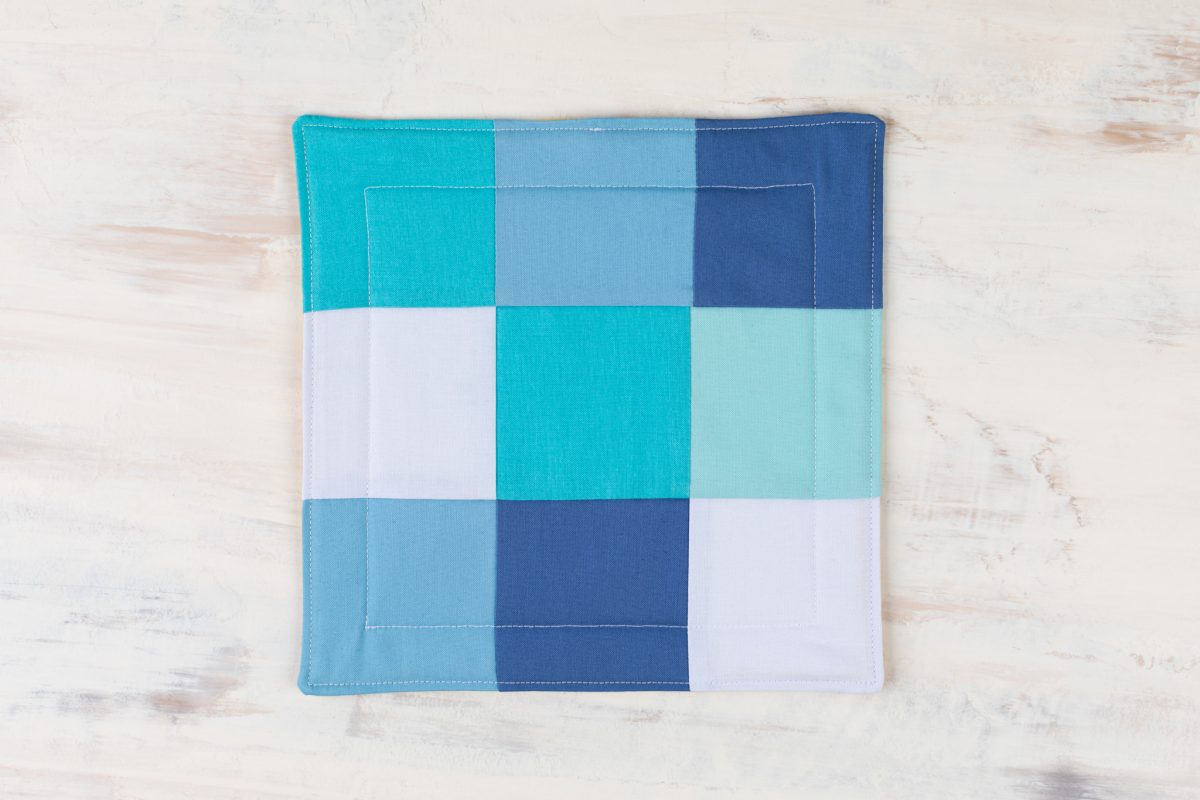
5. Topstitch around the outside using a 1/8-inch seam allowance. Press. Mark a square in the middle of the tray, 1 inch inside the edge of the tray. Stitch along the marked square to form the base. Press.
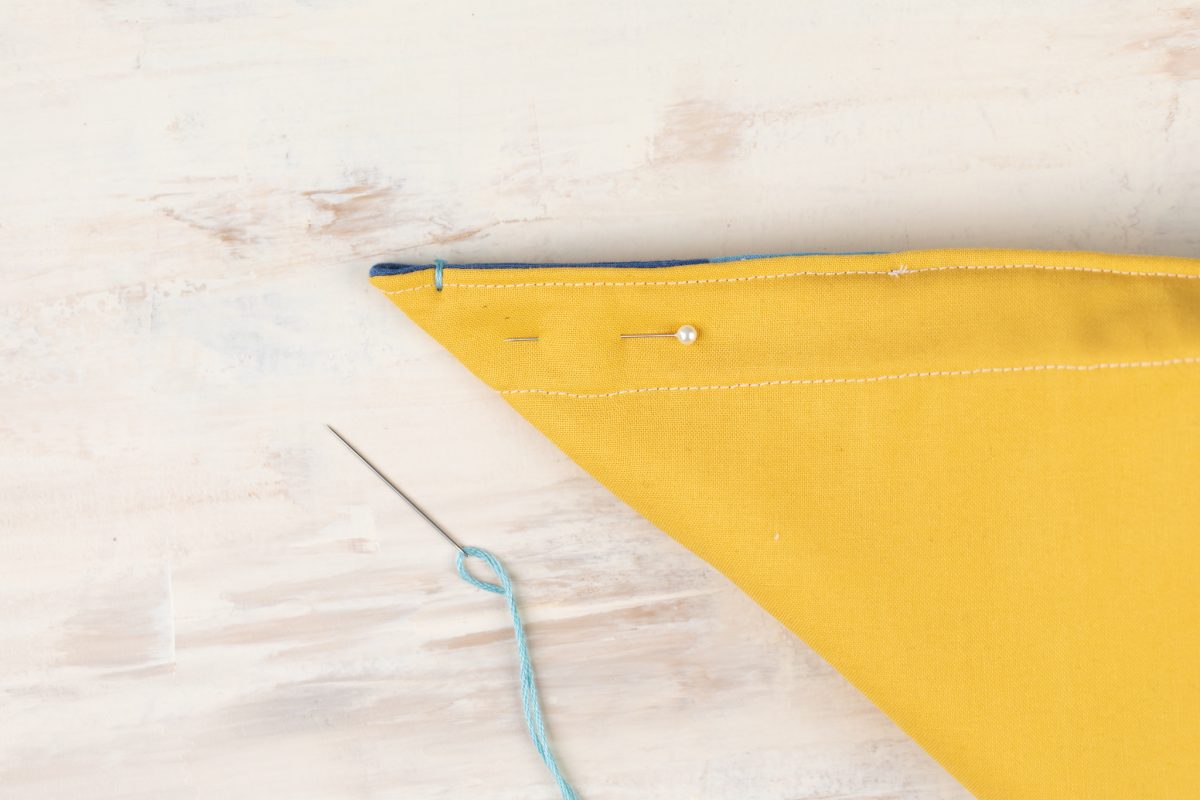
6. Fold each corner and secure the fold by hand sewing a few stitches about 1/2 to 1 inch from the corner.
7. Your catchall is ready to house all your bits and bobbles!

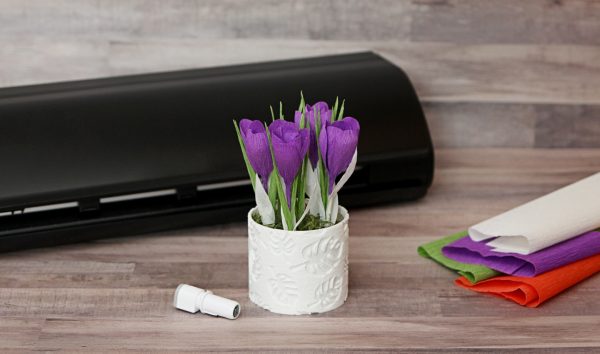 Free Class - Crepe Paper Crocuses
  Quirky Mug