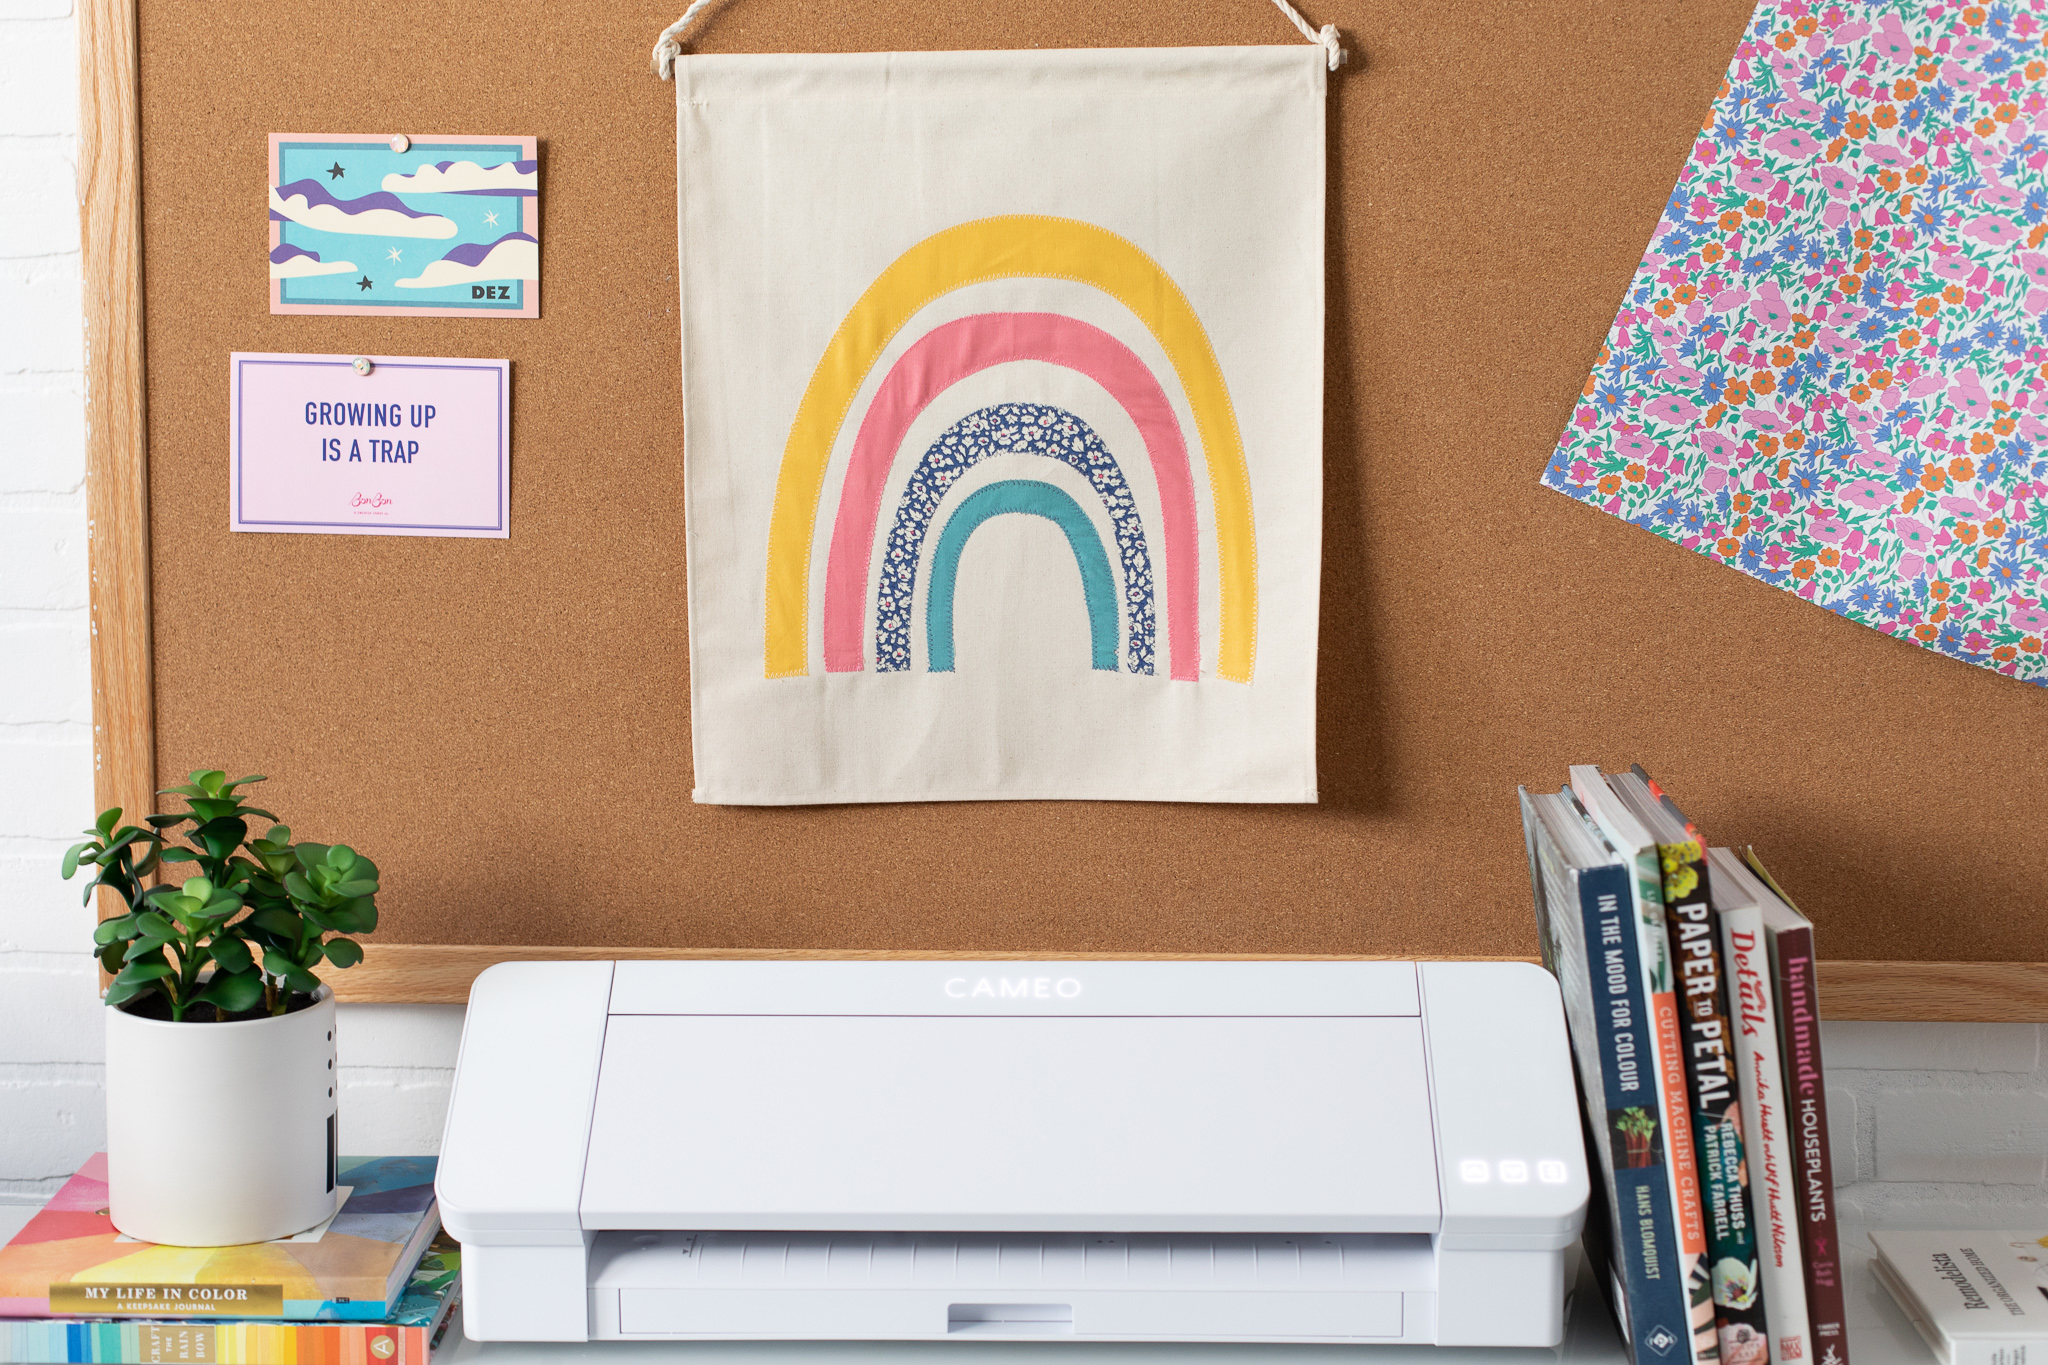
Rainbows add a touch of color and whimsy to any room! This rainbow wall hanging is really simple to make and you can customize the colors and patterns to your taste. The Cameo 4 cuts fabric without a stabilizer(!) using the Rotary Blade for Cameo 4 (Coming in November! Sit tight!), but you could easily do this with a fabric stabilizer on your current machine. Let us know what fabric projects you’re anxious to make with your Cameo 4!
Supplies Needed:
- Silhouette Cameo® 4
- Silhouette Studio®
- Silhouette Cutting Mat—Use a high-tack or extra sticky mat
- Silhouette Rotary Blade for Cameo 4 (Coming in November!)
- Canvas Fabric
- Cotton fabric for the rainbow arches (four different varieties)
- Sewing machine (or fabric glue if you don’t want to sew!)
- Wooden dowel
- Design ID #295123 by Teresa Collins
Step One: Format Your Design
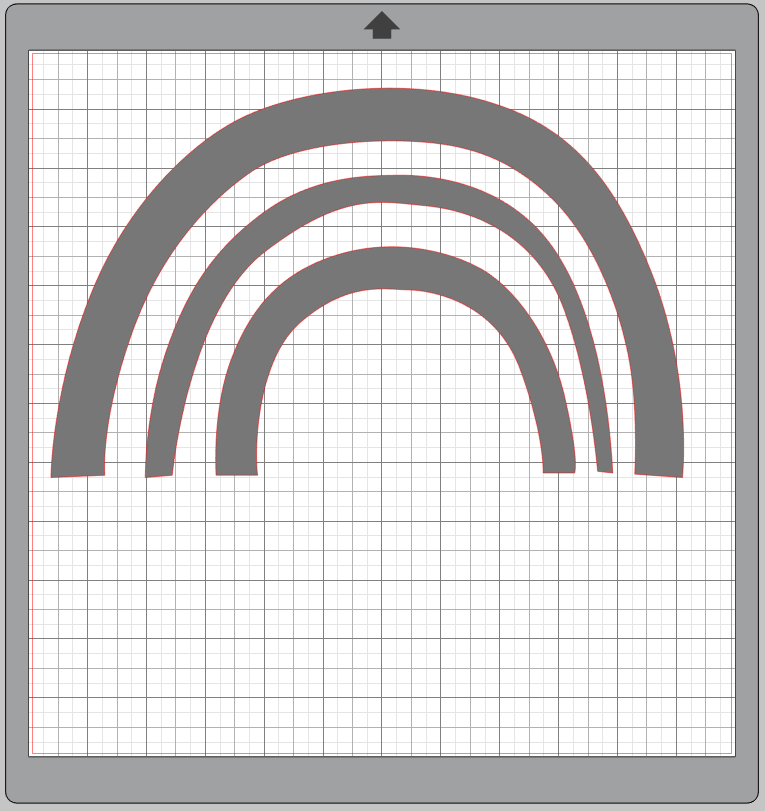
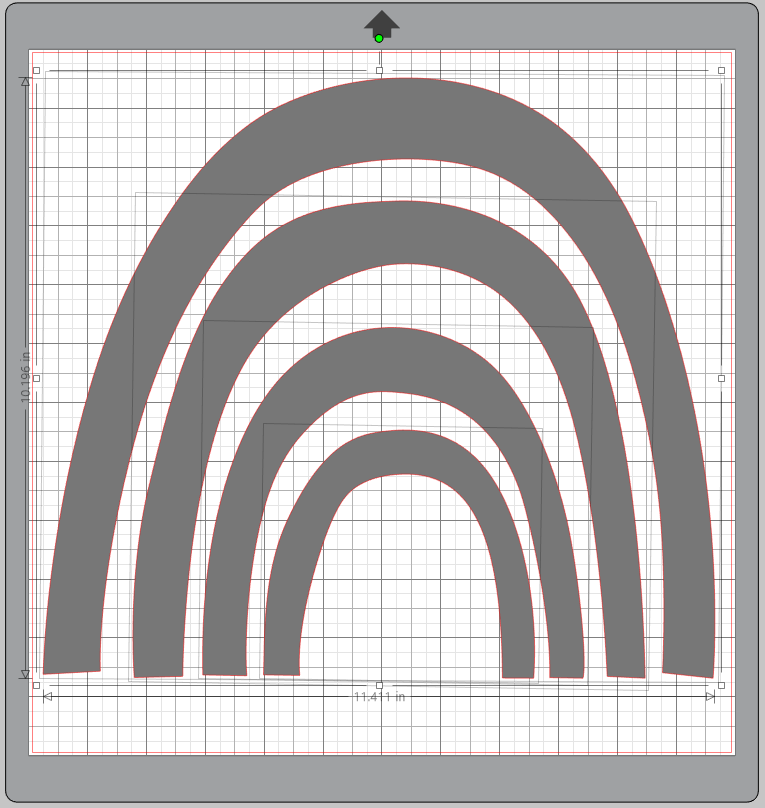
1. Insert your design into Silhouette Studio®. Right-click on the design and select “Ungroup.” Delete the 4 small, thin arches at the center of the rainbow.
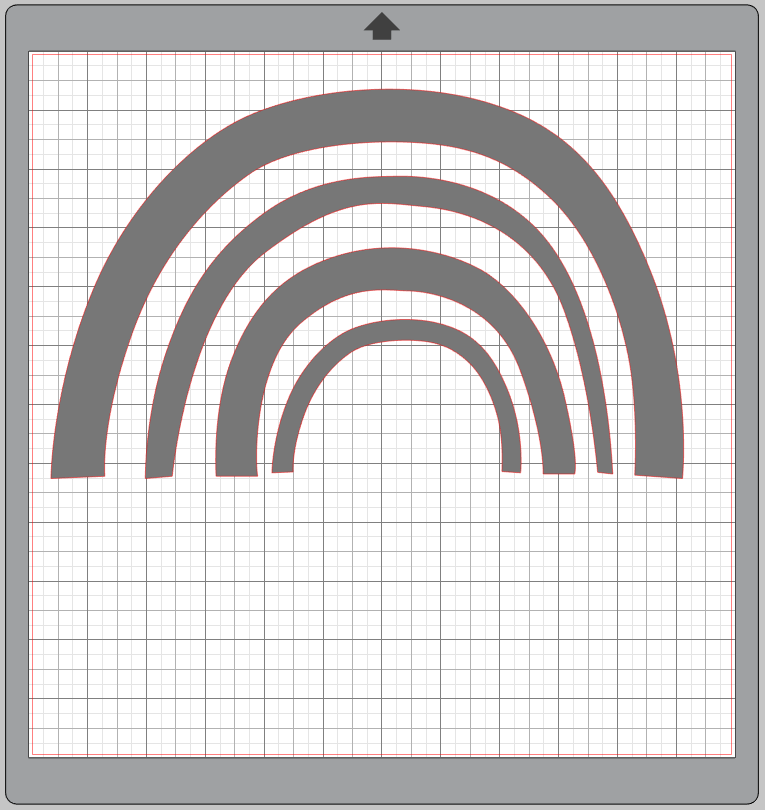
2. Now duplicate the outer, largest arch and reduce the size to become the smallest, most inner arch.
3. Thicken the rainbow arches by editing the points of each arch.
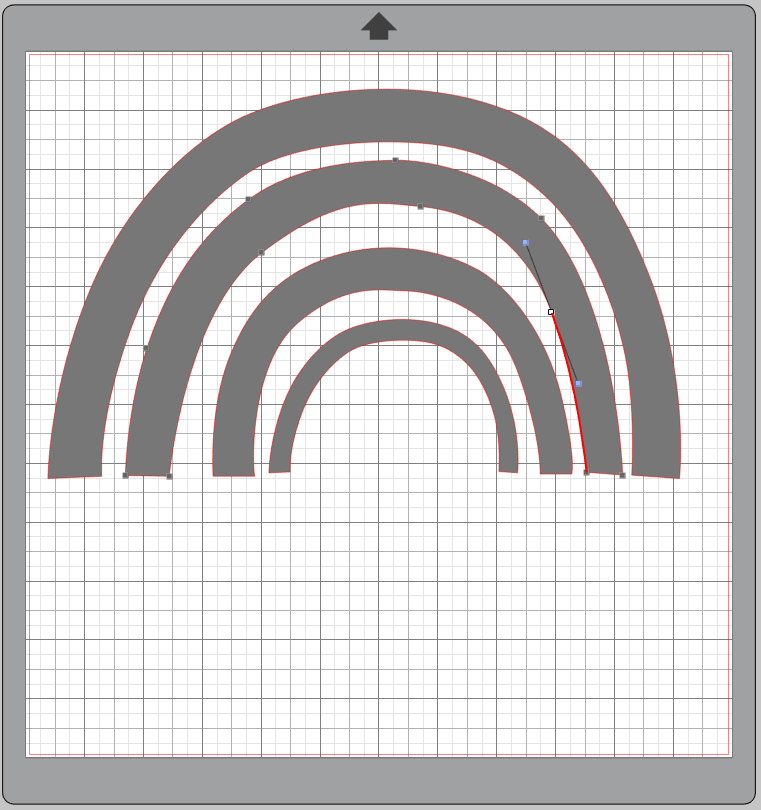
4. Then lengthen the rainbow so that the largest rainbow arch measures approximately 10 inches tall by 11.25 inches wide.
5. Now select the fabrics you’d like for each rainbow arch. I like to color mine within Silhouette Studio® to visualize!
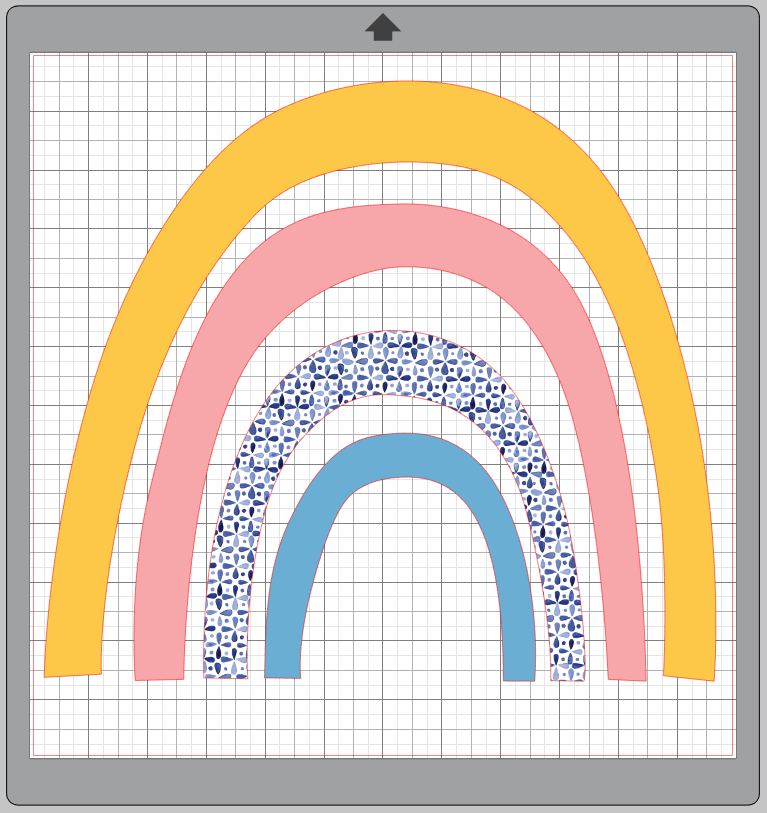
6. Now cut each arch out one by one, using each of your four fabrics on a very sticky mat. Set your materials to “Fabric, Thin (Cotton Print).” Load your Rotary Blade for Cameo 4 into Tool 2 of your Cameo 4. (Again you can do this on your Cameo 3 as long as you apply a stabilizer to your fabric beforehand and use a Fabric Blade.)
Step Two: Sew the Pennant
1. Cut a piece of canvas to measure 15.5 inches wide by 18.5 inches tall.
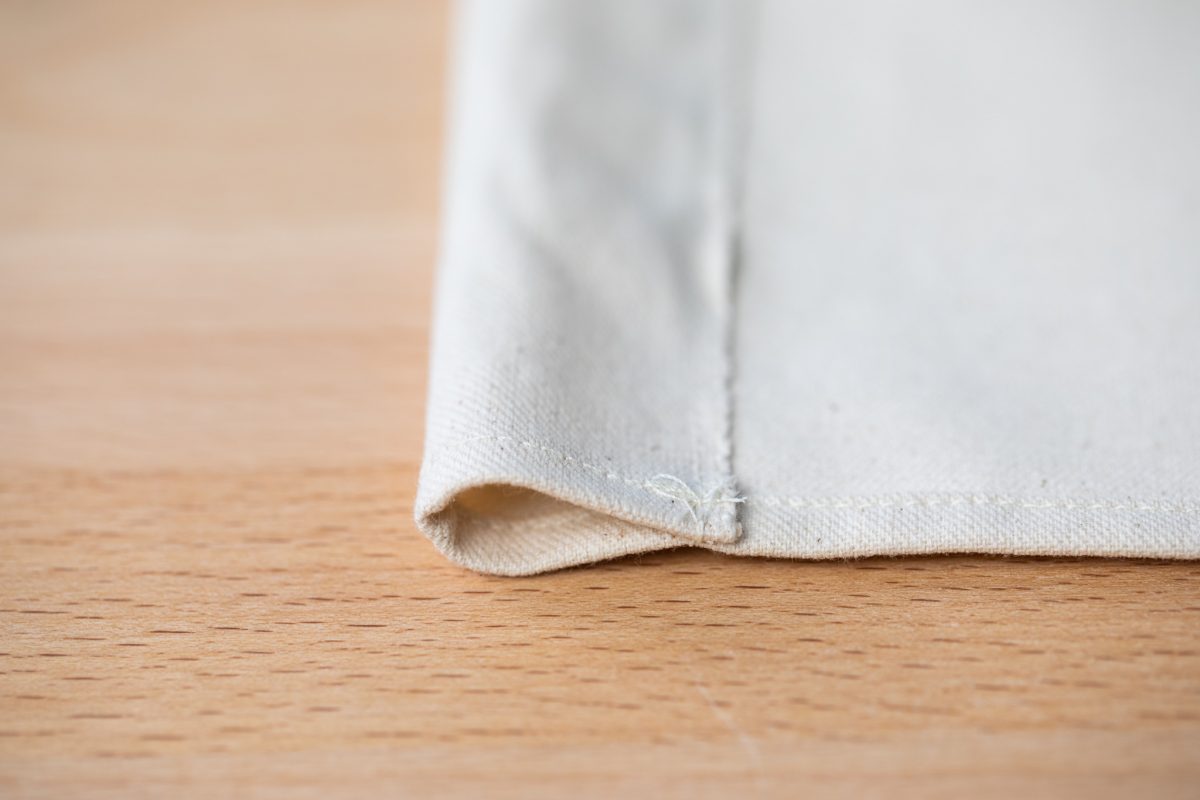
2. Along the two side edges create a double-fold seam allowance by turning under 1/4-inch and ironing, and then turning under another 1/4-inch and ironing. Sew down close to the fold using a straight stitch. Repeat for both sides.
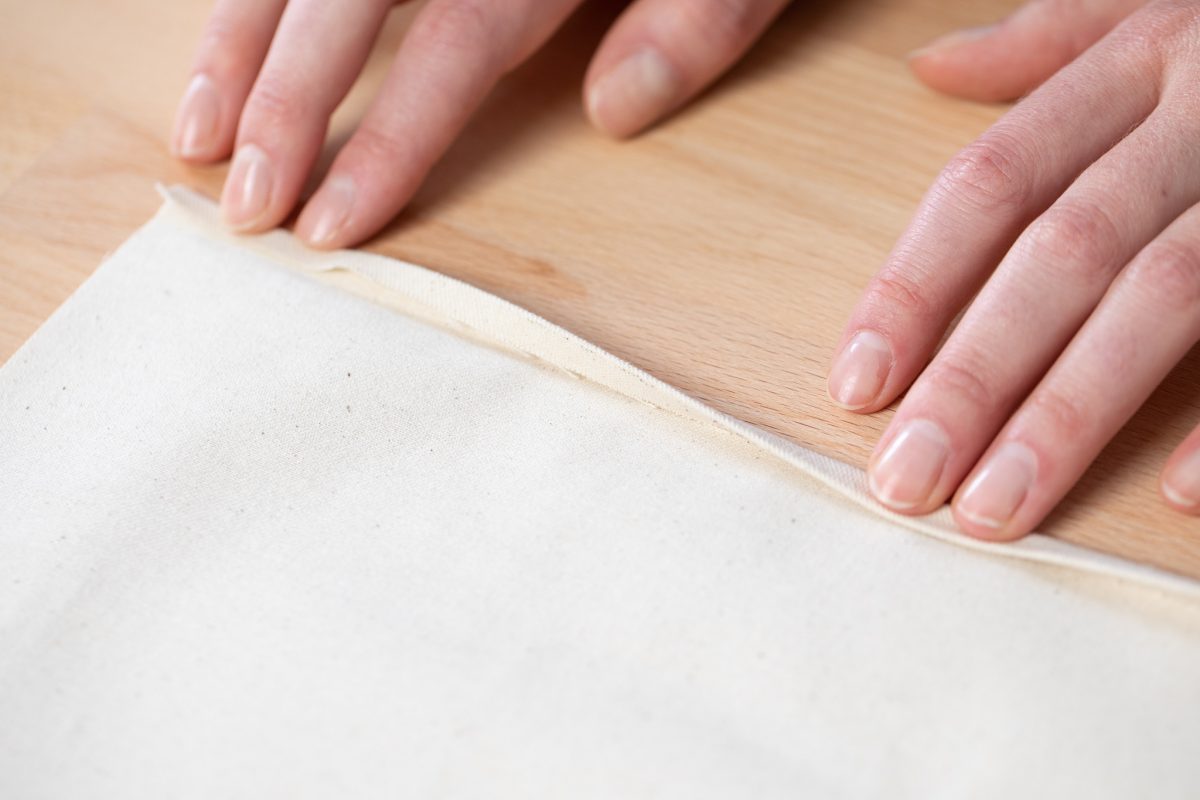
3. Repeat this same process for the bottom edge
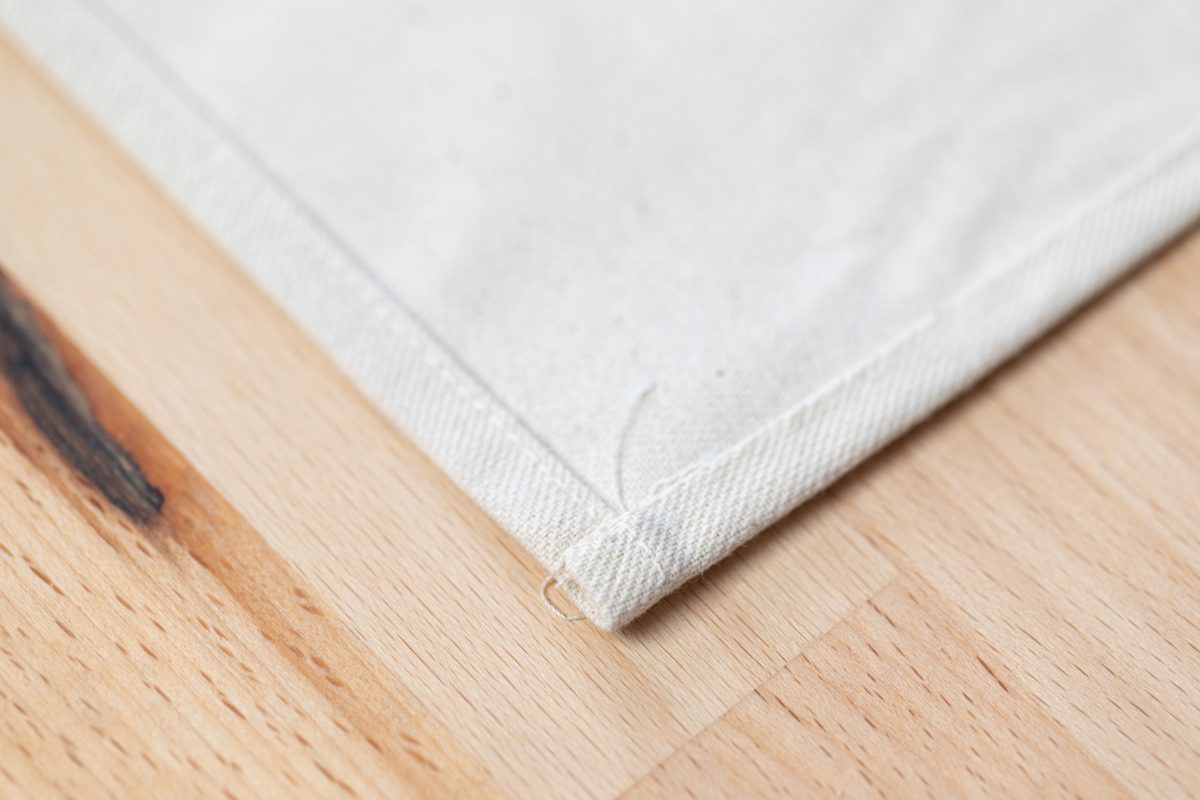
4. For the top edge, fold under 1 inch toward the back. Sew close along the edge across the top. This will create a loop to insert a wooden dowel for hanging.
Step Three: Sew the Rainbow
1. Beginning with your biggest, outer most arch, place in the center of your canvas. Pin down with a few straight pins to keep in place.
2. Sew around the perimeter of your rainbow arch using a zigzag stitch in a coordinating thread color.
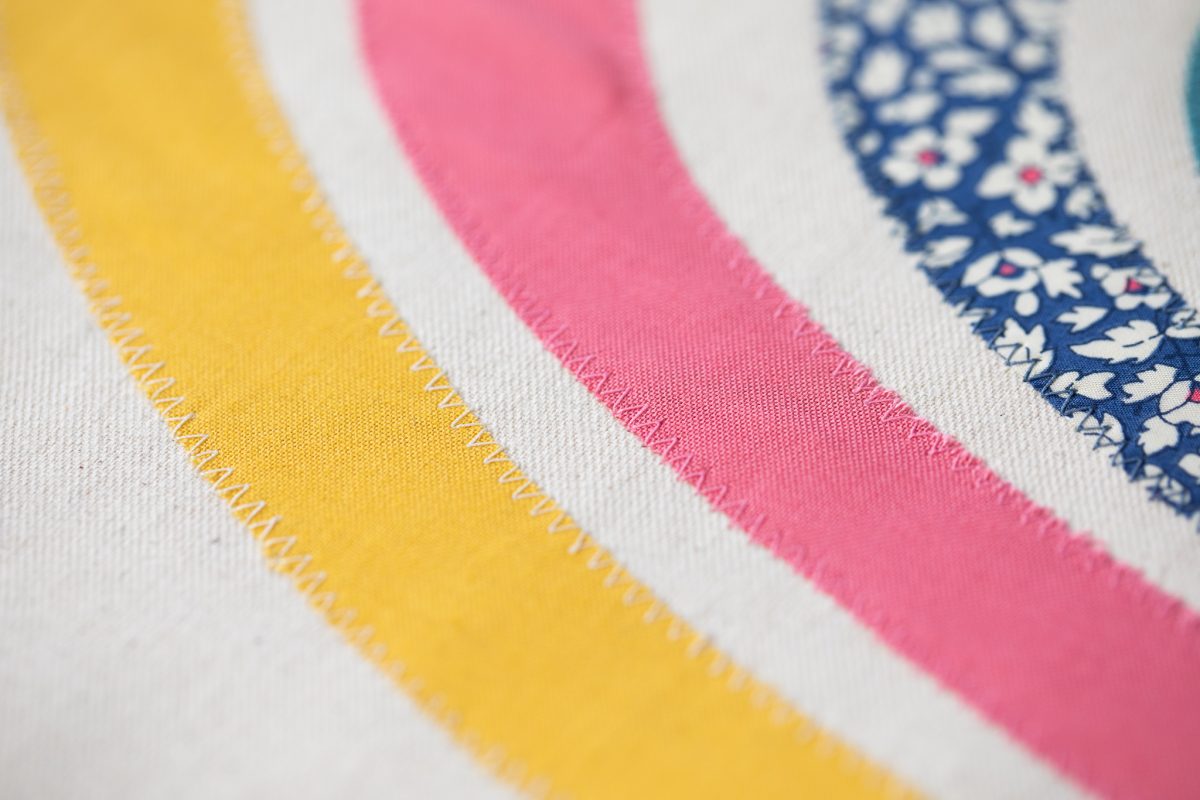
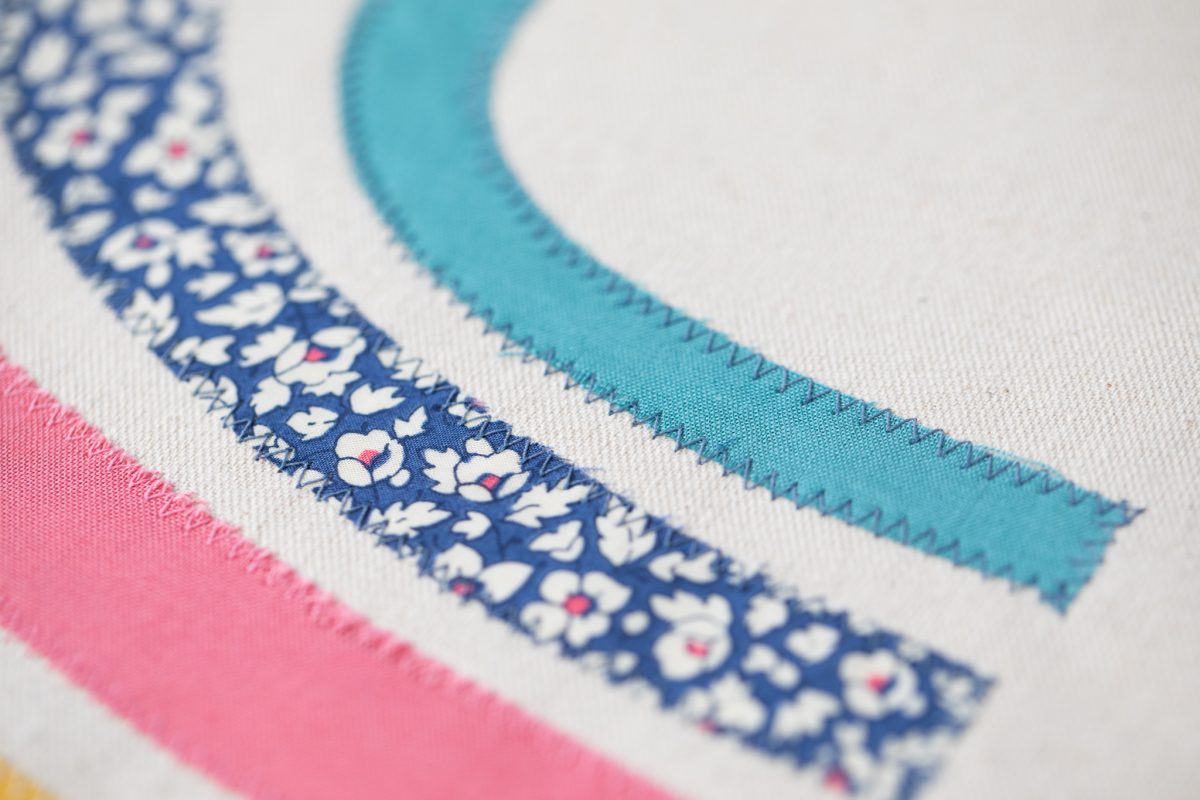
3. Once your biggest arch is sewn down, pin in place the next arch and sew in place the same way, changing your thread color as needed.
4. Repeat for two smallest arches.
5. Trim any loose threads and iron.
6. Trim your wooden dowel to measure about 18 inches in length and insert through the top loop of the pennant you sewed earlier.

7. Take some twine or yarn and trim a piece to measure about 25-30 inches. Tie each end to the protruding edges of your wooden dowel to hang.
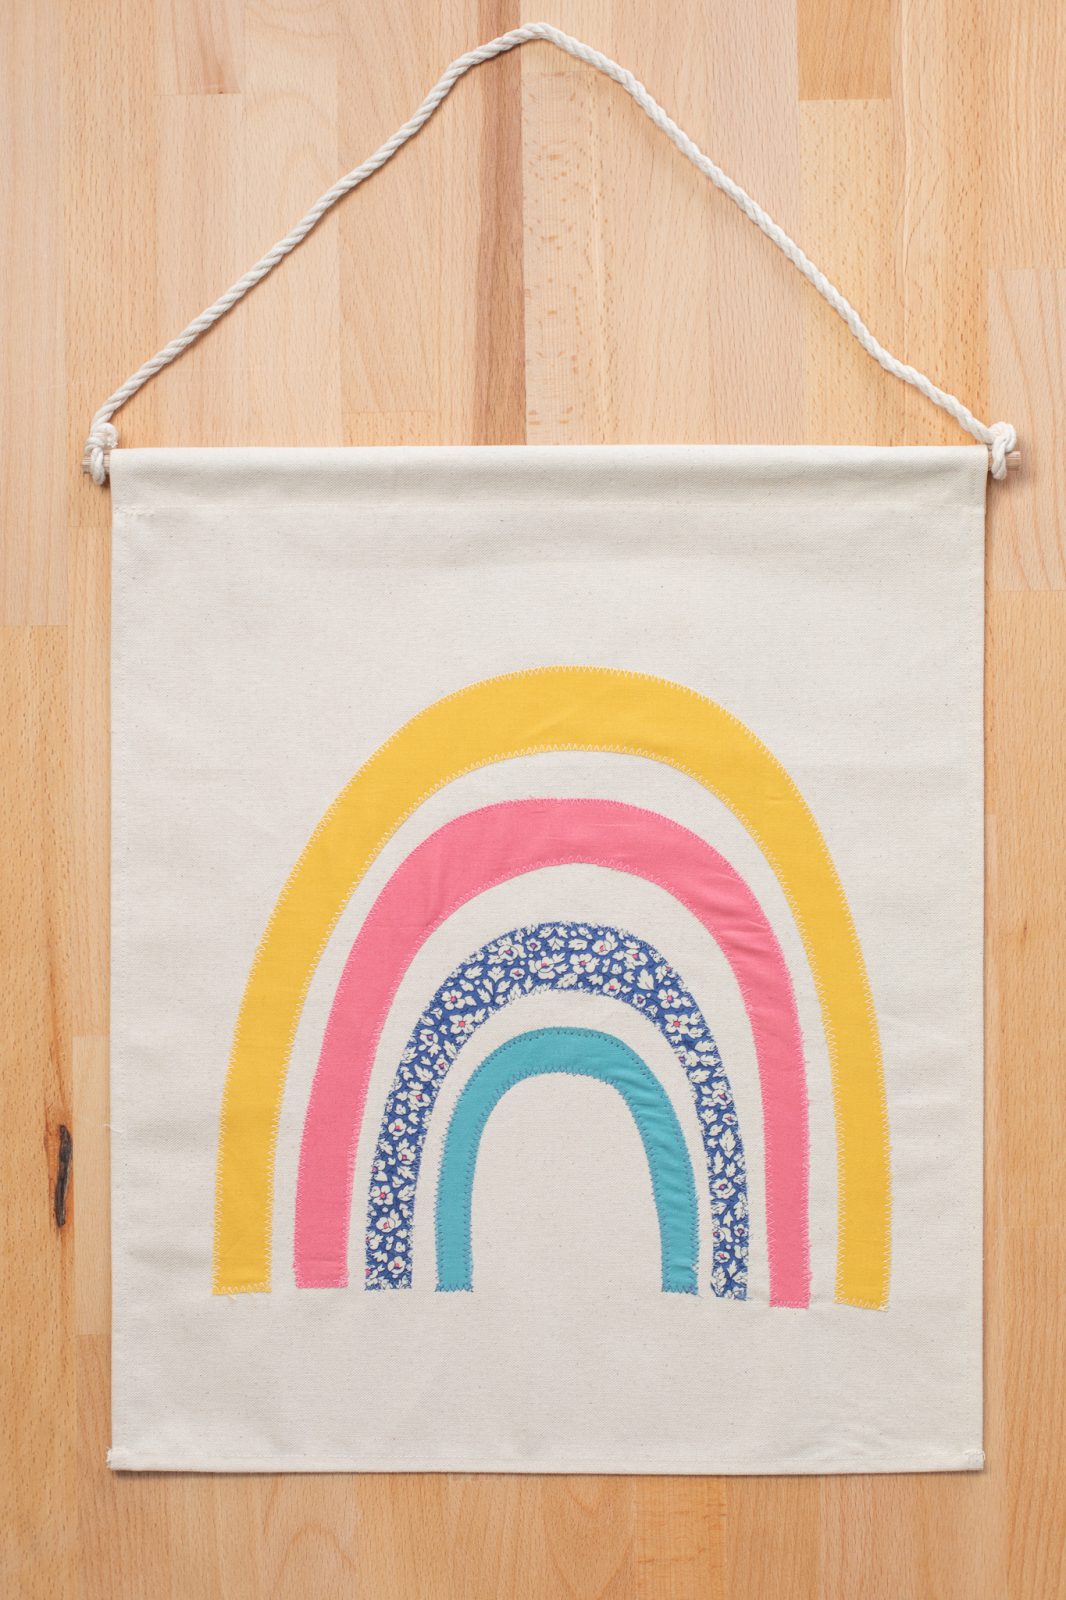
Rainbows for everyone!
 January Online Classes
 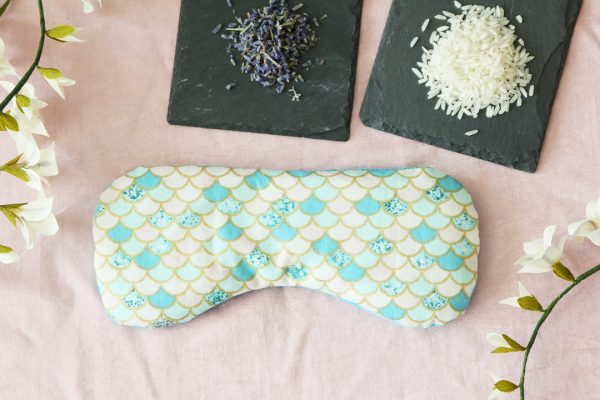 Fabric Eye Pillow with the Rotary Blade