
St. Patrick’s Day is right around the corner and you don’t want to be caught without your daily dose of green! These Shamrock Tattoos are a snap to create and fun for kids and classmates to apply!
Supplies Needed:
- Silhouette CAMEO® or Silhouette Portrait®
- Silhouette Cutting Mat
- Silhouette Cutting Blade
- Silhouette Temporary Tattoo Paper – Clear
- Ink Jet Printer
- Design ID #315102 for Shamrock Stickers/Tags by Jamie Lane Designs
Step One: Formatting the Design
1. Format your page for a Print & Cut design in the Page Setup panel by setting your media size to 8.5 by 11 inches (or the suitable dimensions for your printer) and your orientation to Portrait, turning on the Print & Cut borders and registration marks. Insert the shamrock design and size as desired. Remember you can rotate the design to fit on the page better.
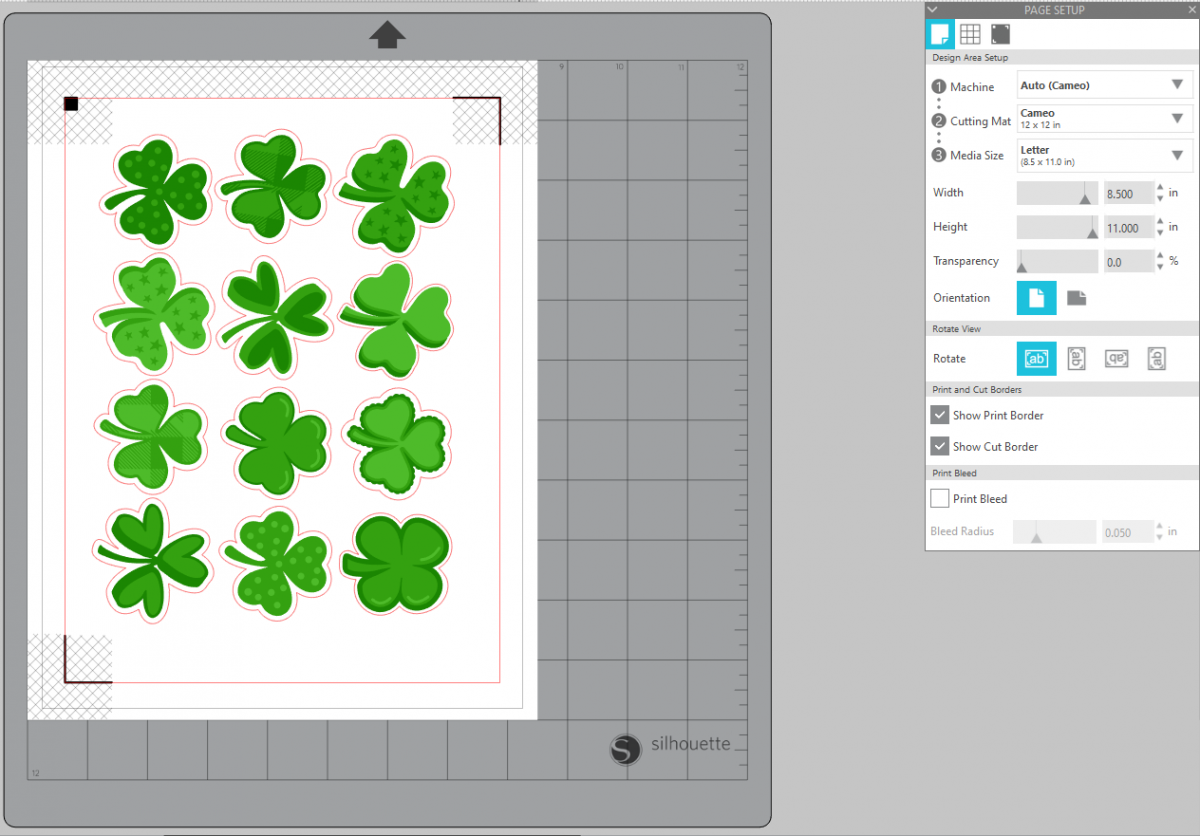
2. Use print preview if possible, to ensure that the registration marks and designs will all print appropriately. Then print the design on the glossy side of the tattoo paper.
3. When the ink is dry, apply the adhesive sheet to the top of the printed image by peeling away the green backing on one end, aligning it with the end of the printed tattoo paper. Then peel away the rest of the backing while smoothing the adhesive down onto the paper. This is where the scraper tool comes in handy!
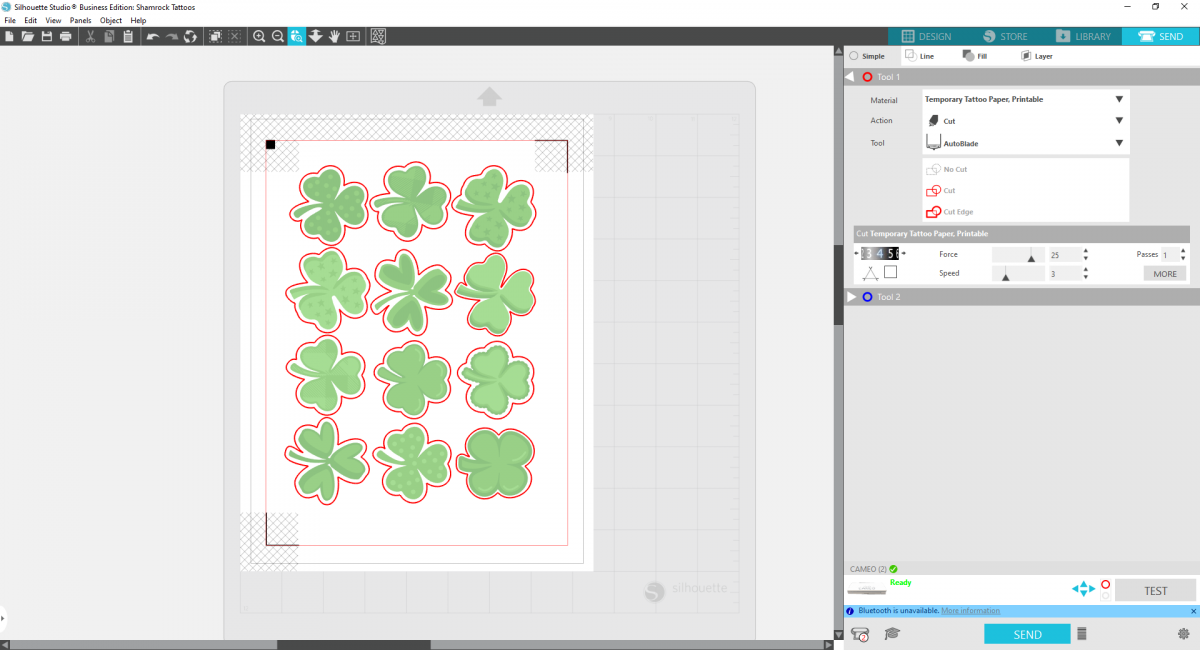
4. Then load the the sheet into your Silhouette cutting machine and cut with the appropriate settings.
Step Two: Apply Your Tattoo!
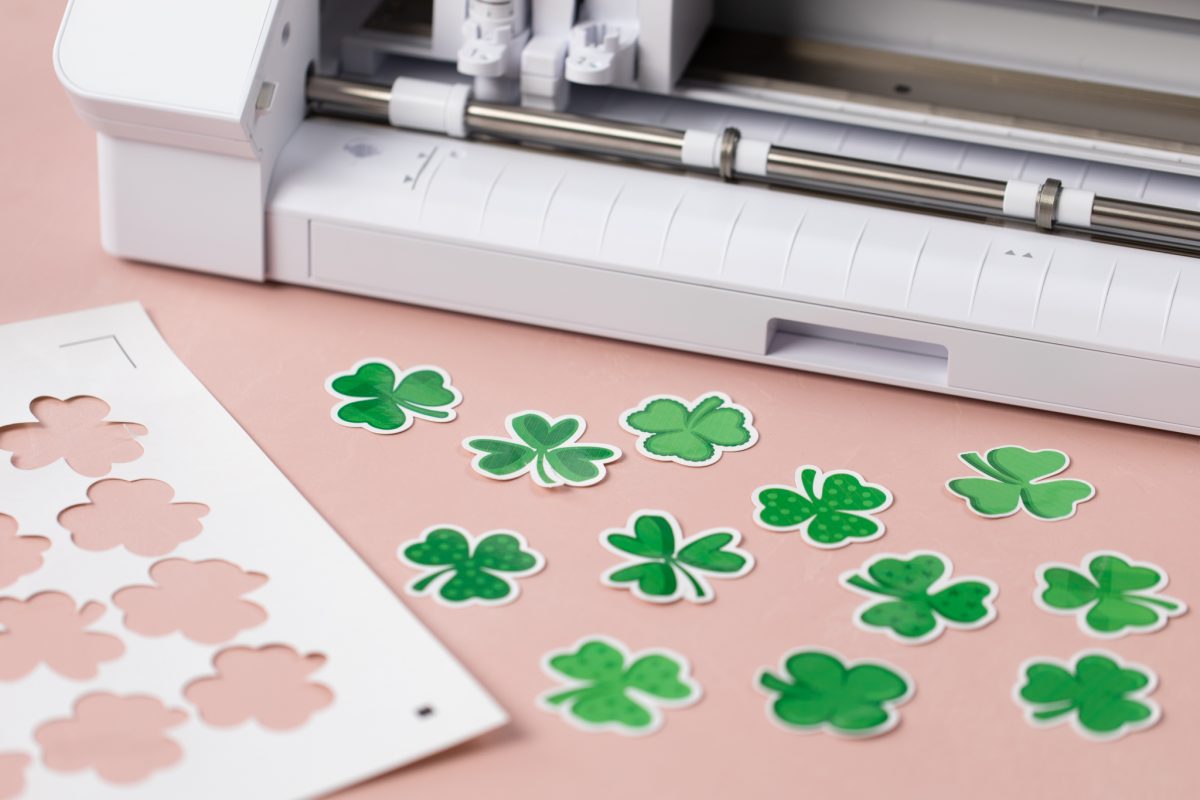
1. Once cut, you can separate each shamrock for easy application.
2. Peel away the clear plastic layer to expose the adhesive on each shamrock.

3. Apply the tattoo’s adhesive side to skin and cover the paper with a wet cloth for 10–15 seconds or until the paper backing slides off easily.

4. Make sure the tattoo dries and then show off your new tattoo for all to see!
 Retro Fall Manicure with Tattoo Paper
 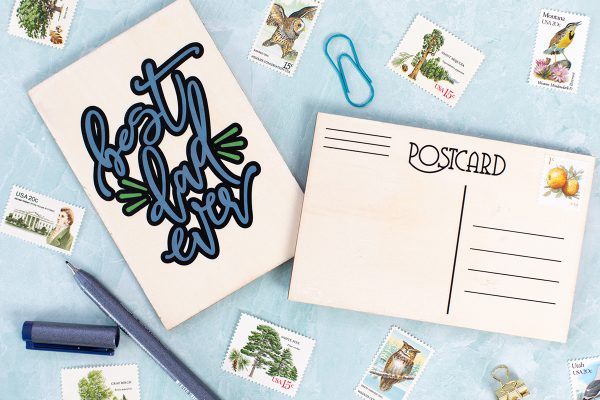 Wooden Postcards for Father's Day