If you need a dose of rainbows for St. Patrick’s Day or just need to brighten your mood, this is the project for you! We’re using Clear Temporary Tattoo Sheets to create temporary nail art to jazz up your manicure.
Supplies Needed:
- Silhouette Cameo® or Silhouette Portrait®
- Silhouette Cutting Mat
- Silhouette Cutting Blade
- Silhouette Temporary Tattoo Sheets – Clear
- Scraper
- Wet cloth or sponge
- Nail polish
- Clear Top Coat
- Design ID #294036 for Rainbow by Wild Pilot
Step One: Prepare the Design File
1. Set up your page for a Print & Cut project by setting your media size to letter, turning on registration marks, and turning on the Print & Cut borders. Open the design into Silhouette Studio®.
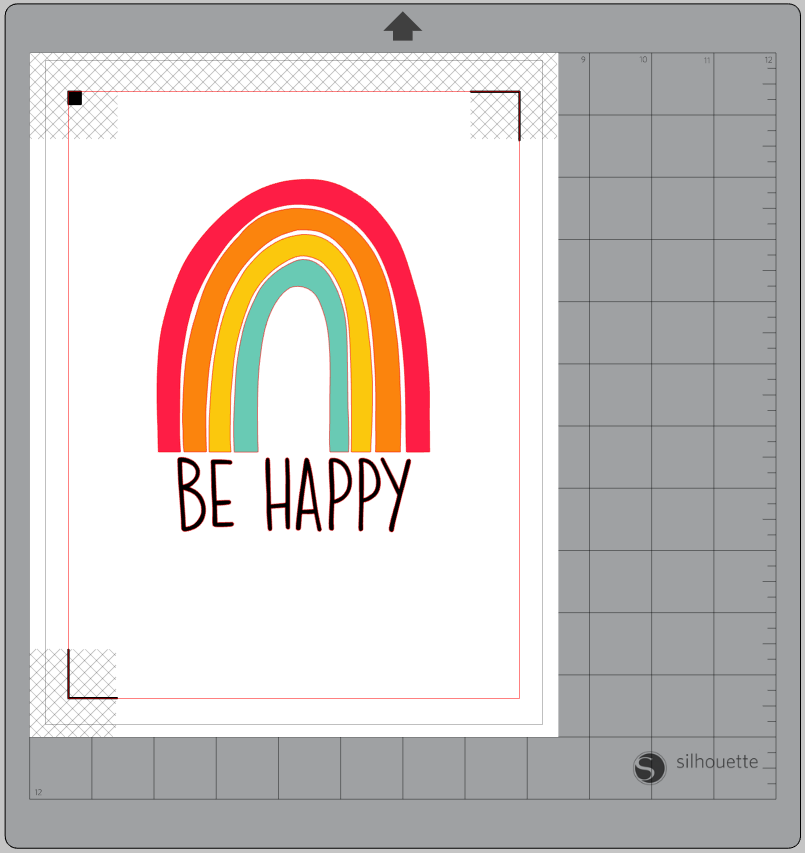
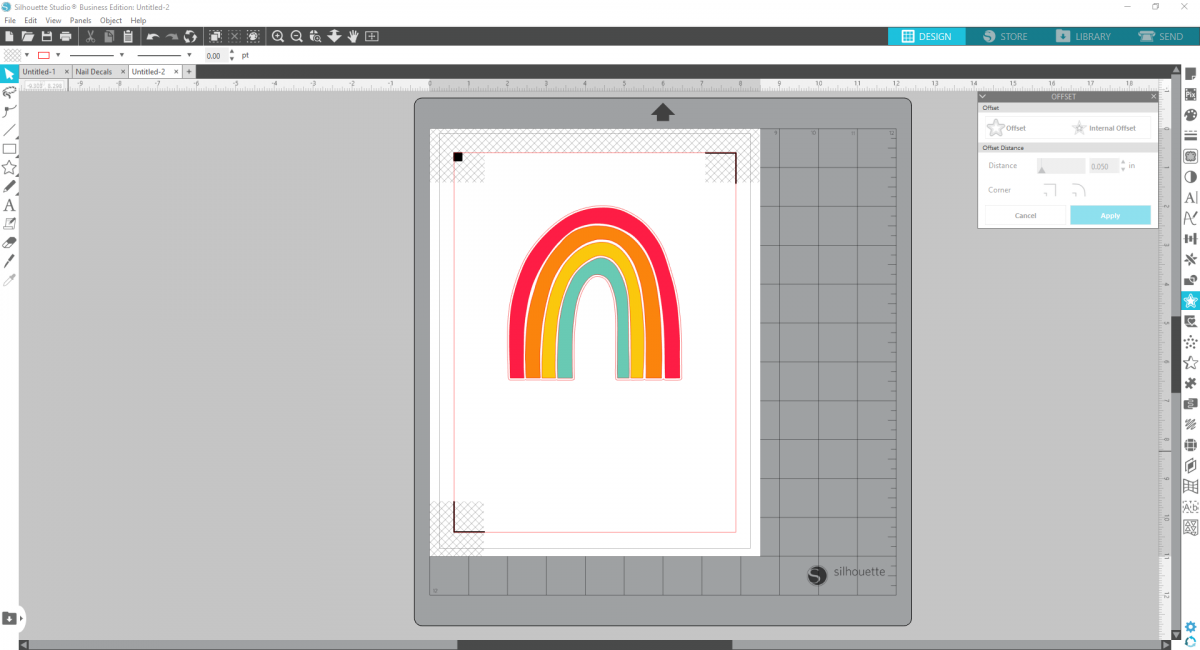
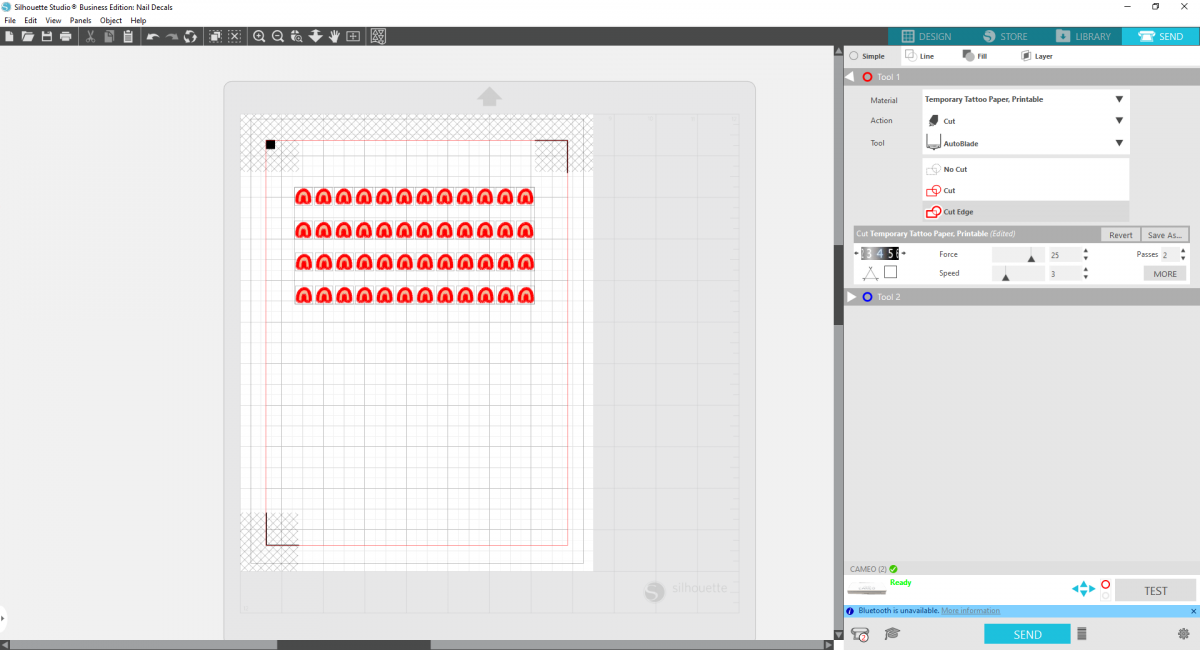
2. Ungroup the design to delete the “Be Happy” portion and then regroup the rainbow arches. Create a .050 inch offset around the rainbow.
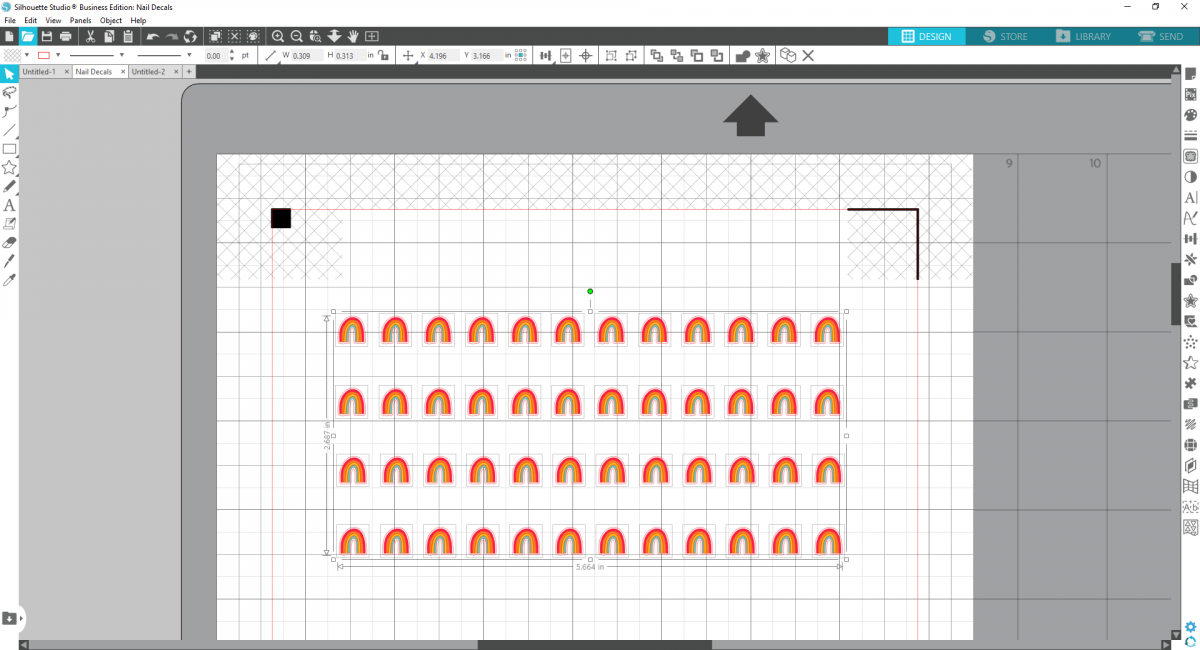
3. Resize the design so that one of the circles will fit onto your smallest nail. We made ours about 1/4-inch in diameter. The designs should be quite small! Duplicate the file so you have enough for all your nails. Make sure your designs are within the crosshatch marks of the registration marks.
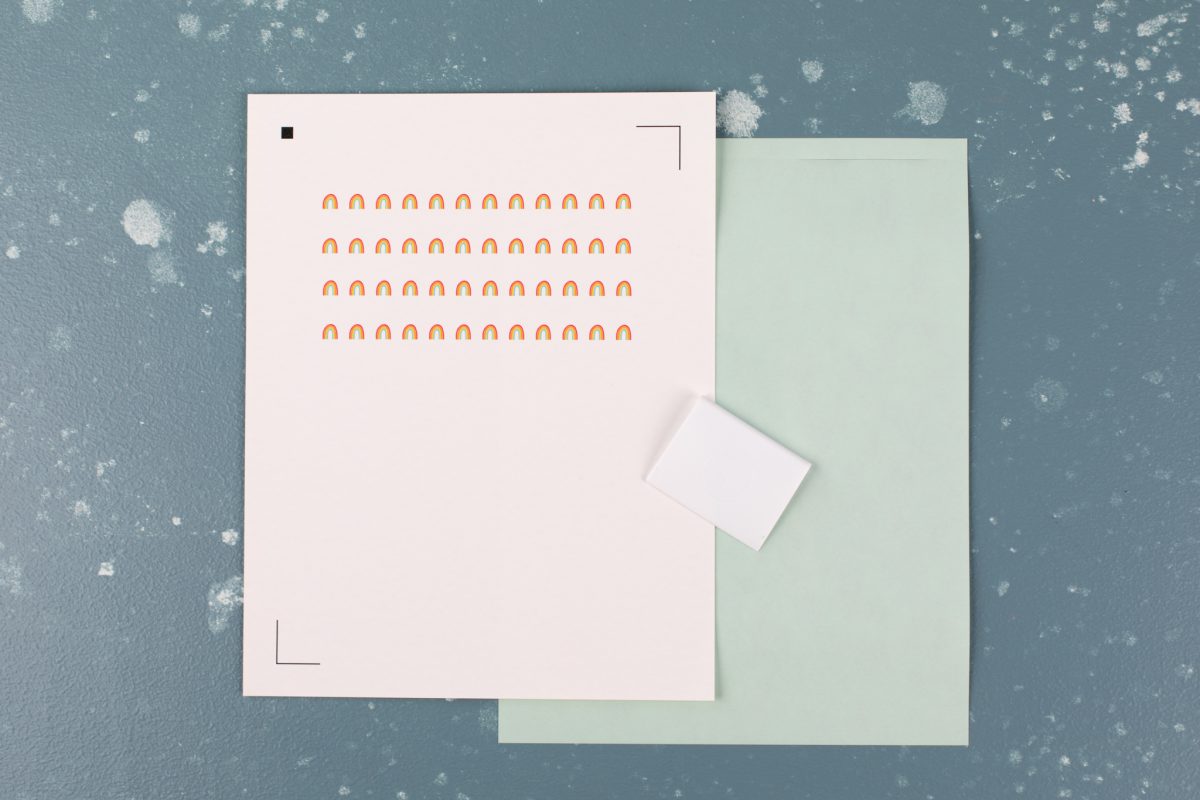
4. Print your design on your clear tattoo paper on the glossy side. Use your highest quality print settings and then let the ink dry.
Step Two: Apply the Temporary Tattoos
1. Apply the adhesive sheet to top of your printed tattoo paper. Do this by removing the green backing sticker at the top, aligning the edges, and removing the remaining backing while smoothing out the adhesive with the scraper tool.

2. Now load the sheet back into your Silhouette cutting machine and cut around the small circle designs using the cut settings for “Temporary Tattoo Paper, Printable.” Make sure you select the “Cut Edge” option so you only cut around the perimeter of the rainbow.

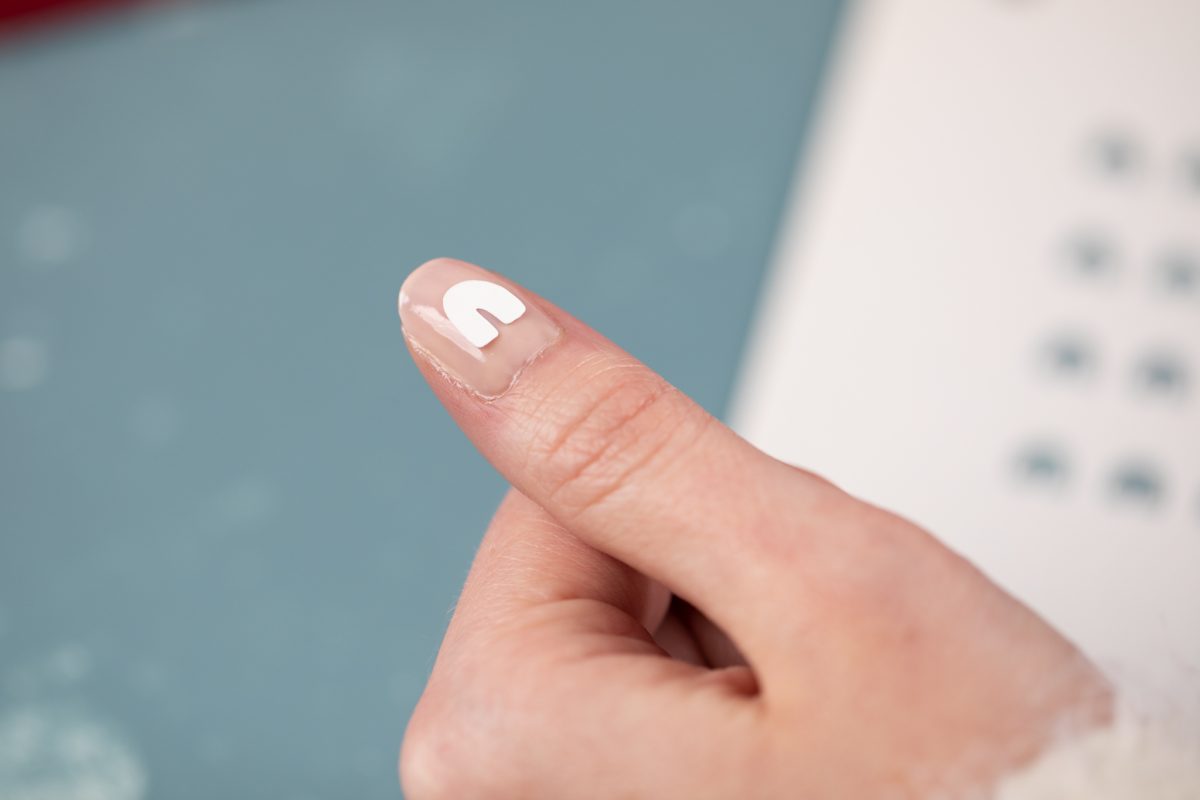
3. For each nail, remove the clear adhesive and press onto your painted nail. Press with a wet cloth or sponge for 10–15 seconds until the white paper backing slides off. Repeat this process for each nail.
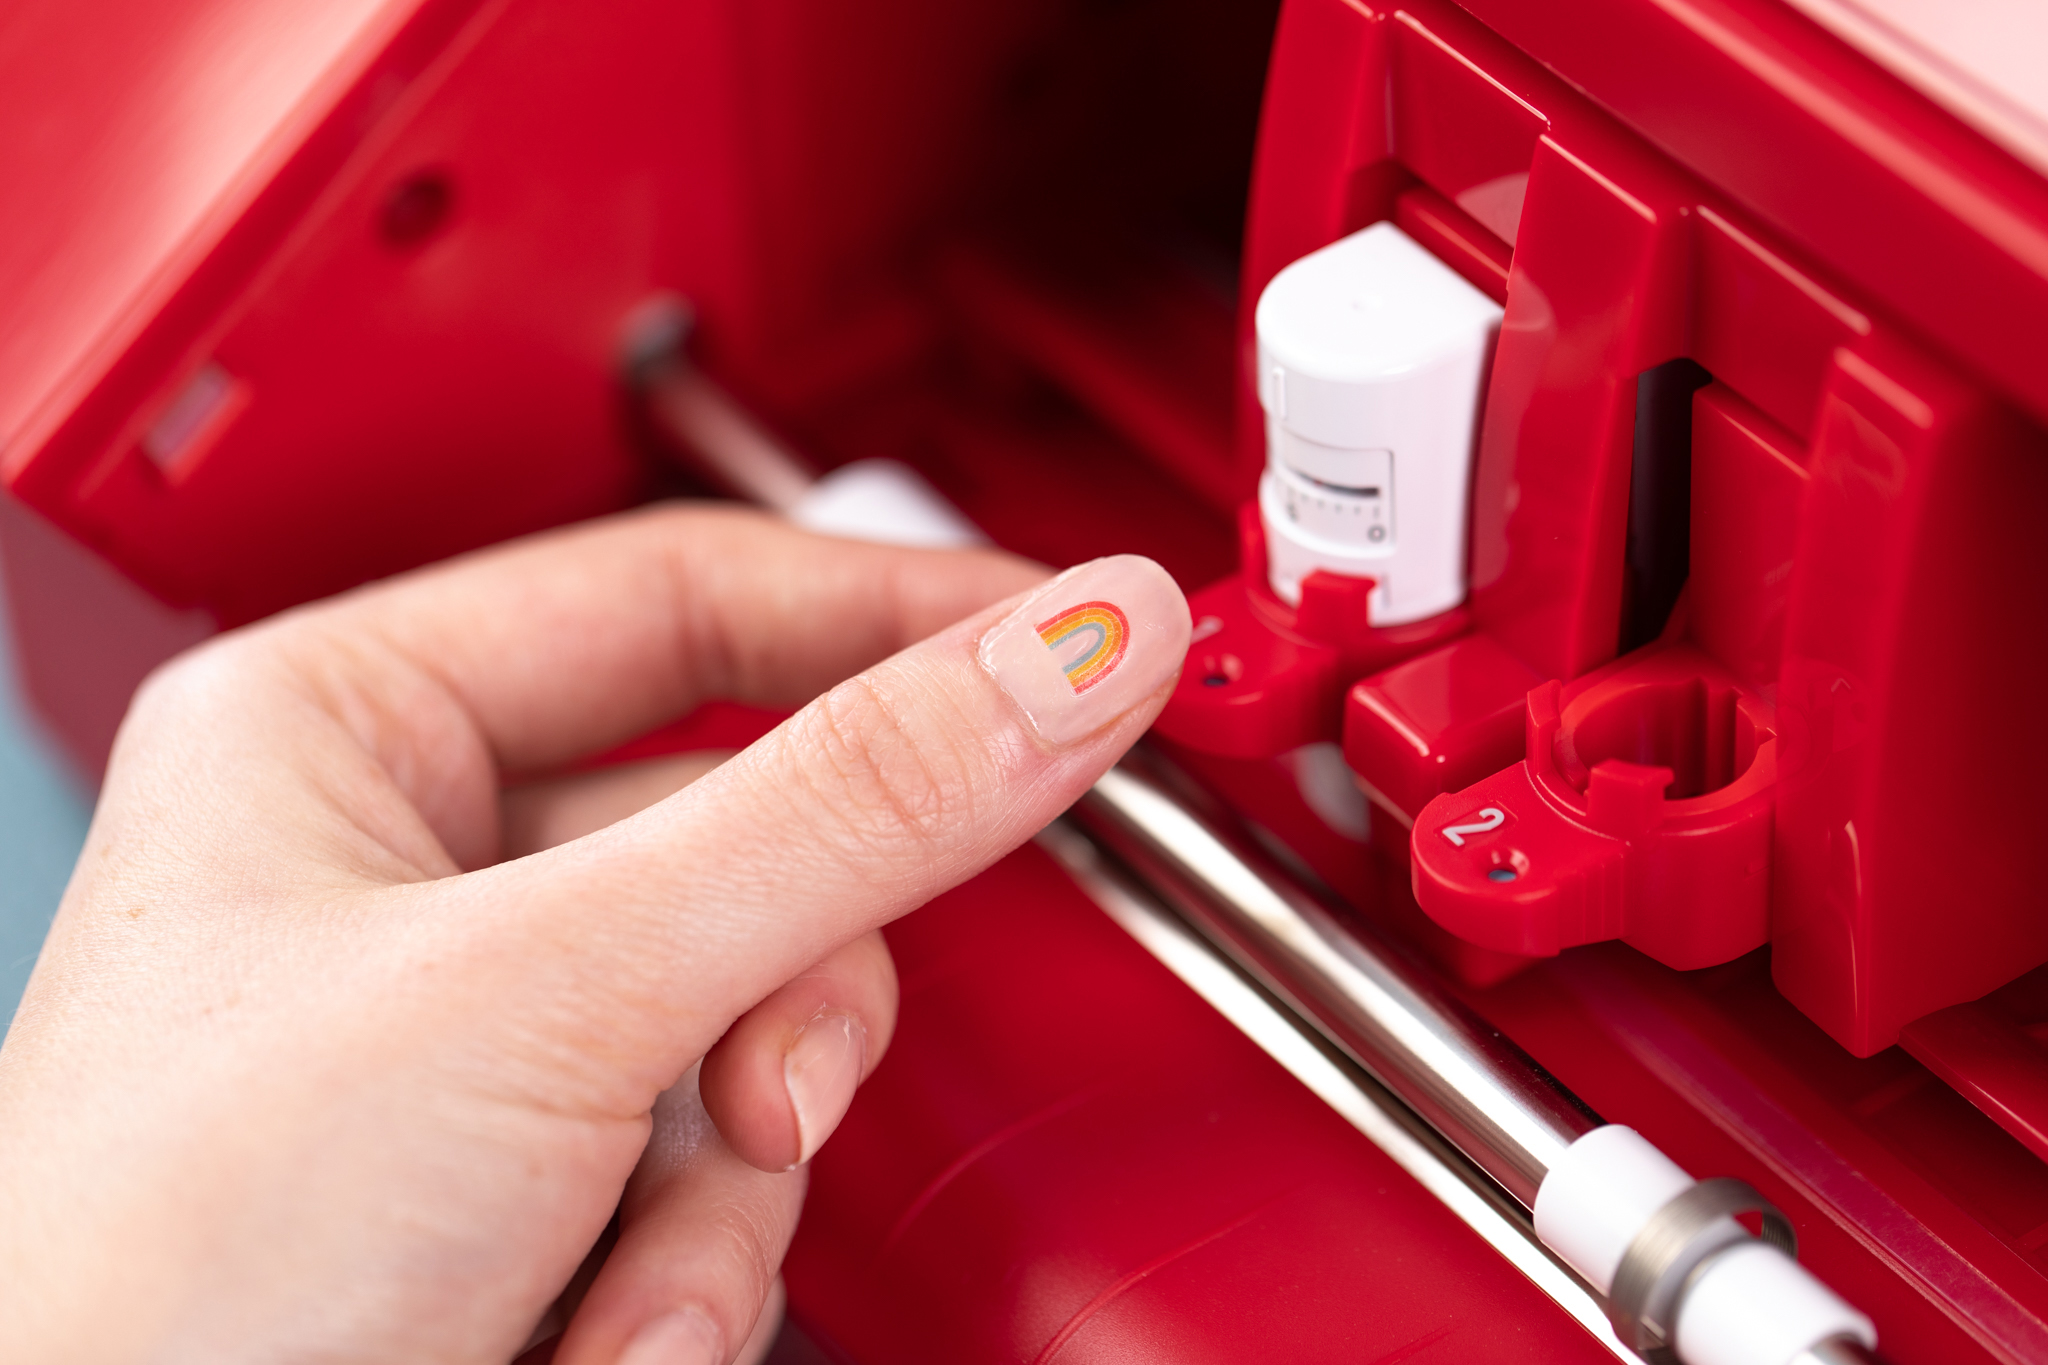
4. Apply a top coat to seal the tattoo and make it last longer.

Now you’ll have rainbows right at your fingertips!

 Retro Fall Manicure with Tattoo Paper
  Wooden Postcards for Father's Day