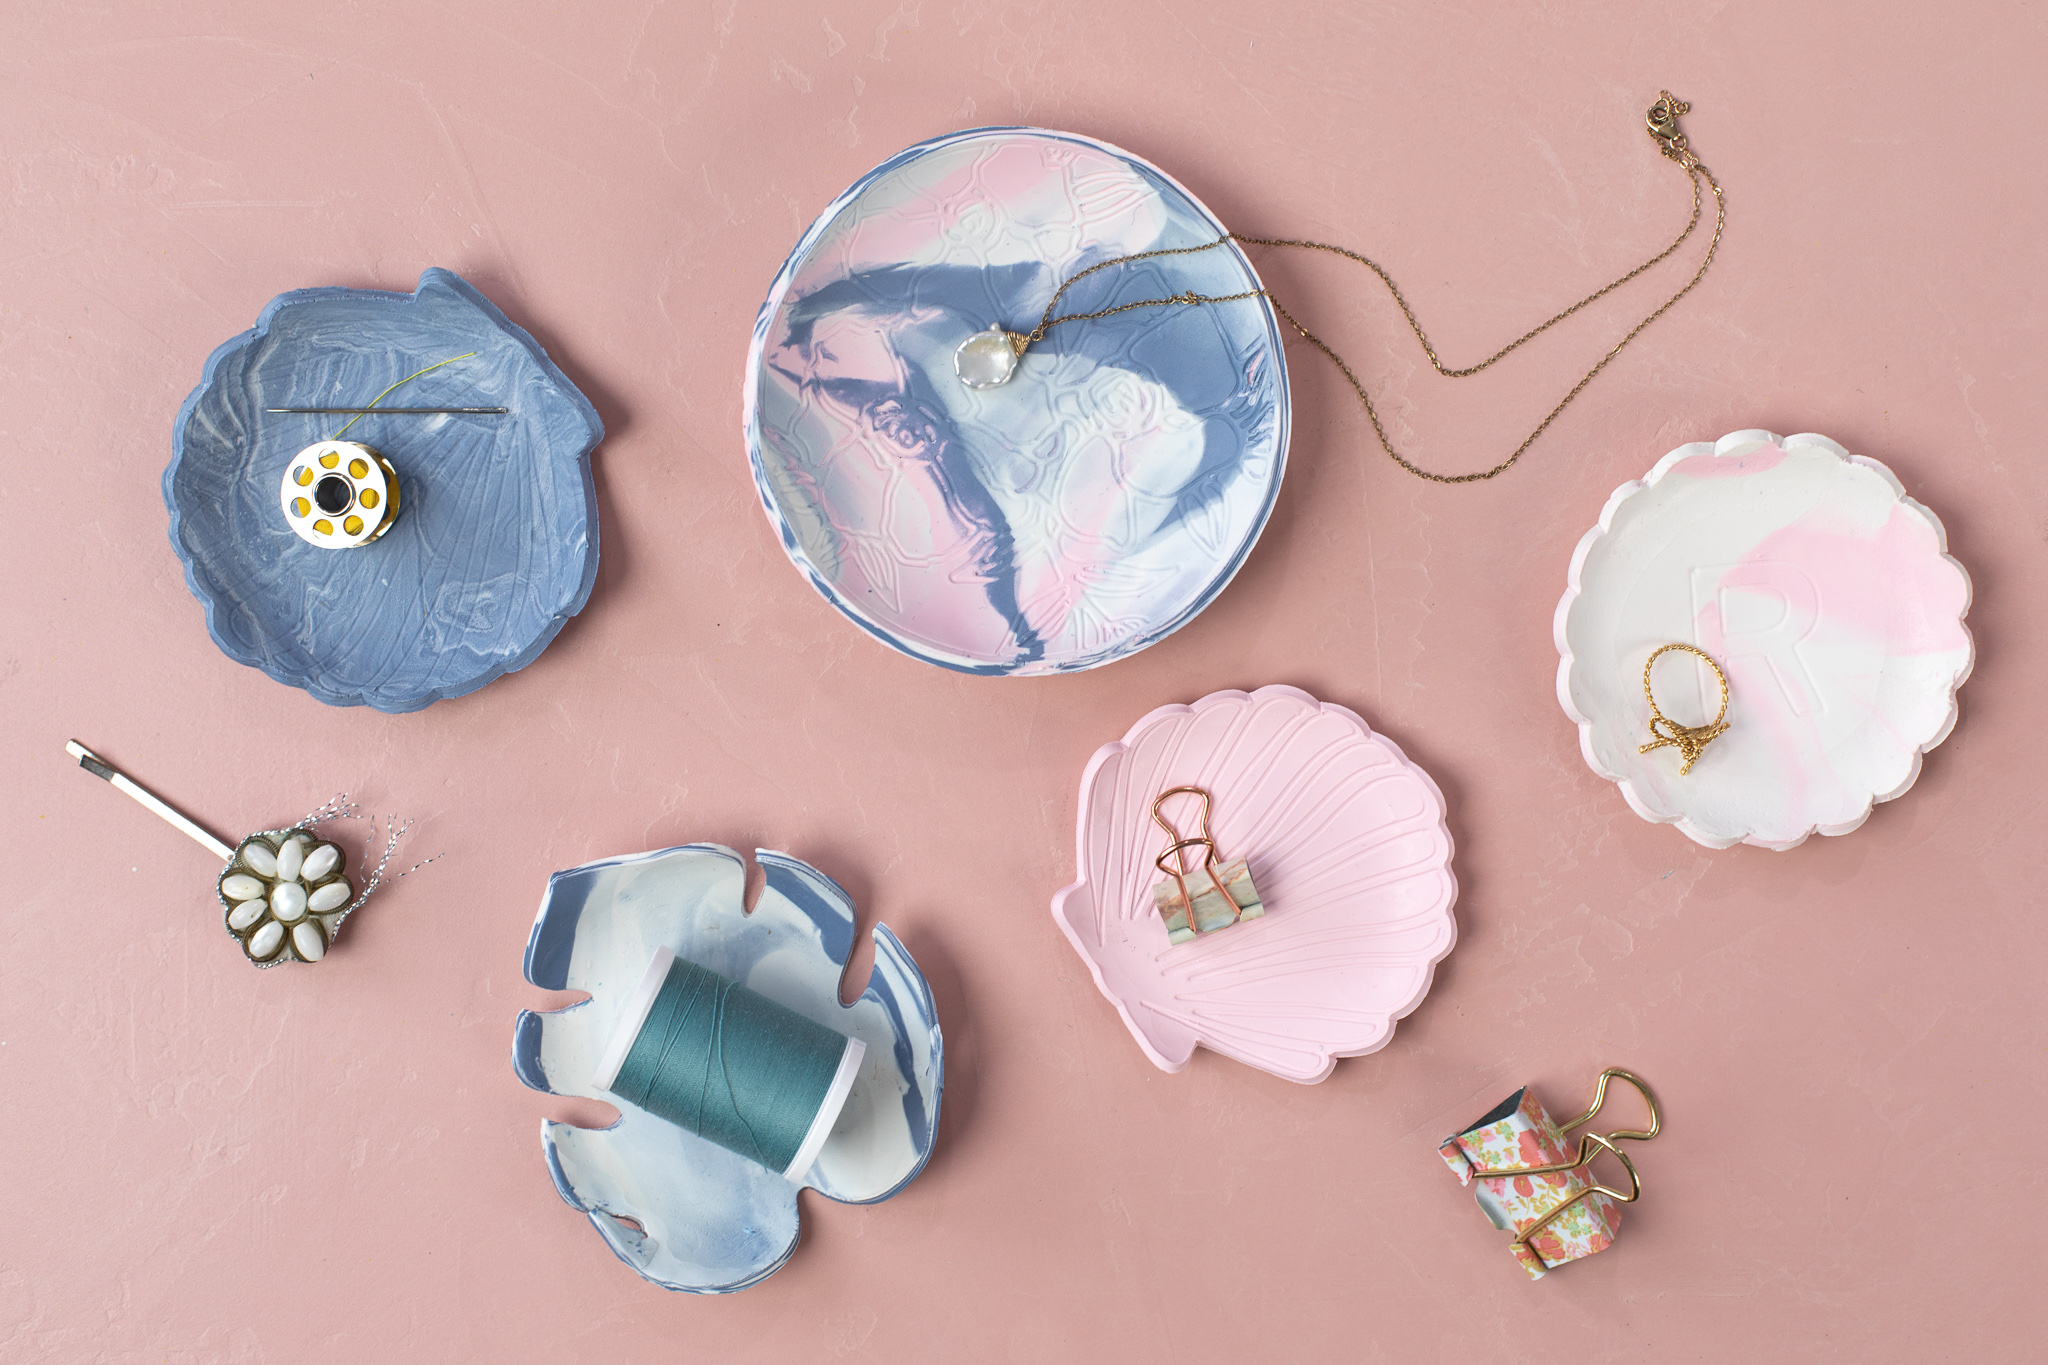
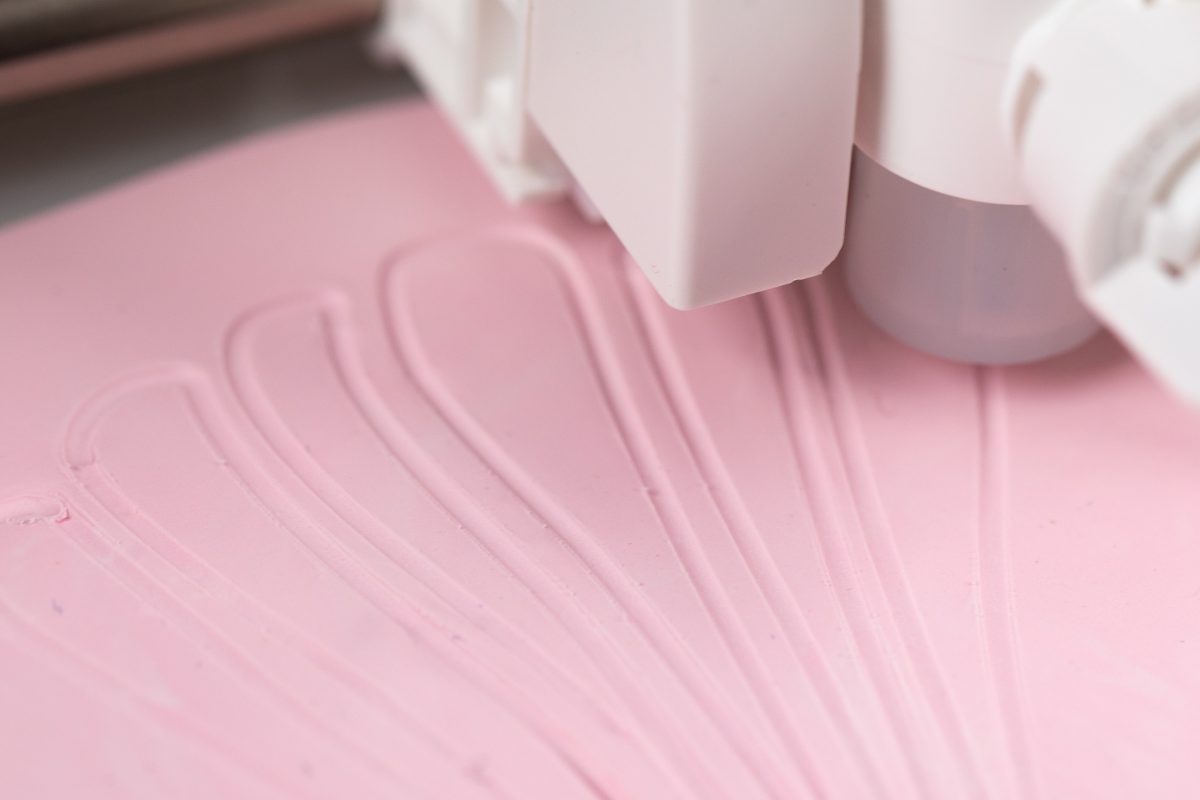
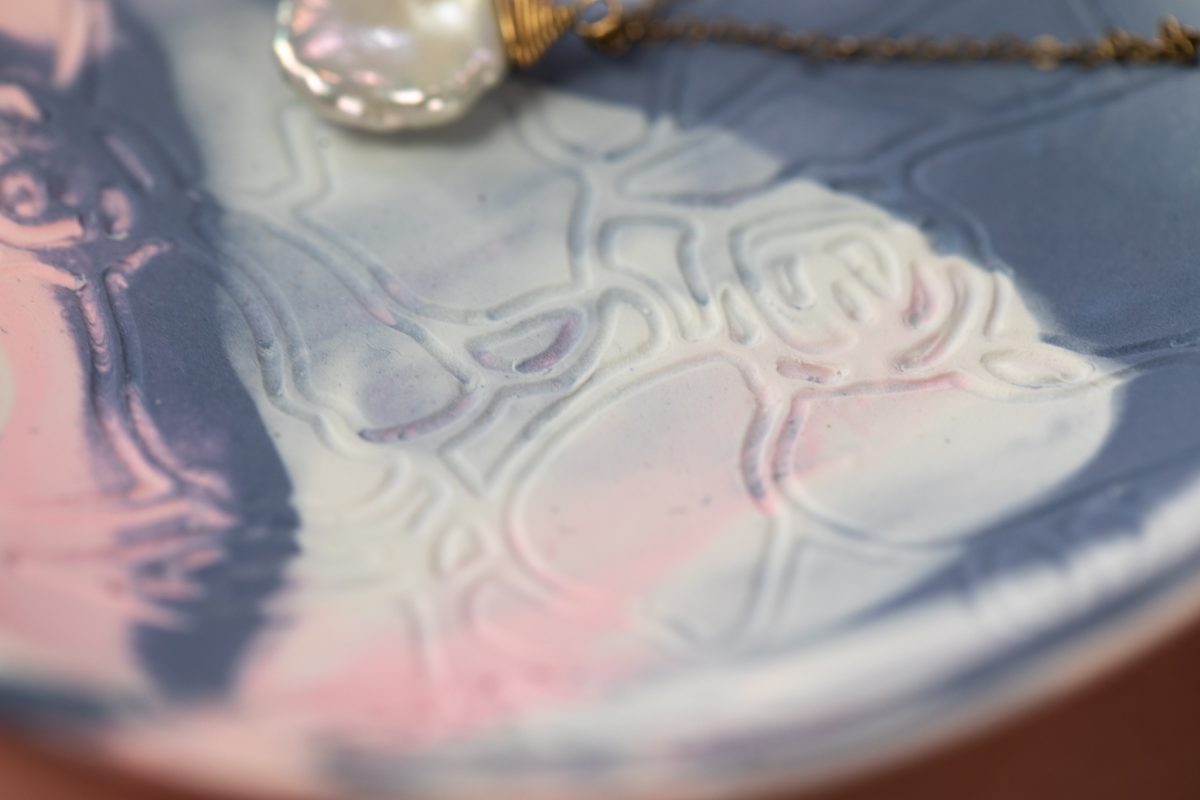
Did you know that the Curio can cut clay? We made these marbled clay trinket dishes with the help of our fine embossing tool and deep cut blade! It’s actually quite simple once you figure out the correct settings, then the sky is the limit with the designs you can create! Simply bake in your oven to harden the clay and you’re finished!
Supplies Needed:
- Silhouette Curio™
- Silhouette Curio™ platforms
- Silhouette Curio™ cutting mat
- Silhouette Studio®
- Fine Embossing Tool
- Deep-Cut Blade
- Craft Clay (The type that hardens when baked)
- Rolling pin
- Parchment Paper
- Craft Mat, or something to protect your work surface.
- Design ID #83624 for the Monstera Leaf, #63554 for the shell, #26982 for the scallop circle, and #271996 for the floral embossed pattern
Step One: Preparing Your Clay
1. Roll your clay out into flat pieces with your rolling pin. Use a craft mat to protect your surface and parchment paper to keep the rolling pin from sticking to the clay. I rolled our clay to be about 2 millimeters thick, the maximum thickness the curio can cut. You could easily go thinner than that as well; you’ll just need to adjust your settings.
2. You can blend two or three colors of clay together to create a fun marbling effect.
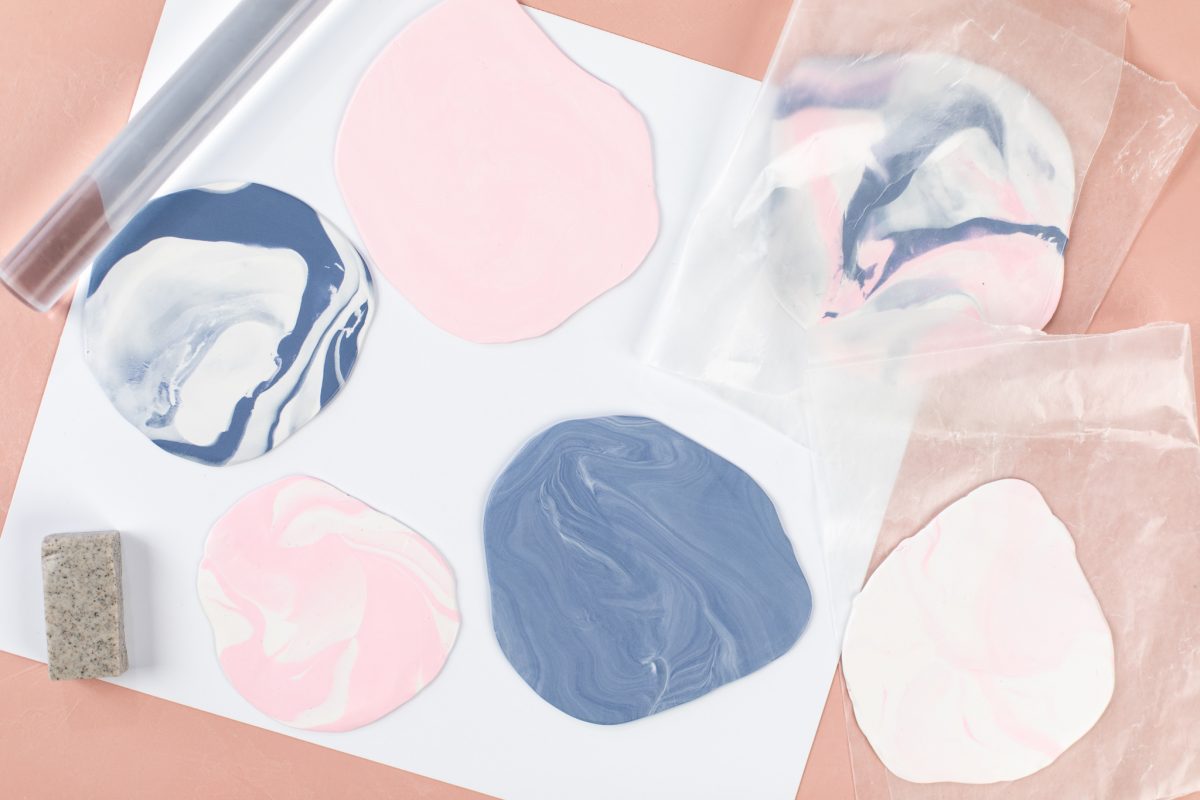
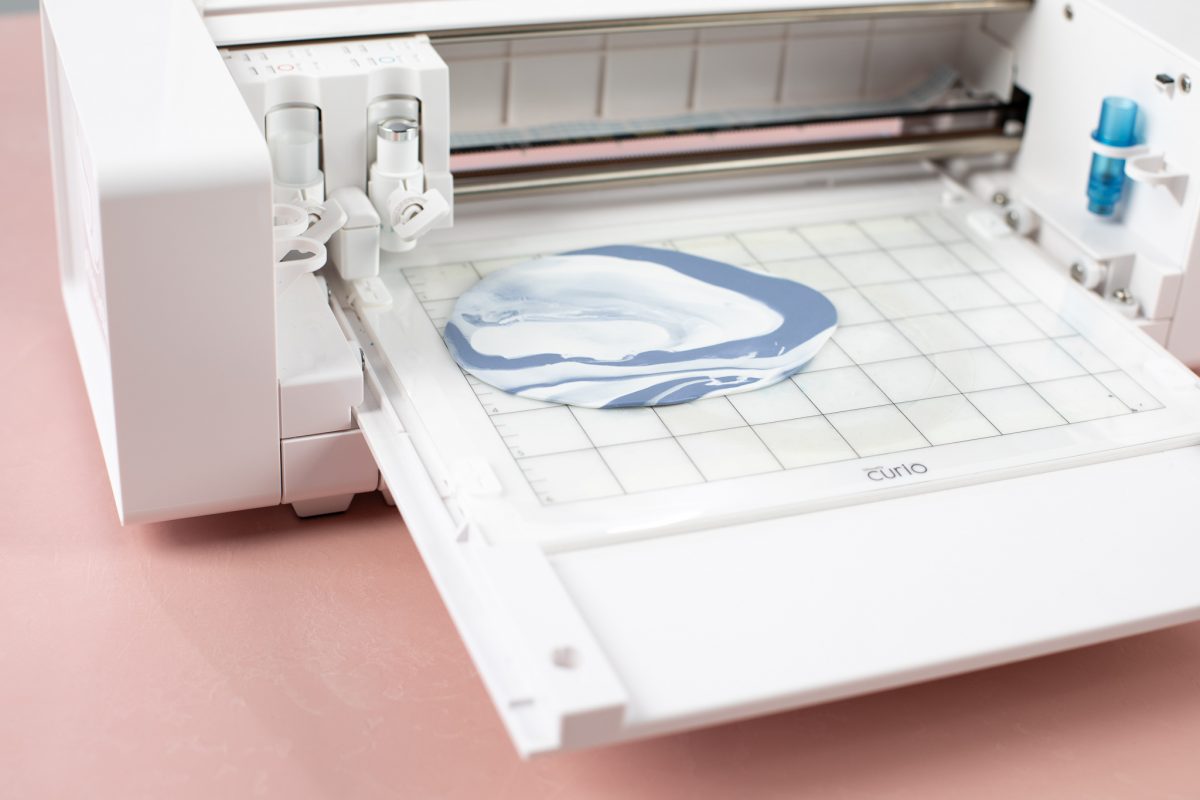
3. Once your clay is rolled flat, firmly place a piece of clay onto your cutting mat, leaving the clear protective cover on your mat! If you remove that, your clay will stick to the adhesive on the mat and ruin it. If you don’t have a protective cover, you can use parchment paper over the cutting mat instead.
Step Two: Embossing Your Clay
1. To emboss designs onto clay, you’ll want your base to be at level 4, so use a 2 platform, a 1 platform, and your cutting mat (2+1+1). Load your base into your Curio.
2. The settings for embossing clay can vary depending on the look you want. I used the following settings for my clay: Speed: 1, Force: 4, Passes: 1.
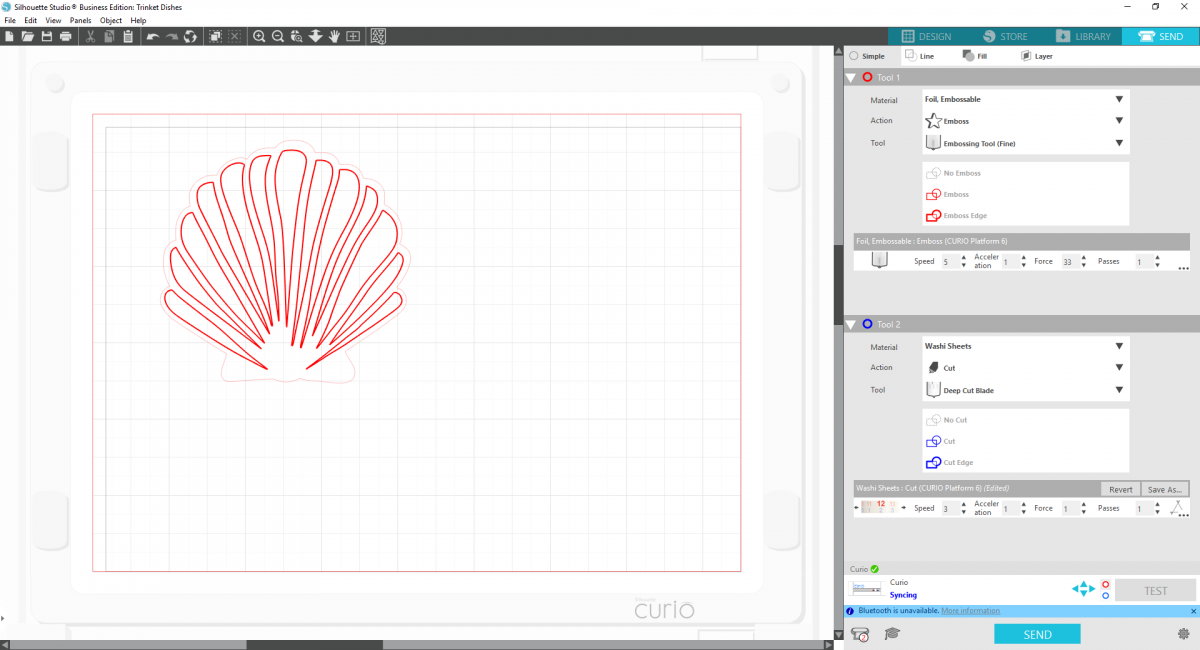
3. Insert the embossing tool into carriage one, and make sure the appropriate elements in your design are selected for embossing, not cutting. Send to your machine to emboss your desired patterns.
Step Three: Cutting Your Clay
1.Once your designs are embossed, you can move onto cutting! Load the Deep Cut Blade into carriage two of your Curio Machine. The settings I used for to cut the clay are the following: Depth: 15, Speed 3, Force 1, Passes 1. Again, depending on the thickness of your clay, you may need to adjust these.
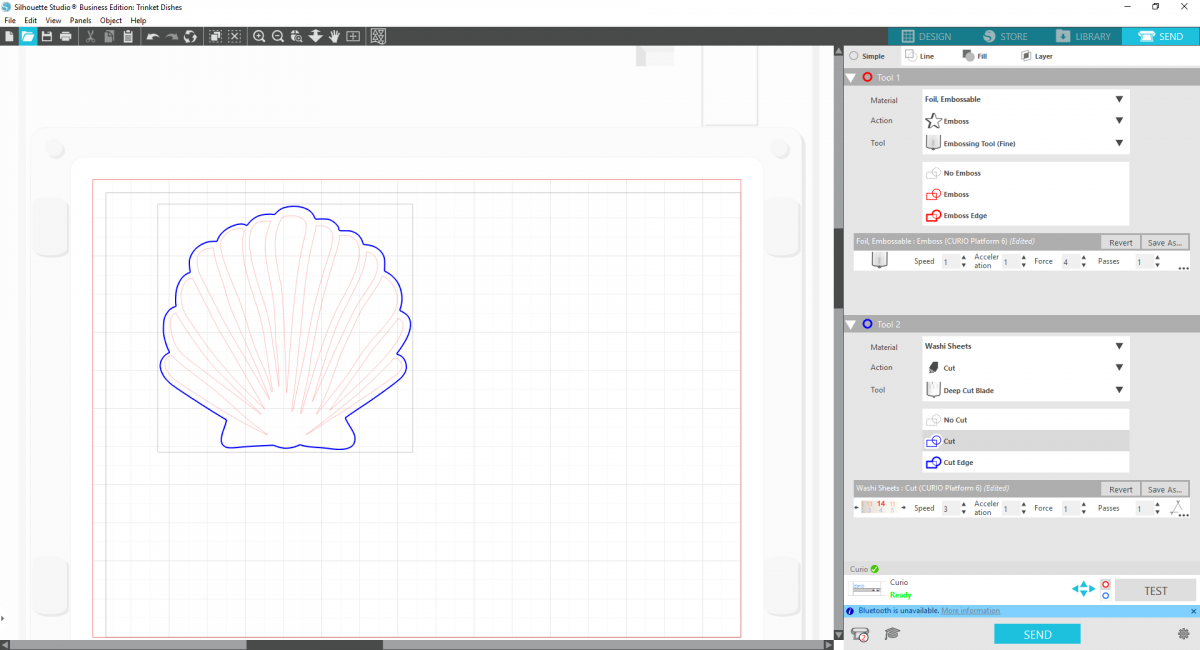
2. Keep your base at a level 4 (#2 platform + #1 platform + cutting mat) and load into your machine. Make sure your the elements of your design you’d like to cut are using Tool 2.
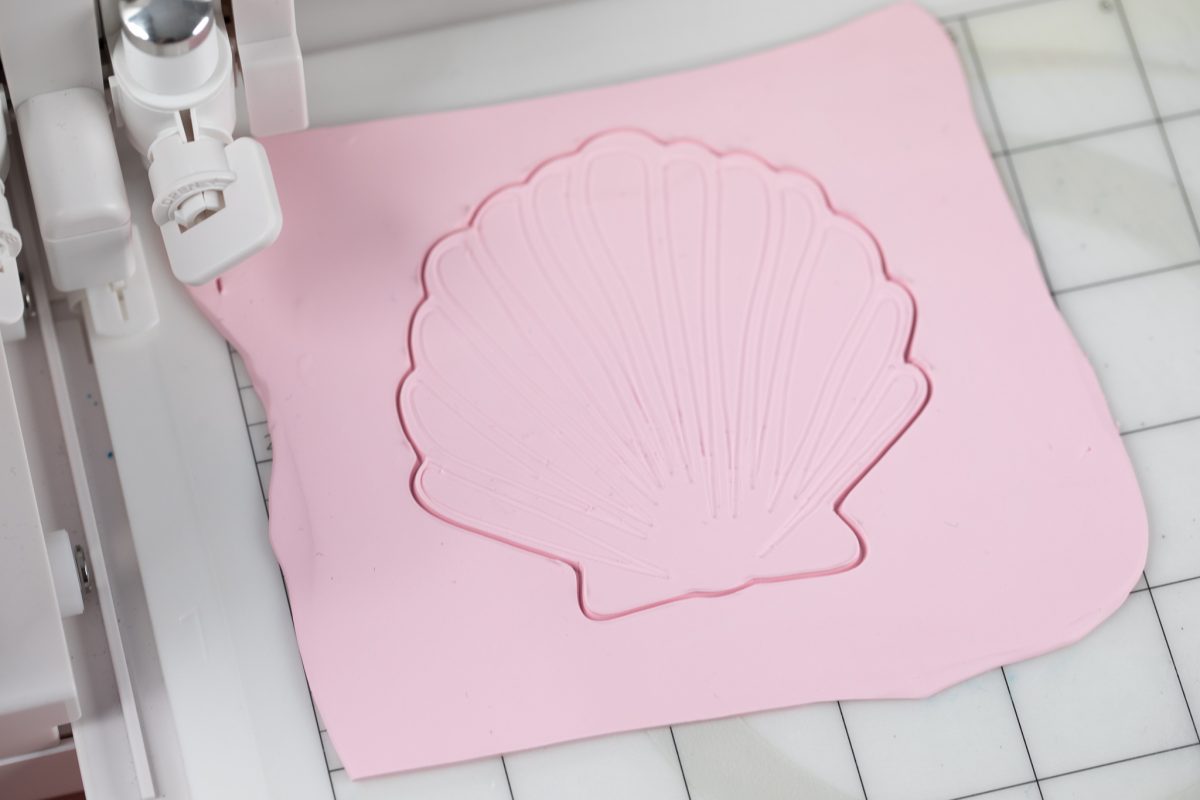
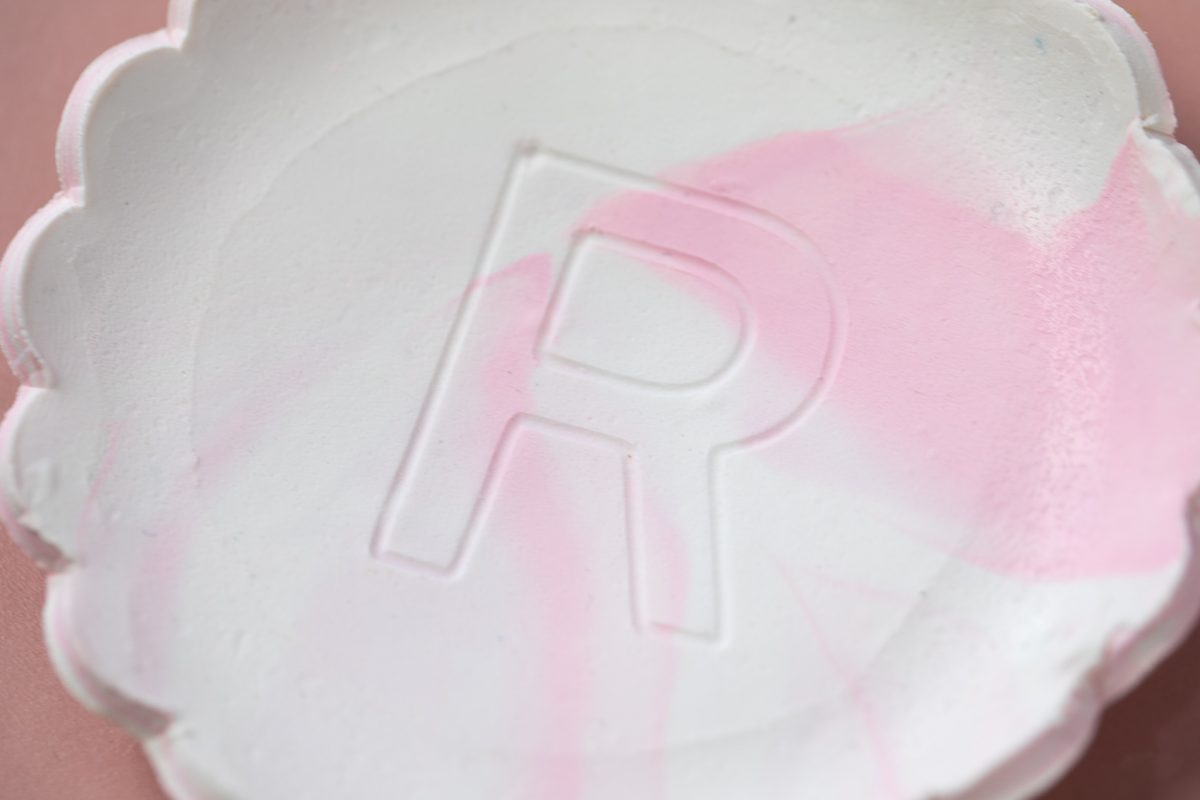
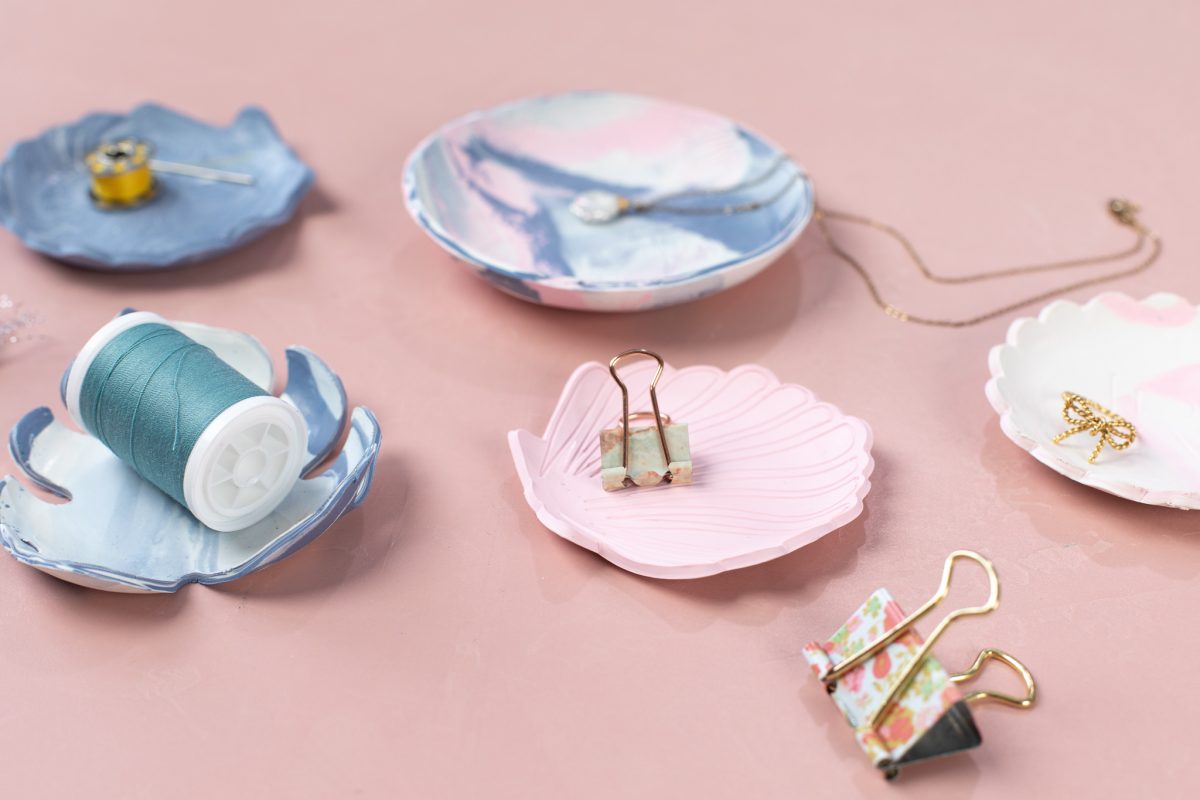
3. You can make fun shapes like the shell and leaf as well as simple designs. I made a scalloped circle with a simple monogram embossed in the center, and another larger circle with an embossed floral design. Have fun experimenting!
Step Four: Baking Your Clay
1. To make the trinket dishes have a slight upwards curve on the edges, I placed them over the bottom side of a donut-baking sheet. You could you a cupcake pan, metal cookie cutters, or any other oven-safe object that would give your clay the desired shape.
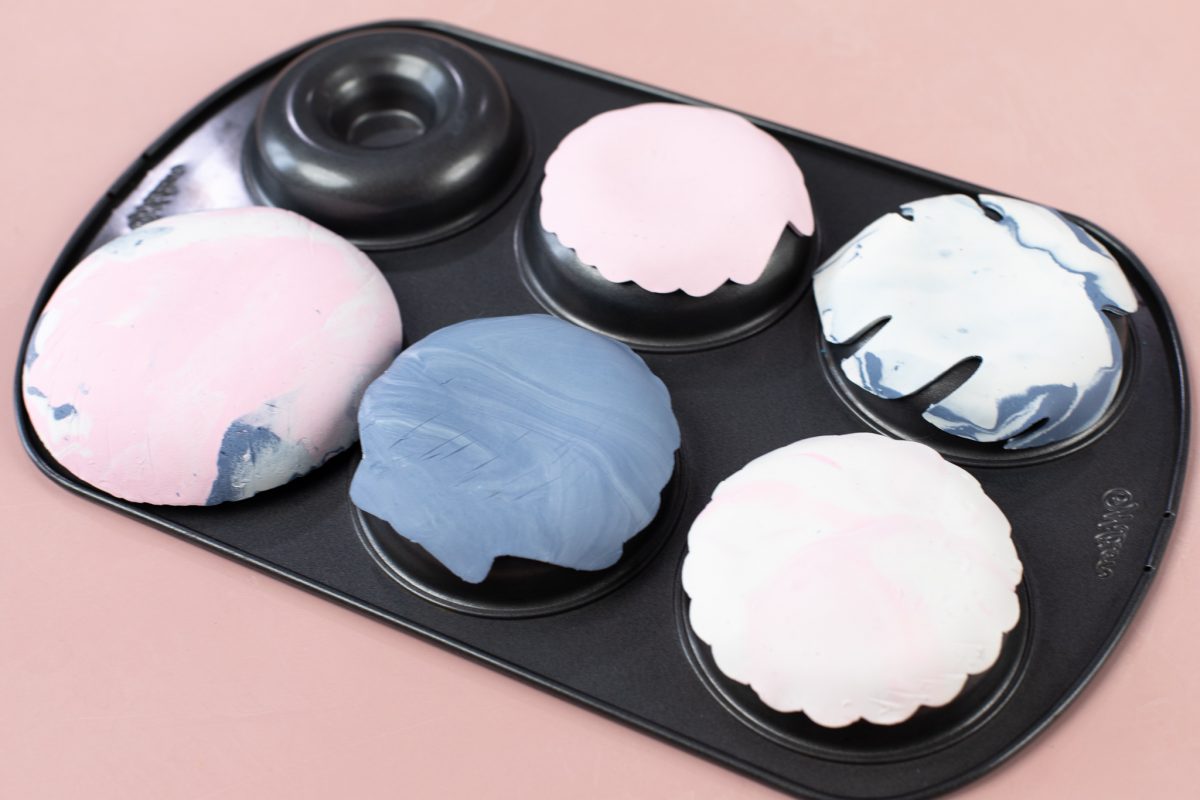
2. Bake in a conventional oven at 275 degrees Fahrenheit for about 40 minutes. When you remove them from the over, they will still be slightly pliable but will harden once cooled.

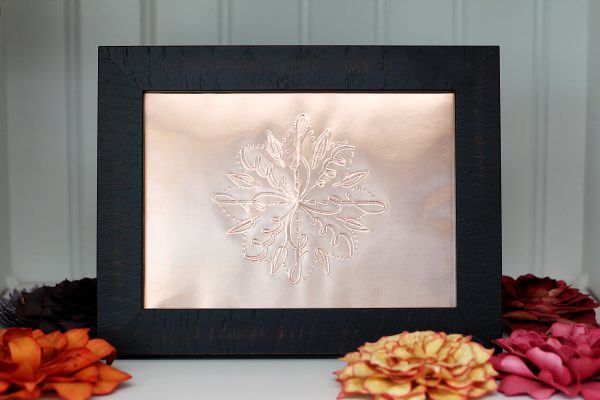 Embossed Foil Mandala