| PLEASE NOTE: This tutorial refers to software that is in Beta. Instructions may be out-of-date as improvements are made. |
Anodized metal sheets can be turned into elegant homeware with this tutorial. Learn how to engrave metal two different ways, with the Punch & Etch tool or the Power Engraver.
Supplies
- Silhouette Power Engraver, Power Engraver Super-Fine OR Silhouette Punch & Etch tool
- CURIO 2 (for Power Engravers) OR
- CURIO 2, CAMEO 4 & 5 Series, Portrait 4 (Punch & Etch tool)
- CURIO 2 Debris tray (recommended)
- Metal Etching Sheets
- Silhouette Studio or Silhouette Web
- A cutting mat (Punch & Etch tool)
- Masking tape or Silhouette tape
- A suitable picture frame (optional)
Which tool should I choose?
Both types of tool will produce great etching results. For clearer, thicker lines, the Power Engraver is the best choice; the Power Engraver works great even with single-line designs and sketch fonts. To get clear, fine lines on a range of hard surfaces, use the Power Engraver Super-Fine. With the Punch & Etch tool, the individual etching lines will be very thin and light, great for high-precision lines and objects with a dense etch fill.
Step One: Create Design
Note: if you are using Silhouette Studio 4.5 or lower, some instructions may be incorrect.
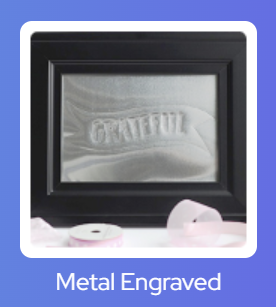
Open Silhouette Studio 5 on your computer. Alternatively, open Silhouette Web in your Chrome browser. Select the Metal Engraved Decor project tutorial from the carousel. This will guide you through selecting your compatible machine, mat and media, will open the correct design panel for you, and display design tips.
Make sure you choose a media size that matches the size of your acrylic sheet – you can use your cutting mat to measure.
You can etch any design you like. For this tutorial, we will demonstrate tracing a design from a black and white sketch. Black and white designs with high contrast work great with the trace tool.
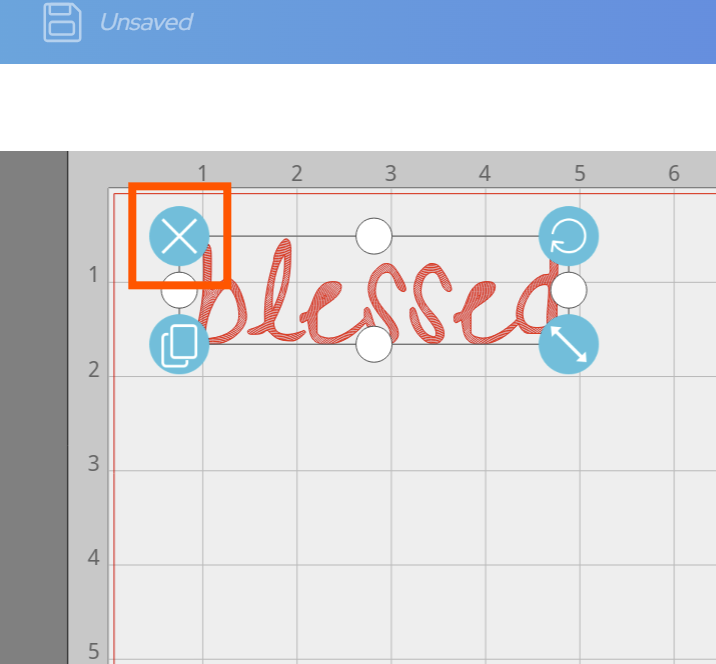
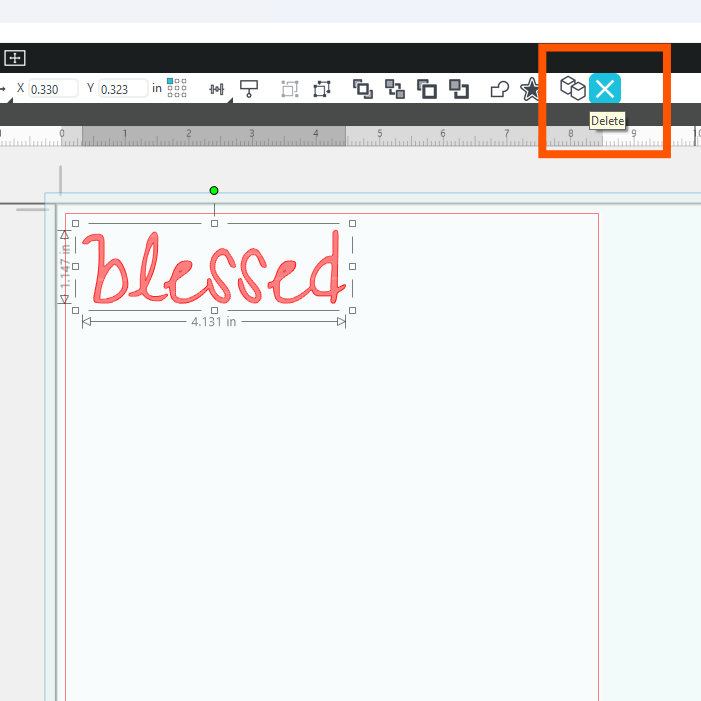
Let’s start by removing the example etch:
In Silhouette Web
In Silhouette Studio 5
Now you can add your image to be traced.
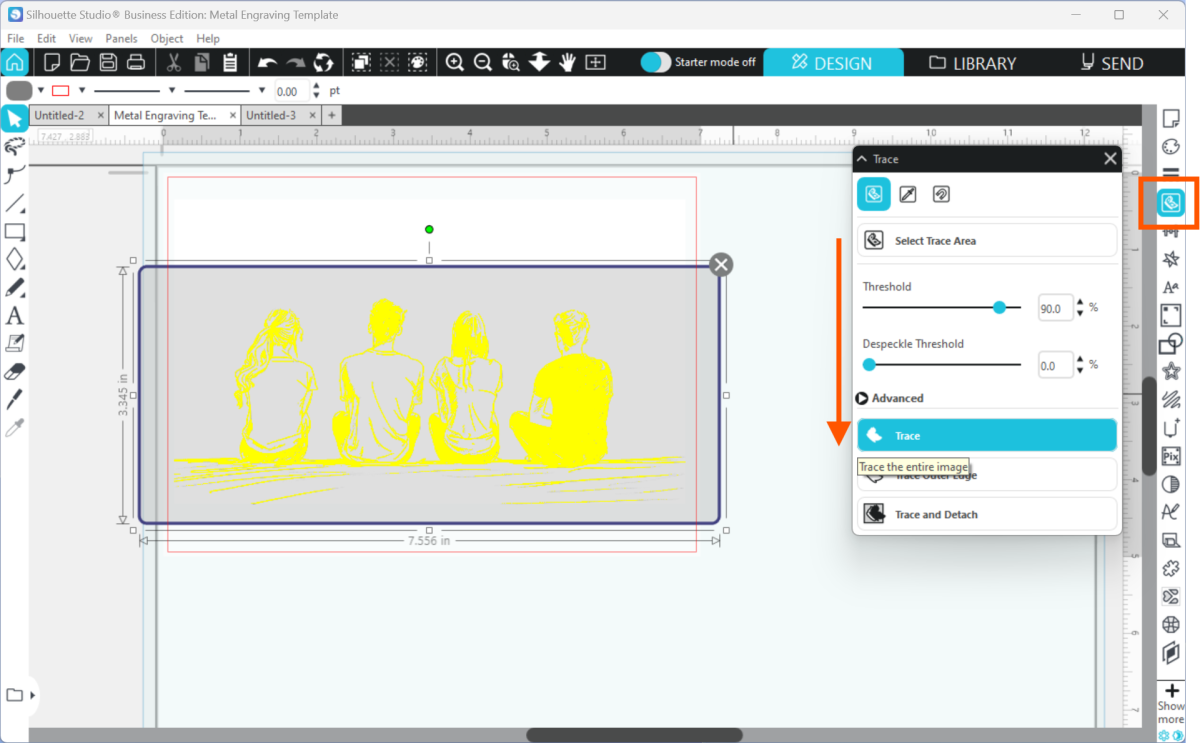
In Silhouette Studio 5:
Open your photograph or copy-and-paste it into Studio. Open the Trace panel, then use the sliders to achieve your desired result. The Trace feature in Silhouette Studio has many advanced features to help create all kinds of traces. To learn more about tracing in Silhouette Studio, check out this tutorial.
In Silhouette Web:
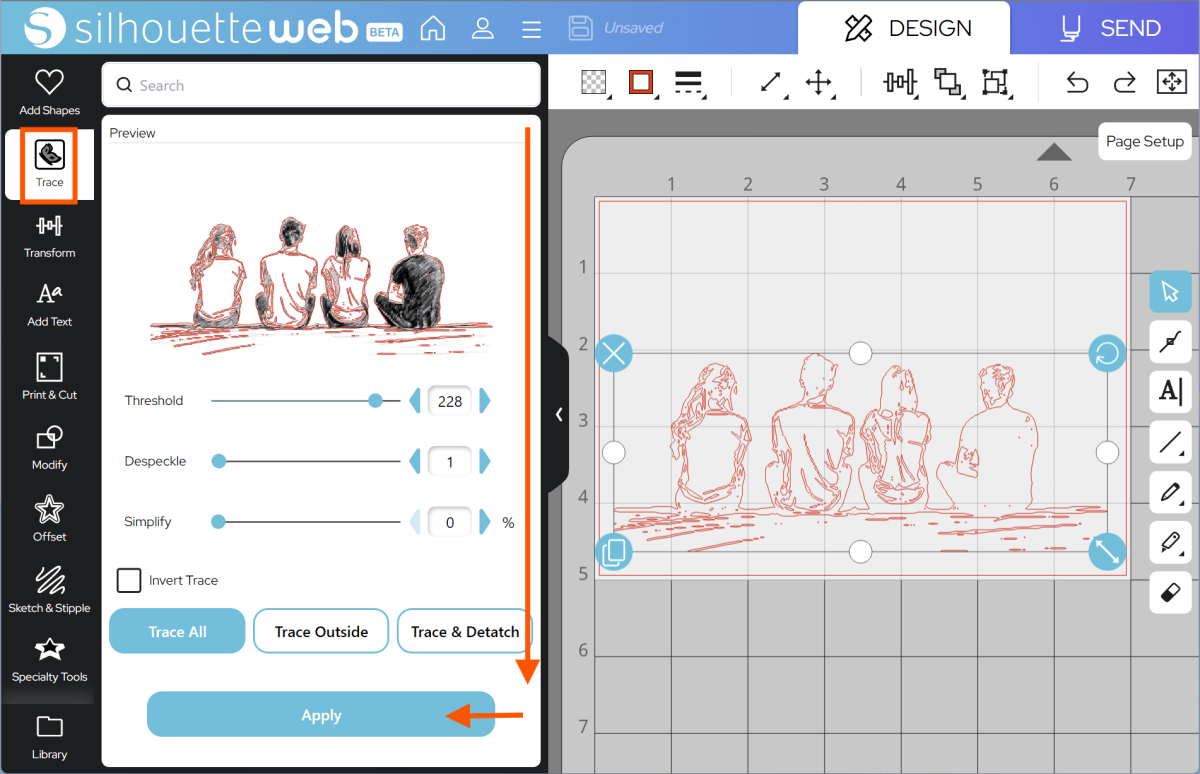
- Go to the Trace panel
- Upload an image from your device
- Use the inputs until your preview matches your desired result
- Choose your trace type from Trace, Trace Outline, and Trace & Detach
- Press Apply to create a trace.
Silhouette Web is designed for simple trace operations. For fine control, we recommend Silhouette Studio 5.
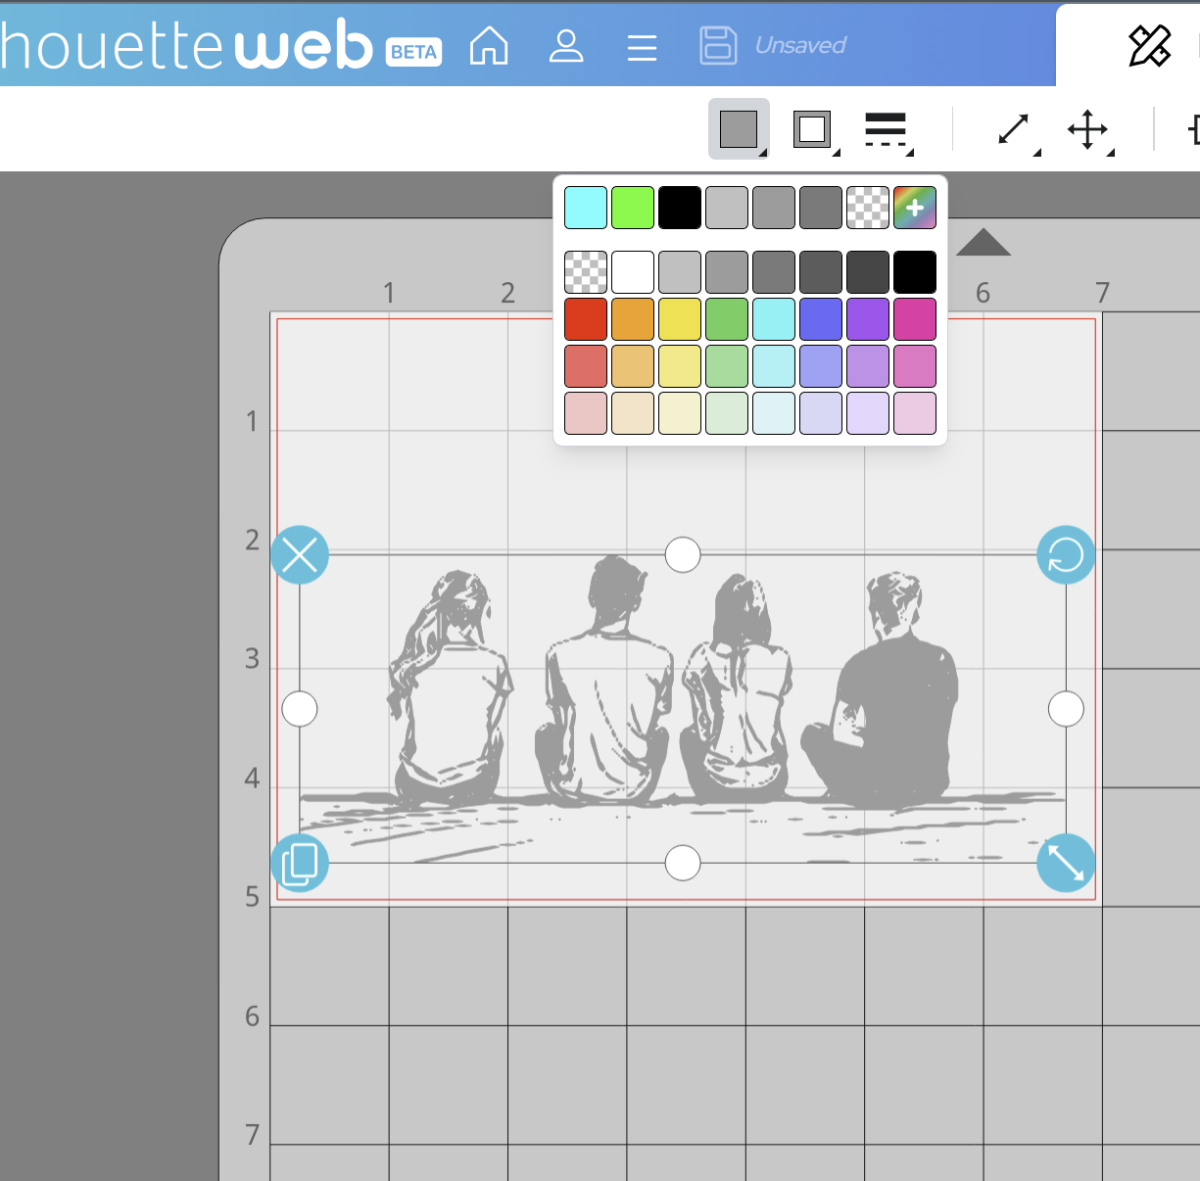
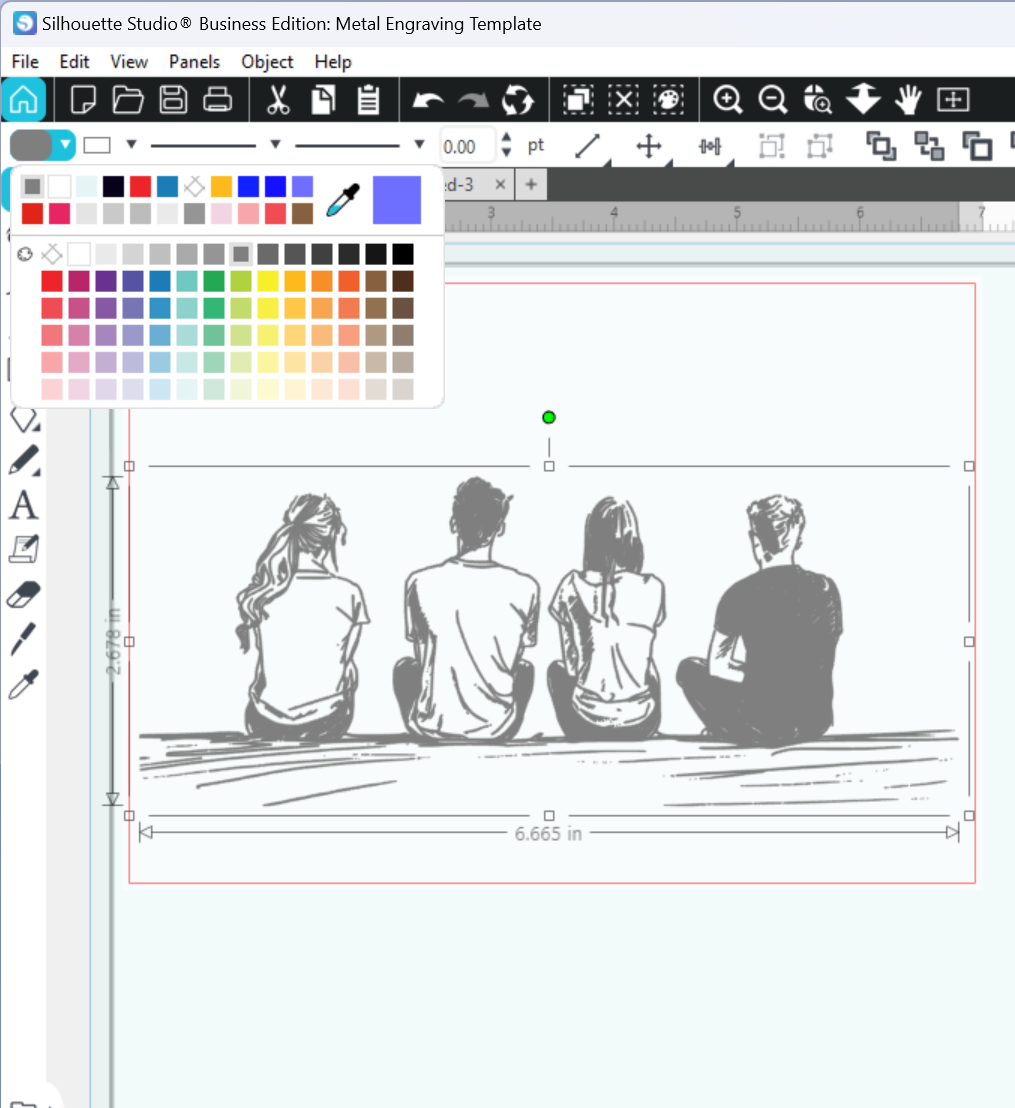
Now you will have a traced outline of your sketch. It’s hard to see the final effect, so select the object and change the fill color:
Silhouette Web:
Silhouette Studio 5:
Currently, only the outlines will be followed by your chosen etching tool, so we need to use a fill from the Specialty Tools panel.
Select the design, and then choose a fill type:
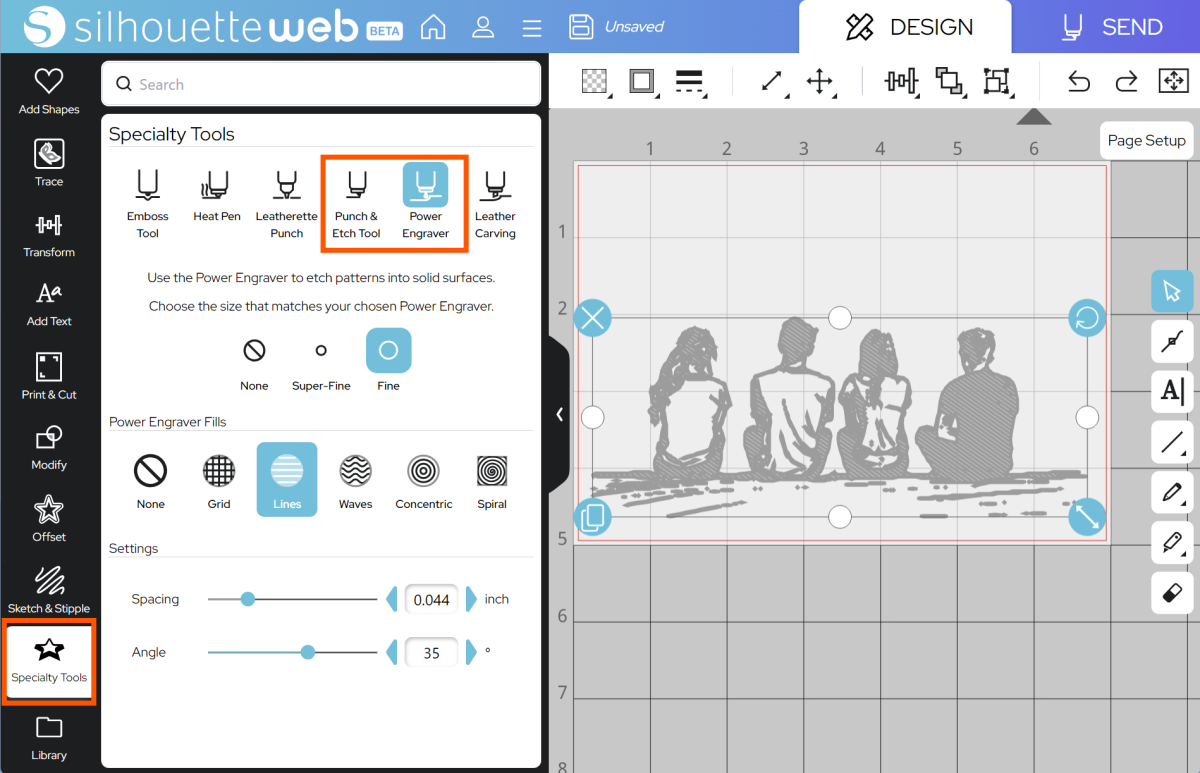
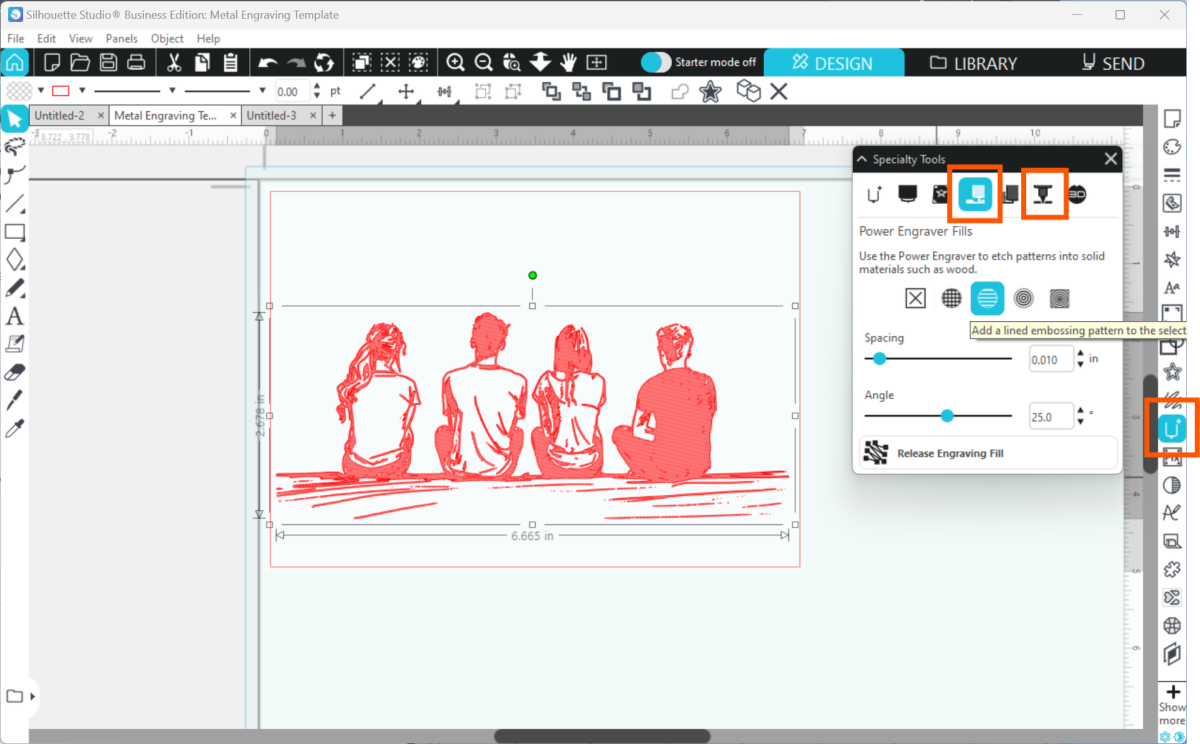
Tip: you can use any sketch fill type to fill a design, but the Specialty Tools panel has default settings tailored specifically to get a good fill result with your chosen tool.
Step Two: Prepare to SEND
Go to SEND. You will see a preview of your design with the cut lines highlighted. You will need to assign your lines to Tool 2:
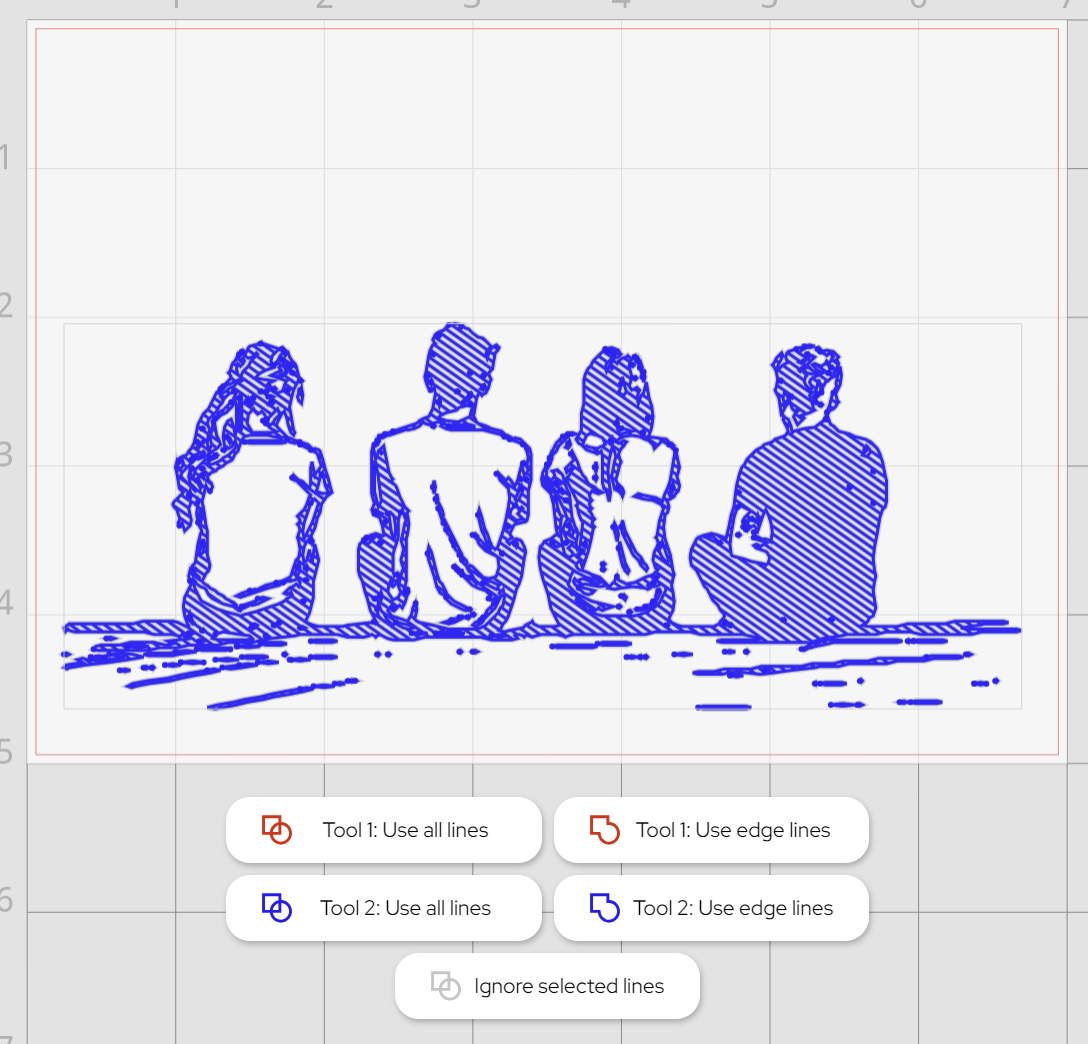
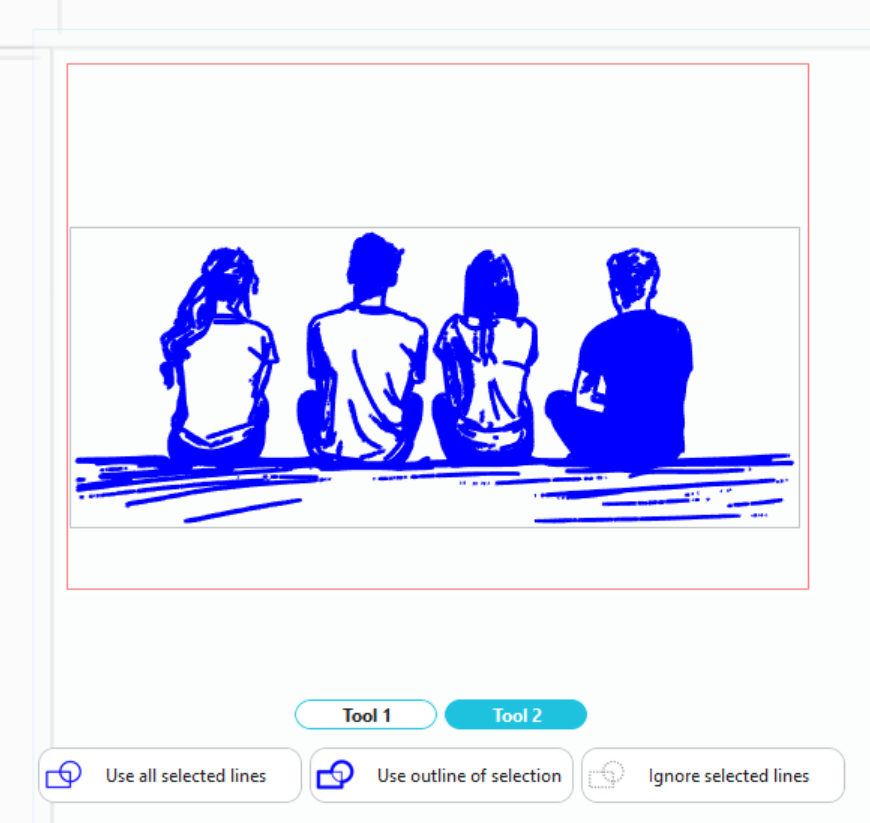
You are now ready to etch!
In Silhouette Studio 5 Guided Mode, and Silhouette Web, there will now be on-screen instructions on how to load your media and mat, insert your tools and send.
The steps will be:
- Connect to your machine
- Choose Metal Etching Sheets from the material list for Tool 2
- Choose the Etch (Punch & Etch Tool) or Power Engraver action and the correct tool
- Place your anodized metal sheet onto your cutting mat, matching the mat preview exactly
- If necessary, use masking tape to ensure that the metal sheet is firmly stuck.
- Load the mat into your cutting machine
- Follow the instructions to send the job.
Note: Etching can be a slow process – make sure you set aside several hours for your machine to run, and check in regularly.
Step Three: Complete your Project
Be careful when removing your etched design from your machine, as etching can create dust which can be sharp. Use microfiber or a damp cloth to wipe dust safely away from the metal sheet, and consider wearing a suitable DIY mask when working with etching.
You can now insert your metal design into your frame!
 Everything to Know About Silhouette Studio® Upgrades
 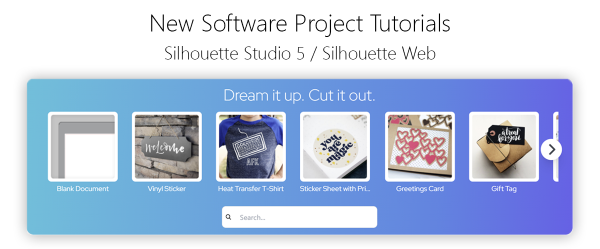 Cut, Punch & Sew a Leatherette Coin Case