Color fonts are trending in the font world, and Silhouette Studio® is ready for them! These are fonts that bring multiple colors, shades, textures, and transparency to type. These special font files can include vector shapes, bitmap images or even both in font files.
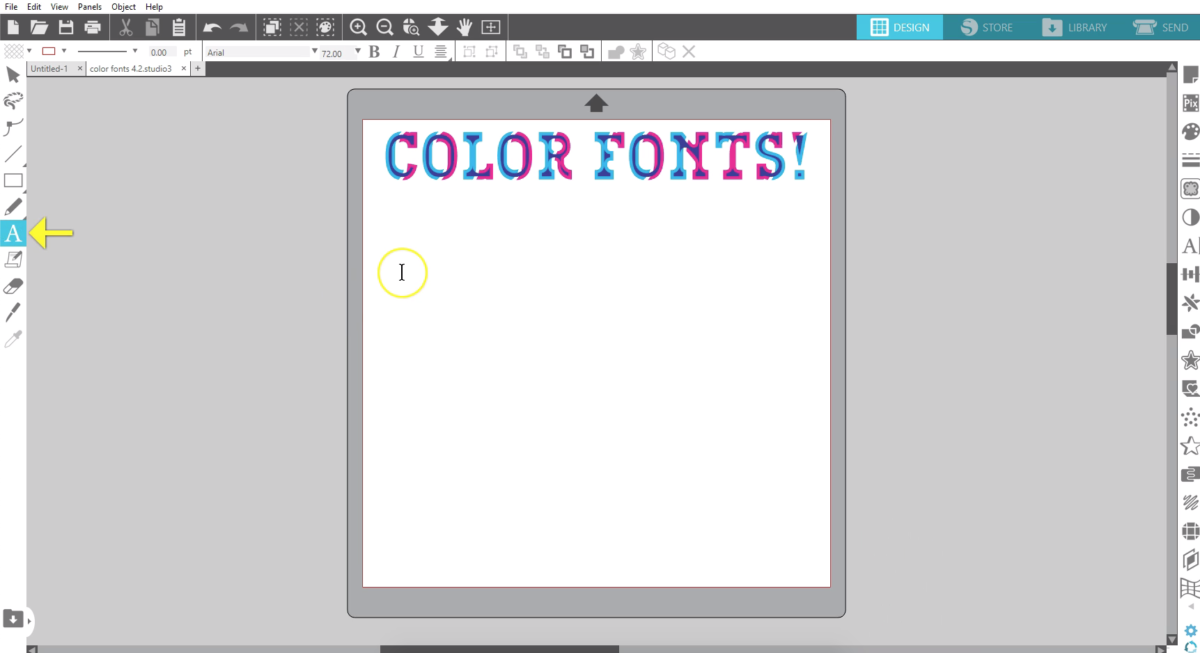
Silhouette Studio® has always been able to use fonts installed on your computer, but version 4.2 allows you to choose color fonts you have installed. As with creating any text simply choose the Text tool on the left, click down to create a cursor and type your text.
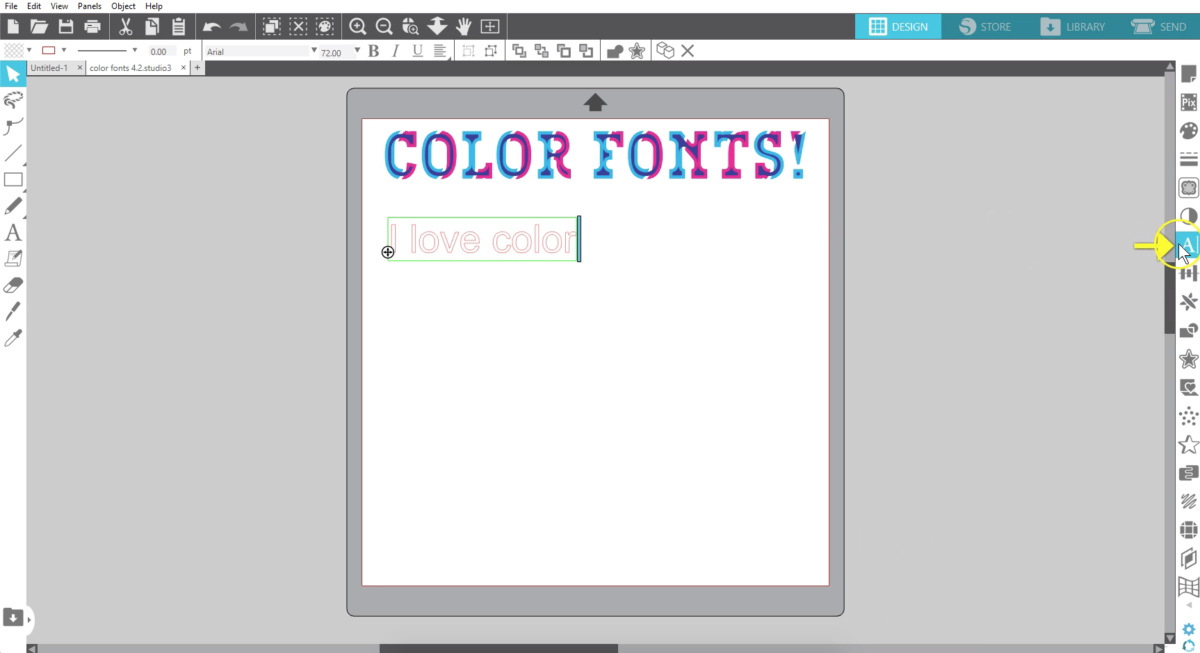
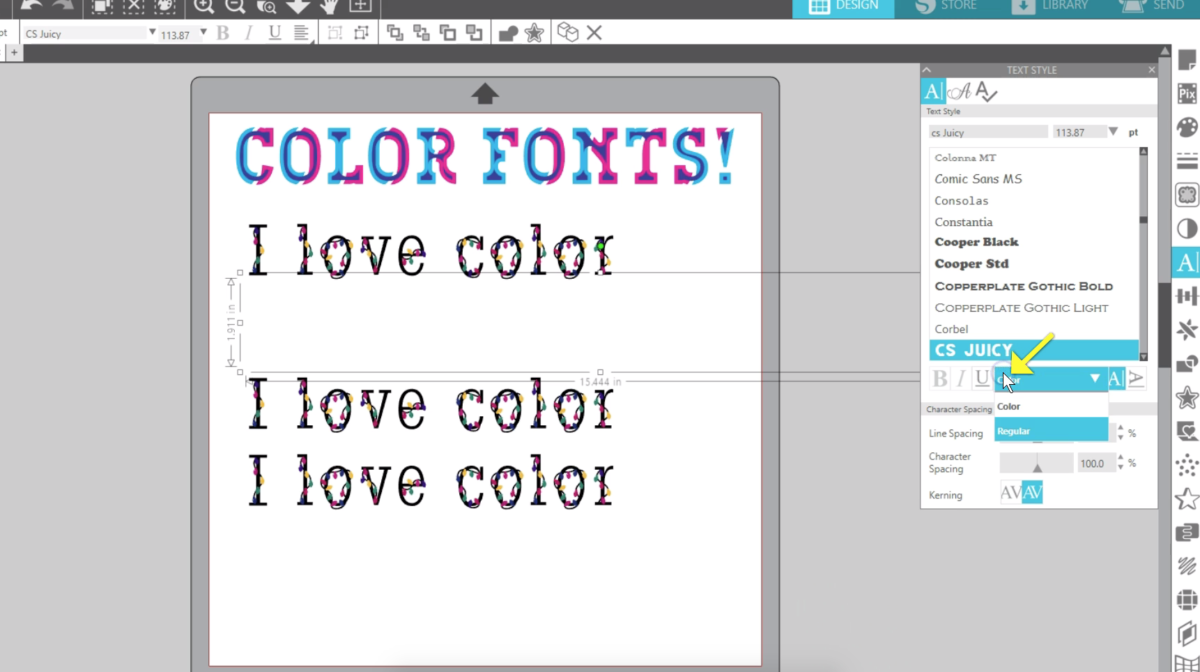
Open the Text Style panel by clicking the icon on the right. Click away from and then click again to select your text all at once.
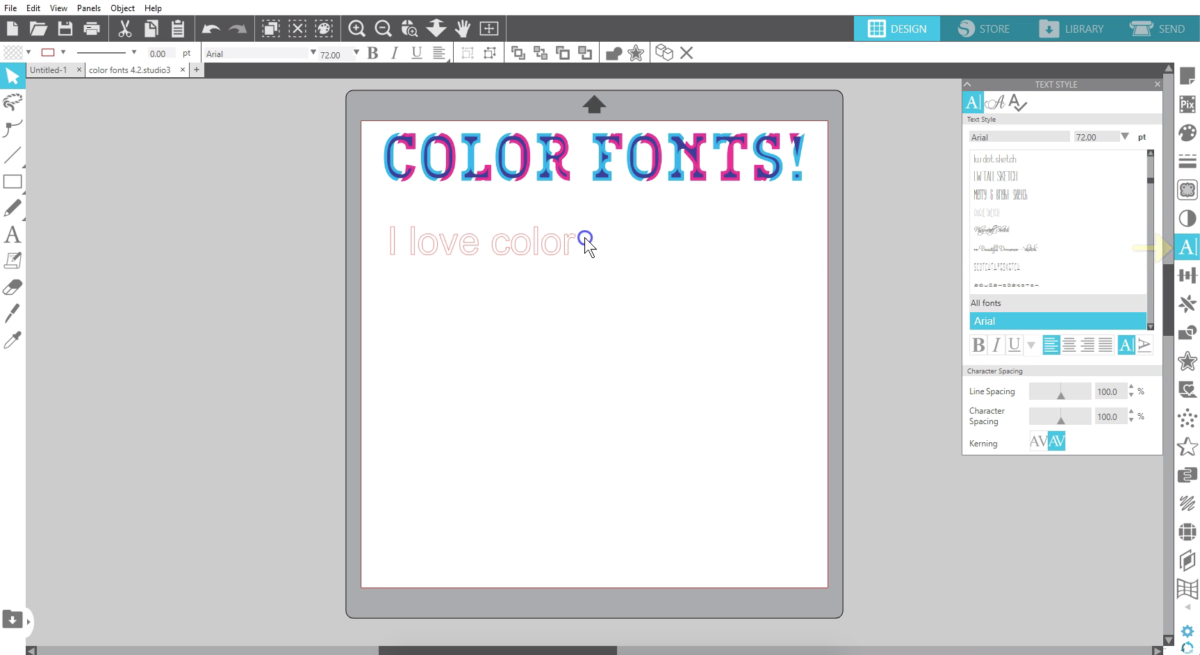
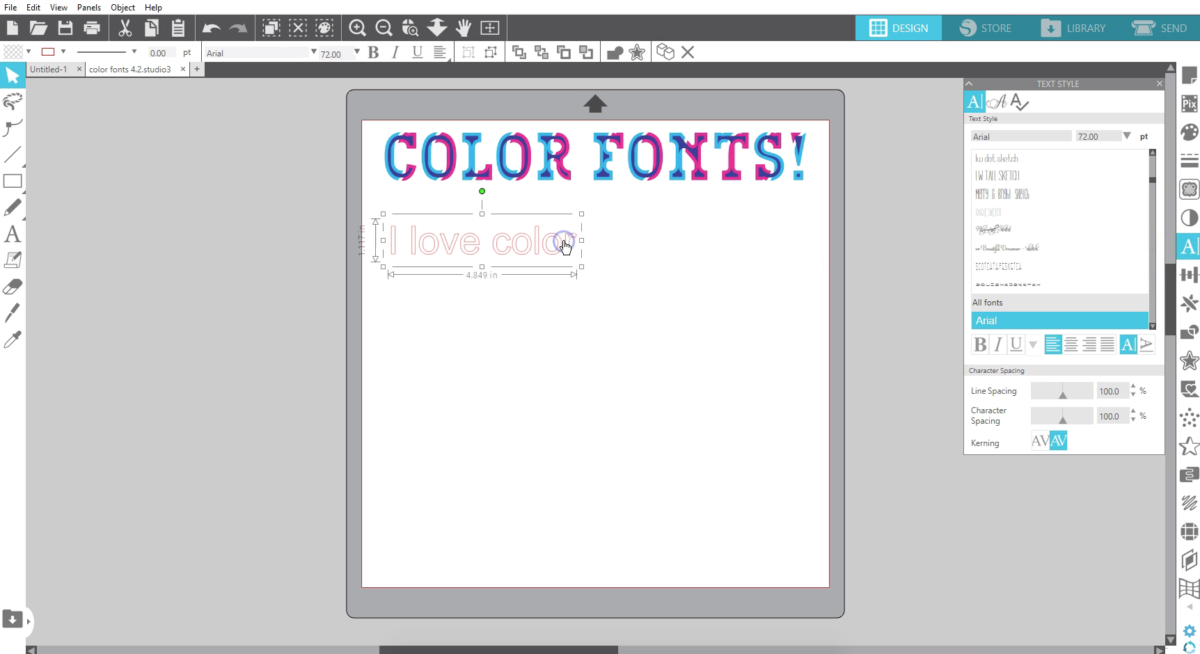
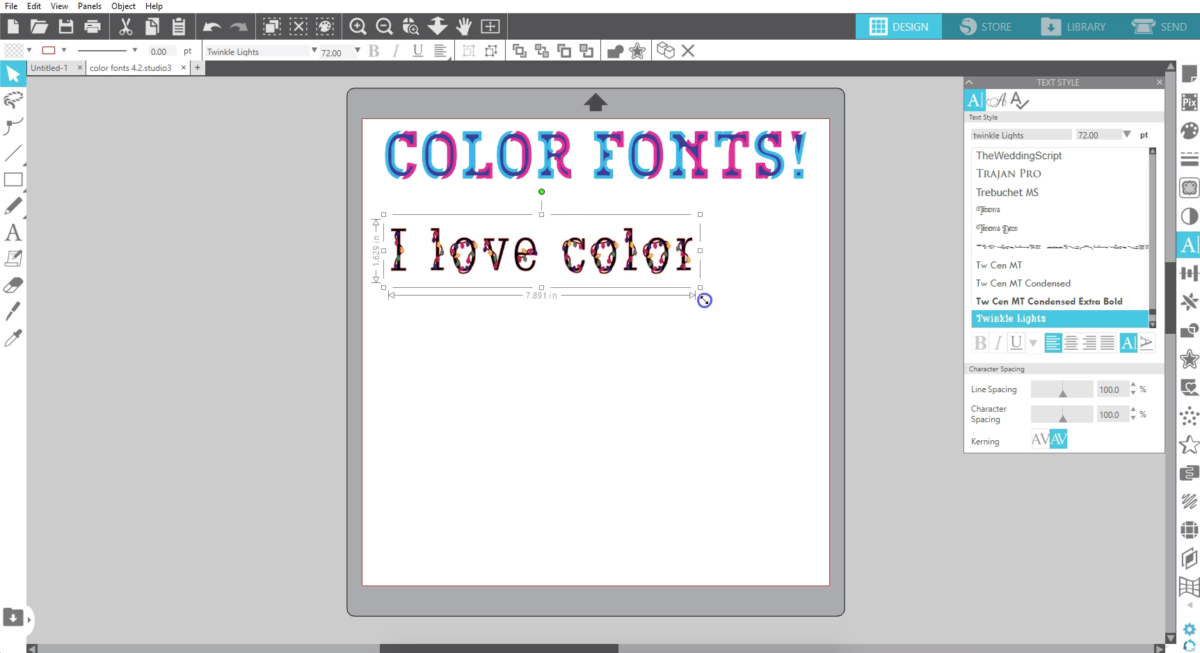
Now you can choose color fonts you may have purchased or downloaded and installed on your computer. Your text can be resized and adjusted as normal.
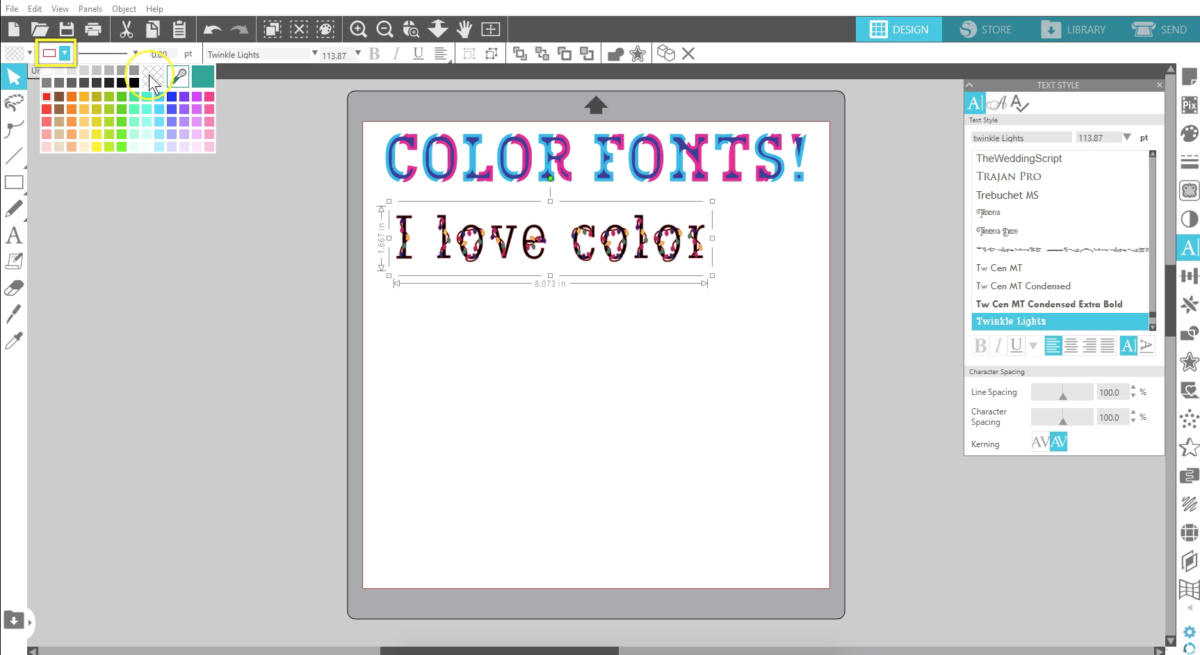
Because these fonts are already filled with color you may want to turn the line color invisible so what you see on screen is how you’ll see it print.
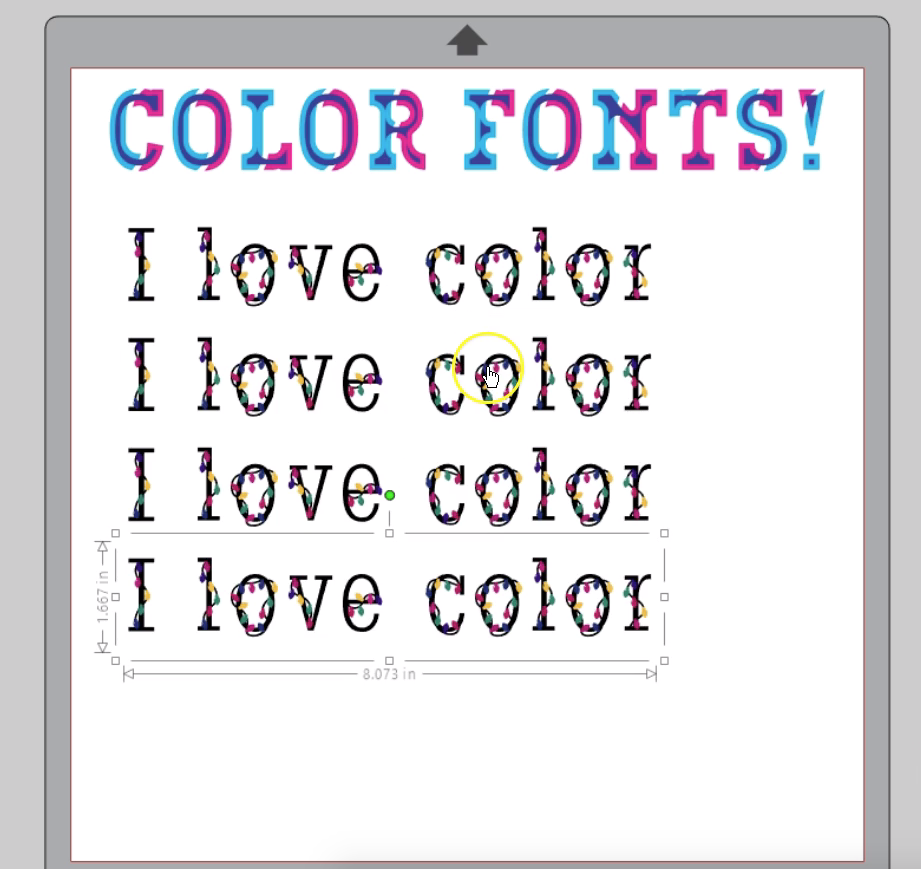
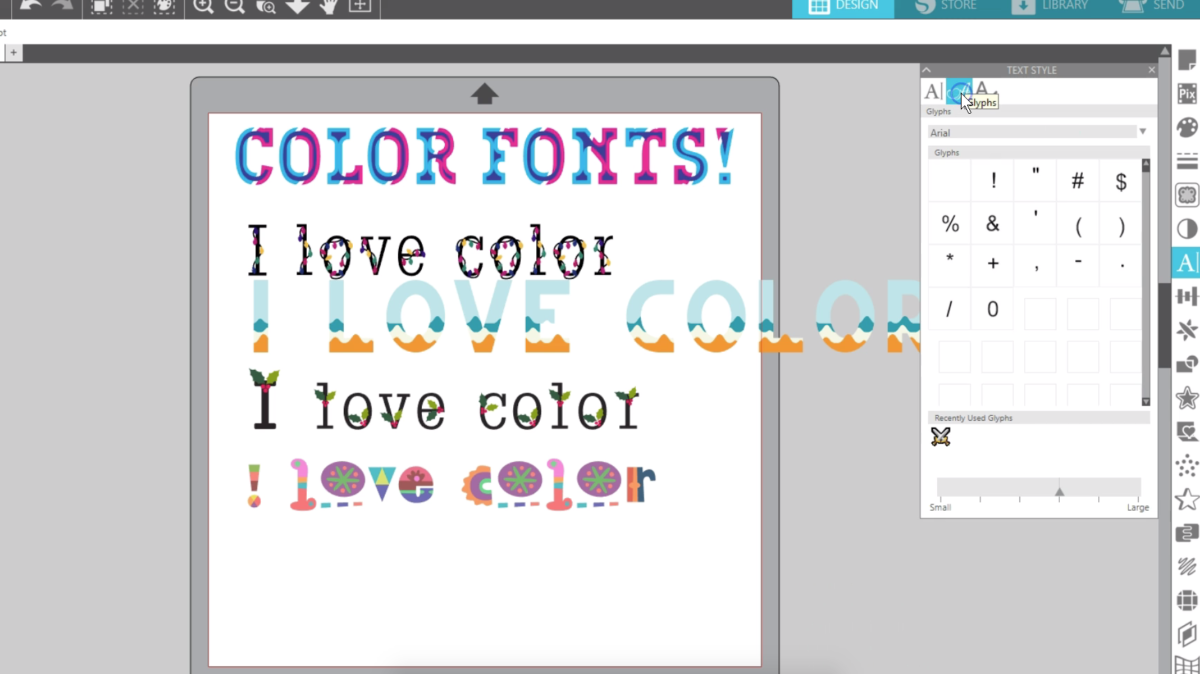
I’ll make a few more copies and pick more color fonts from my list.
If you have a color font that doesn’t show in color, check the dropdown box because you may need to pick its color option.
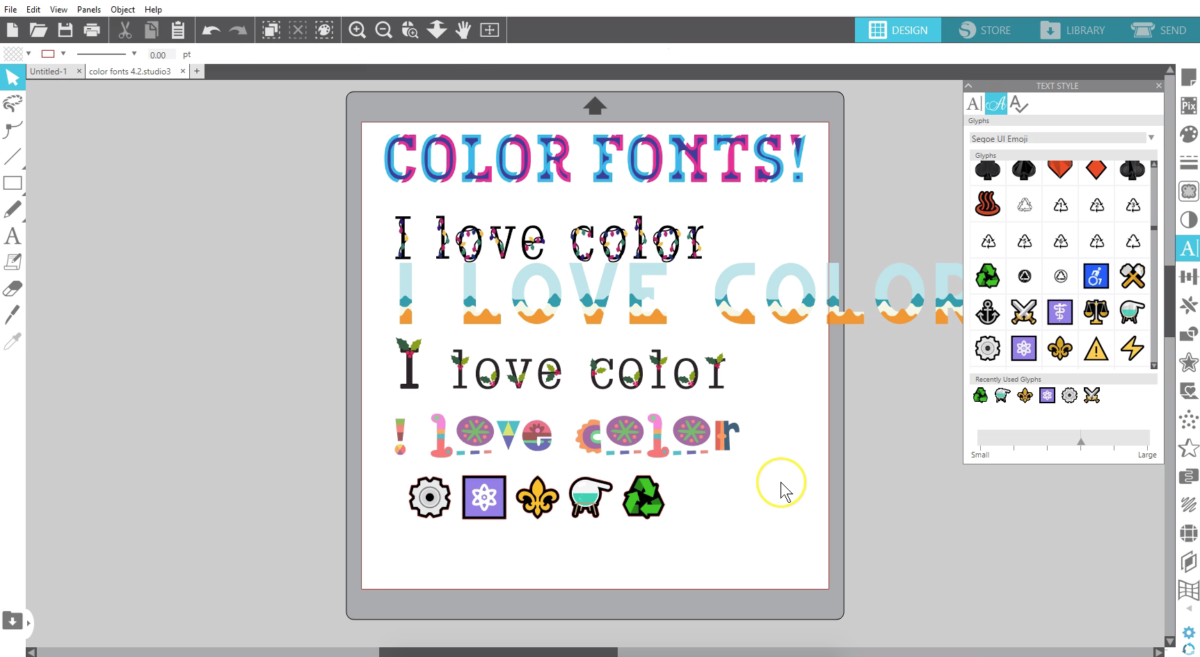
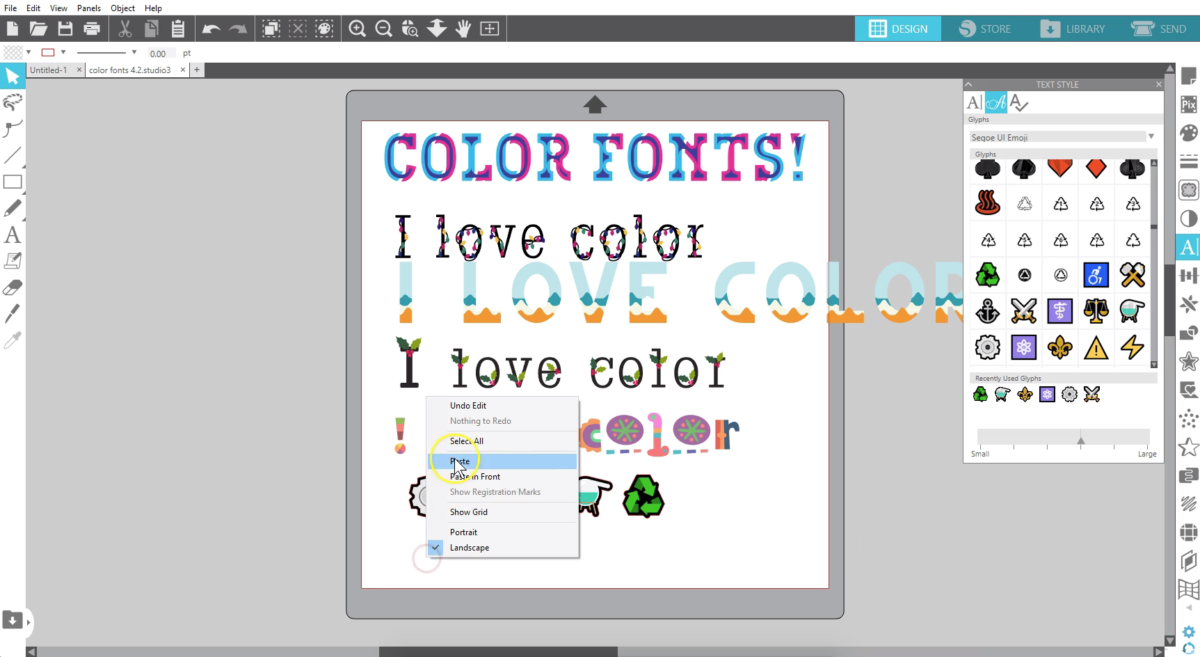
This feature is available in all editions of Silhouette Studio version 4.2, but if you have Designer Edition or above you can easily access colored glyphs from the Glyph tab in the Text Style panel.
If you have a font that includes colored glyphs such as Segoe UI Emoji, those glyphs will show in color as well.
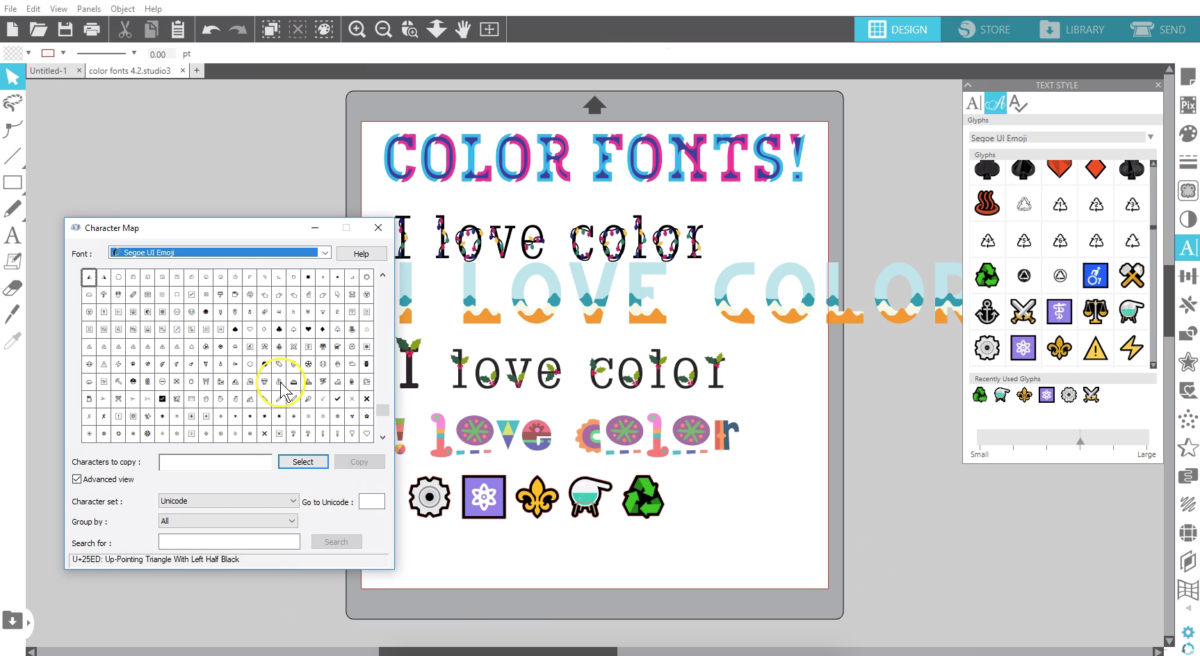
In Basic Edition, users can copy and paste colored glyphs into Silhouette Studio®, and they will show in color in version 4.2.
Use of these specialized color fonts is a nice addition to all users of Silhouette Studio version 4.2.
 Silhouette Studio® 4.2 Designer Edition - Lasso Selection Tool
  Silhouette Studio® 4.2 Designer Edition Plus - Puzzle Generator