
In version 4.2 of Silhouette Studio®, those with Designer Edition Plus and above have the ability to use the Puzzle Generator feature. If you’d like to know how to use that feature, keep reading!
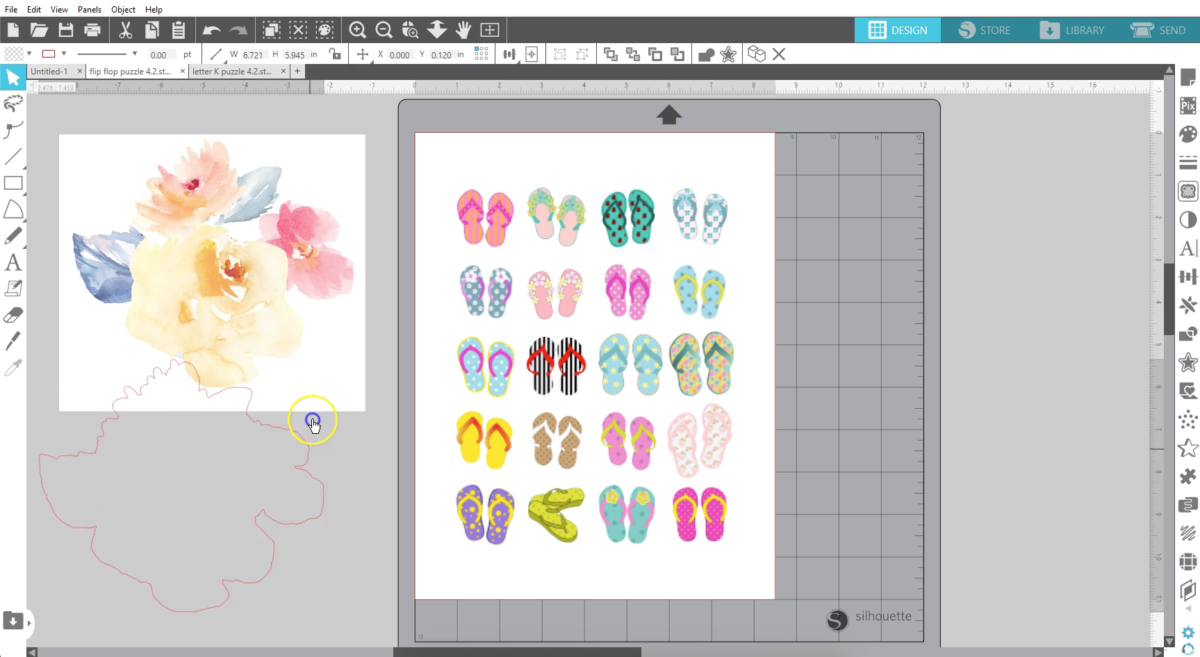
Start by opening a printable image. This can be a photograph, clipart, or any image you can print, but it must be a single layer.

If it’s a Print & Cut file that already has cut lines, remove the cut lines so all you have is the image. If it’s made up of grouped layers, I’ll show you how to work with that in a minute.
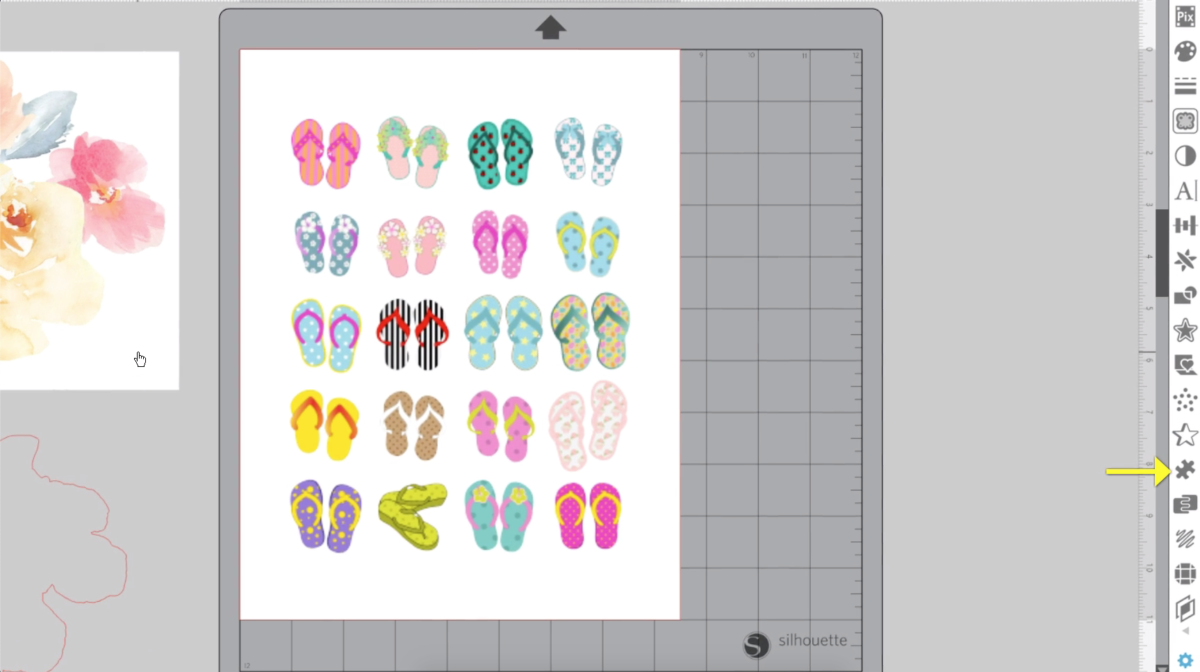
Open the Puzzle panel along the right-hand side of the screen.
Select the image and click “Puzzle Selected Shape.” The image converts into a puzzle with cut lines.
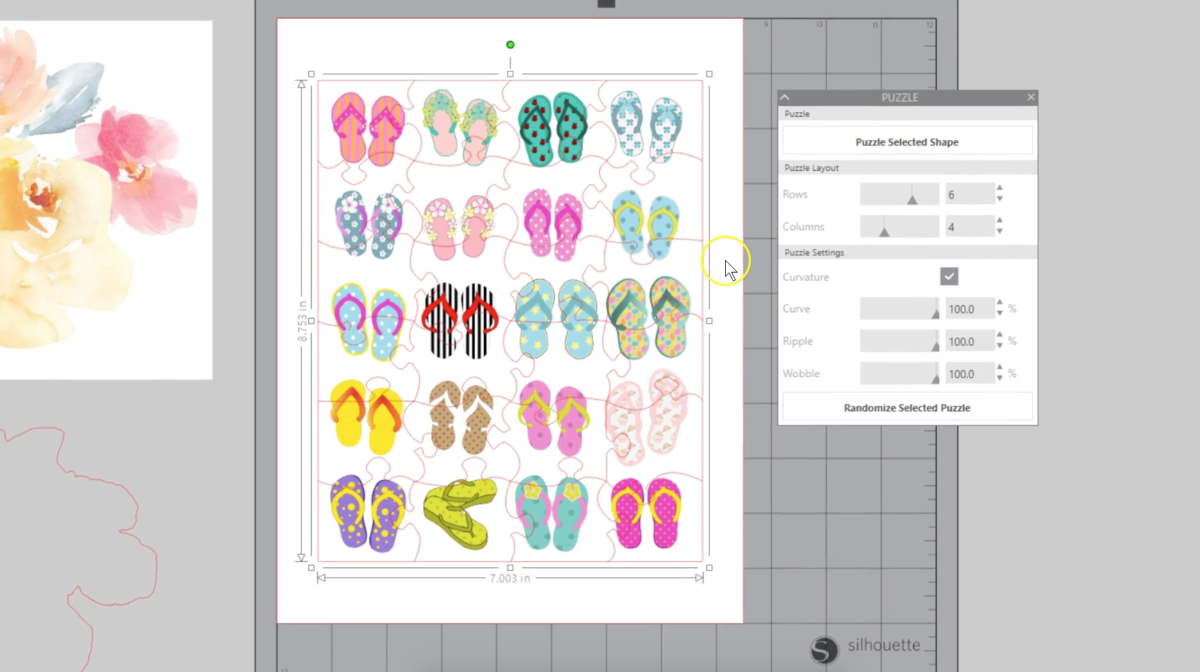
I’ll thicken these lines so you can see them better.
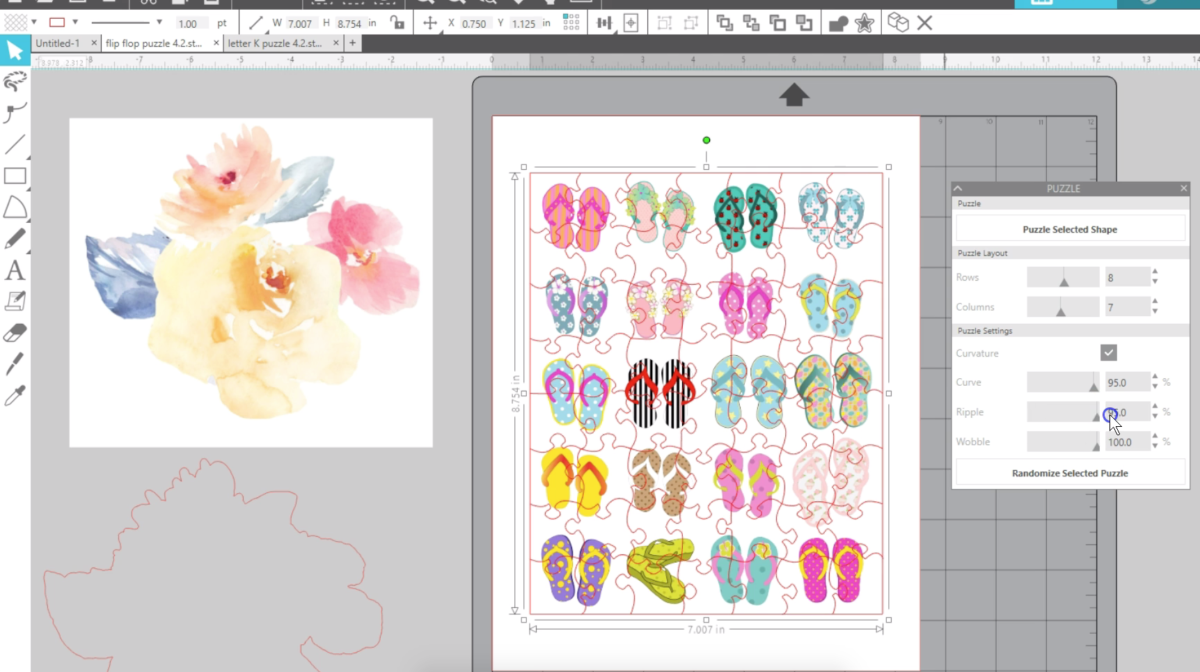
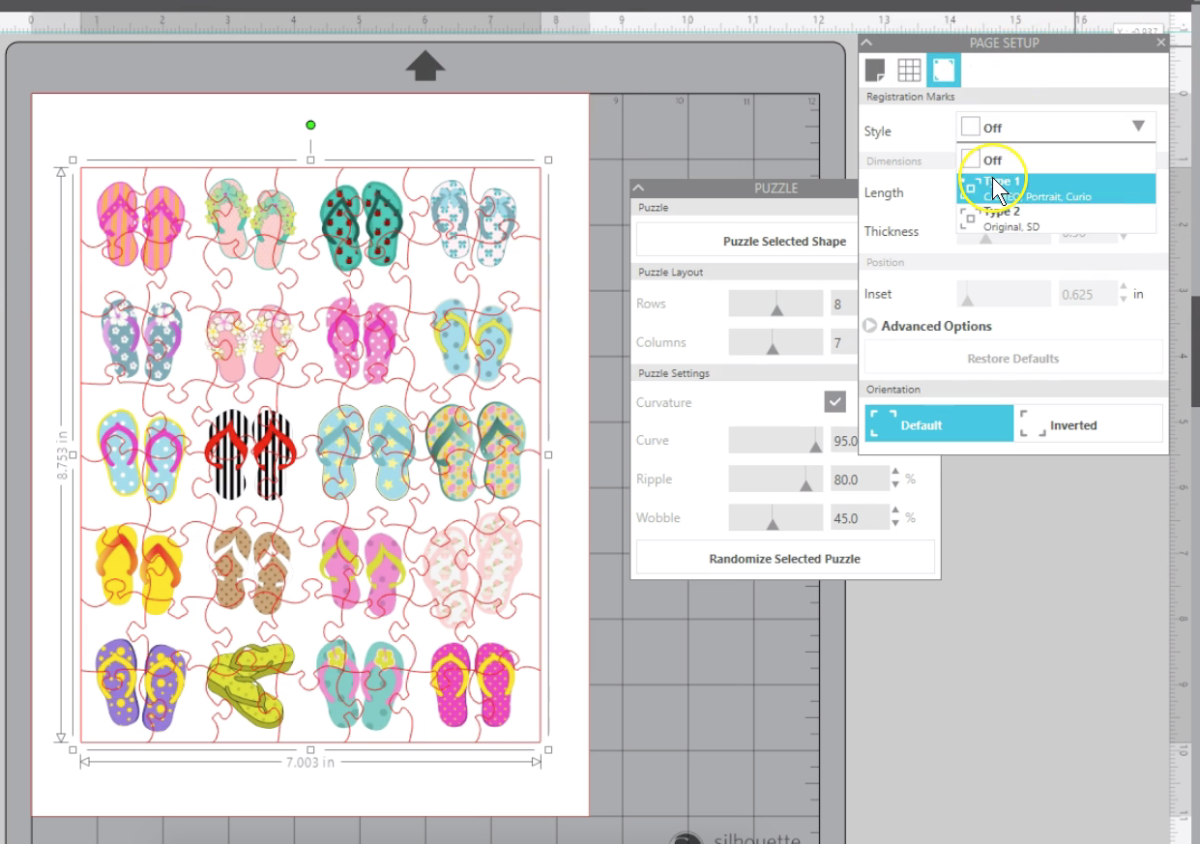
Now you can customize the puzzle’s rows and columns in the Puzzle Layout section.
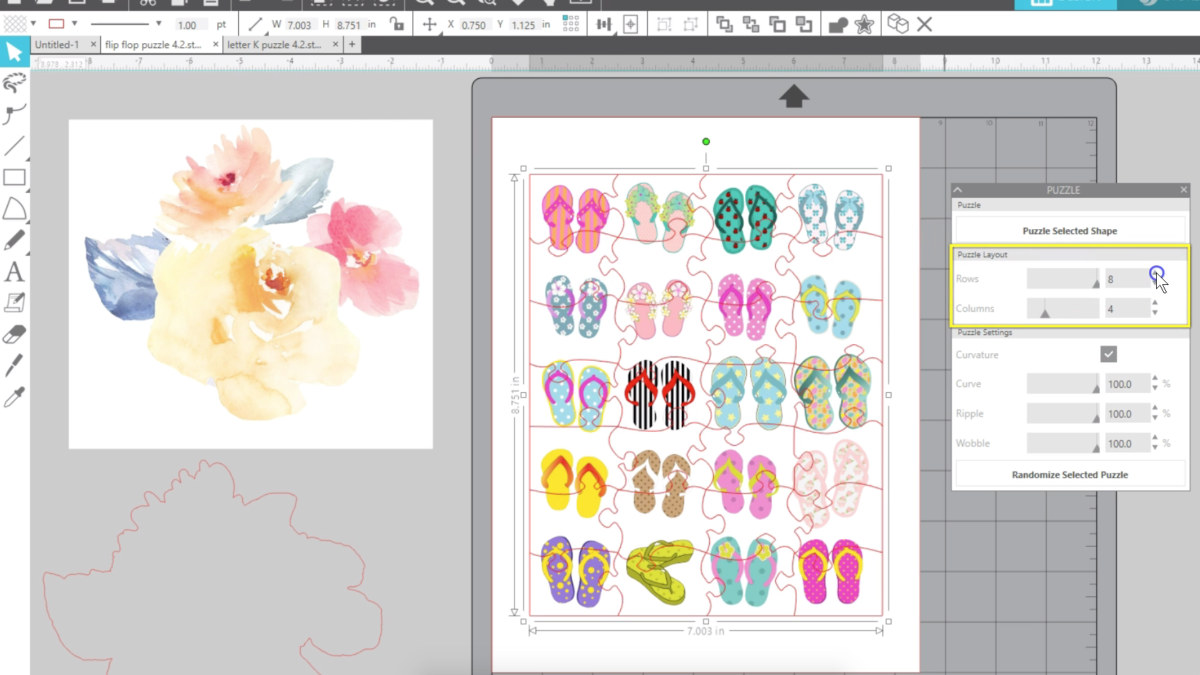
In the Puzzle Settings, you can remove the curvature with this check box. I like the curves, so I’m going to keep the box checked.

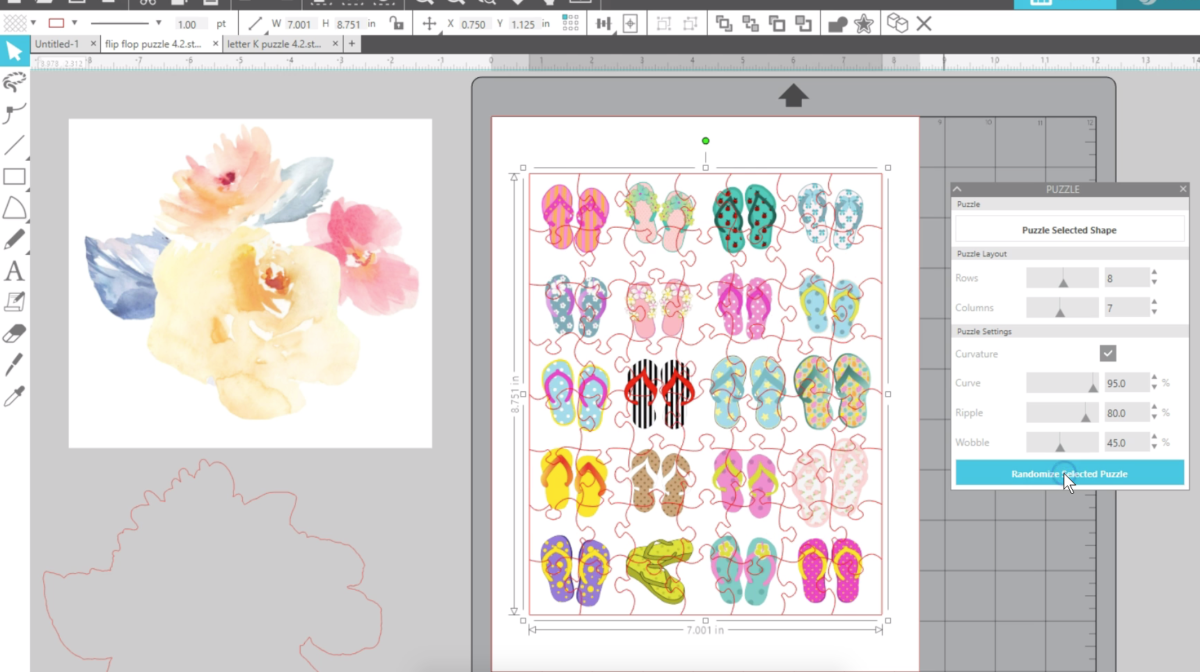
You can also adjust the curve ripple with the sliders to alter the amount of curvature you get. The wobble options adjusts the position of the connector portions.
If you want the software to randomize the settings, click “Randomize Selected Puzzle” as many times as you want.
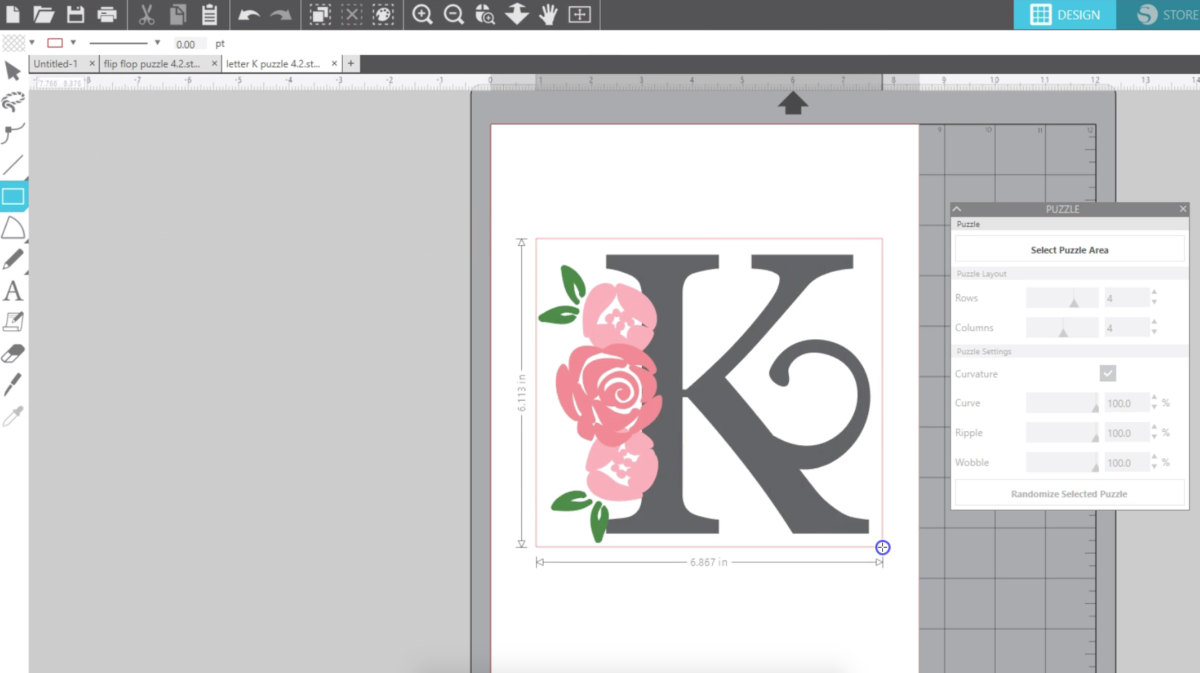
If you have a color-filled design that you want to turn into a puzzle but it disappears when you generate the puzzle, that probably means it’s grouped. That’s OK. All you need to do is draw your own rectangle around the design and select just the rectangle before choosing “Puzzle Selected Shape.”

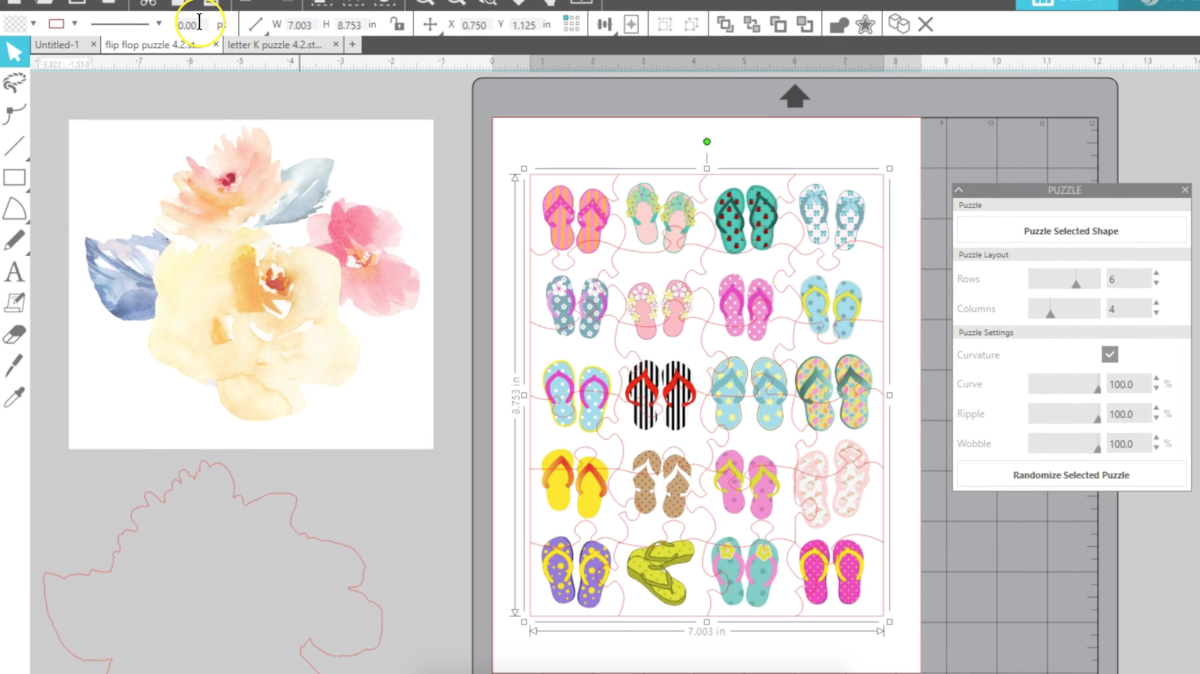
Make sure the cut lines of the original design are turned off in the Send tab so it only cuts the puzzle.
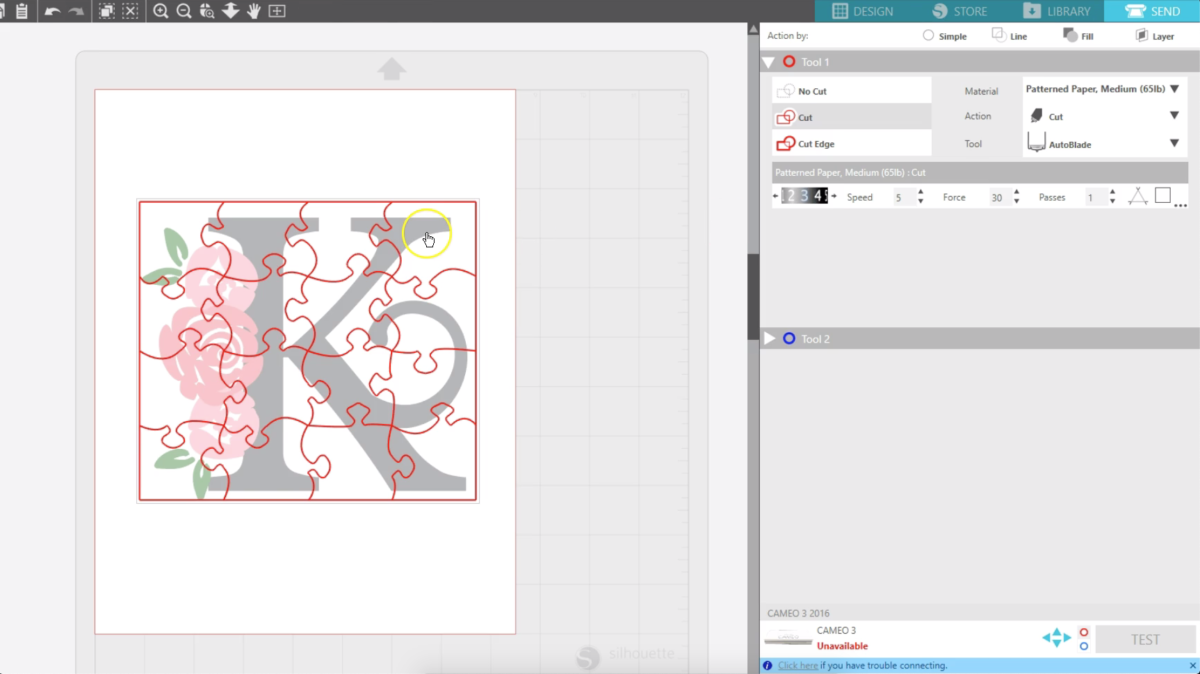
When your puzzle is ready, turn on the registration marks, print it with your printer, and then load the printout on a cutting mat to be cut with your Silhouette machine through the Send panel.
As you can see, you can have a lot of fun turning a variety of printable images into puzzles. We hope you enjoy this new puzzle generator in Silhouette Studio version 4.2 for Designer Edition Plus and above.
 Silhouette Studio® 4.2 Designer Edition - Lasso Selection Tool
  Silhouette Studio® 4.2 Designer Edition Plus - Flexishapes