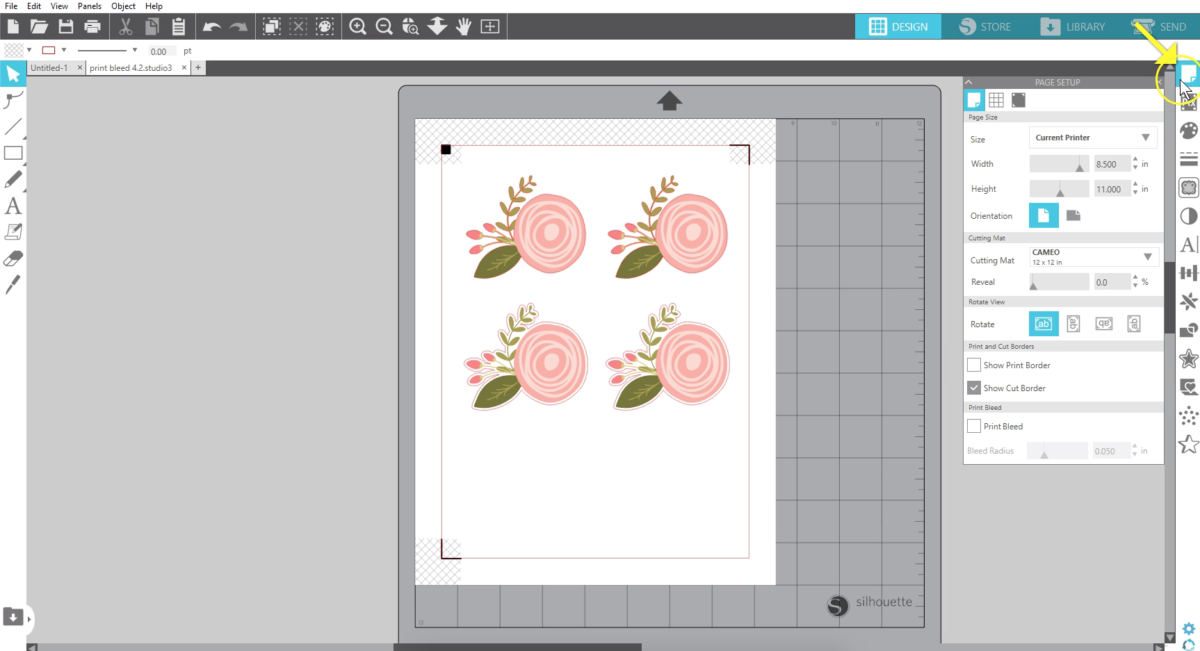
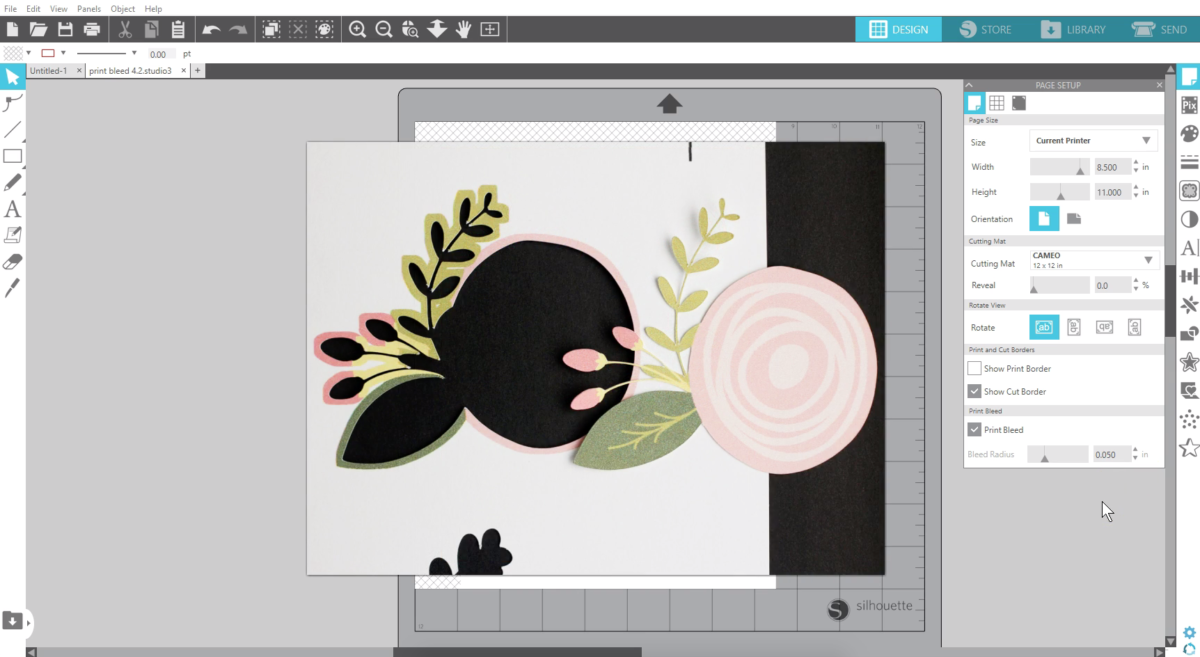
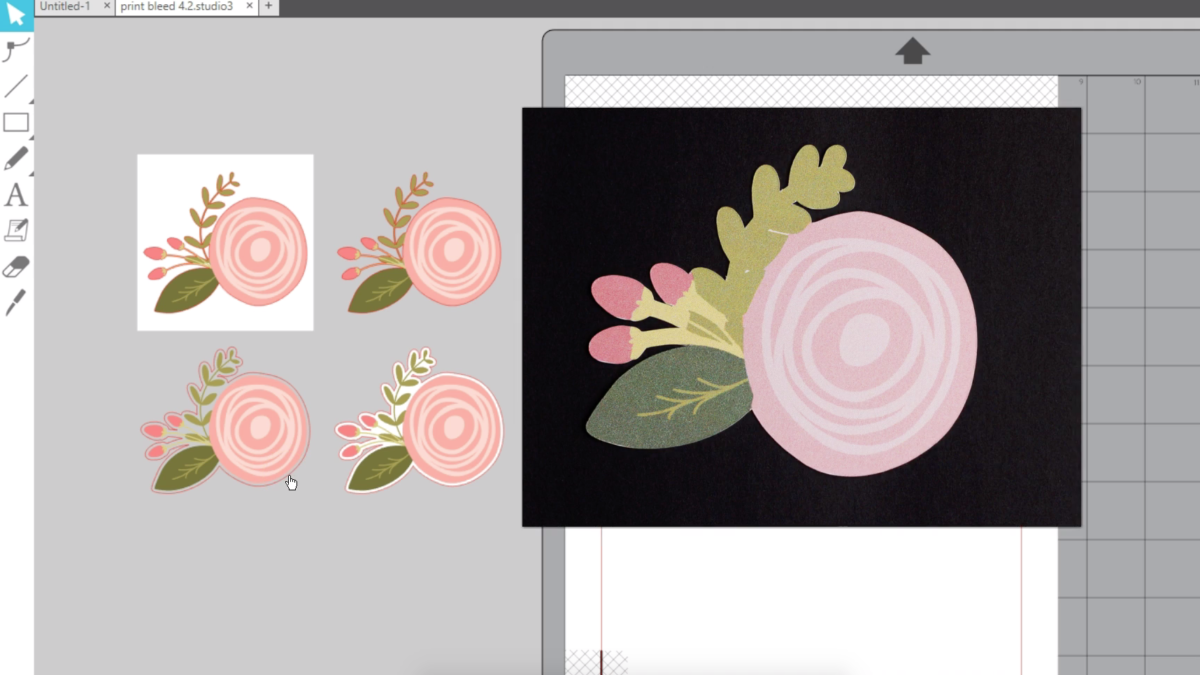
Silhouette Studio® 4.2 introduces Print Bleed as a feature for all editions, standard and above. To show you how this feature works, we will be using Design ID #58727. In the Page Setup panel, you’ll find the option to turn on Print Bleed at the bottom of the panel.
Check the box for Print Bleed, and all of the colored designs on your page will print with the color extended beyond the original design.
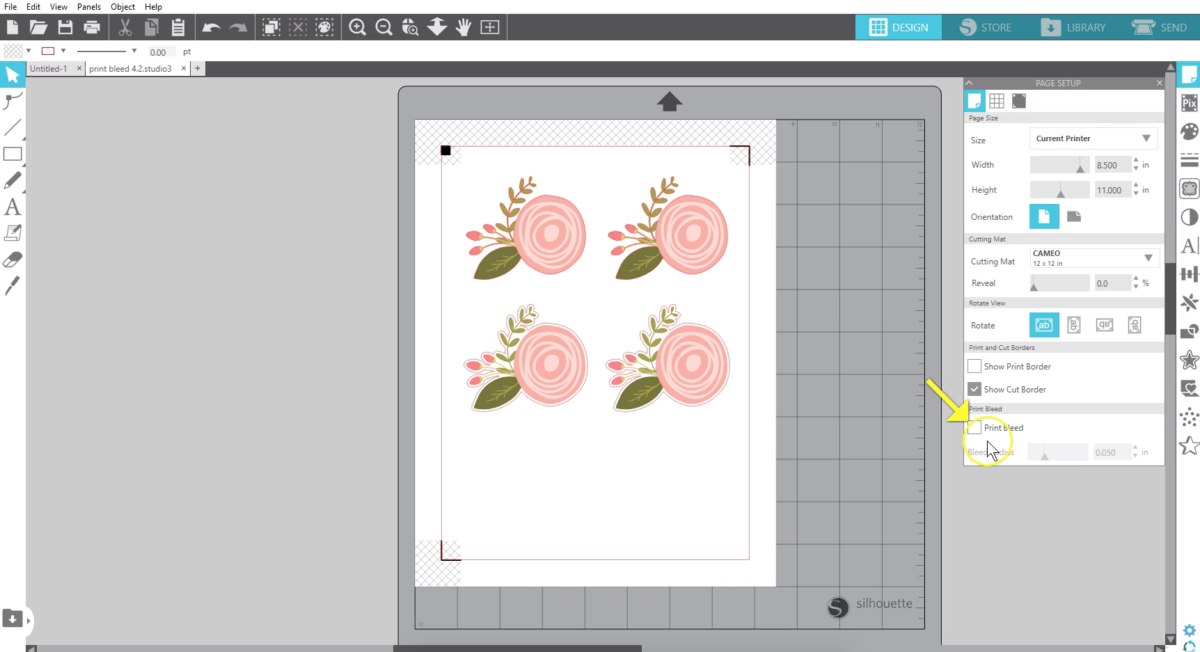
This allows your Silhouette machine to cut off the excess color on your Print & Cut leaving no white edges on your final cutout. You will not see a preview of the print bleed on your design page at this time. It will only show up when the document is printed.
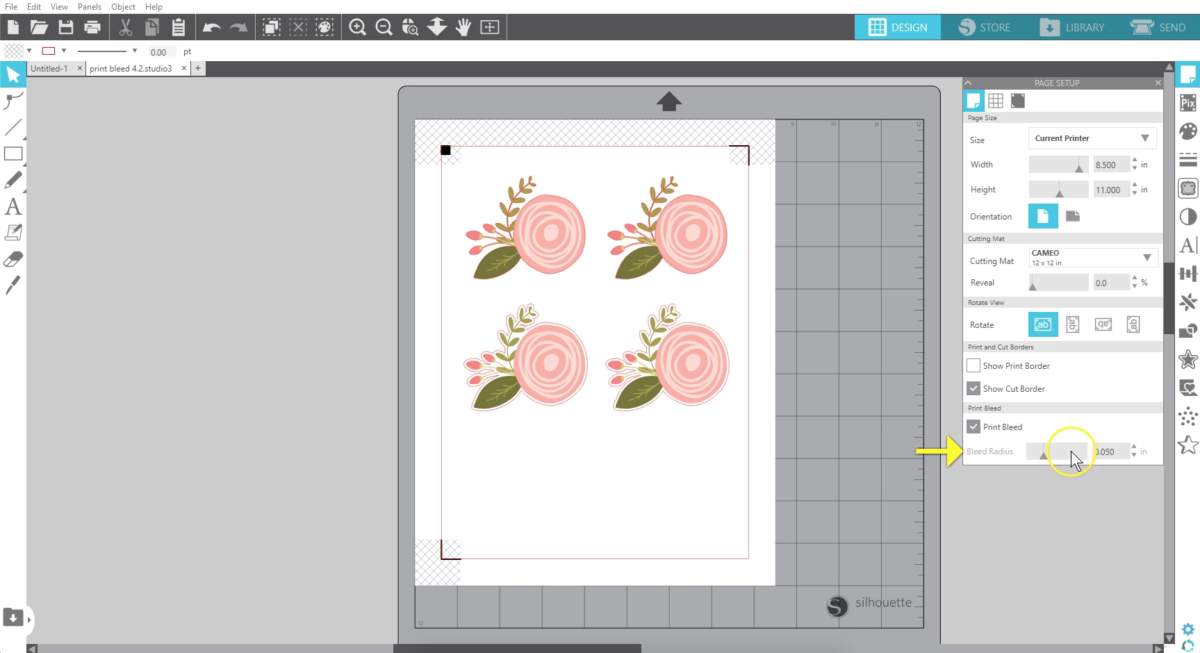
The default bleed radius of 0.050 in it can be adjusted up or down based on your personal needs.
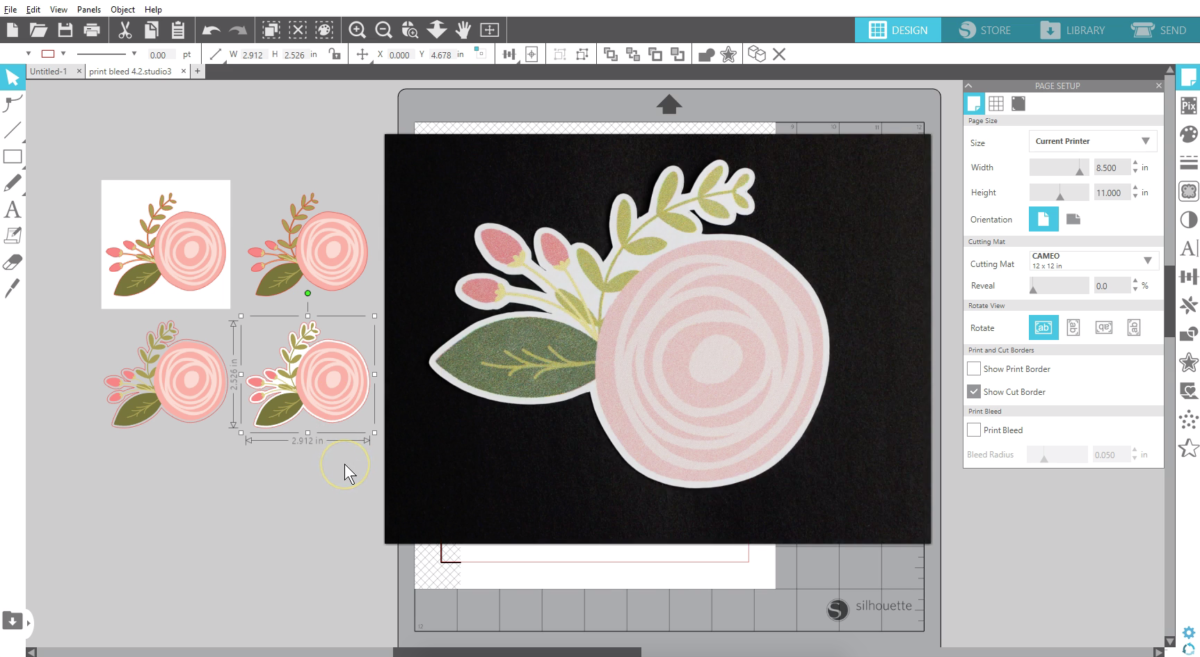
The printout with print bleed enabled may look a little awkward because of the extra color, but that extra gets cut off when you send it to your Silhouette machine.

Here are a few things to pay attention to as you work with Print Bleed. If your design has a white background, you will not get any print bleed effect.
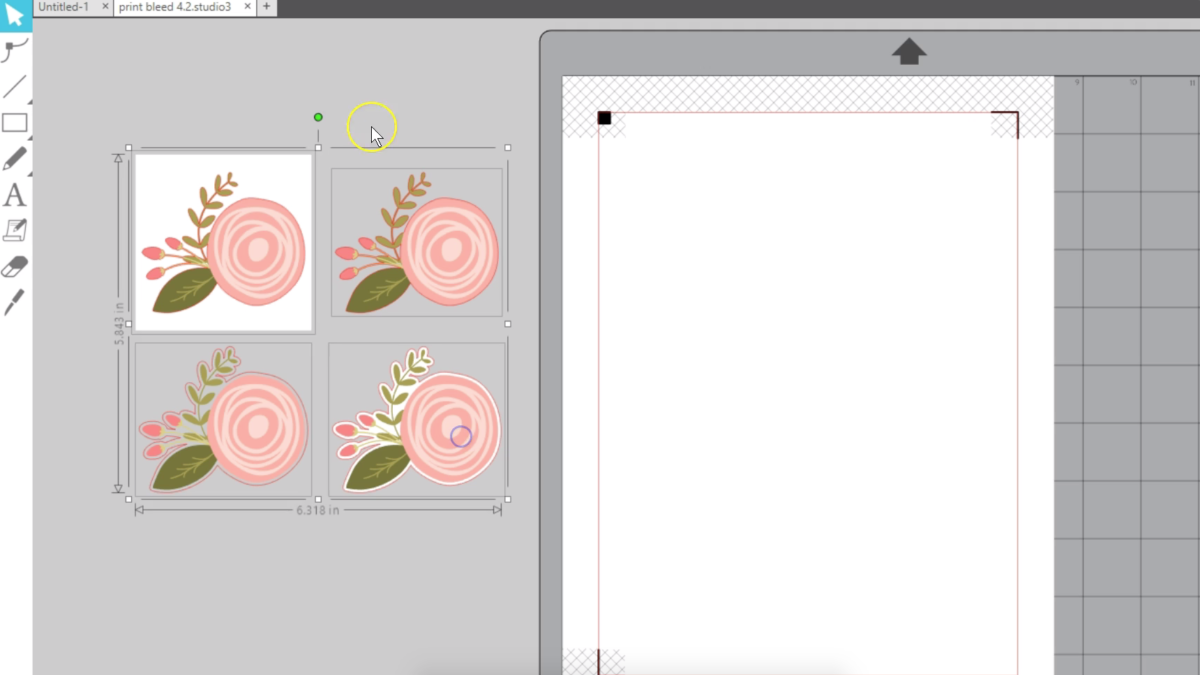
The background next to your design must be clear. If your design has clear space between the colored portions and the cut line but the cut lines don’t not hug the design, your print bleed may not work the way you want it to.
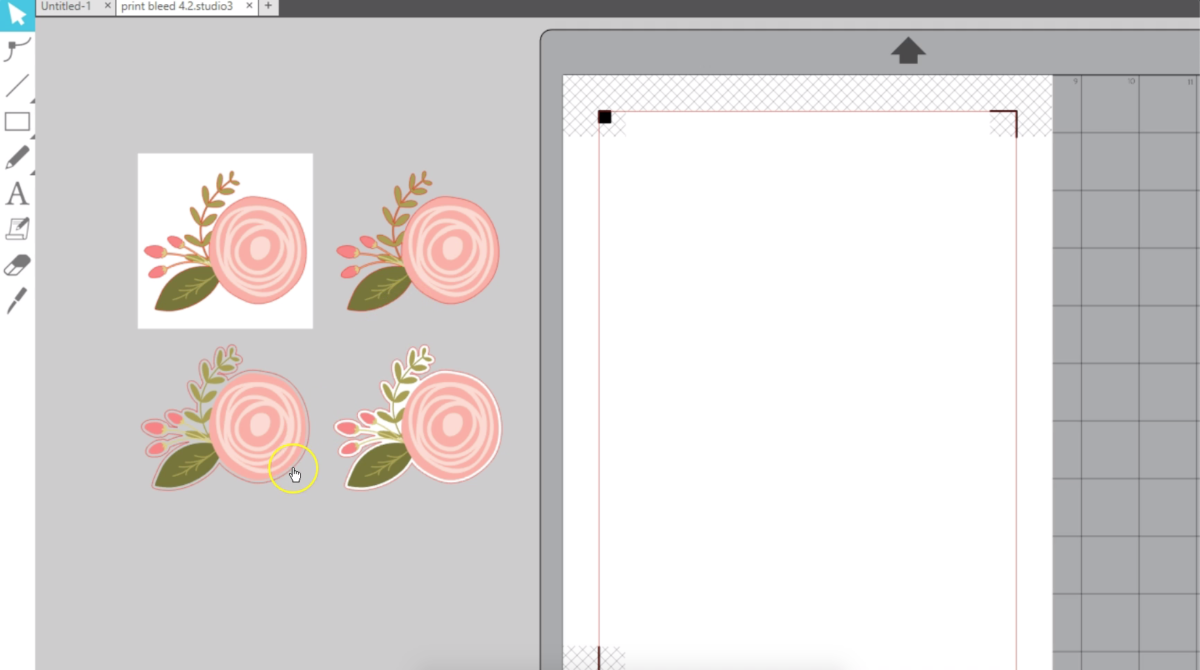
If you do want to have a white border around your designs, then turn off Print Bleed or make sure that the area that extends beyond your colored portion has a white fill color instead of clear.
Remember to turn on registration marks and verify you have cut lines before printing so your Silhouette machine knows where to cut.
Print bleed works for any colored objects on your page that will be printed, whether that’s images, designs, or colored text. Checking the box applies to all objects on the page.
We hope you enjoy this new Print Bleed feature available in all editions of Silhouette Studio® 4.2.
 Silhouette Studio® 4.2 Designer Edition - Lasso Selection Tool
  Silhouette Studio® 4.2 Designer Edition Plus - Puzzle Generator
Nasze Naturalne
September 3, 2025
Your authentic voice really shines through in everything you create and share
Naszenaturalne
September 2, 2025
Really love your style
Kelly Wayment
June 28, 2024
You can use it with vinyl as long as it is smooth and flat to allow the static charge to hold on to it. Rolled vinyl that wants to go back to its rolled shape will not necessarily work well, and it would need to be trimmed to fit the ES mat cutting area.
Kelly Wayment
June 28, 2024
Yes, you can use the heat pen while using the ES mat. 🙂
Yurii
March 2, 2024
Hello. May it be used with heat pen?
Thanks
Jerome
February 24, 2024
Hi, works this with the normal vinyl foils or only with printer papter etc?